


The first thing you'll always have to do before getting your customization game on with most phones is to unlock the bootloader. Doing so opens the true potential of the device, allowing you to root, install TWRP, Magisk, custom ROMs, and other mods. No matter your wants or needs, there's no way around it — the bootloader must be unlocked to modify the system.
The bootloader on your phone is a program that starts up during the boot process using official system files. The bootloader will only load up stock firmware by default, but once unlocked, you'll be able to boot any firmware of your choosing. This is what makes all the modding possible. Luckily, Google has made it easy to unlock the bootloader on the Pixel 3a and 3a XL, so I'll walk you through it below.
Disclaimers
- Unlocking the bootloader will factory reset your device.
- Your phone will now fail SafetyNet checks, but Magisk can fix it.
- Unlocking the bootloader will not void your Pixel warranty.
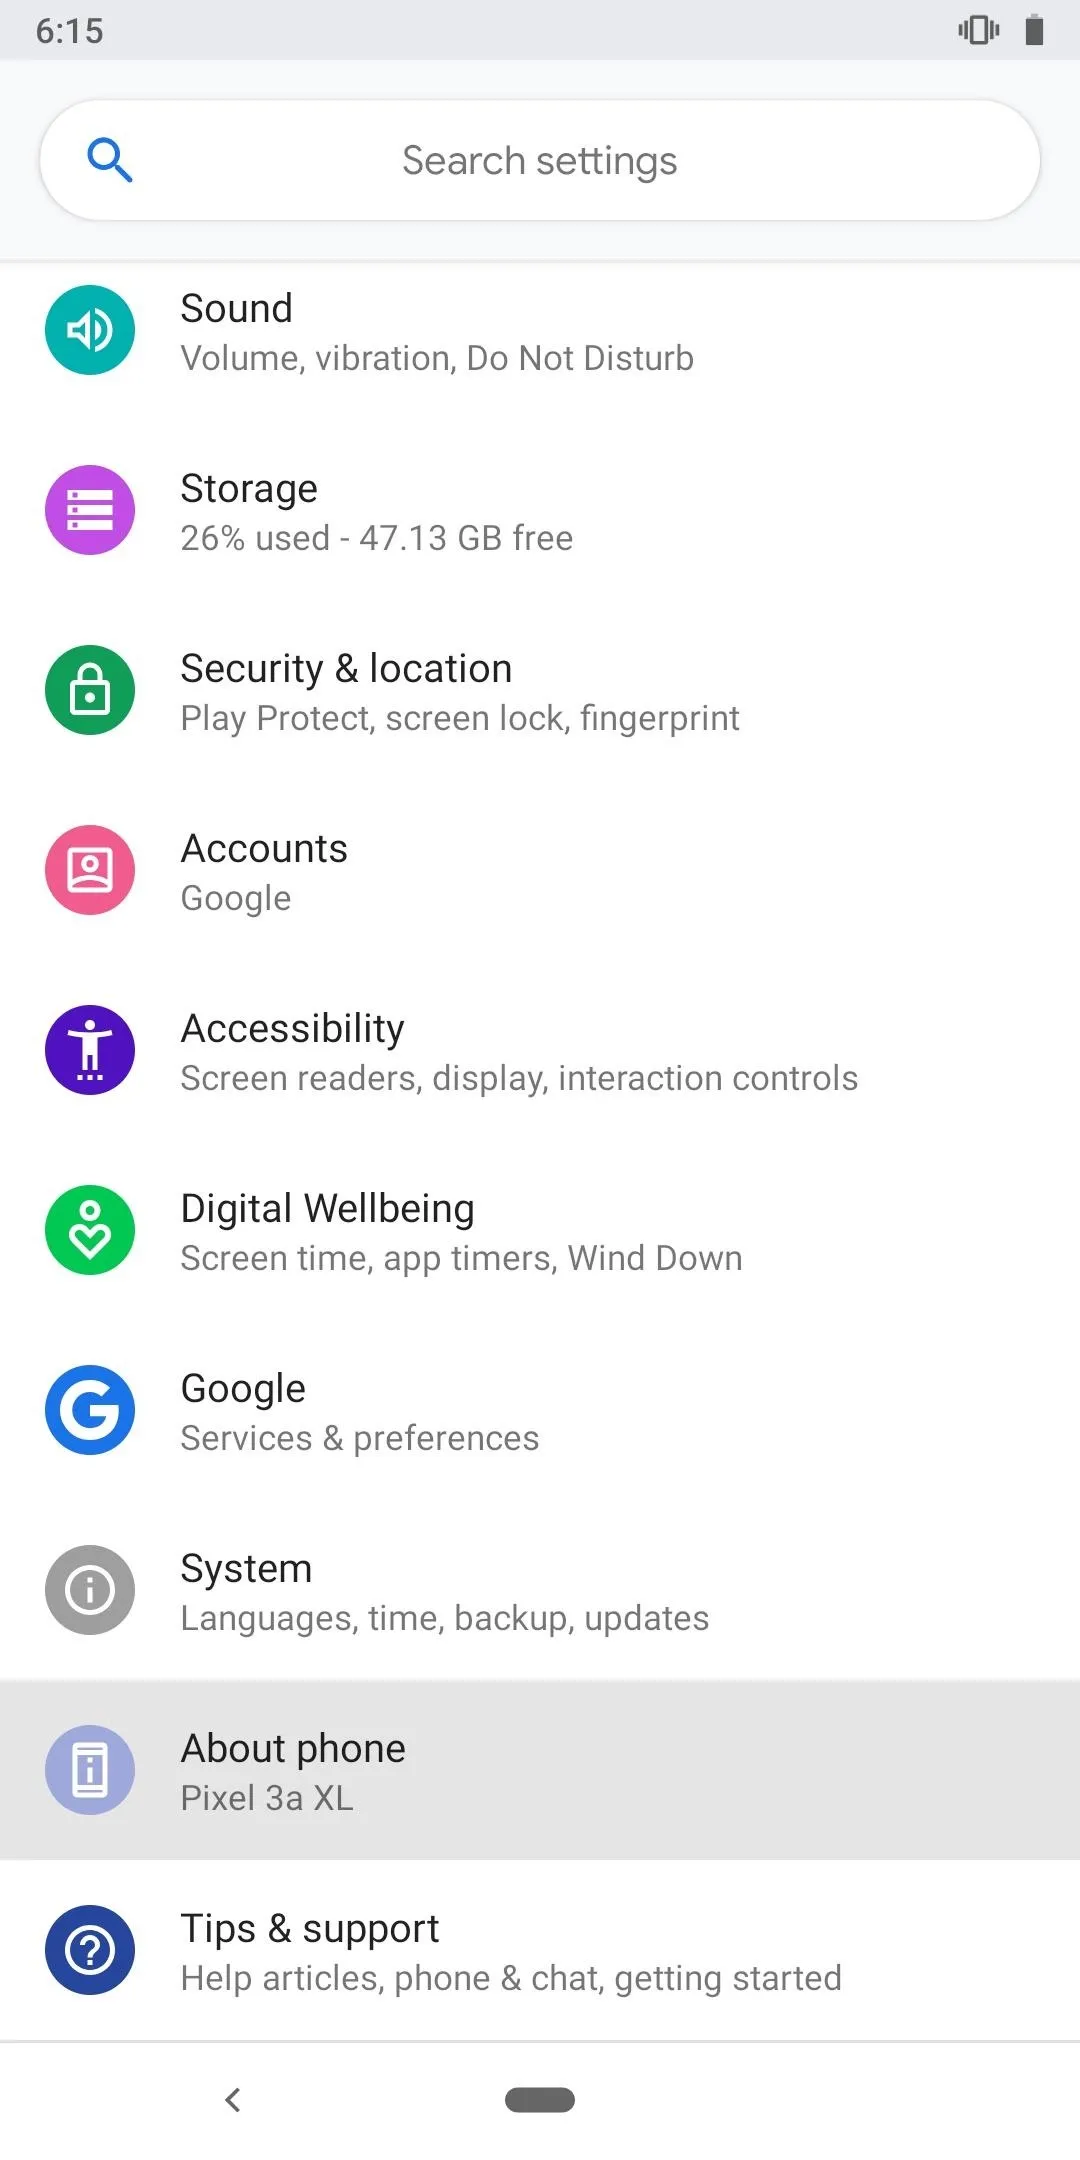
Enable Developer Options
By default, the setting you need to enable to allow the bootloader to be unlocked is hidden. To un-hide this setting, head to the location below from your Settings menu.
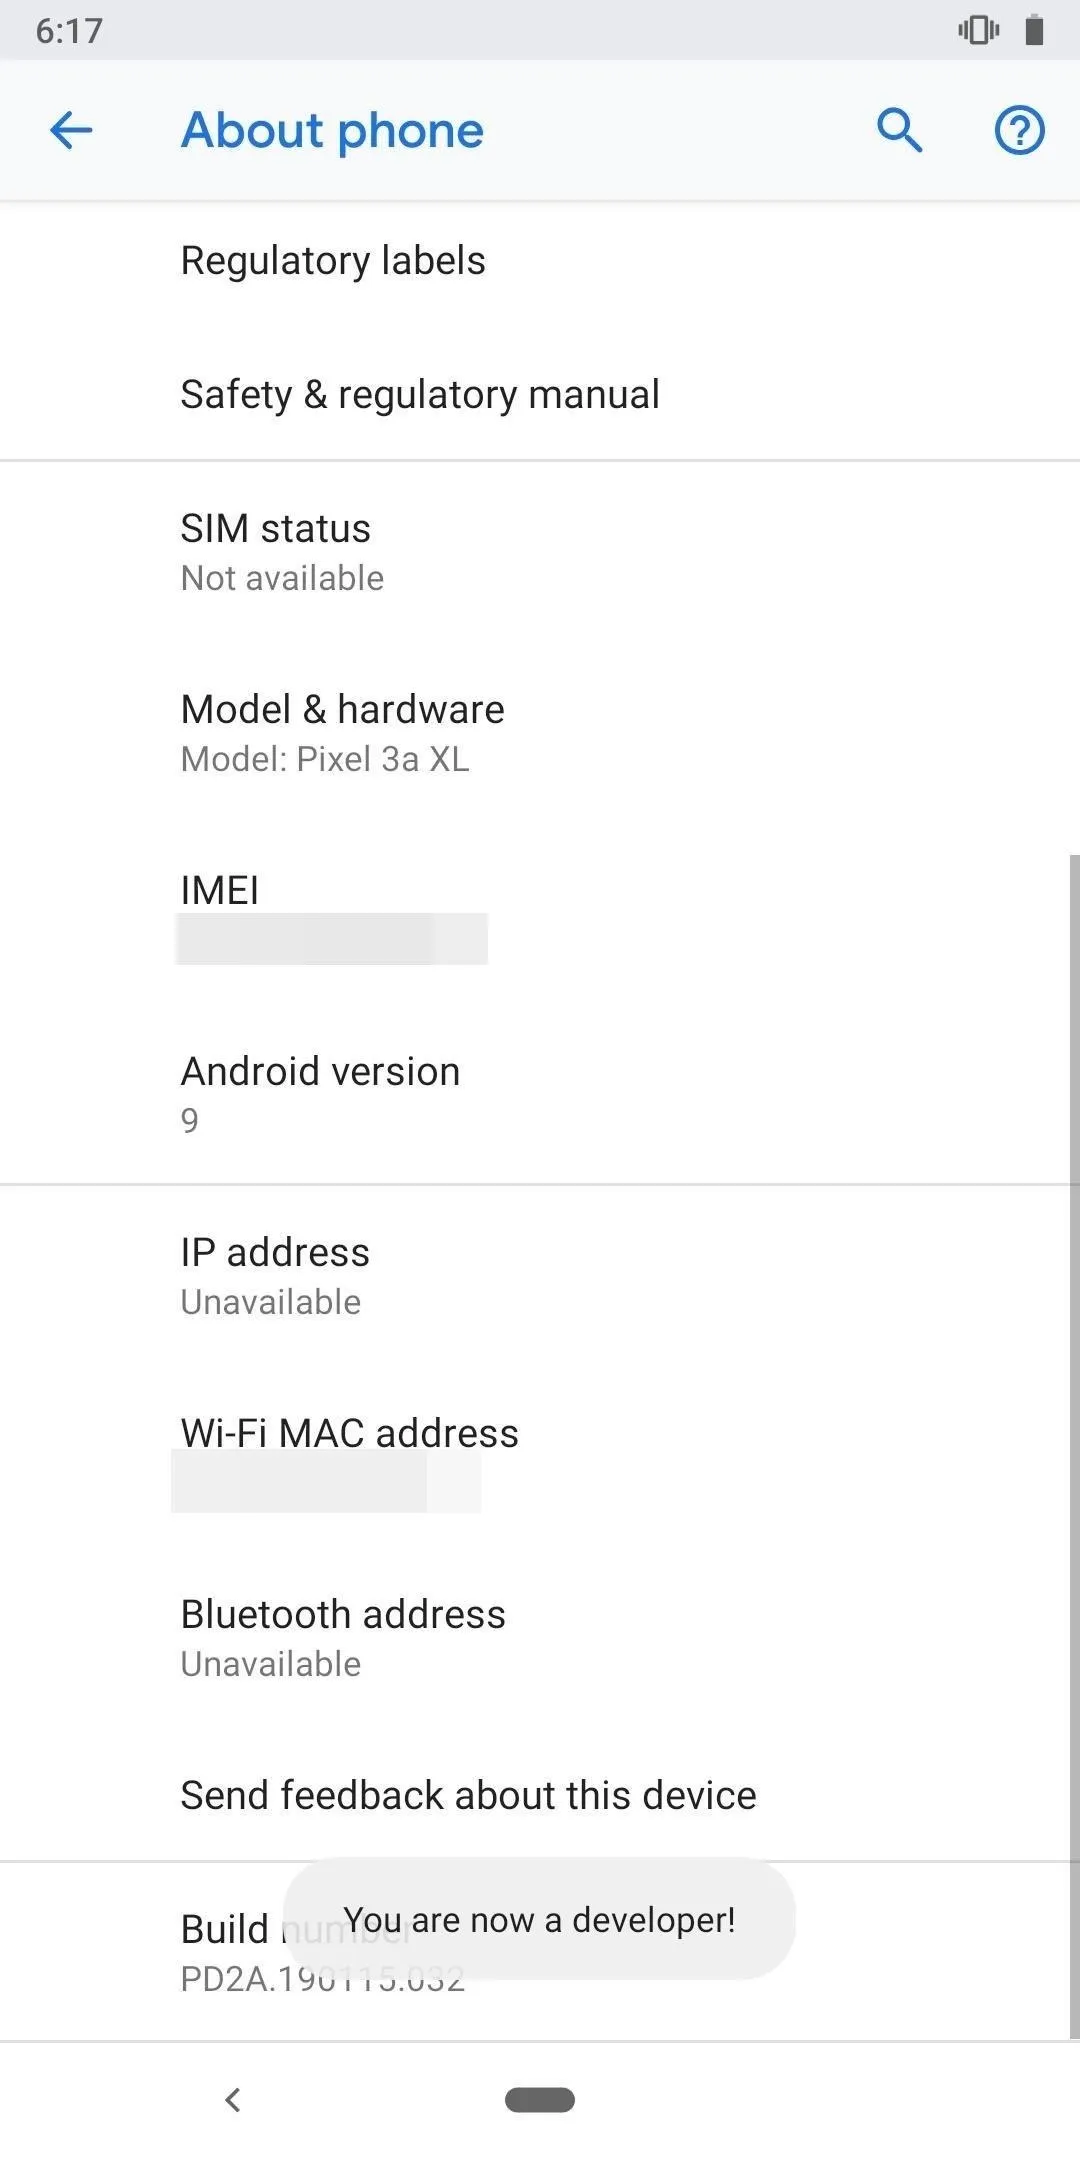
Settings -> About phoneFrom the "About phone" menu, scroll down and tap the "Build number" entry seven times in rapid succession until you see a toast message stating "You are now a developer." It may ask you to enter your password or PIN if you have security measures in place, but once you enter that correctly, you'll be ready for the next step.

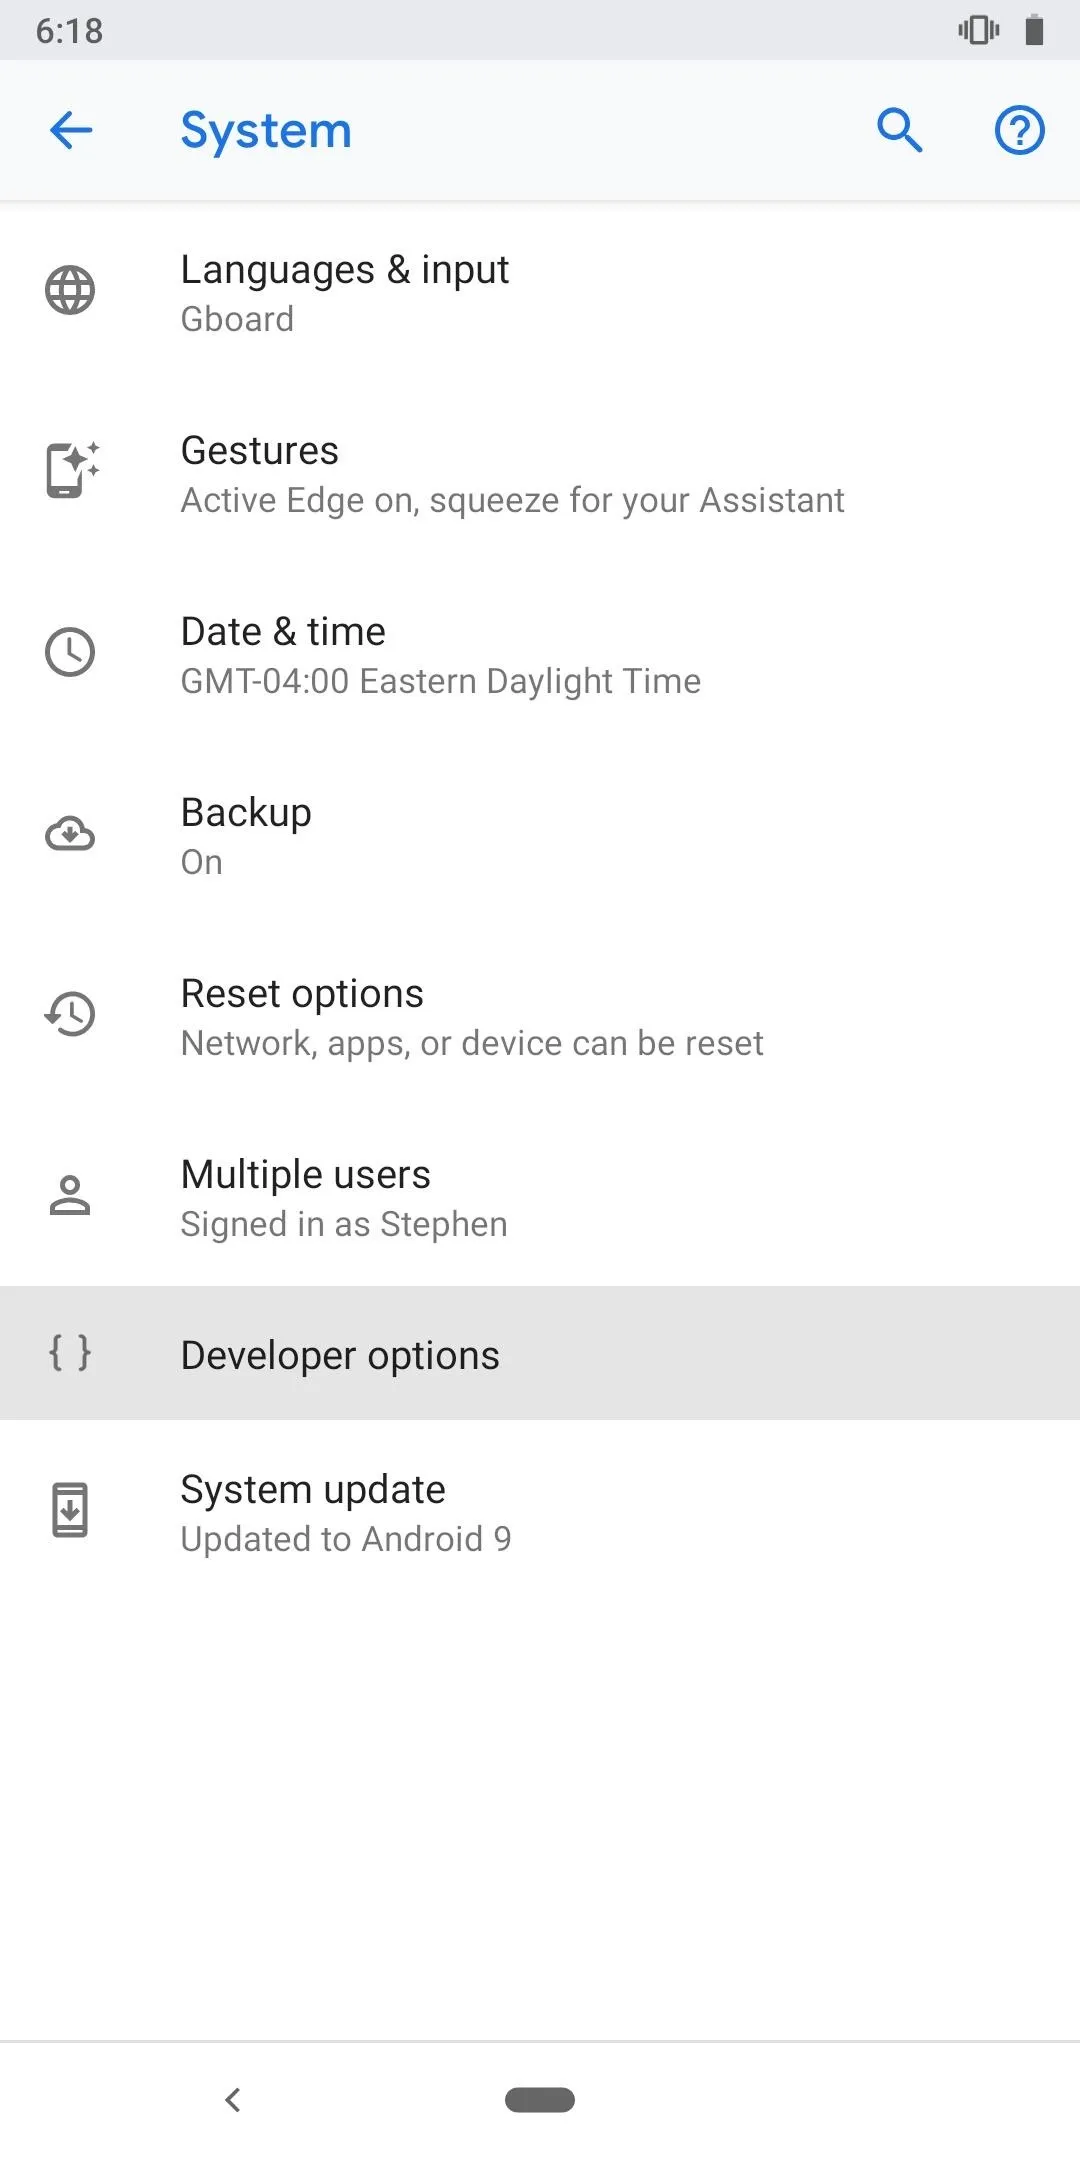
Enable OEM Unlocking
Now, open the main Settings menu and choose "System," then tap "Advanced" and select "Developer options." Look for the "OEM unlocking" option and tap it once to bring up another prompt like before. Enter your password or PIN if you have to, then tap the "Enable" button on the popup to confirm your choice.


Boot into Fastboot Mode
Now that you've set your phone to allow its bootloader to be unlocked, it's time to actually unlock the bootloader. Long-press your power button and hit "Power off" to shut your phone completely down. Now that your phone is off, hold the power button and volume down button at the same time until you see the Fastboot Mode main menu appear.
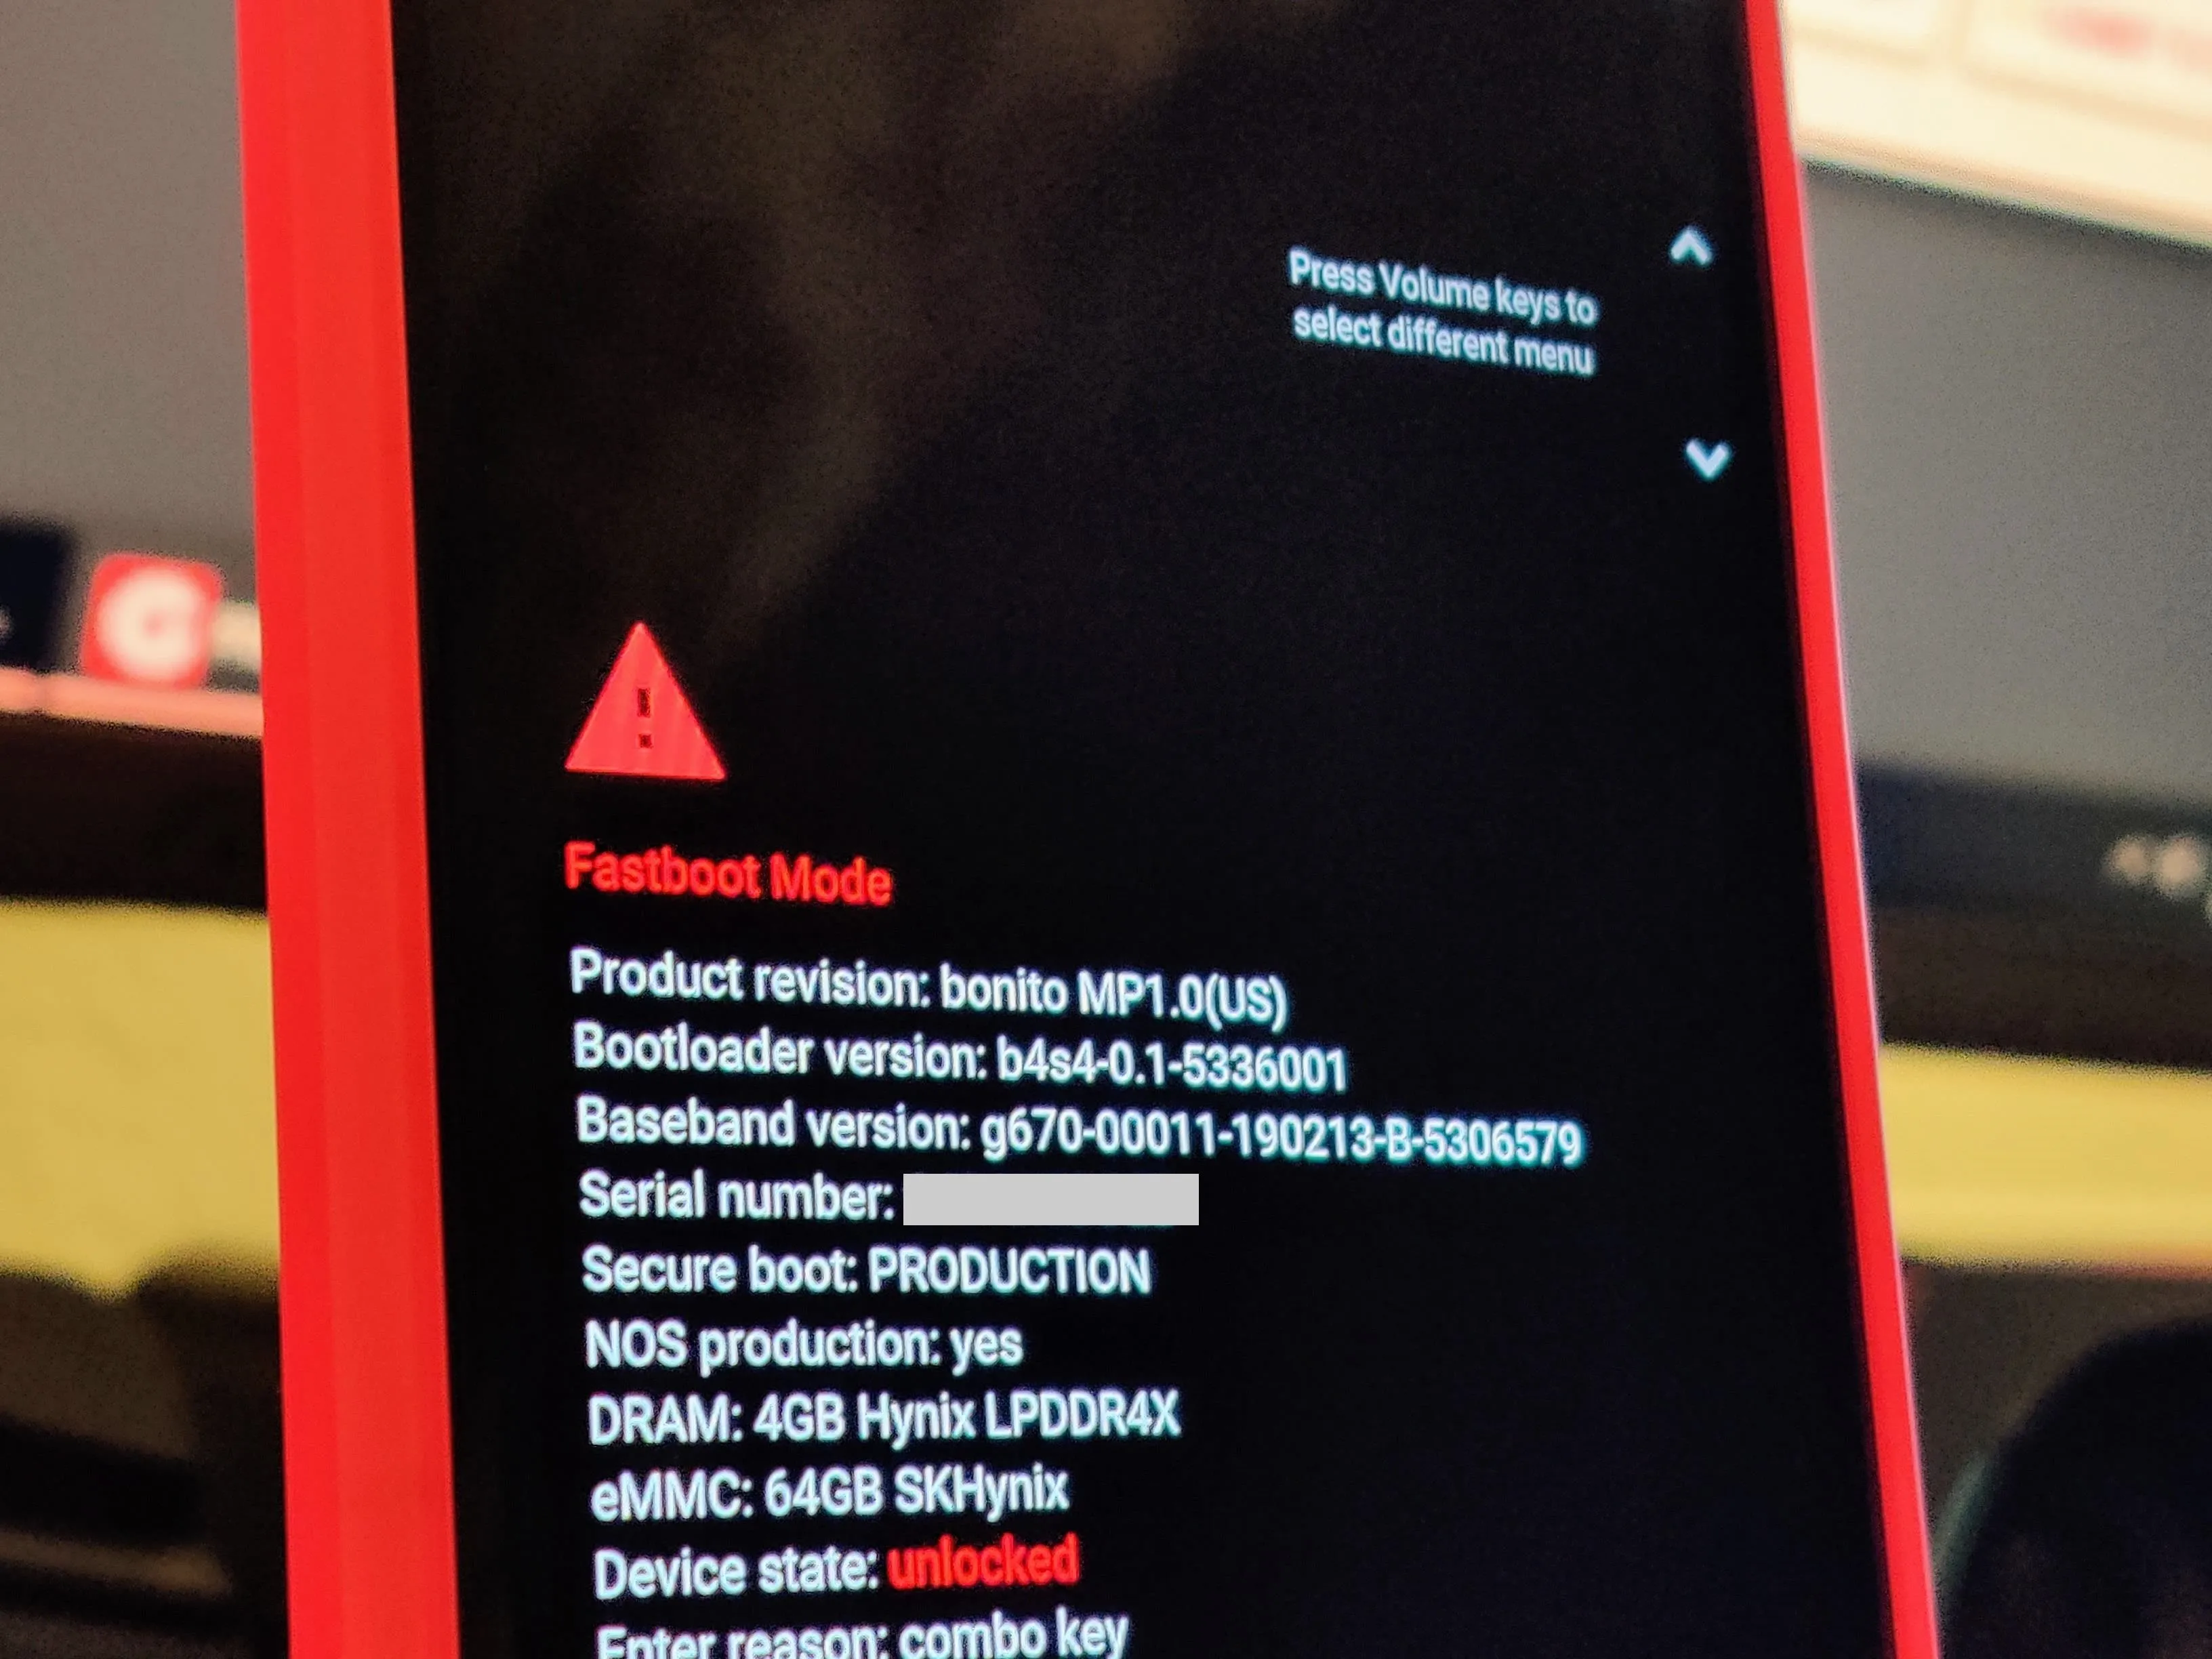
For now, you'll just leave your phone sitting in Fastboot Mode while you prepare your computer for the next part of the guide.
Install ADB & Fastboot on Your Computer
To unlock the bootloader, you'll need to install the ADB and Fastboot files onto your computer so you can execute the proper commands. This involves downloading Google's easy to use SDK Platform Tools package, which truly simplifies the whole process. Follow the link below to get that set up real quick, then you're good to move onto the next step here.
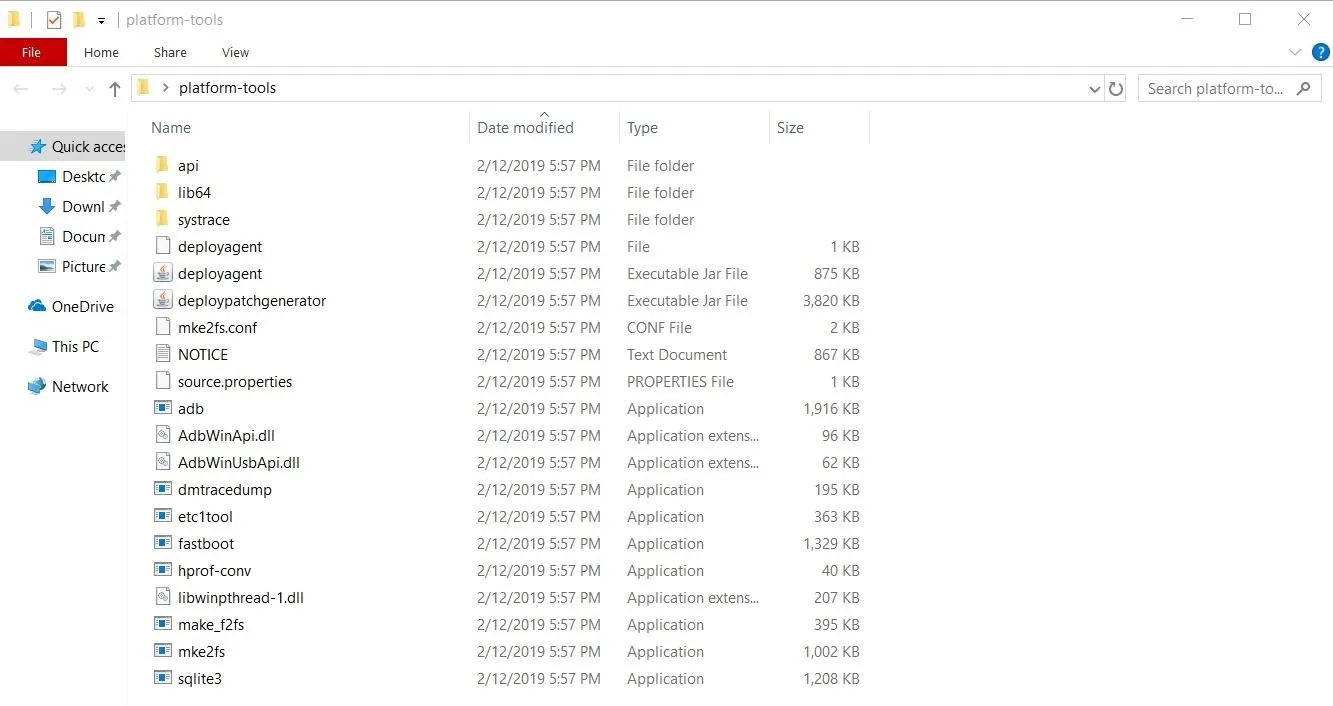
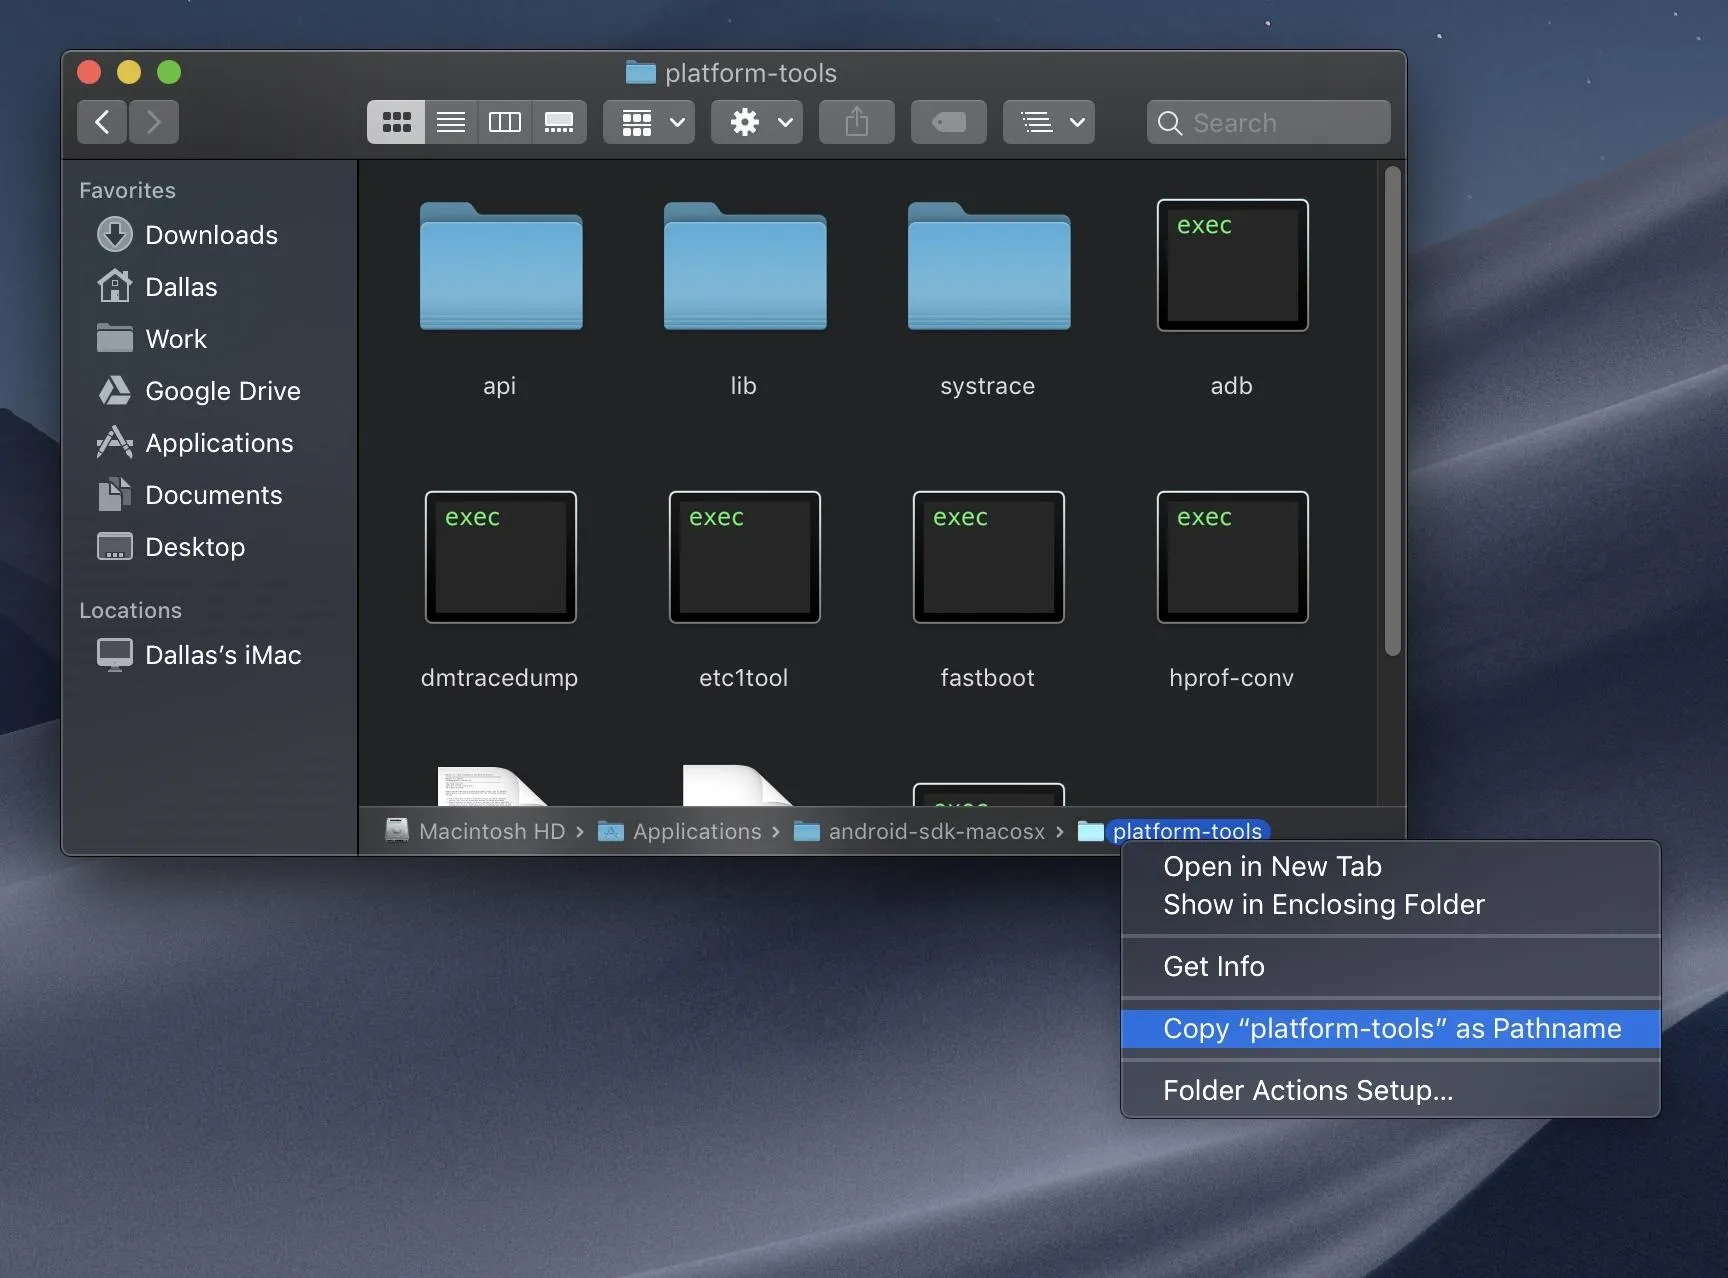
Open a Command Window in Platform-Tools
To begin unlocking your bootloader, you'll need to open a command window in the platform-tools folder that you installed from the previous step. It's crucial that you open the command window to the right directory so your phone can interact with your computer using ADB or Fastboot. Follow the link below to get that set up so you can get your command window ready to go for the final step.
Unlock Your Bootloader
As a reminder, unlocking the bootloader will factory reset your device. Make sure to back up any critical data onto a computer for safekeeping until the process of unlocking your bootloader has been completed.
Now you'll want to make sure you have the command window opened up in your platform-tools folder before moving on with the next part. From the newly opened command window, you'll want to type the following command then proceed by hitting the enter key.
fastboot flashing unlockNote: Mac, Linux, and Windows PowerShell users will likely have to add a period and a slash before entering any ADB or Fastboot commands (e.g., ./fastboot flashing unlock).

Once you enter the above command, your phone should ask if you're sure you'd like to unlock the bootloader. Use the volume keys to highlight the "Yes" option, then press the power button to select it.
From there, the device will automatically factory reset itself, then reboot. If it doesn't automatically reboot, navigate the Fastboot menu using the volume keys. You want to highlight the "Start" option, then press the power button to confirm the choice. Once the factory reset is finished, it'll reboot to the main "Hi there" screen. Your bootloader is now unlocked!
From that point, you can go through the initial setup like you've done before and get your phone back up and running. As a side note, whenever you reboot your phone, you'll now see a new message that states something like "The bootloader is unlocked, and software integrity cannot be guaranteed." This is a regular occurrence and has no negative impact on your system whatsoever.
Cover image and screenshots by Stephen Perkins/Gadget Hacks


Comments
Be the first, drop a comment!