


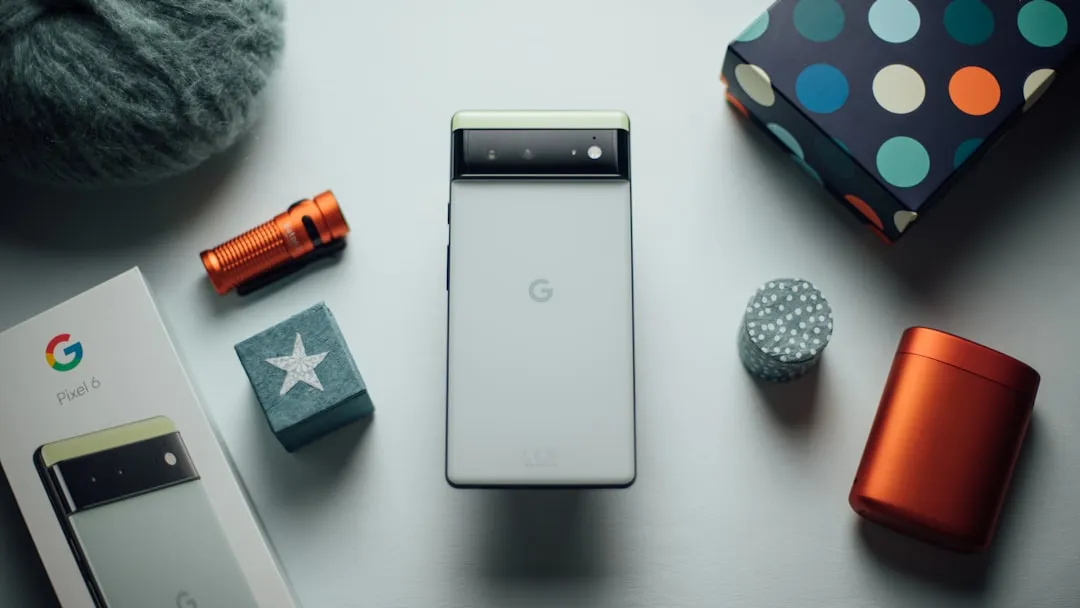
If you live in the US, it's pretty simple: The Google Pixel 4a is the best phone for rooting and modding in 2020. Its price keeps the risk-reward ratio nice and low, and its unlockable bootloader makes it easy to modify virtually any aspect of Android.
But recent updates to Android's security systems have made it to where TWRP and other custom recoveries won't be officially available for this phone for quite some time, if at all. So you can't just install TeamWin and use it to flash a ZIP to root — you have to do things through Fastboot.
You'll be downloading a file from Google, using the Canary version of Magisk Manager to modify it since the regular version won't work with Android 11, then using your computer to flash it onto your Pixel 4a. But if that all sounds like Greek to you, don't worry, I'll break everything down nice and simple below.
- On Your Phone? Open These Instructions in Split-Screen View
Requirements
- Google Pixel 4a (non-Verizon model)
- Android 11 installed
- Windows, Mac, or Linux computer
- USB data cable
NOTE: The above video covers the Android 10 root process, but it's very similar to the Android 11 process, so we're leaving it here since it's still useful.
Back Up Your Data
The first step toward any real Android modding is unlocking the bootloader. This is low-level software that loads up the operating system when you turn on your phone.
If it's locked, it will only load software signed by Google. If it's unlocked, it'll load up anything you tell it to — in this case, the files that will give you root access.
But here's the trouble. To ensure someone else couldn't steal your data by unlocking the bootloader and flashing some mod, Android will automatically wipe all data when the bootloader is unlocked. There's no way around this part.
So before you get started, make sure you have the important stuff backed up. Get Google Photos to upload your photos and videos to the cloud, and transfer any other important files to Google Drive or a similar service. Or just plug your phone into your computer and start dragging and dropping everything you can find!
Enable Developer Options
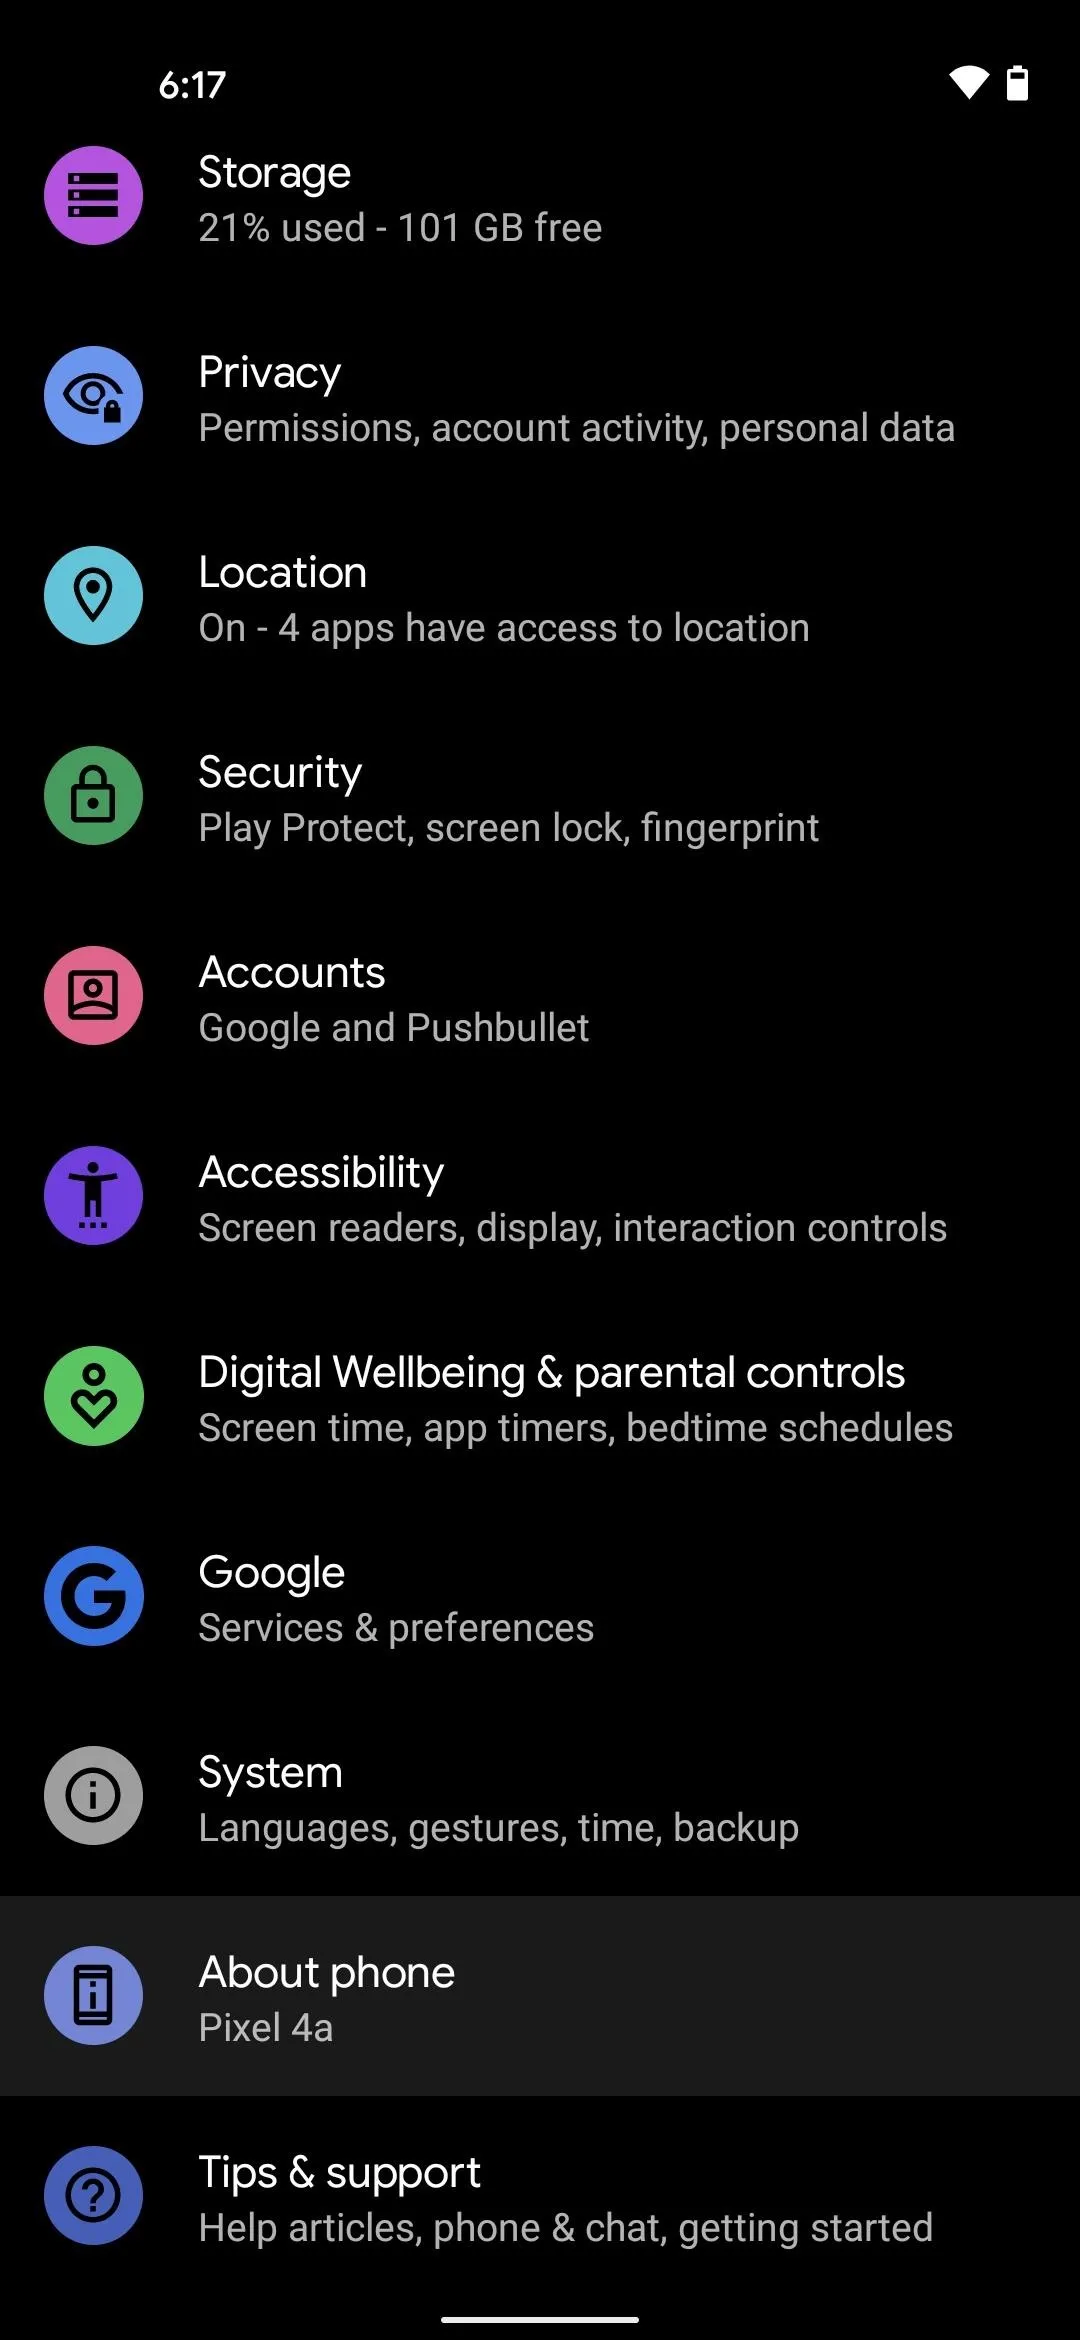
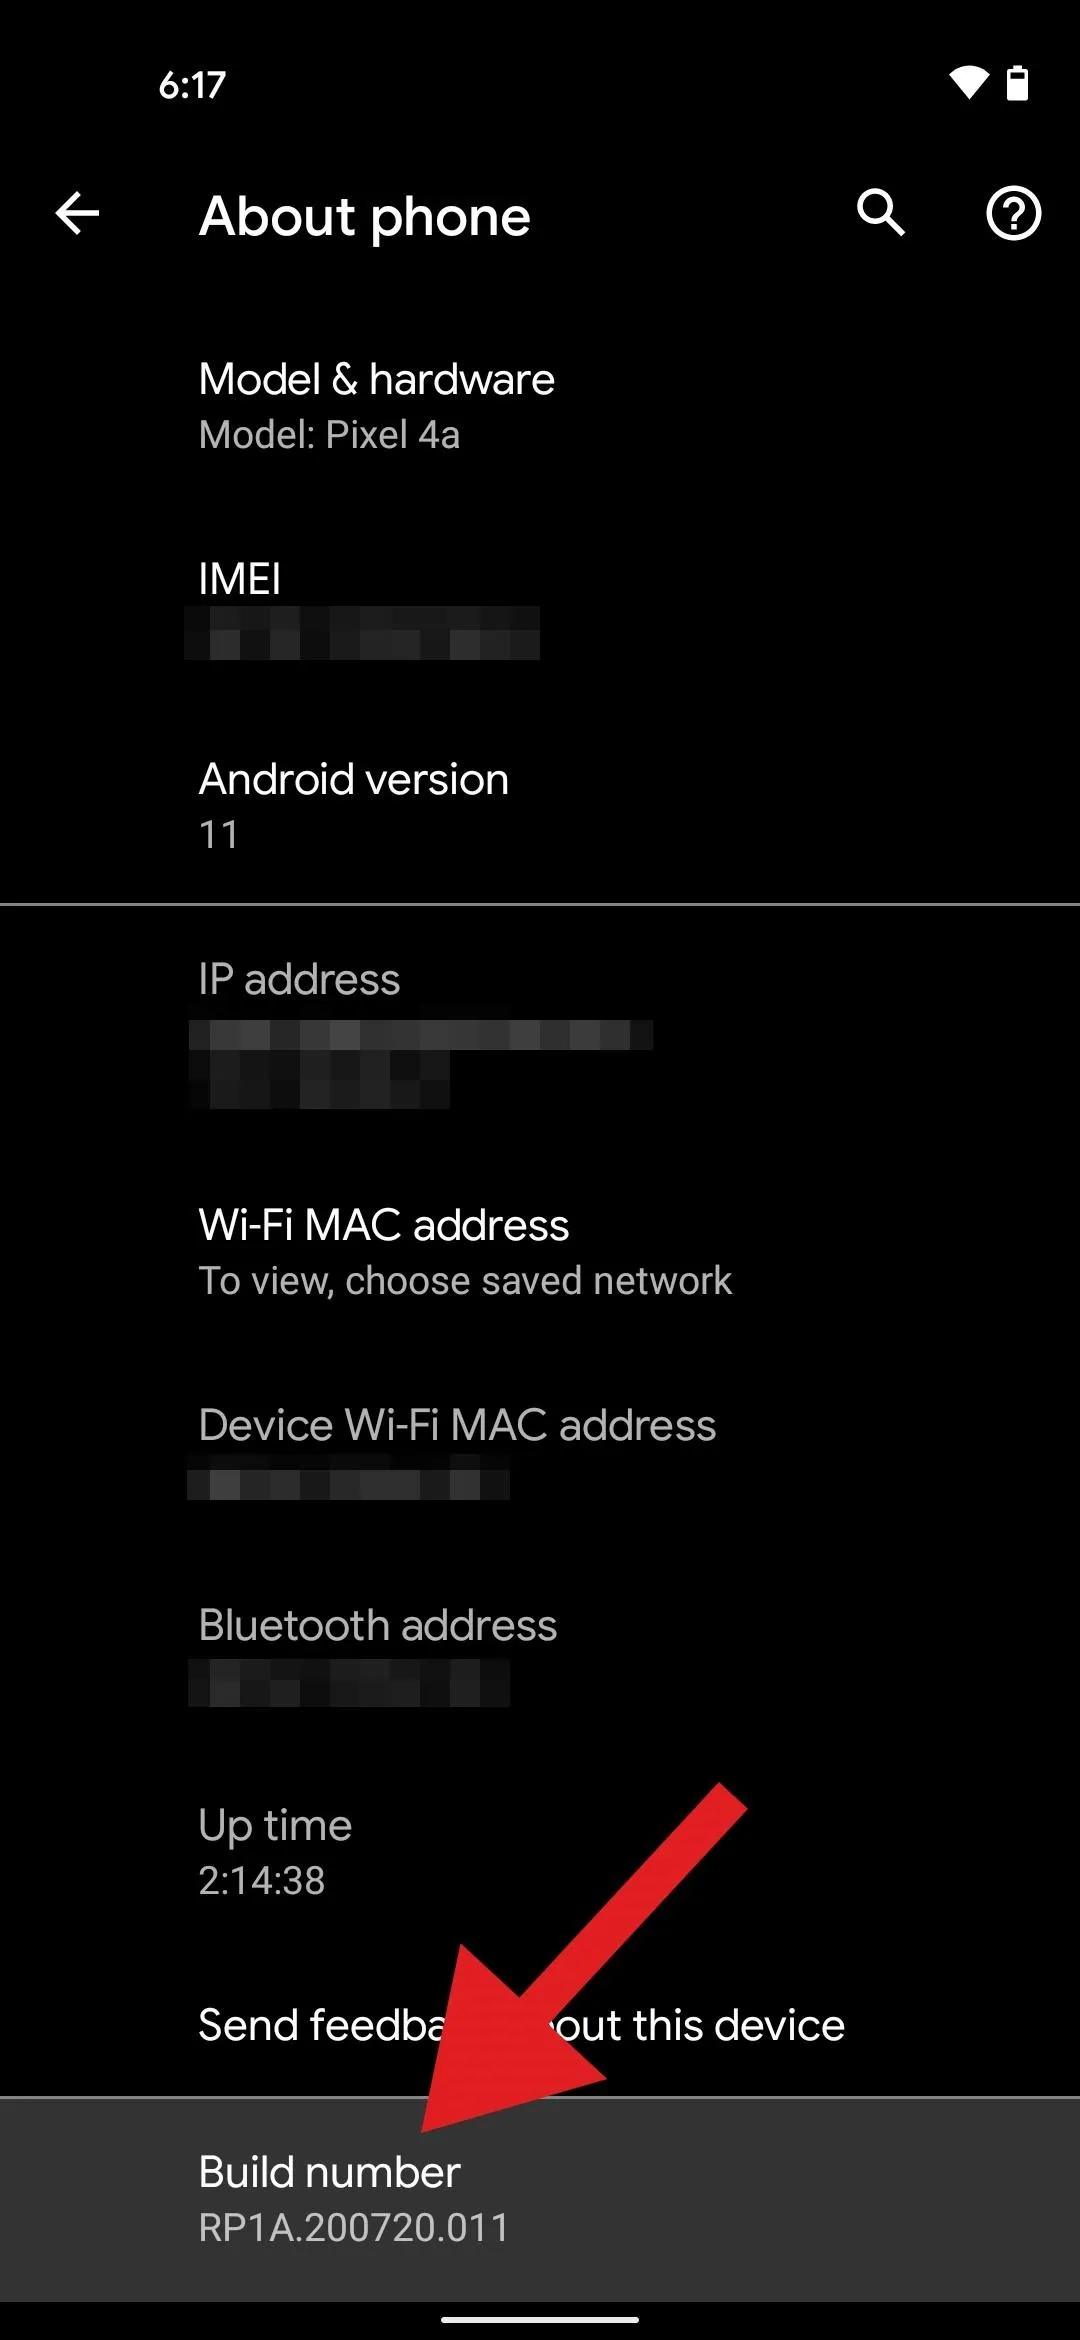
On your Pixel, open up the Settings app and scroll down to the bottom. Tap the second-to-last entry, "About phone." In the new menu, scroll down to the bottom again. This time, tap the Build number listing seven times in quick succession.
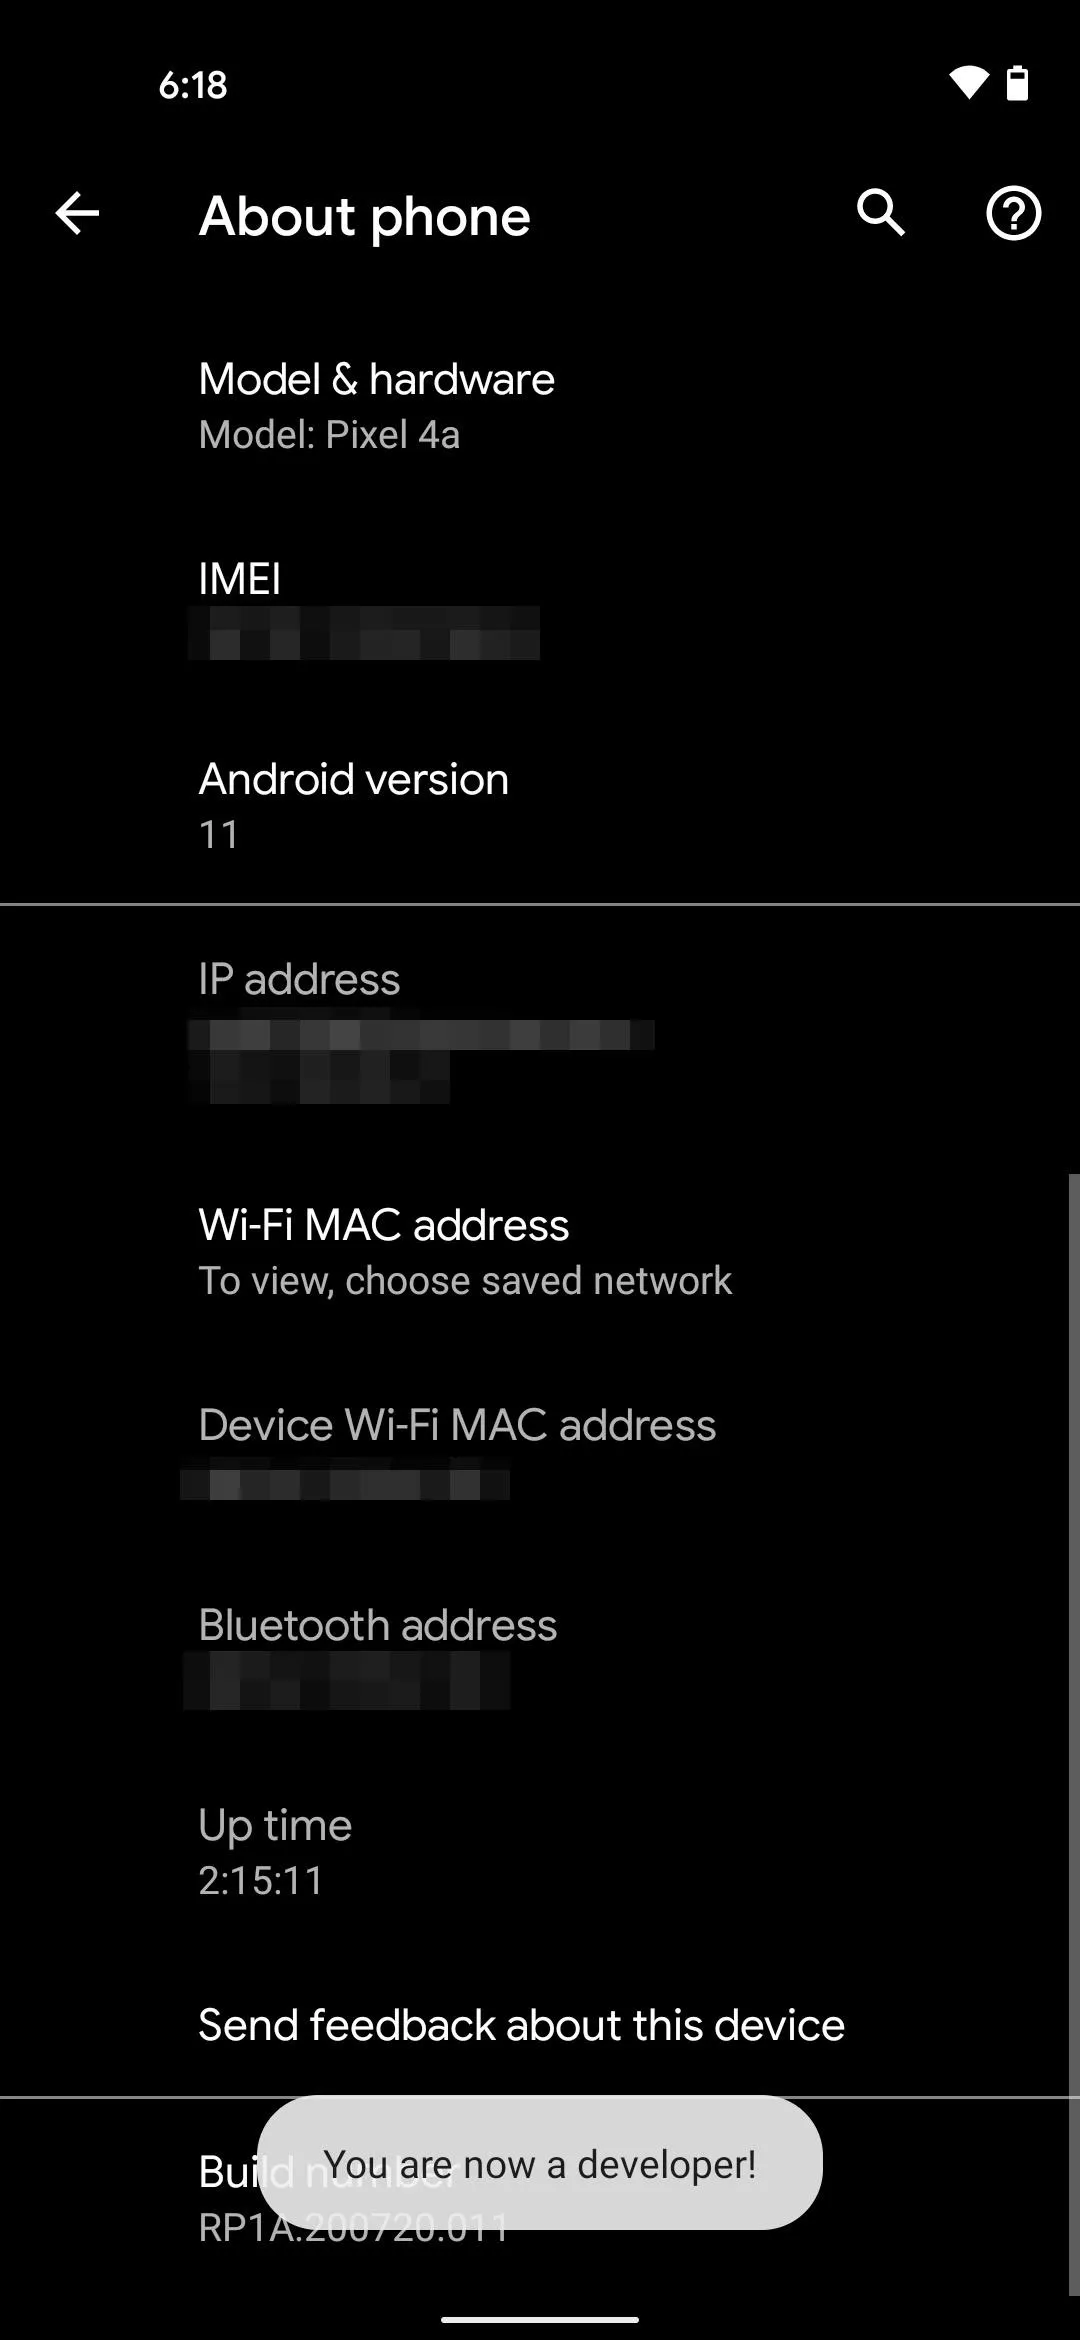
You'll be prompted to enter your PIN or passcode (the same one you use on your lock screen), then you'll see a toast message stating "You are now a developer!"
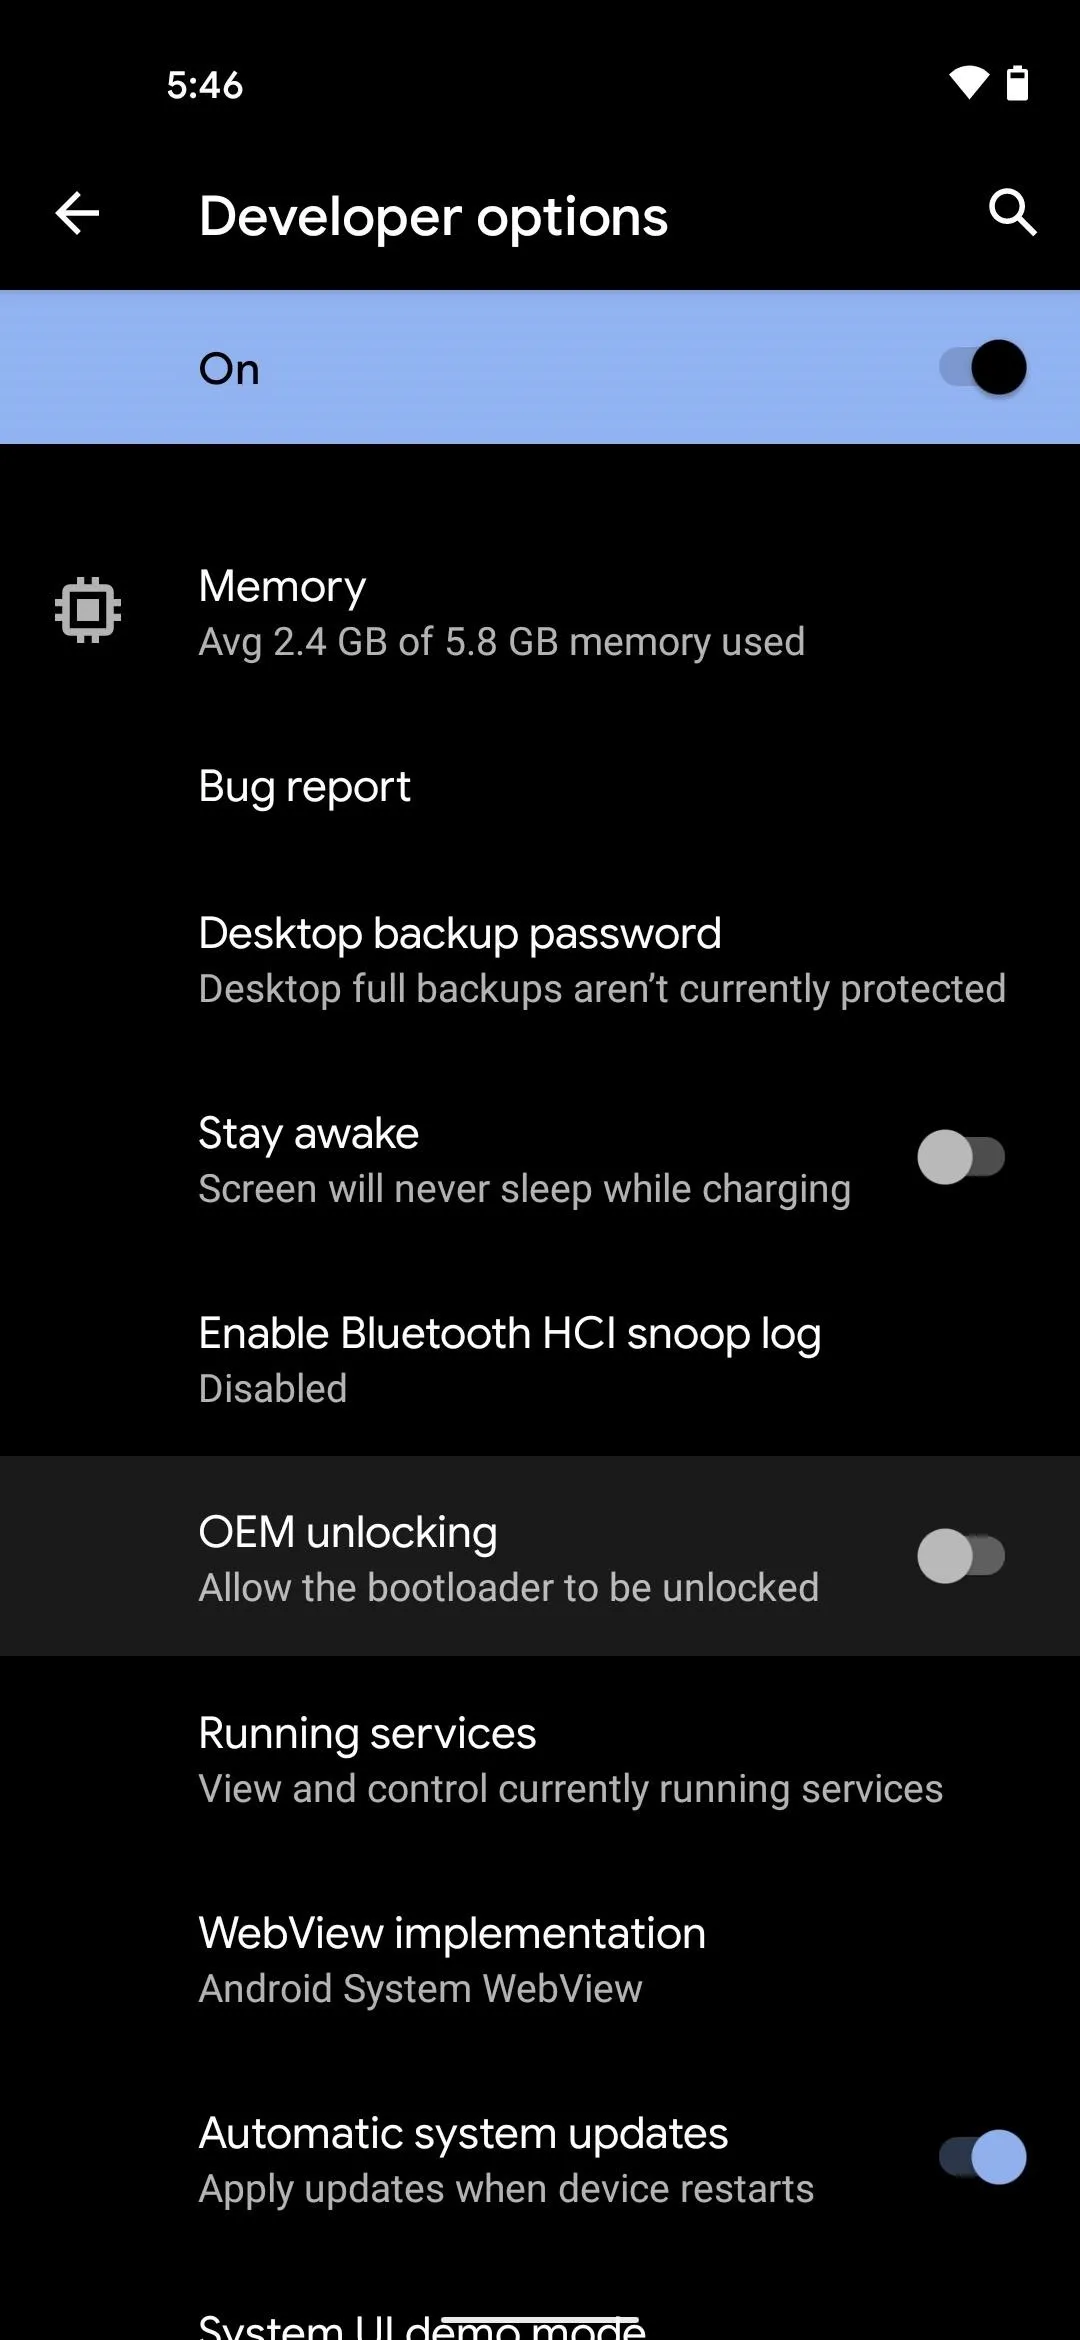
Enable OEM Unlocking
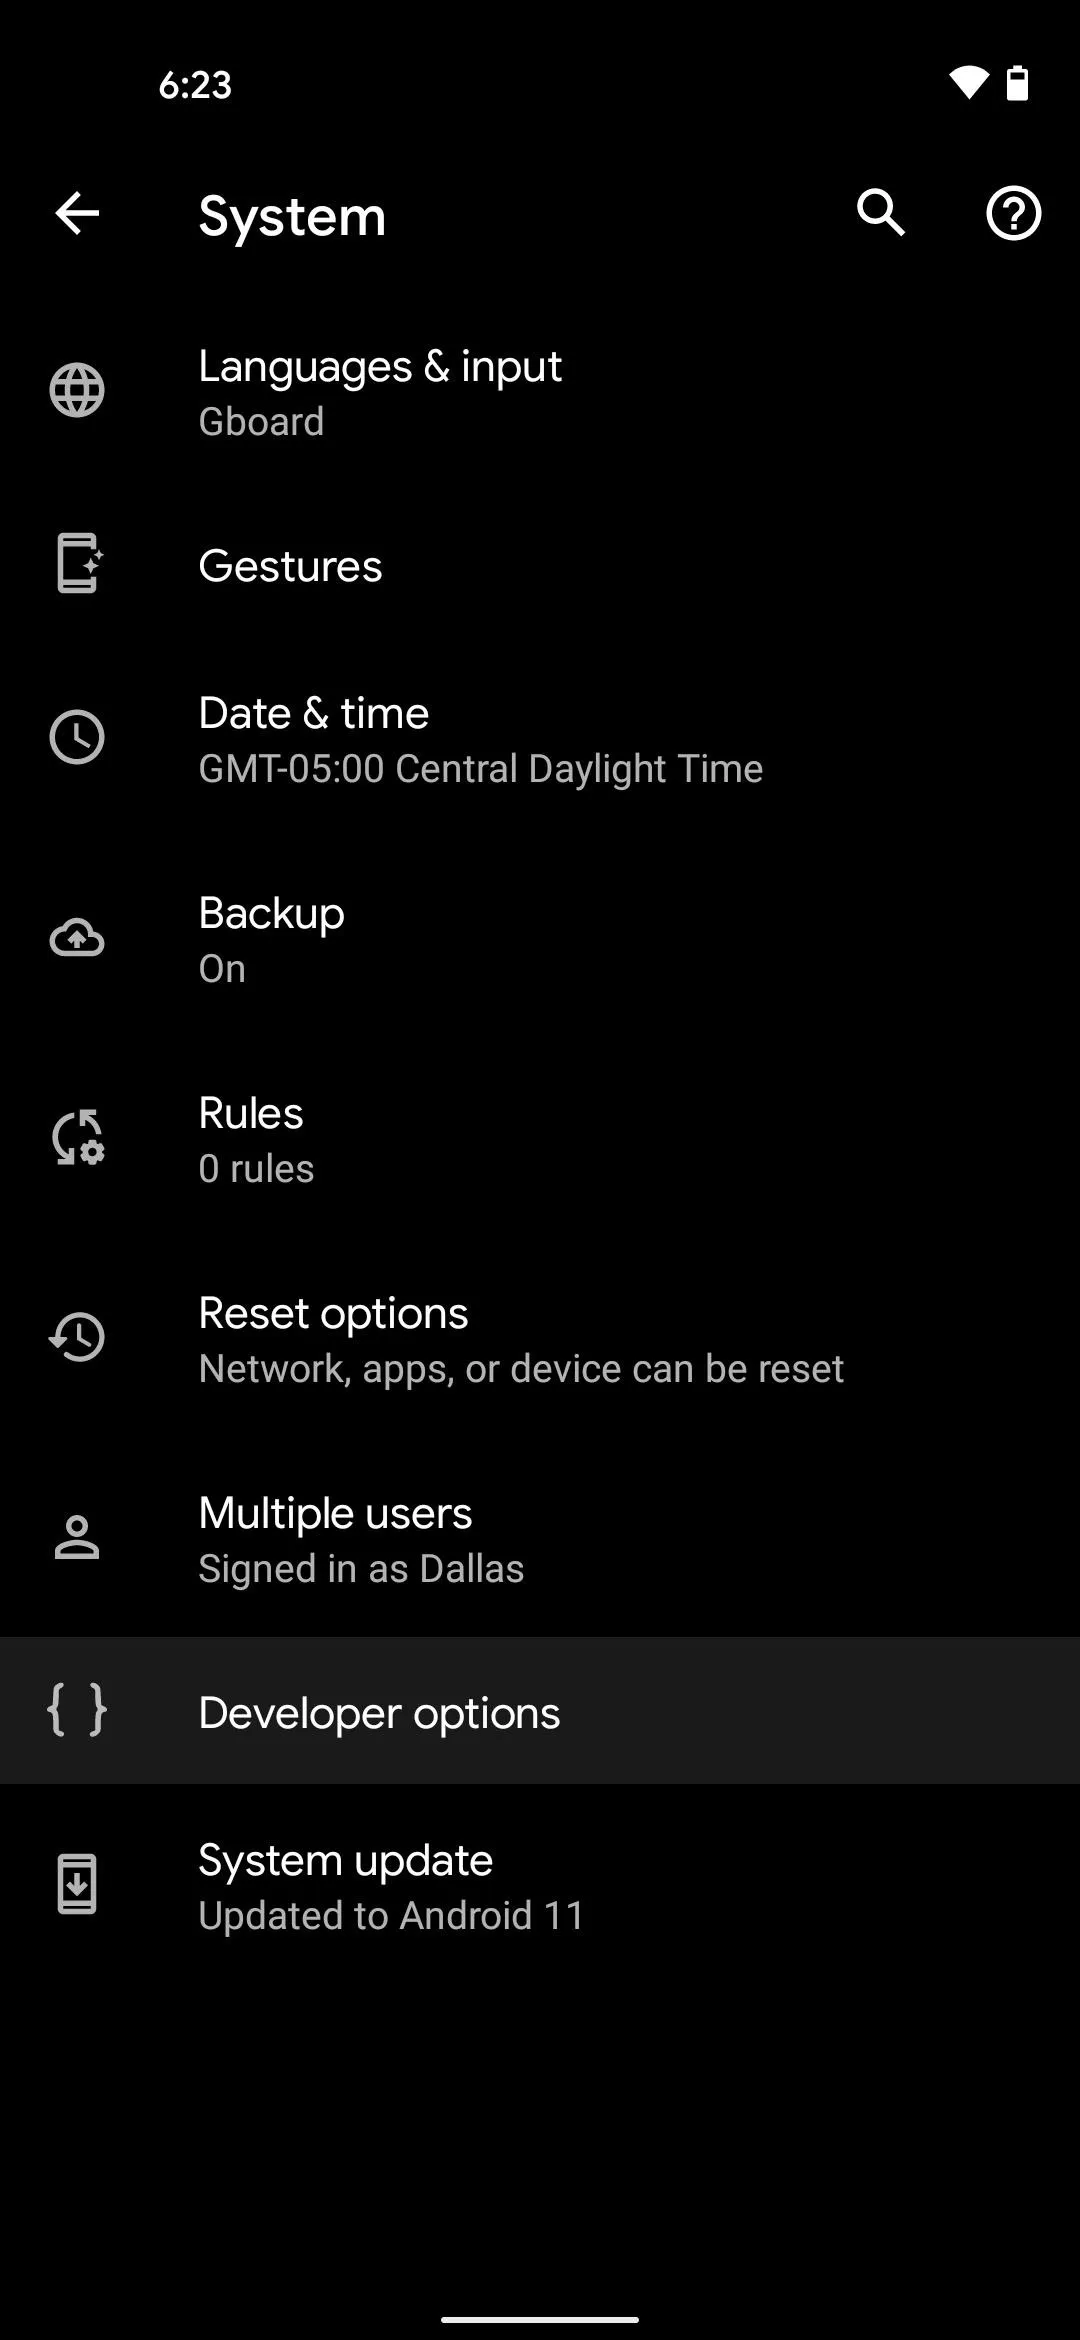
Now, head out to the main Settings screen, tap "System," then hit "Advanced" to expand more options. Among these, tap "Developer options" to open the newly-unlocked menu.
Here, the sixth entry down is "OEM unlocking." Tap this, then you'll have to enter your PIN or passcode again. Once done, tap "Enable" to wrap up this part.

Boot into Fastboot Mode
Now, you'll need to put the phone into Fastboot Mode, aka Bootloader Mode. The easiest way to do this is as follows:
- Long-press the power button to bring up the power menu.
- Choose "Restart" (or "Power," then "Restart" if you have Lockdown Mode enabled).
- Press and hold the volume down button on the side of your phone as soon as the screen goes black.
- Keep holding the volume down button until you arrive at the "Fastboot Mode" screen.
Connect to Your Computer with a USB Cable
Now, while the phone is still on the Fastboot Mode screen, plug it into your computer with a USB data cable. Depending on your computer, you may need a USB-C to USB-A cable since the one included with the Pixel 4a is USB-C only.
Download Google's Platform Tools
On your computer, use one of the links below to download Google's Platform Tools standalone package. This contains software that you'll need for your computer to be able to communicate with your phone.
Once you've downloaded the ZIP file, extract its contents to a location on your hard drive that you can access easily. Personally, I like to put that extracted platform-tools folder right on my desktop.
Open a Command Prompt in the Right Directory
Now, you'll need to open a command window on your computer and get it operating out of the proper folder. If you're on Windows, press the Windows button on your keyboard, then type "cmd" and hit enter to open a command prompt window. If you're on Linux or Mac, simply open the "Terminal" app.
Now, type "cd" in the prompt, then add a space, but don't hit enter yet. Instead, drag the platform-tools folder you extracted in Step 6, then drop it right on top of the command window. This will populate the folder's location. When it does, hit enter.
Unlock the Bootloader
Now it's time to do the actual bootloader unlocking. Copy and paste the following line into the command prompt and hit enter.
fastboot flashing unlockIf that returns an error like "command not found," you'll have to add a "./" to the beginning of this and any future fastboot commands. So copy and paste the following, then hit enter again:
./fastboot flashing unlock
NOTE: Leave the command window open because you'll need it later.
Your phone should now display a warning message stating that "If you unlock the bootloader, you'll be able to install custom operating system software on your phone." Press the volume down button, and the text at the top of this screen that previously read "Do not unlock the bootloader" should change to say "Unlock the bootloader." When it does, press the power button to confirm your choice.
The screen will go black and it will take longer than normal to boot up because of the automatic data wipe. You'll also see a warning message during the boot process from now on stating that the phone's bootloader is unlocked. It's a little annoying, but you can speed things up with this little trick.
Download the Factory Images to Your Phone
On your freshly unlocked phone now, go ahead and complete initial Android setup, add your accounts, and get at least the basics set back up. Once done, head to Google's firmware site for Pixel and Nexus devices using Chrome for Android. You can use the link below to skip straight to the Pixel 4a section:
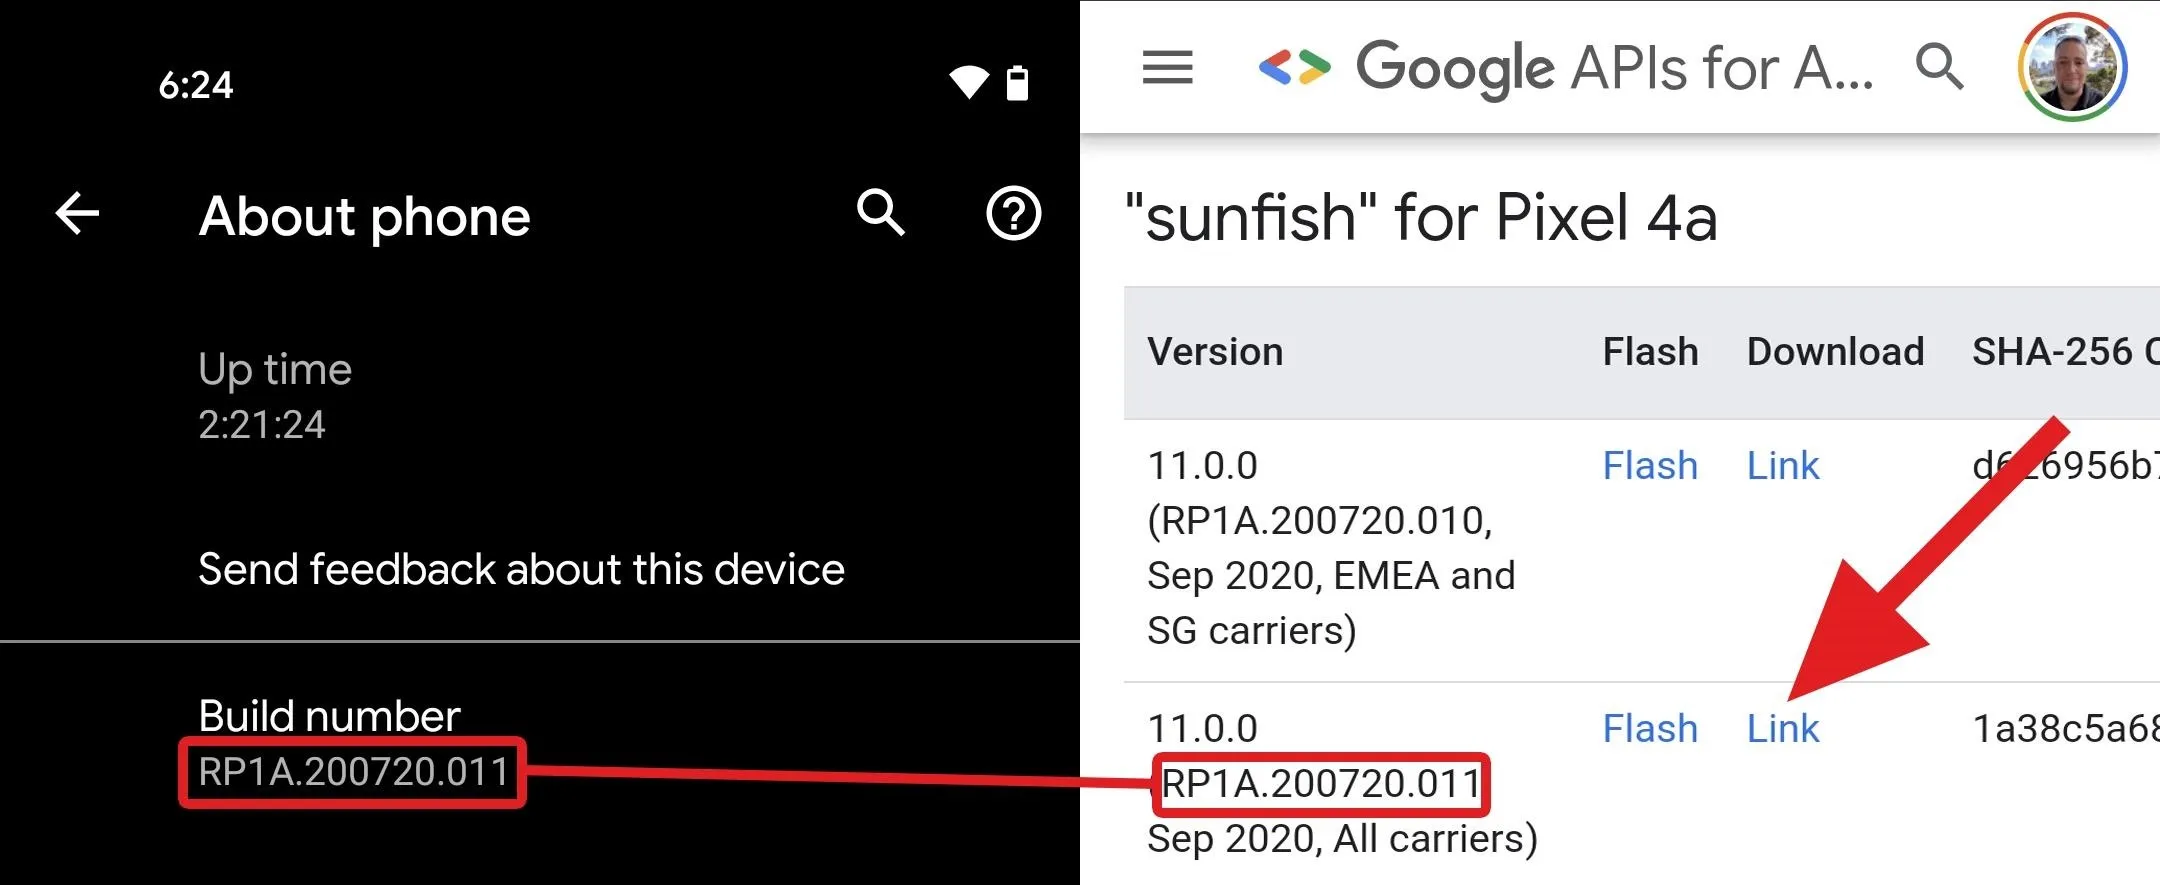
Download the version that matches the "Build number" you'll find at the bottom of About phone in Settings. Use the "Link" option rather than the "Flash" one. And again, to keep things simple, make sure you're downloading this file to your phone.
Extract the boot.img File
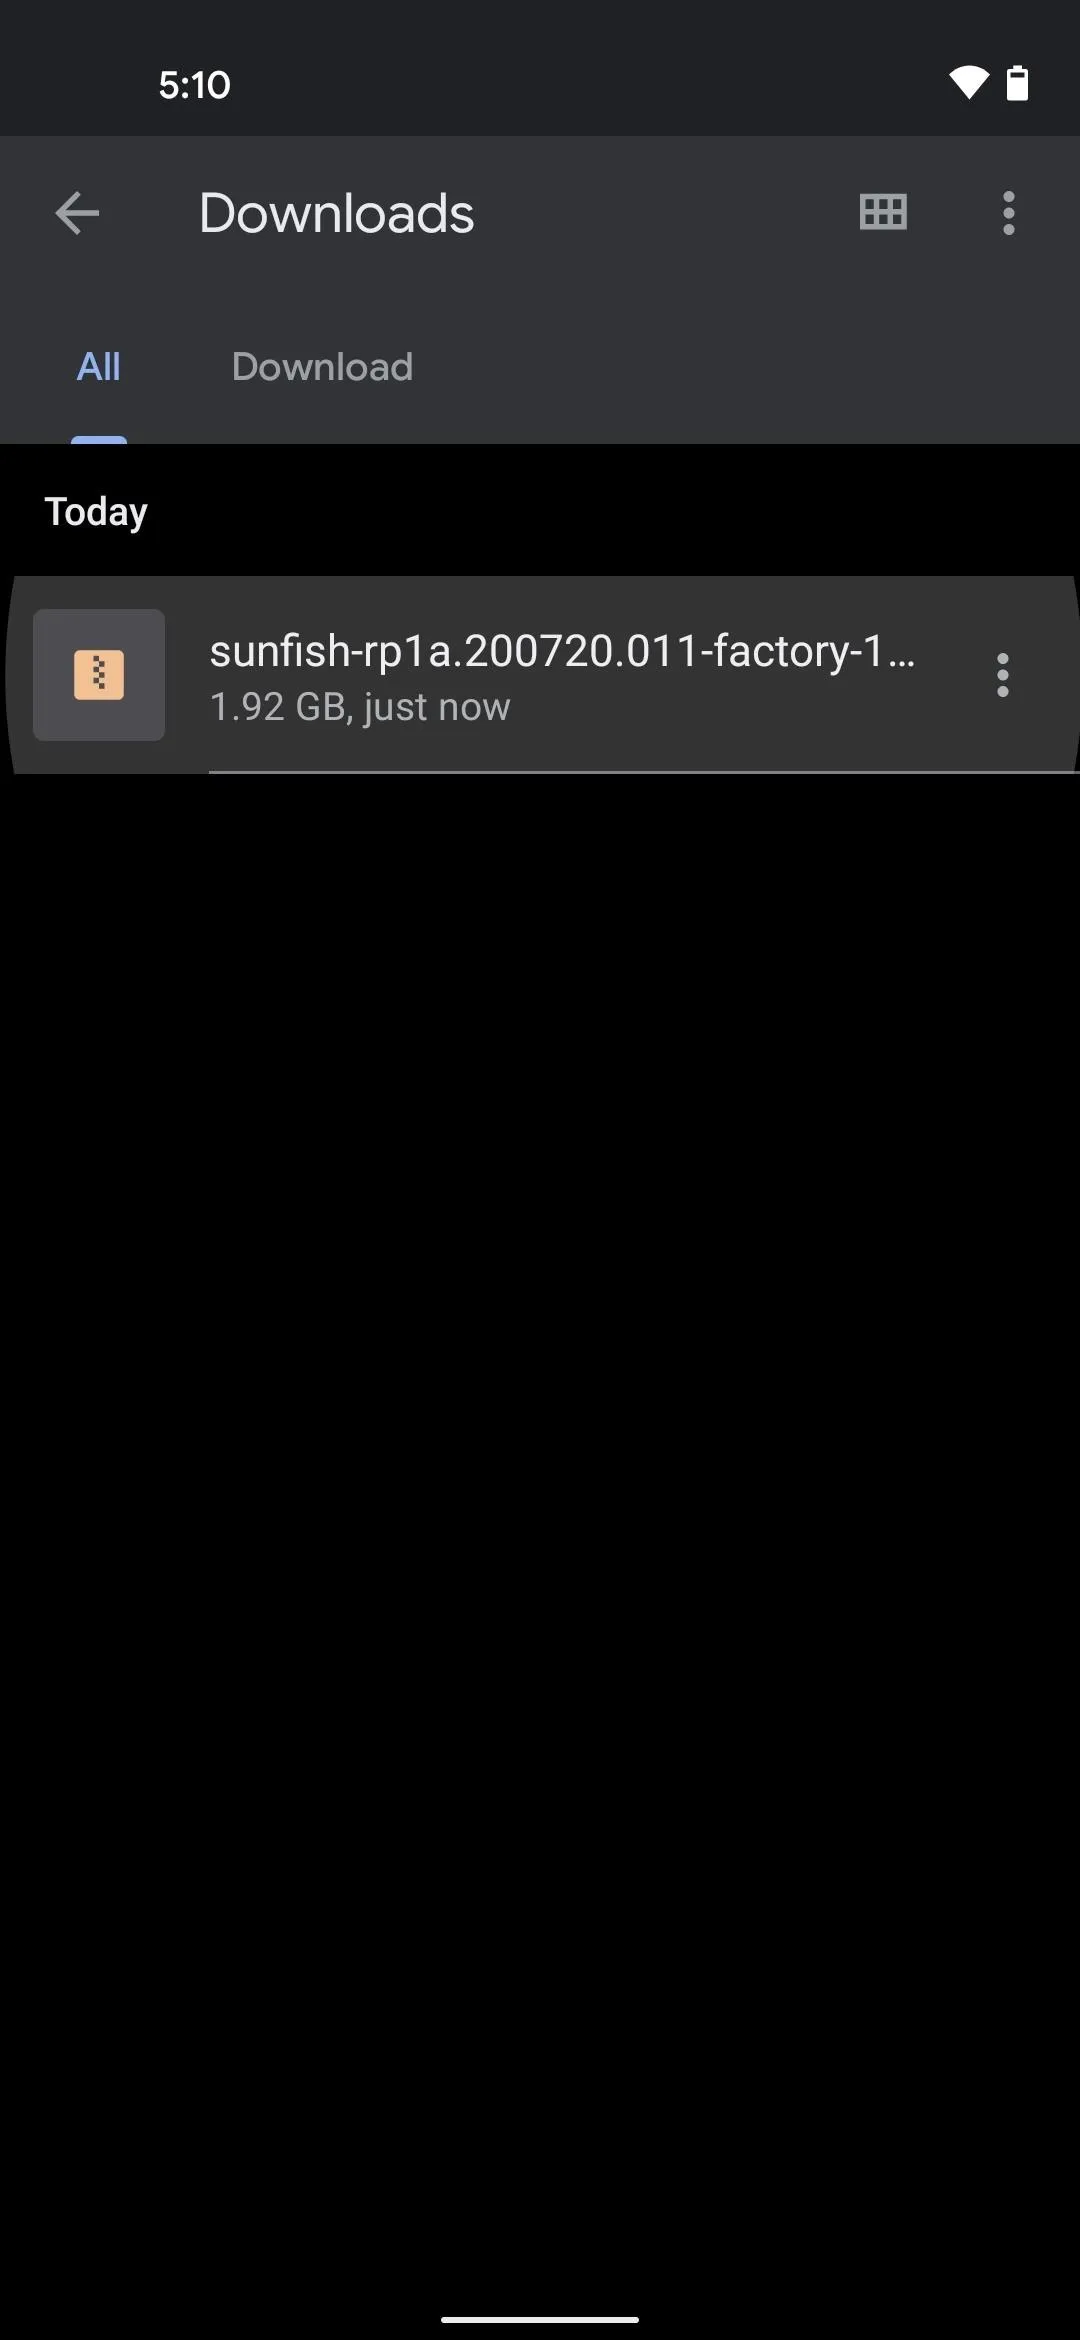
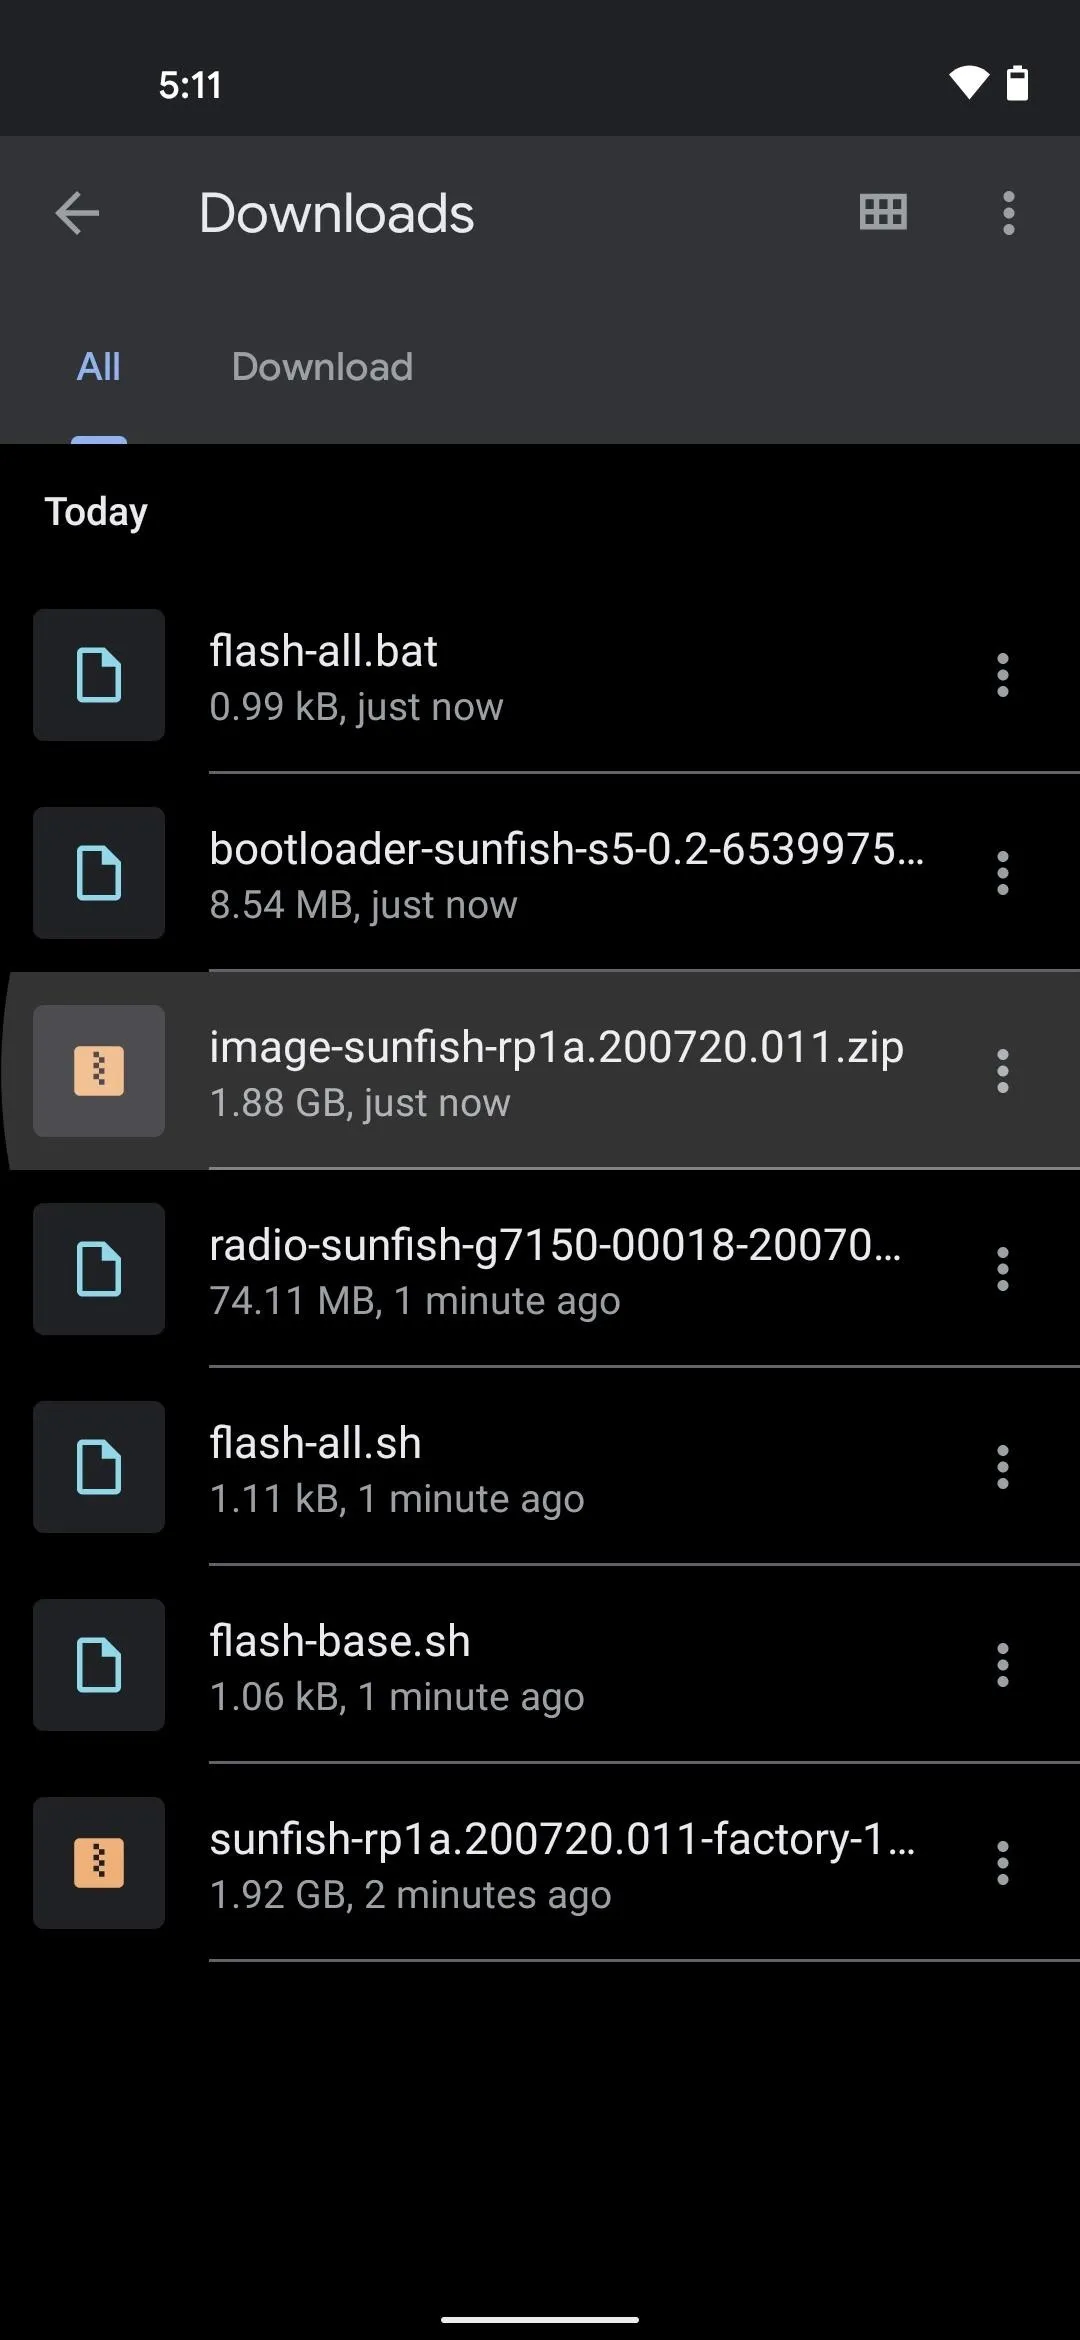
Now, open the Files app from your app drawer. Select "Downloads" from the main menu, making sure you're on the Browse tab. From there, tap the sunfish-rp1a ZIP file, then a second or two later you'll see a popup. Tap "Extract" here, then when it's finished about ten seconds later, tap "Done."

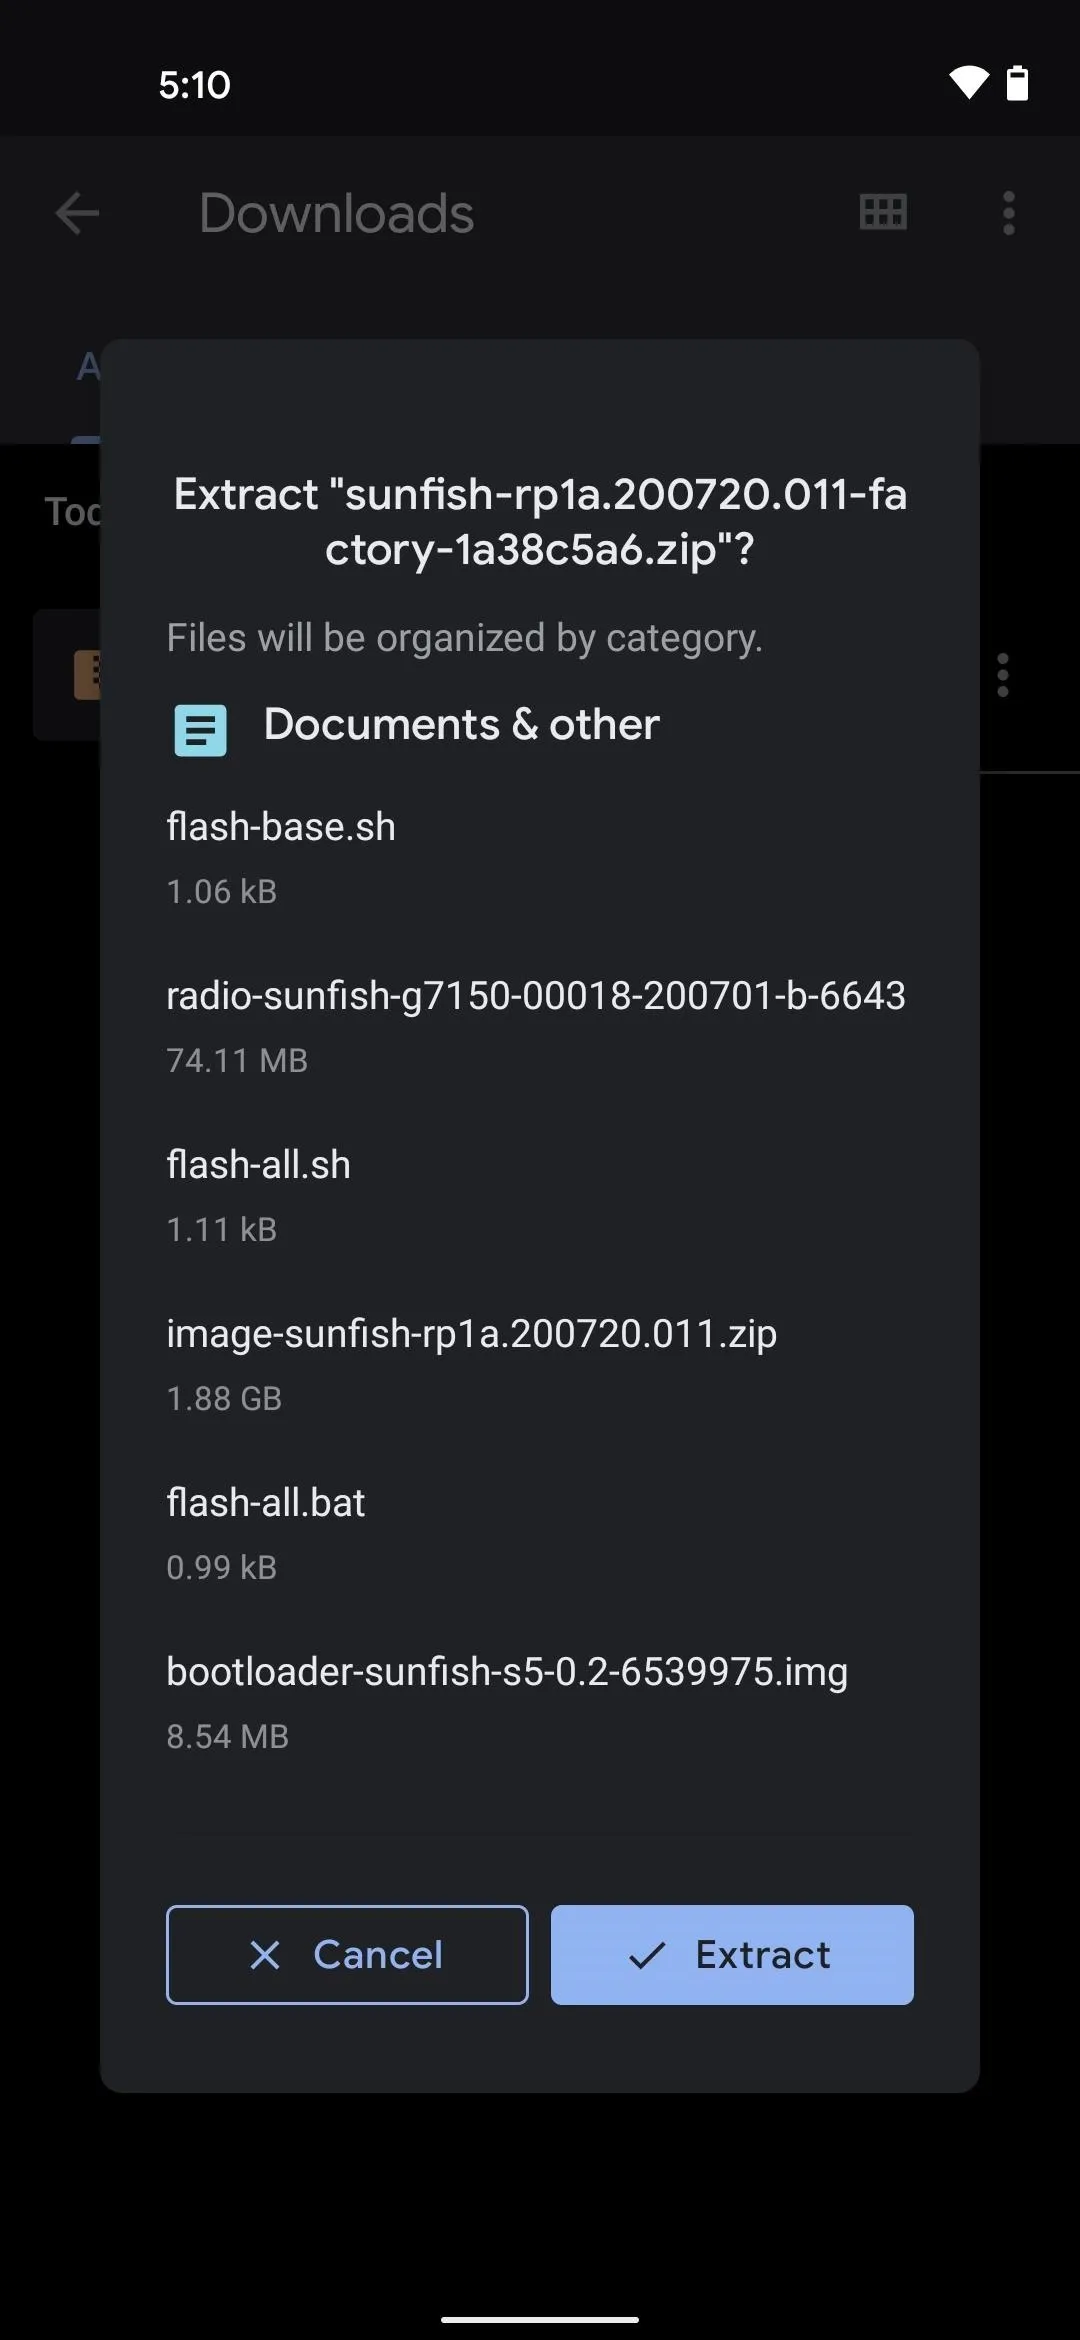
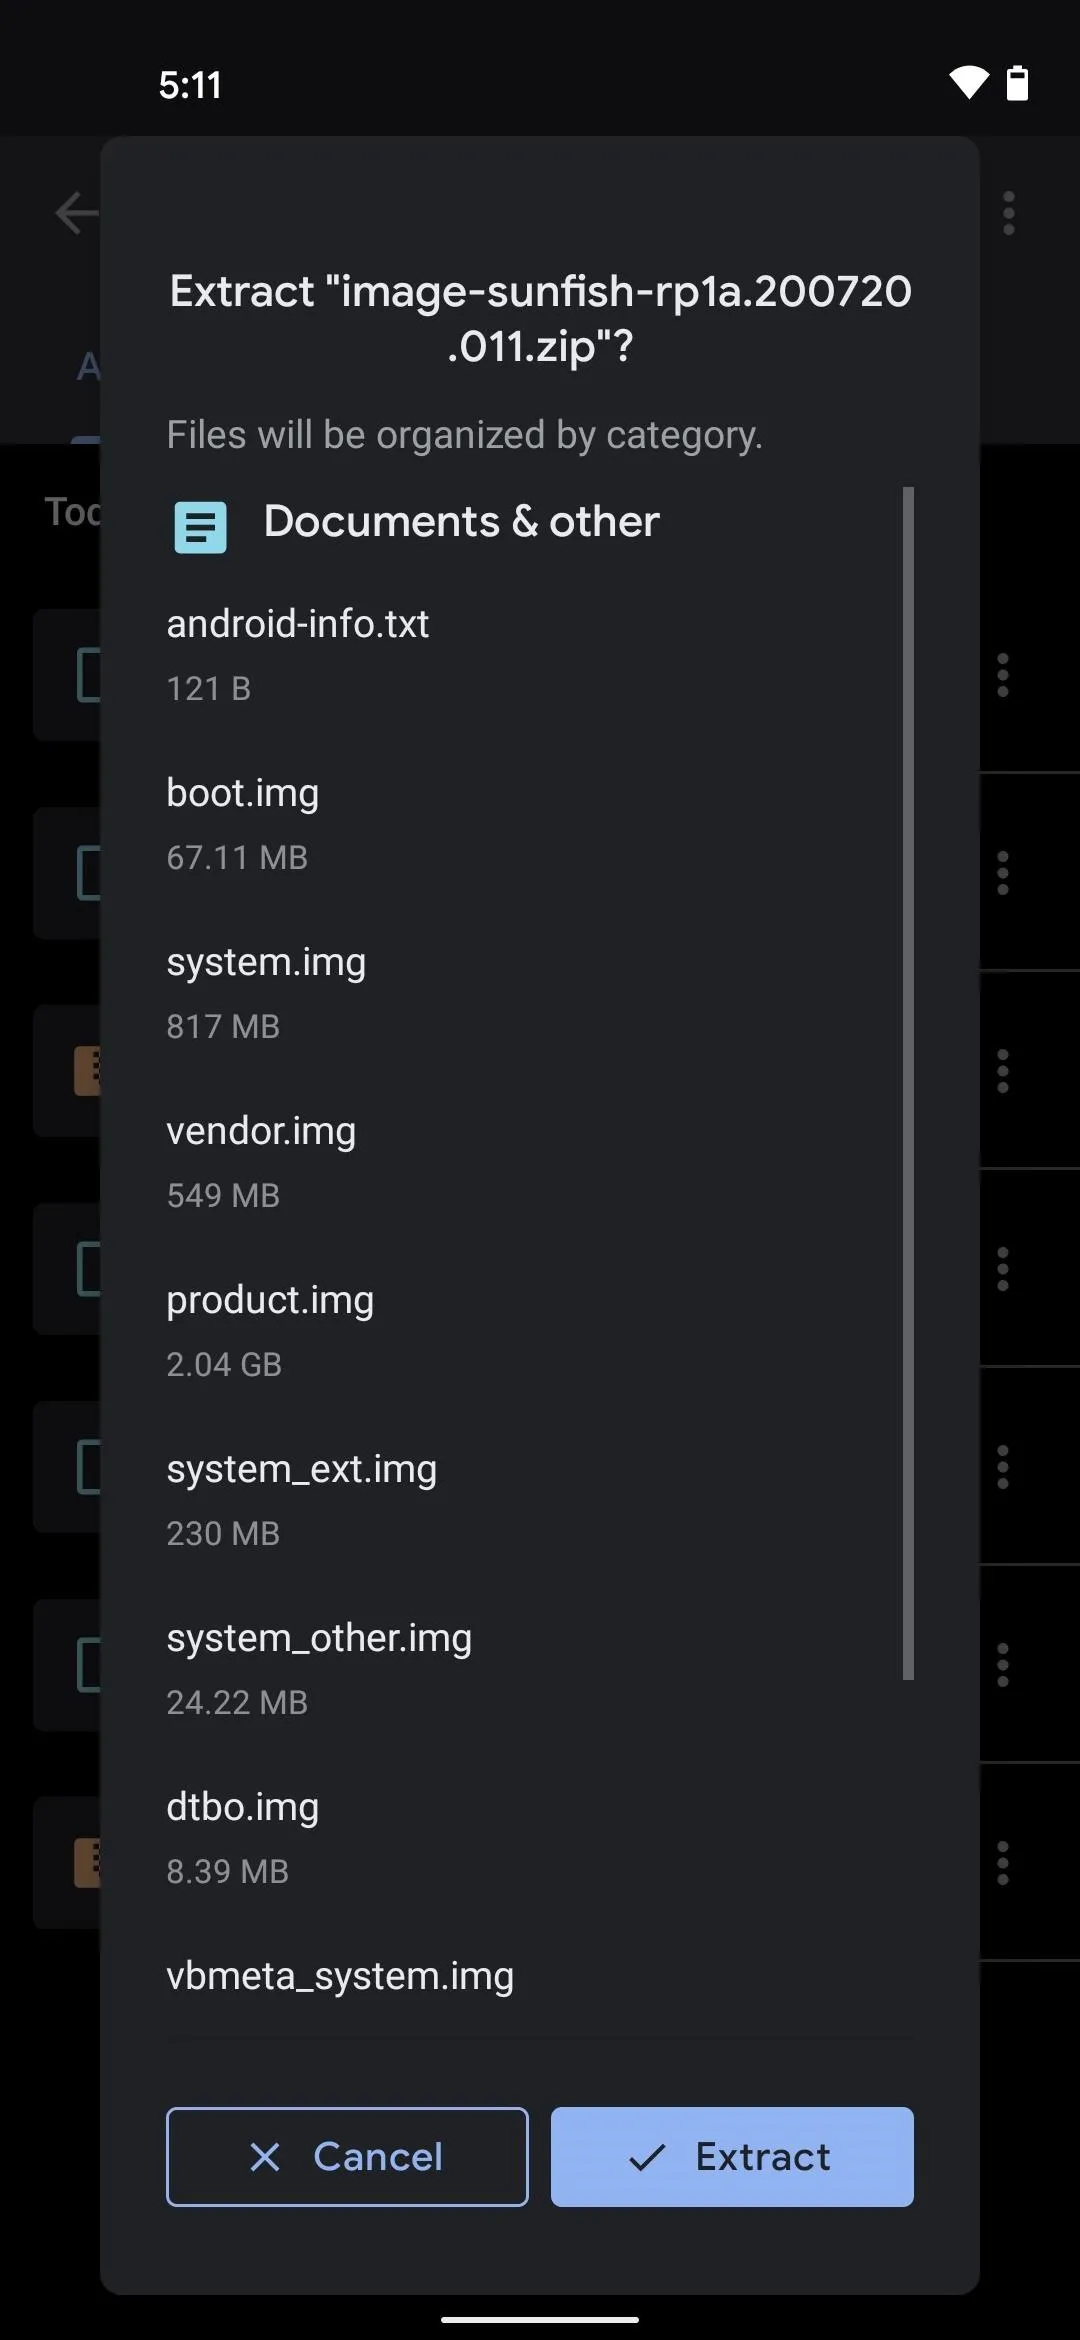
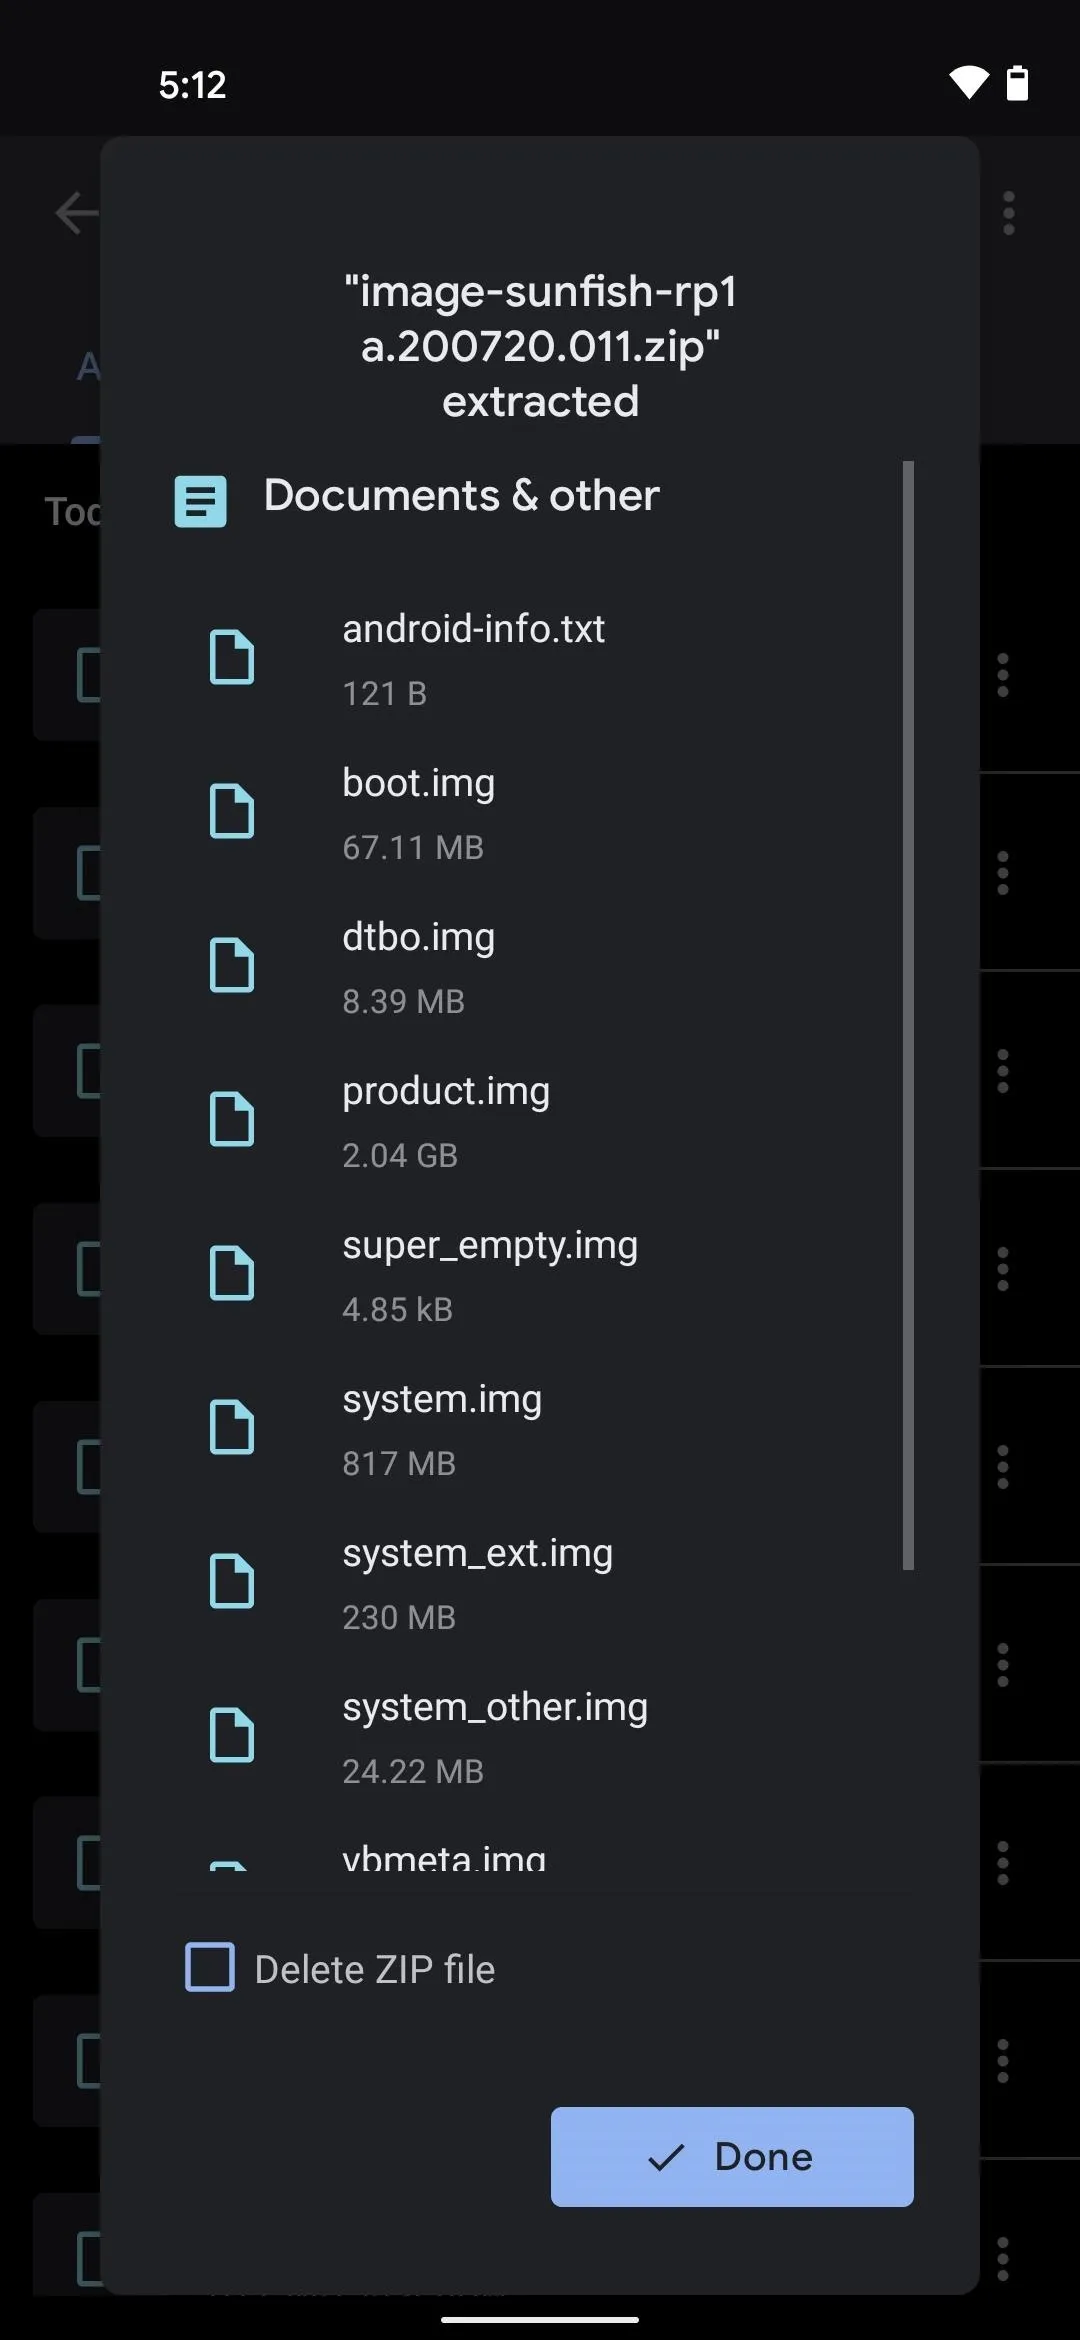
There's a second tier to this nested archive. So now, tap the image-sunfish ZIP, then press "Extract" and hit "Done" when it's finished.
Install Magisk Manager Canary
Next, you'll need to get the bleeding-edge version of Magisk Manager installed. It's the app that will allow you to install Magisk modules, as well as dole out root access to other apps. It's also the only version of the app that will patch the Android 11 boot image you just extracted and create a rooted version just for your phone.
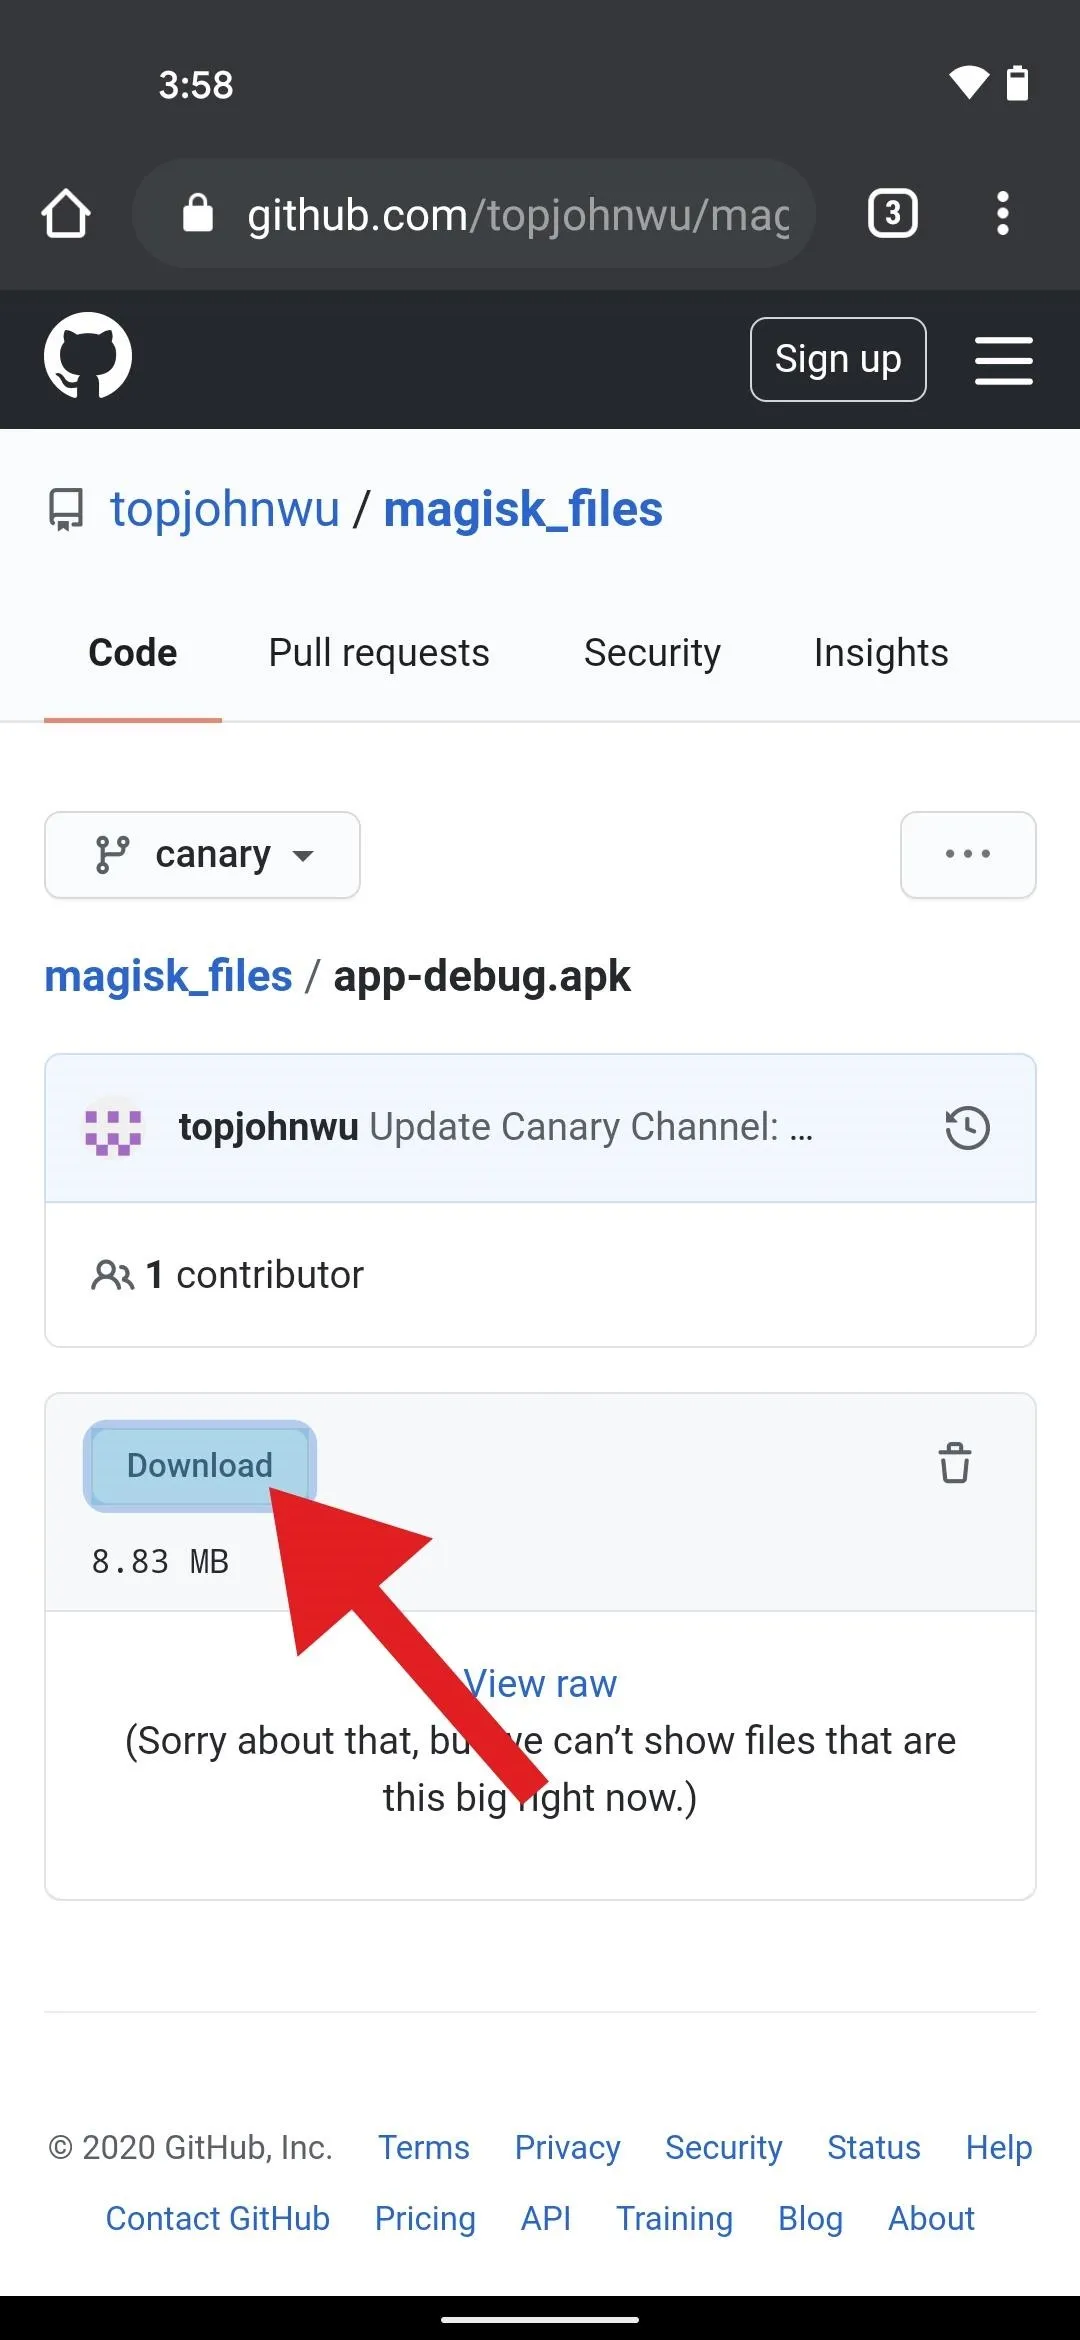
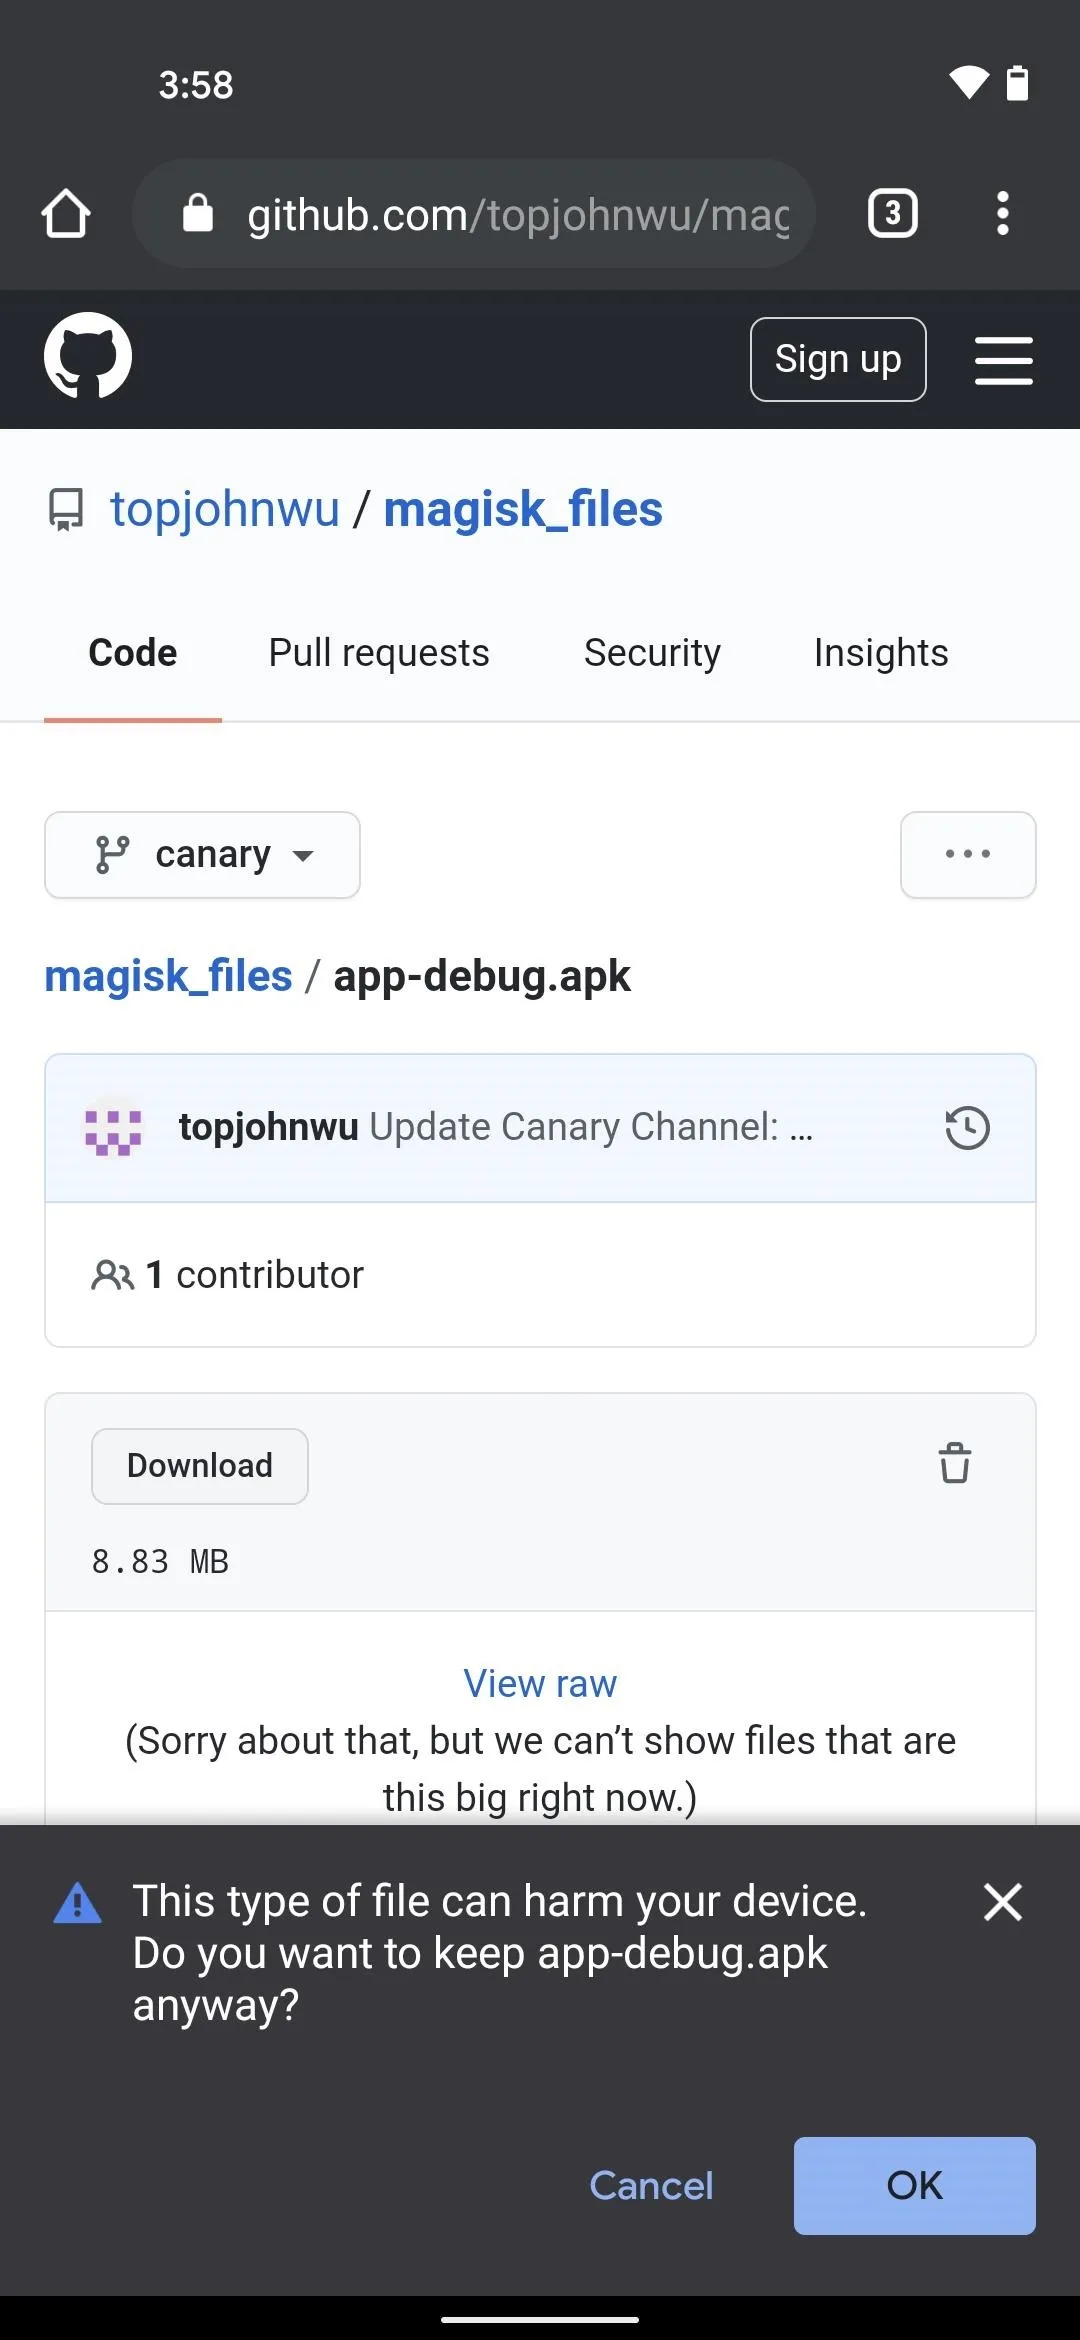
So head to the Magisk Canary page on GitHub at the link below. Once there, scroll down and tap the "Download" button. You'll then need to press "OK" when Chrome warns you about the file type.
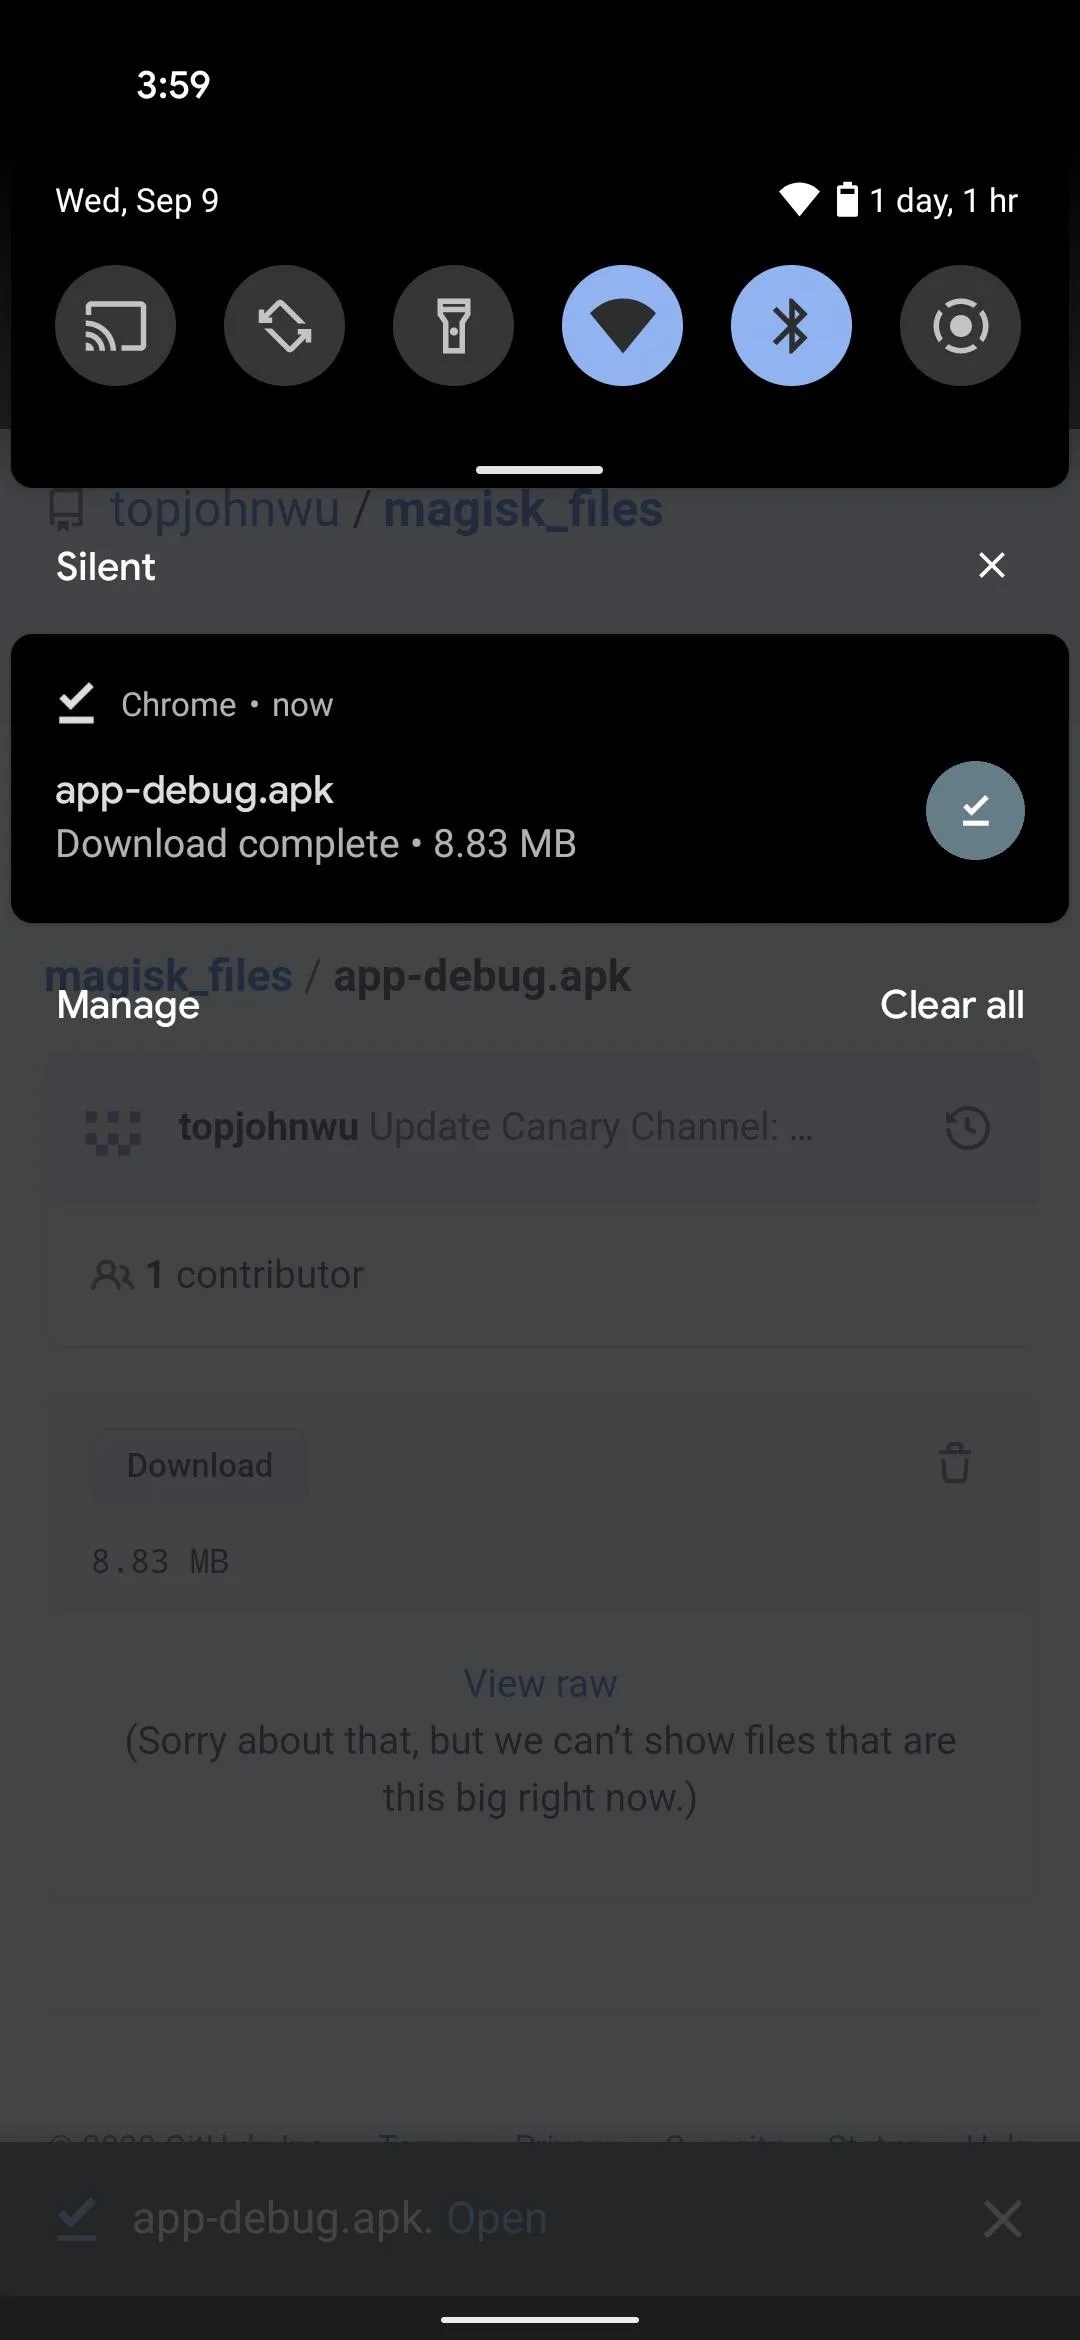
Once the file finishes downloading, tap the Download complete notification in your notification tray. If this is your first time sideloading an app you downloaded with Chrome, you'll need to tap "Settings" on the popup that appears.

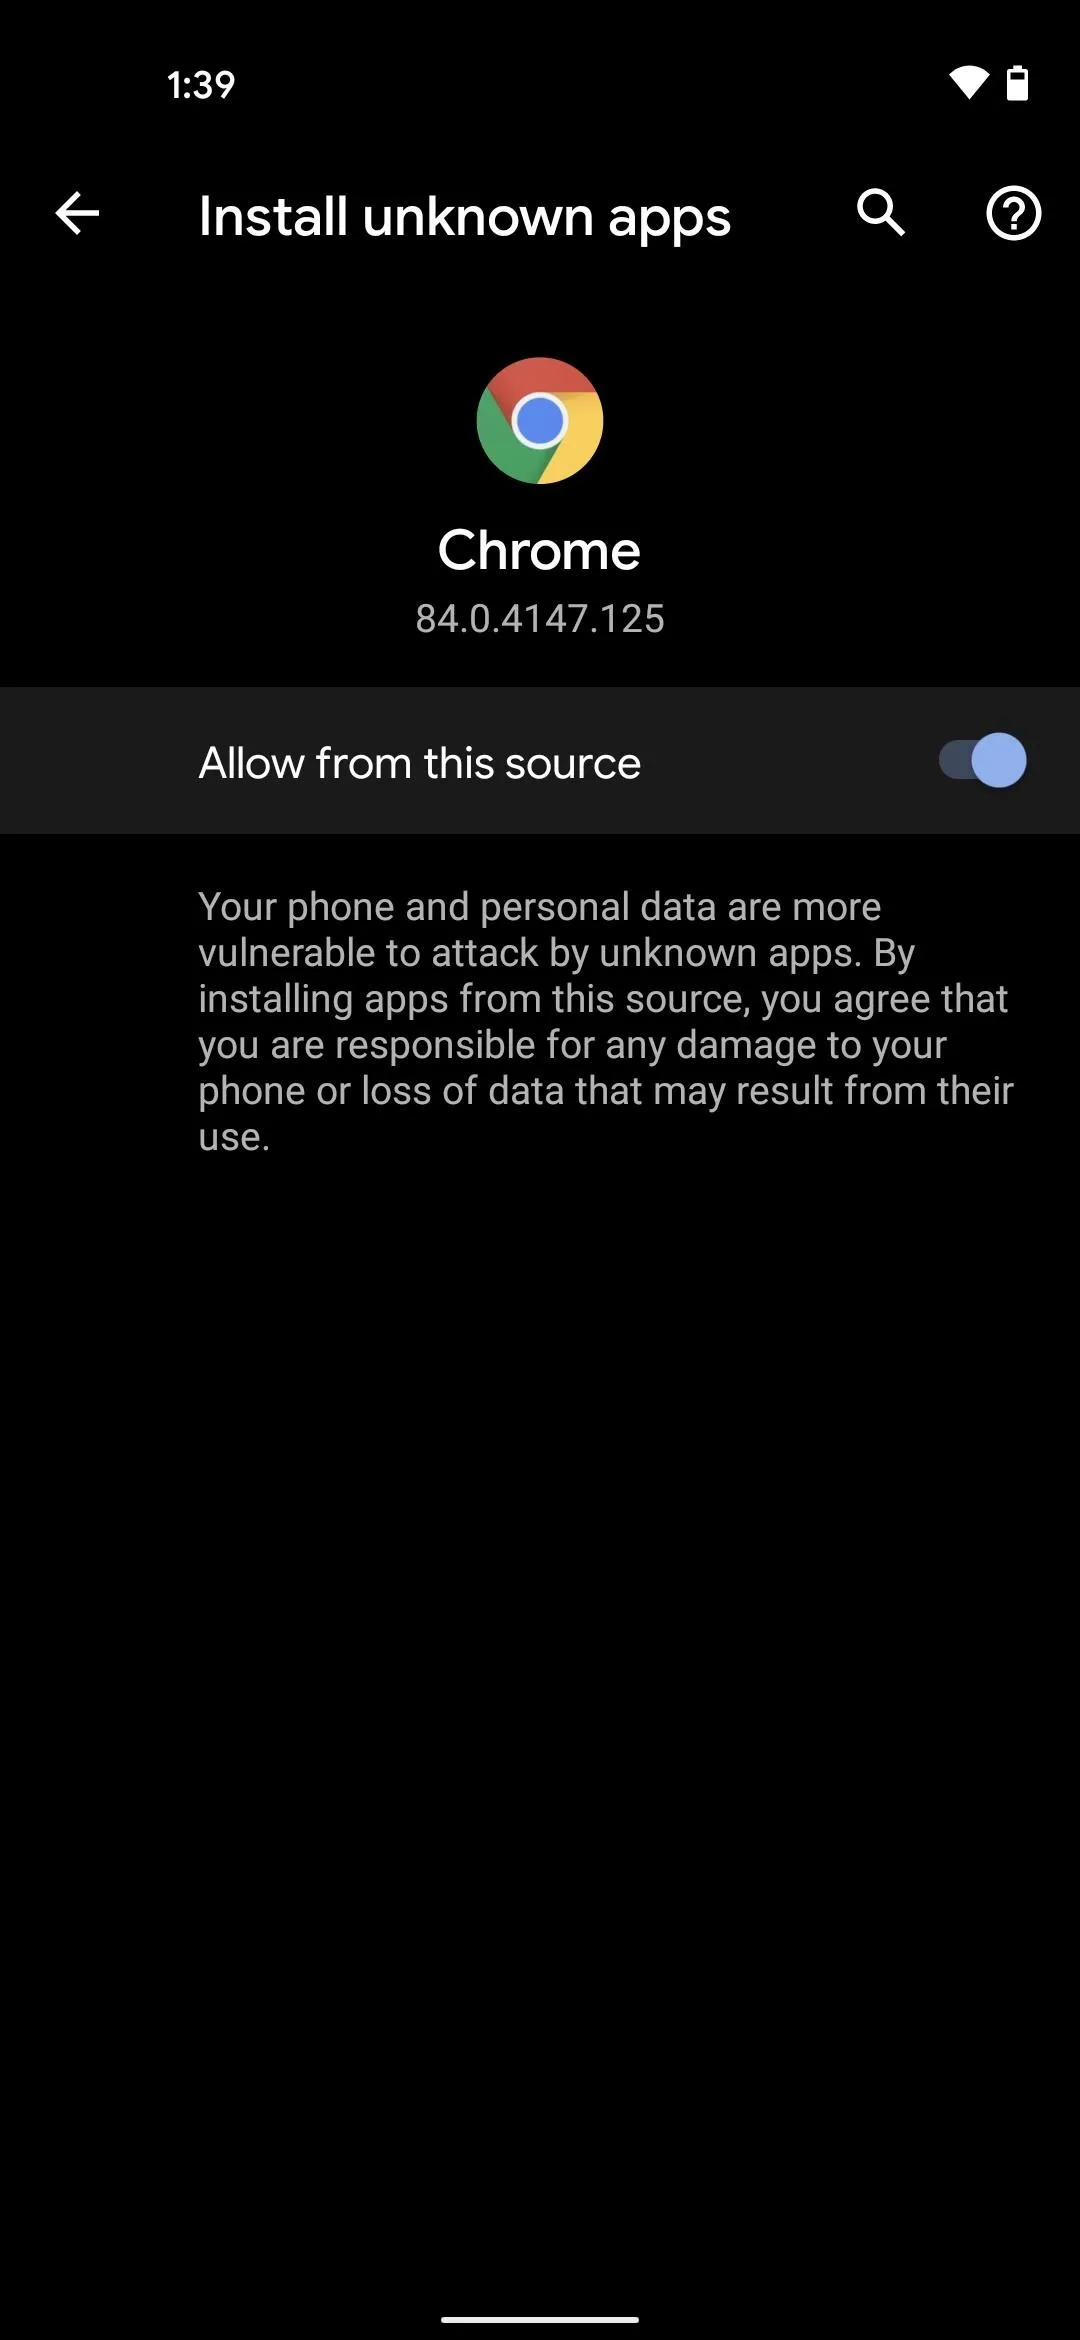
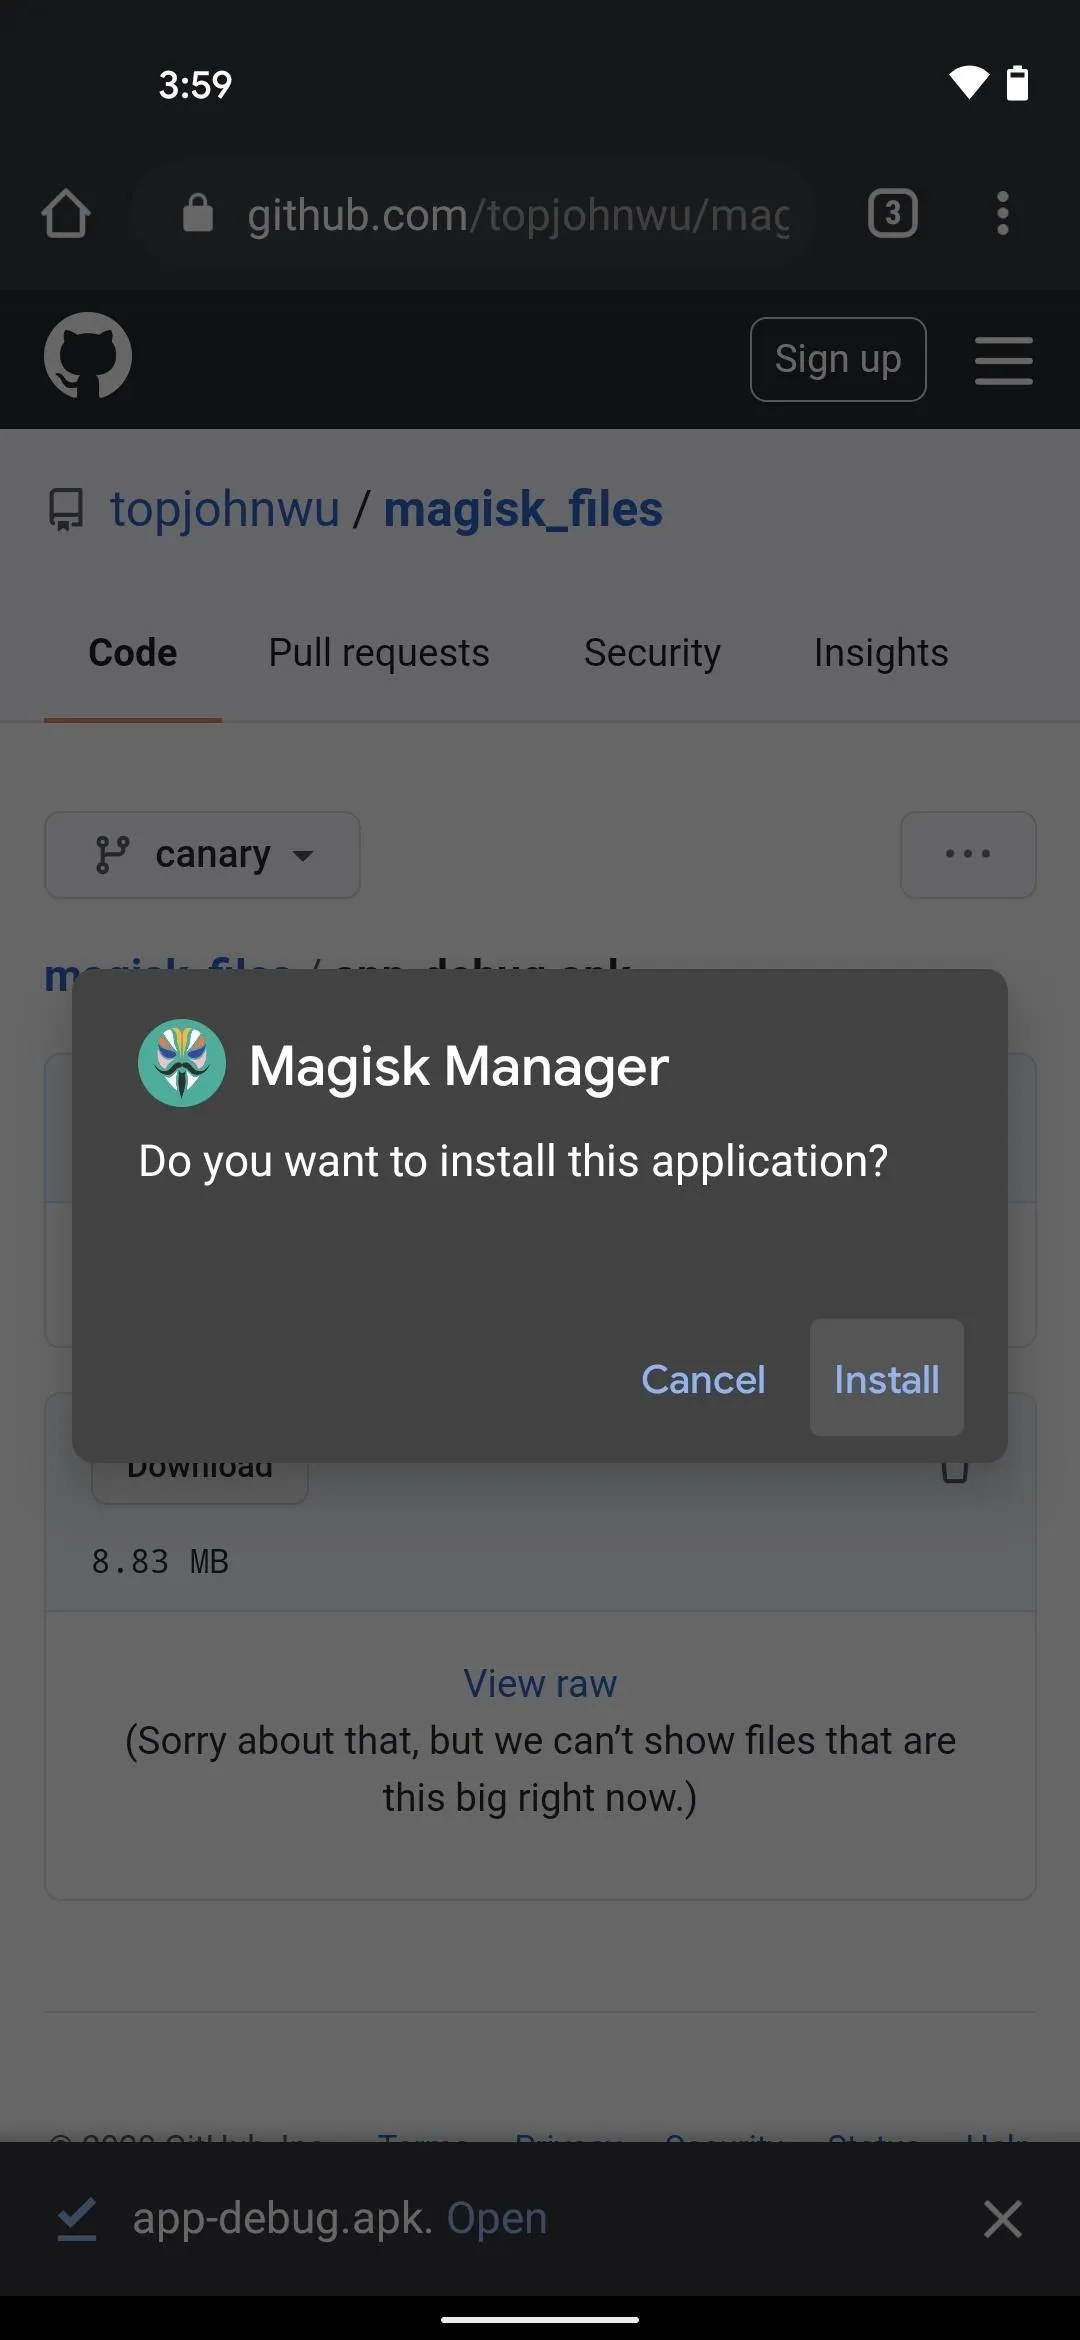
Here, enable the switch next to "Allow from this source," then go back once. Now, the popup will have an "Install" button — go ahead and tap it, then press "Open" when it's finished.
Patch the Boot Image
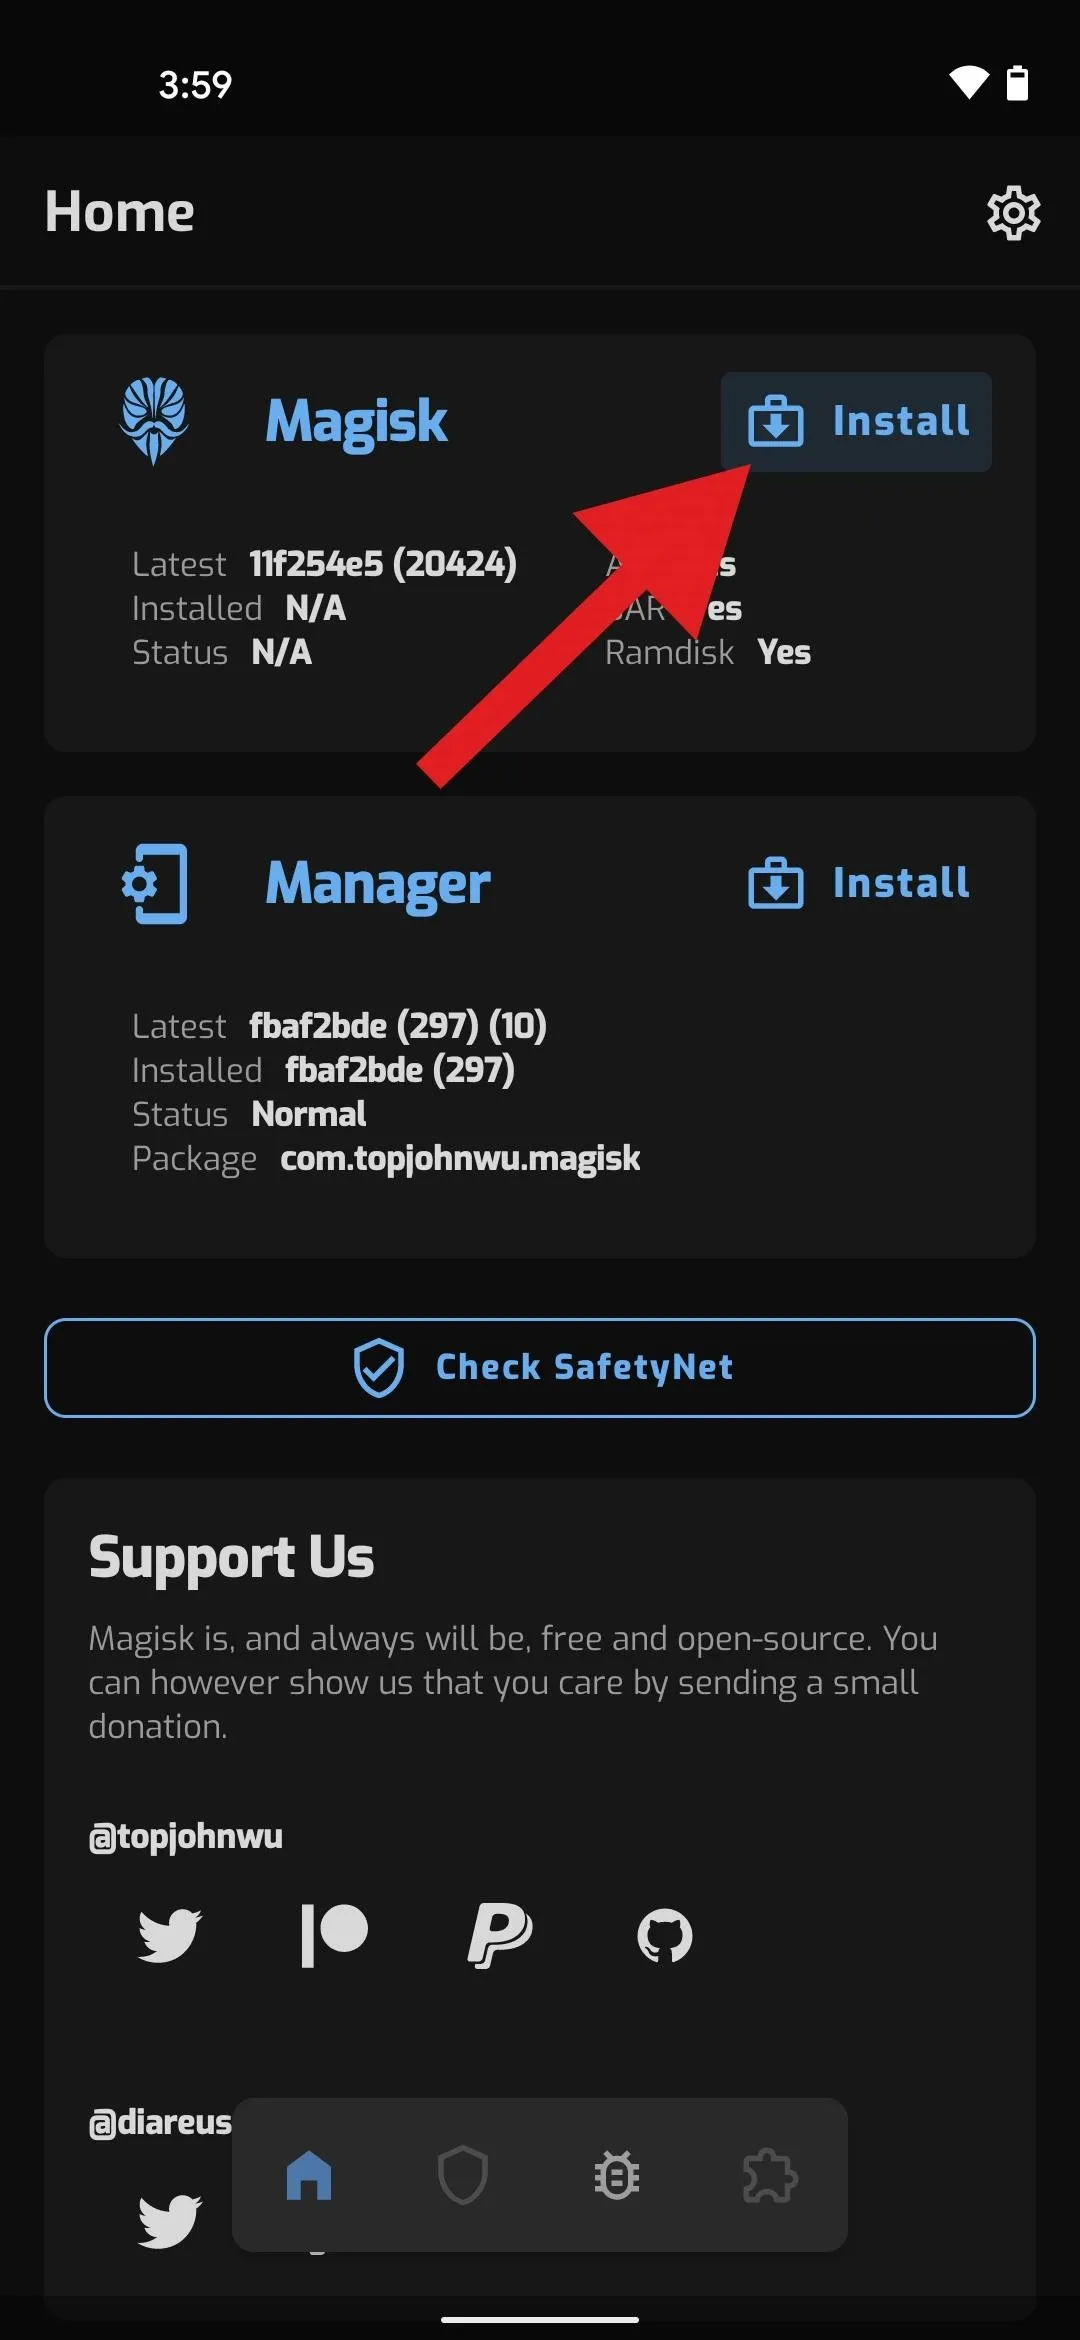
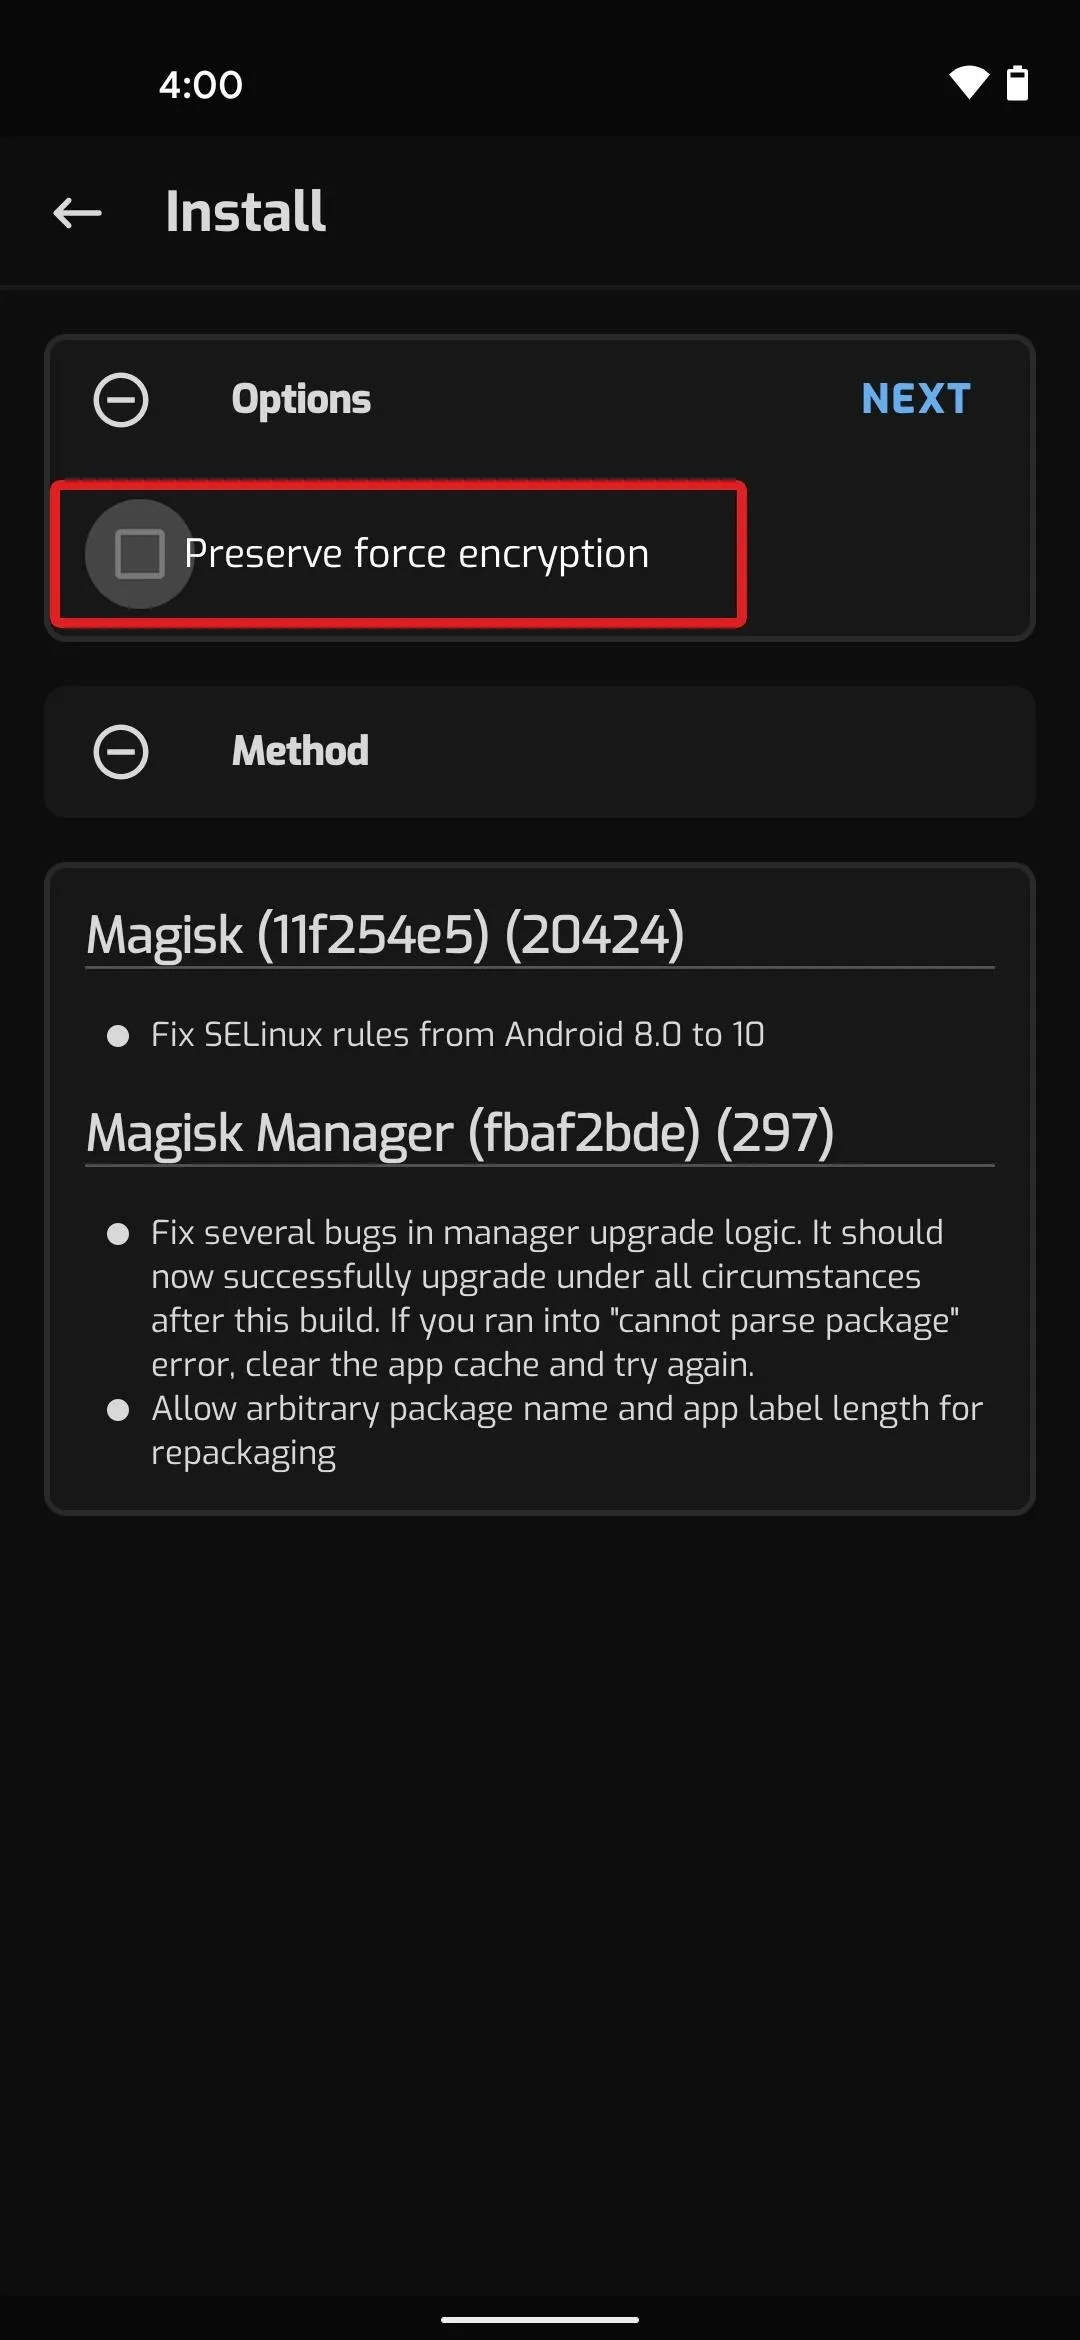
From Magisk Manager's main menu, tap "Install" on the Magisk card at the top. Here, you'll have to disable the "Preserve force encryption" option, as thus far, it's the only way we've been able to get Android 11 rooted on the Pixel 4a. When you've done that, tap "Next."
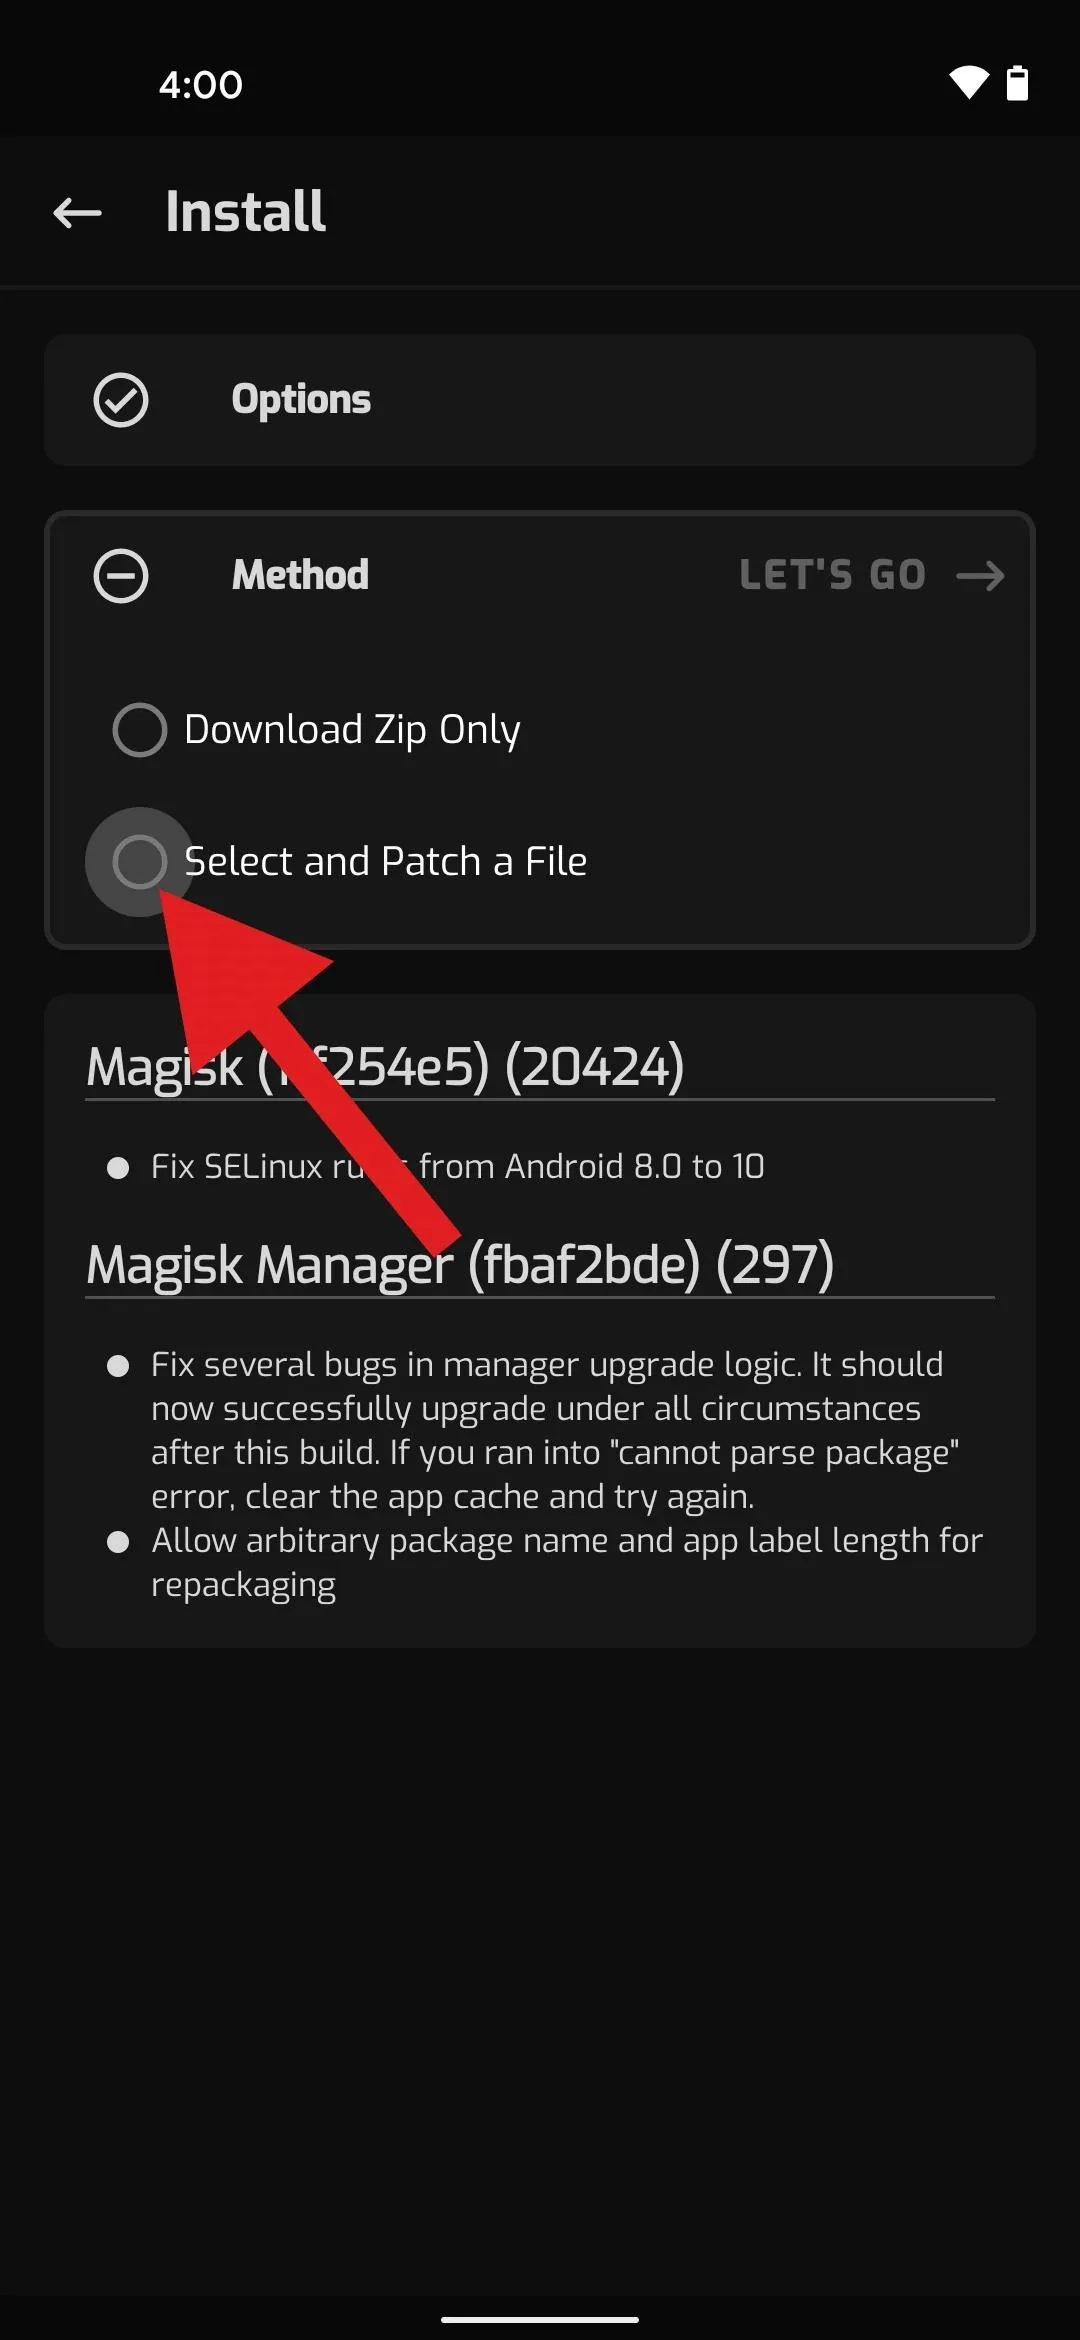
Now, tap "Select and Patch a File" on the next prompt, then press "Allow" to give Magisk Manager permission to access your storage. When you do, you'll see the file picker app. Here, head to "Downloads" and open the sunfish-rp1a folder (it's the smaller tab at the top), then open the folder inside of that and the folder inside of that. Finally, select the "boot.img" file you extracted in Step 10.
Magisk will now display a "Flashing" screen. What it's really doing is patching the stock boot image — adding code to the file that will enable root access. Despite the title of this screen, you'll still have to manually flash the modified boot image, and you can start on that as soon as it says "All done!" at the bottom.
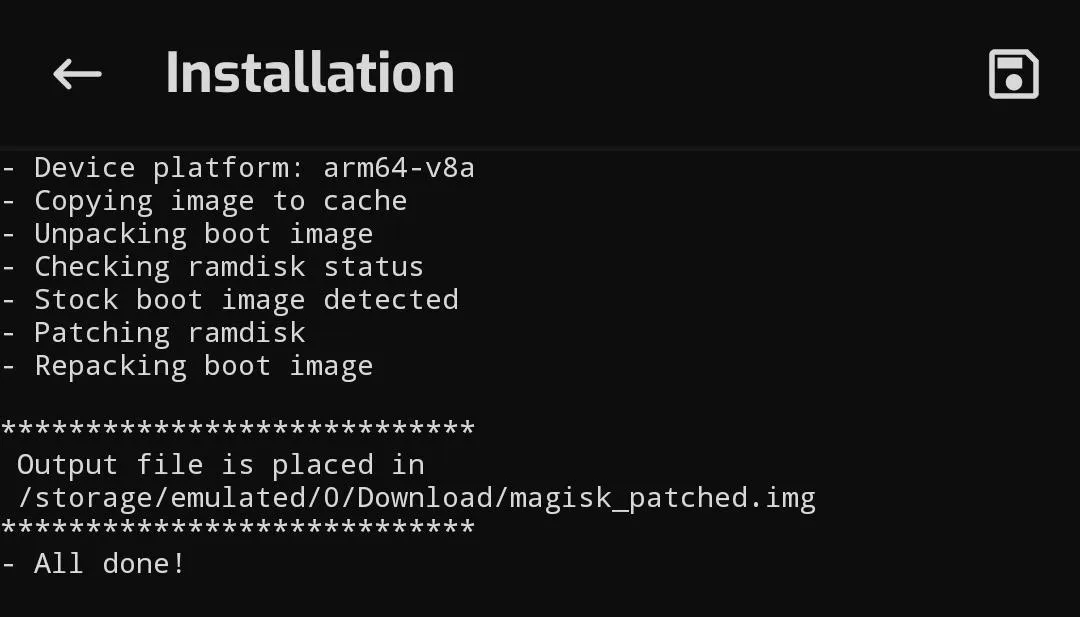
Move the Patched Boot Image to Your Computer
The patched boot image Magisk Manager just created will be located in your phone's Download folder with the name "magisk_patched.img."
Now, you'll need to move this patched boot image over to your computer. You can do that with a USB data cable if you want to be extra careful, or you can upload the file to Google Drive, then re-download it on your computer.
Boot Back into Fastboot Mode
Just like in Step 4 above, you'll need to put your phone into Fastboot Mode so you can send another command to it. So restart the device while holding down the volume down button, then connect your phone to your computer again.
Open a Command Prompt in the Right Directory
If you left the command window open after unlocking the bootloader, you can skip this step. But if not, you'll need to open your computer's command line tool and change directories to the platform-tools folder. In other words, repeat Step 7.
Flash the Patched Boot Image
Now, think back to what worked for you when you unlocked your bootloader. If you needed to add "./" to the beginning of that command, you'll need to add one here. If not, you won't.
So type fastboot flash boot into the prompt (or ./fastboot flash boot), then add a space, but don't hit enter yet. Instead, locate the magisk_patched.img file you just moved over to your computer. Drag and drop it onto the command prompt to populate its full file path, then hit enter.
Within seconds, the terminal should say "Finished." Congrats! You just rooted your phone. You can now type fastboot reboot (or ./fastboot reboot) to boot back into Android, then unplug your phone.
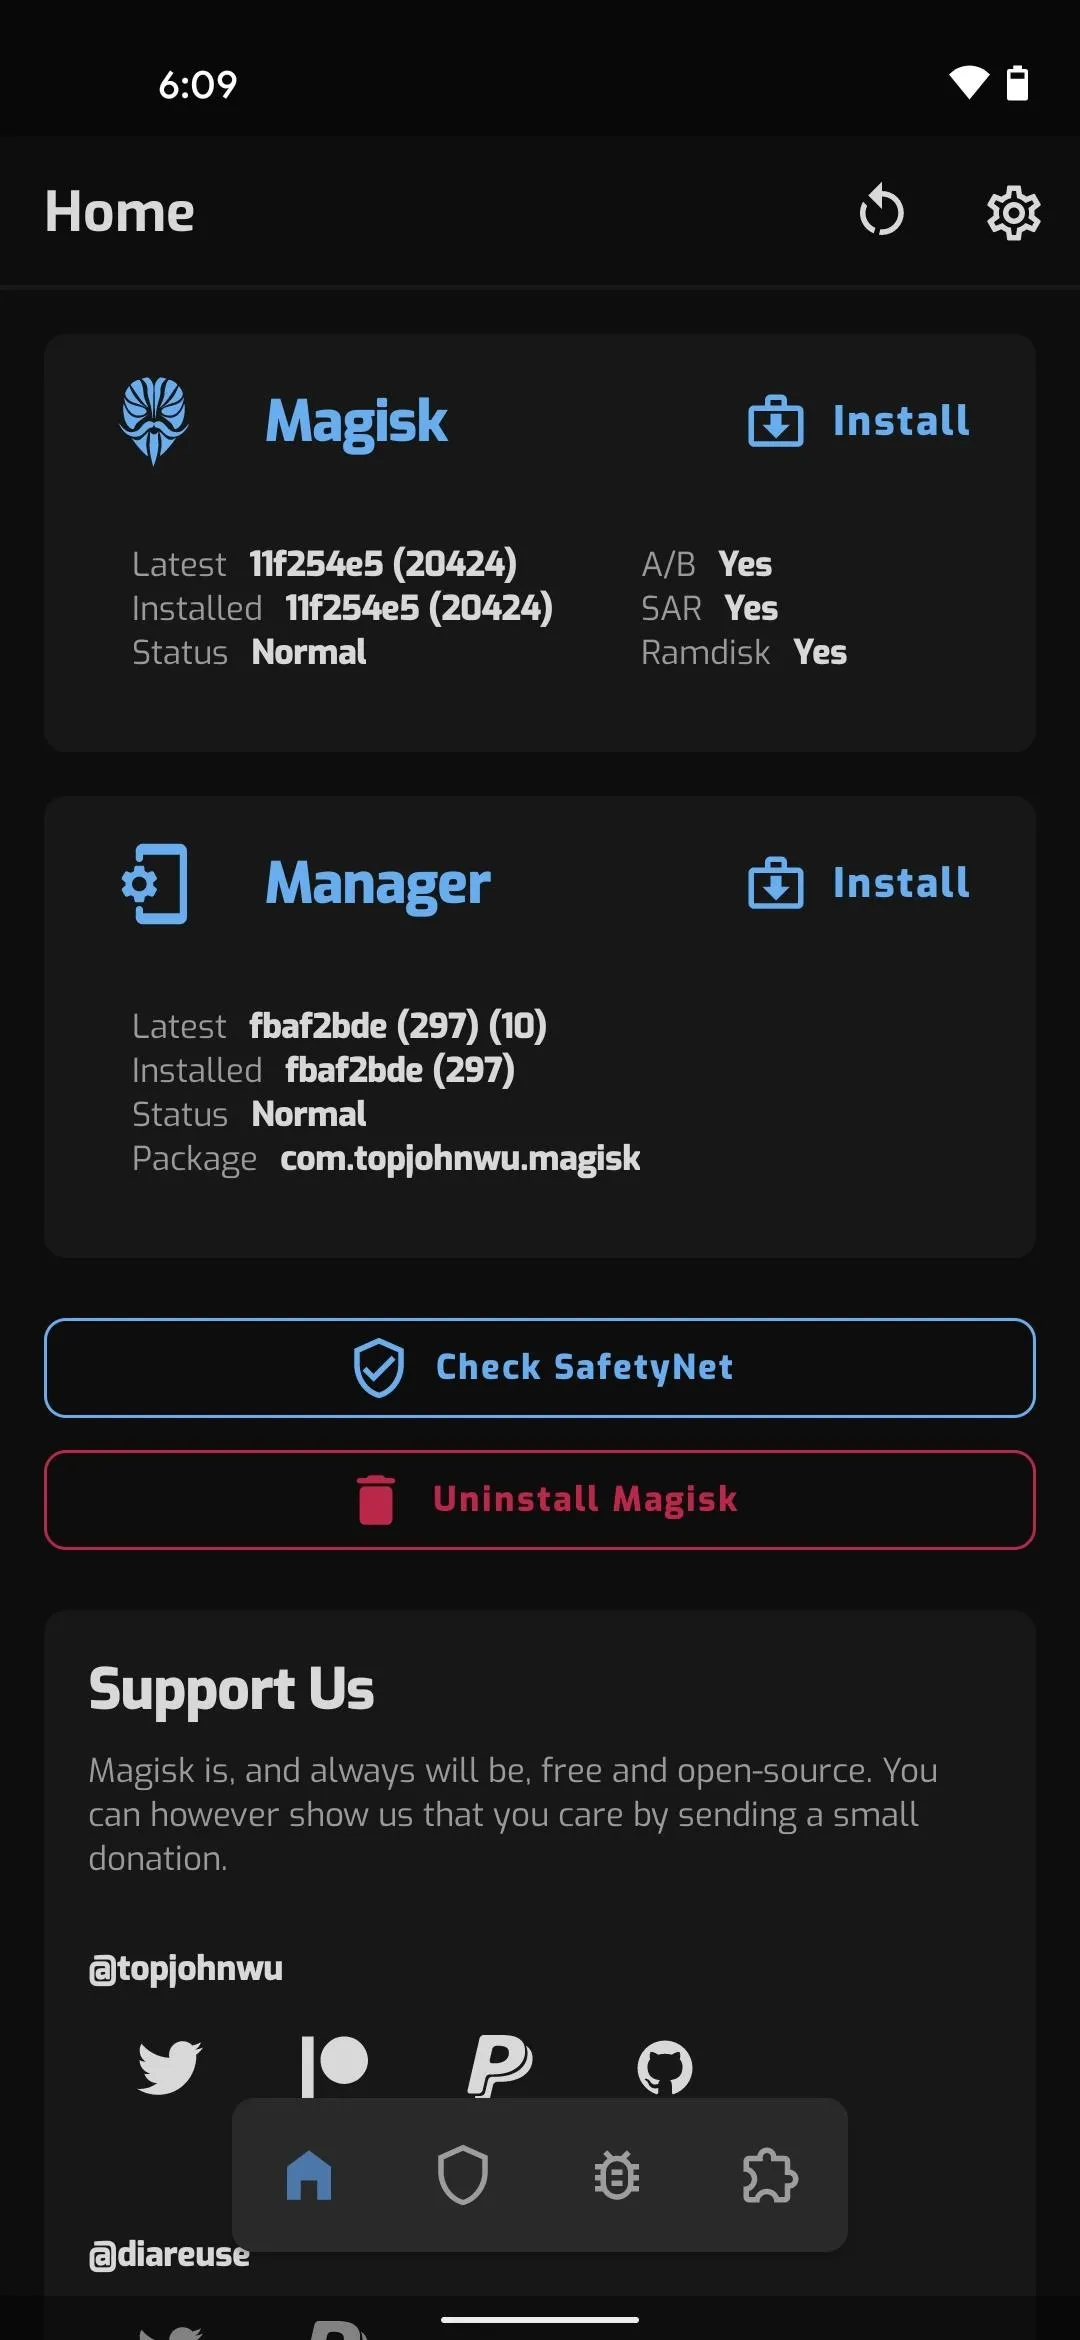
Verify Root
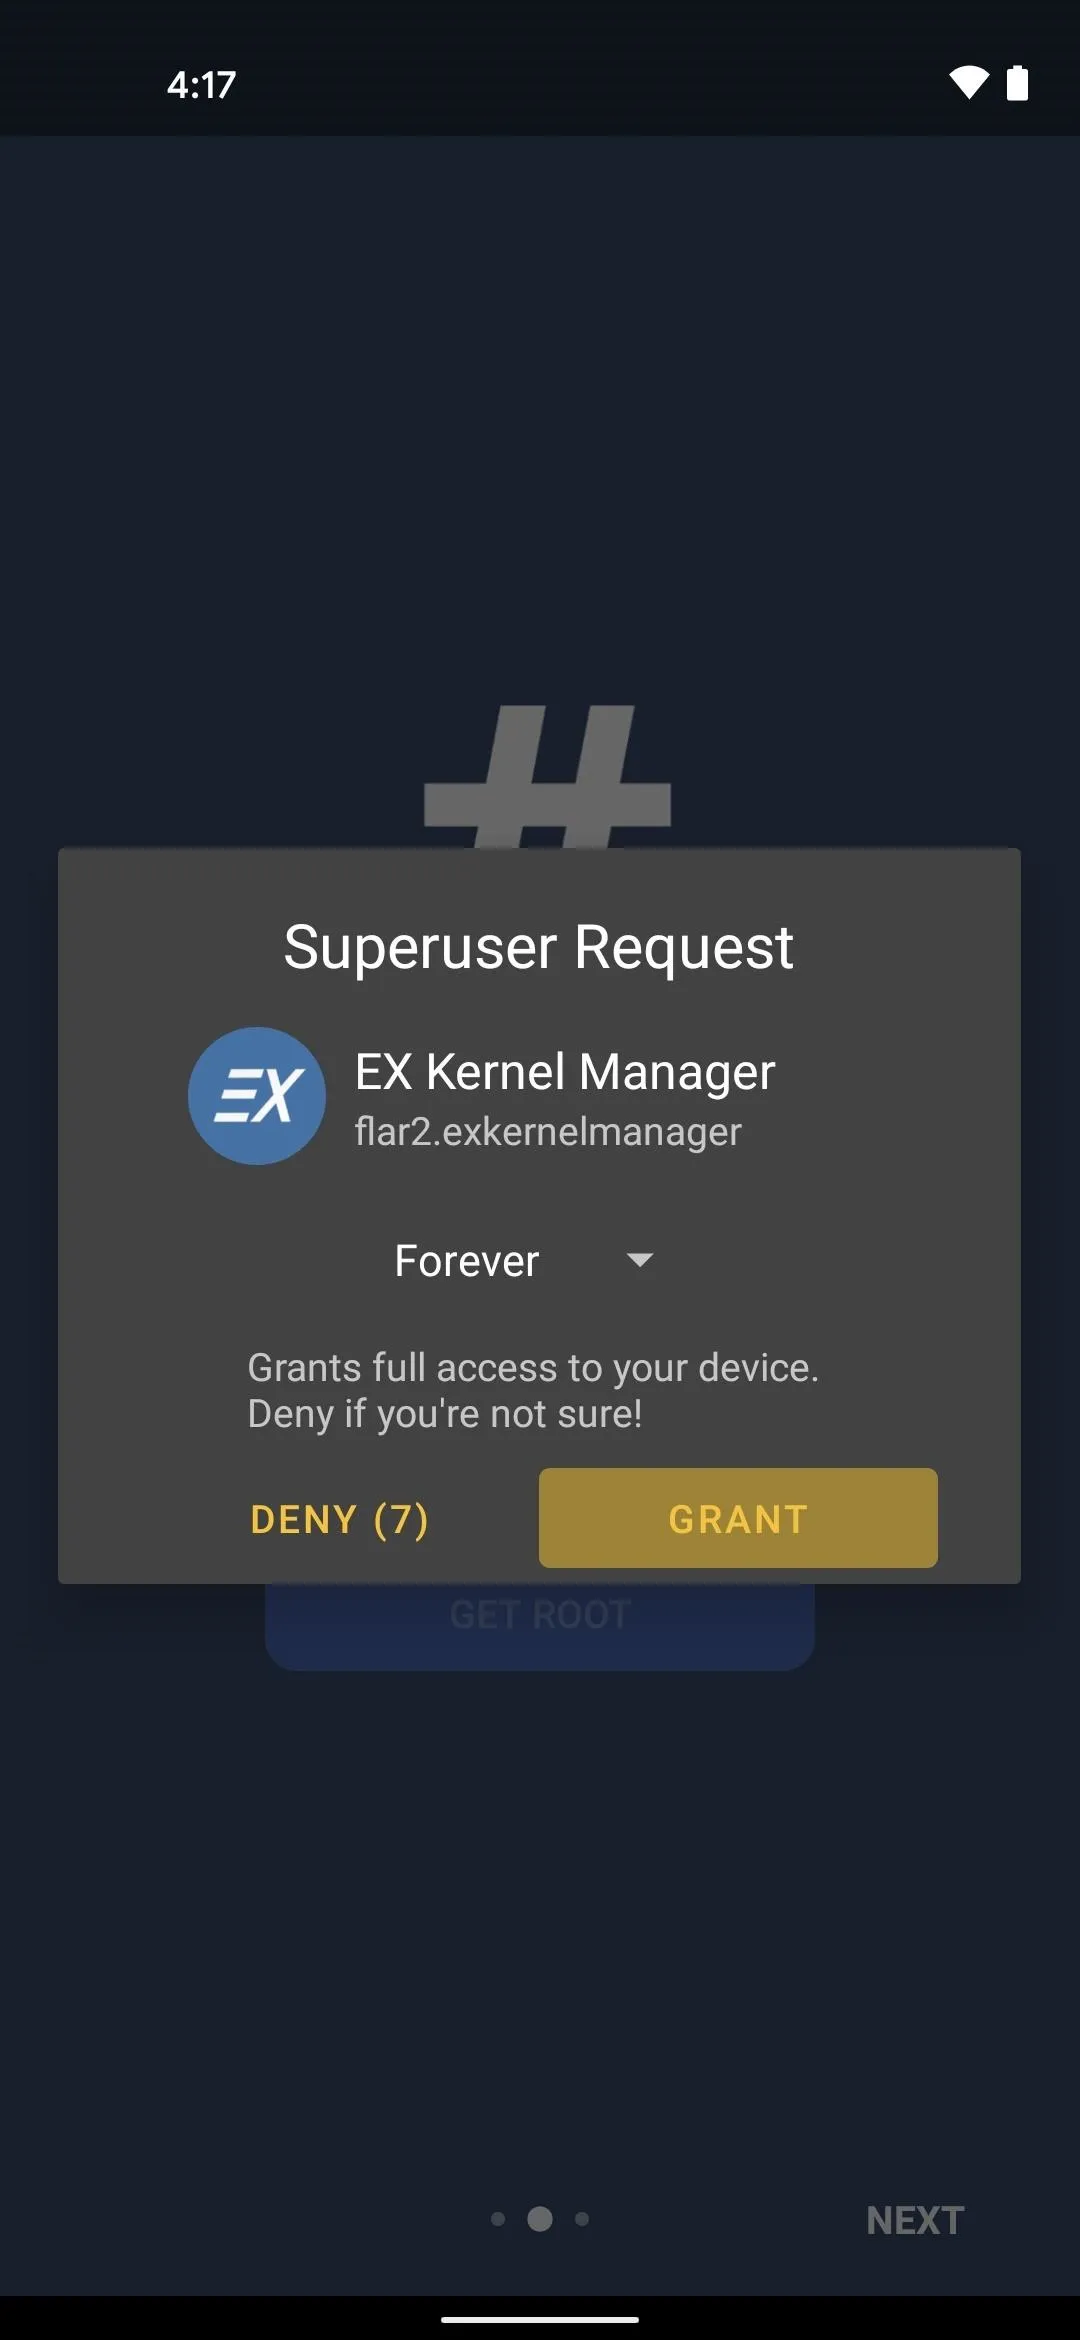
When you get back up, open the Magisk Manager app. Both status messages at the top of the main menu should now say "Installed" — this means your golden. Go ahead and install any root app, and when it runs for the first time, Magisk Manager will pop up asking if you'd like to grant it root access.
Cover image, screenshots, and GIFs by Dallas Thomas/Gadget Hacks


Comments
Be the first, drop a comment!