


In older Android versions, you could flood your status bar with a wall of notification icons. But starting with Android 9, Google made it to where you can only see four icons by default, and it was mostly done to accommodate phones with notches. But Google's only notched phone is the Pixel 3 XL, so what if you have literally any other Pixel?
Google's own Pixel 4 is actually the perfect candidate for allowing more status bar icons since it was one of the few Android phones of 2019 without a display cutout. That bucked the trend but allowed Google to utilize a true face unlock system for Android. Anyway, if you're looking to increase your notification icon count beyond the default limit on your Pixel phone, check out the guide below.
Requirements
Download the Magisk Module
Before you can expand your notification icon limit, you'll need to download the Magisk module from well-known XDA developer Tulsadiver. Using the power of Magisk, it will allow you to go from the default four notification icons all the way up to seven as your new limit.
- Download Statusbar Notification Module : Stock Active Edge Sense | Stock
Since the module is not available in the official Magisk repo, hit up one of the links above and save the file to the "Download" folder on your phone. If you use the squeeze feature on your Pixel phone, then you can download the "Stock Active Edge Sense" version. If you don't use the squeeze feature, then you'll want to download the "Stock" version.
Install the Magisk Module
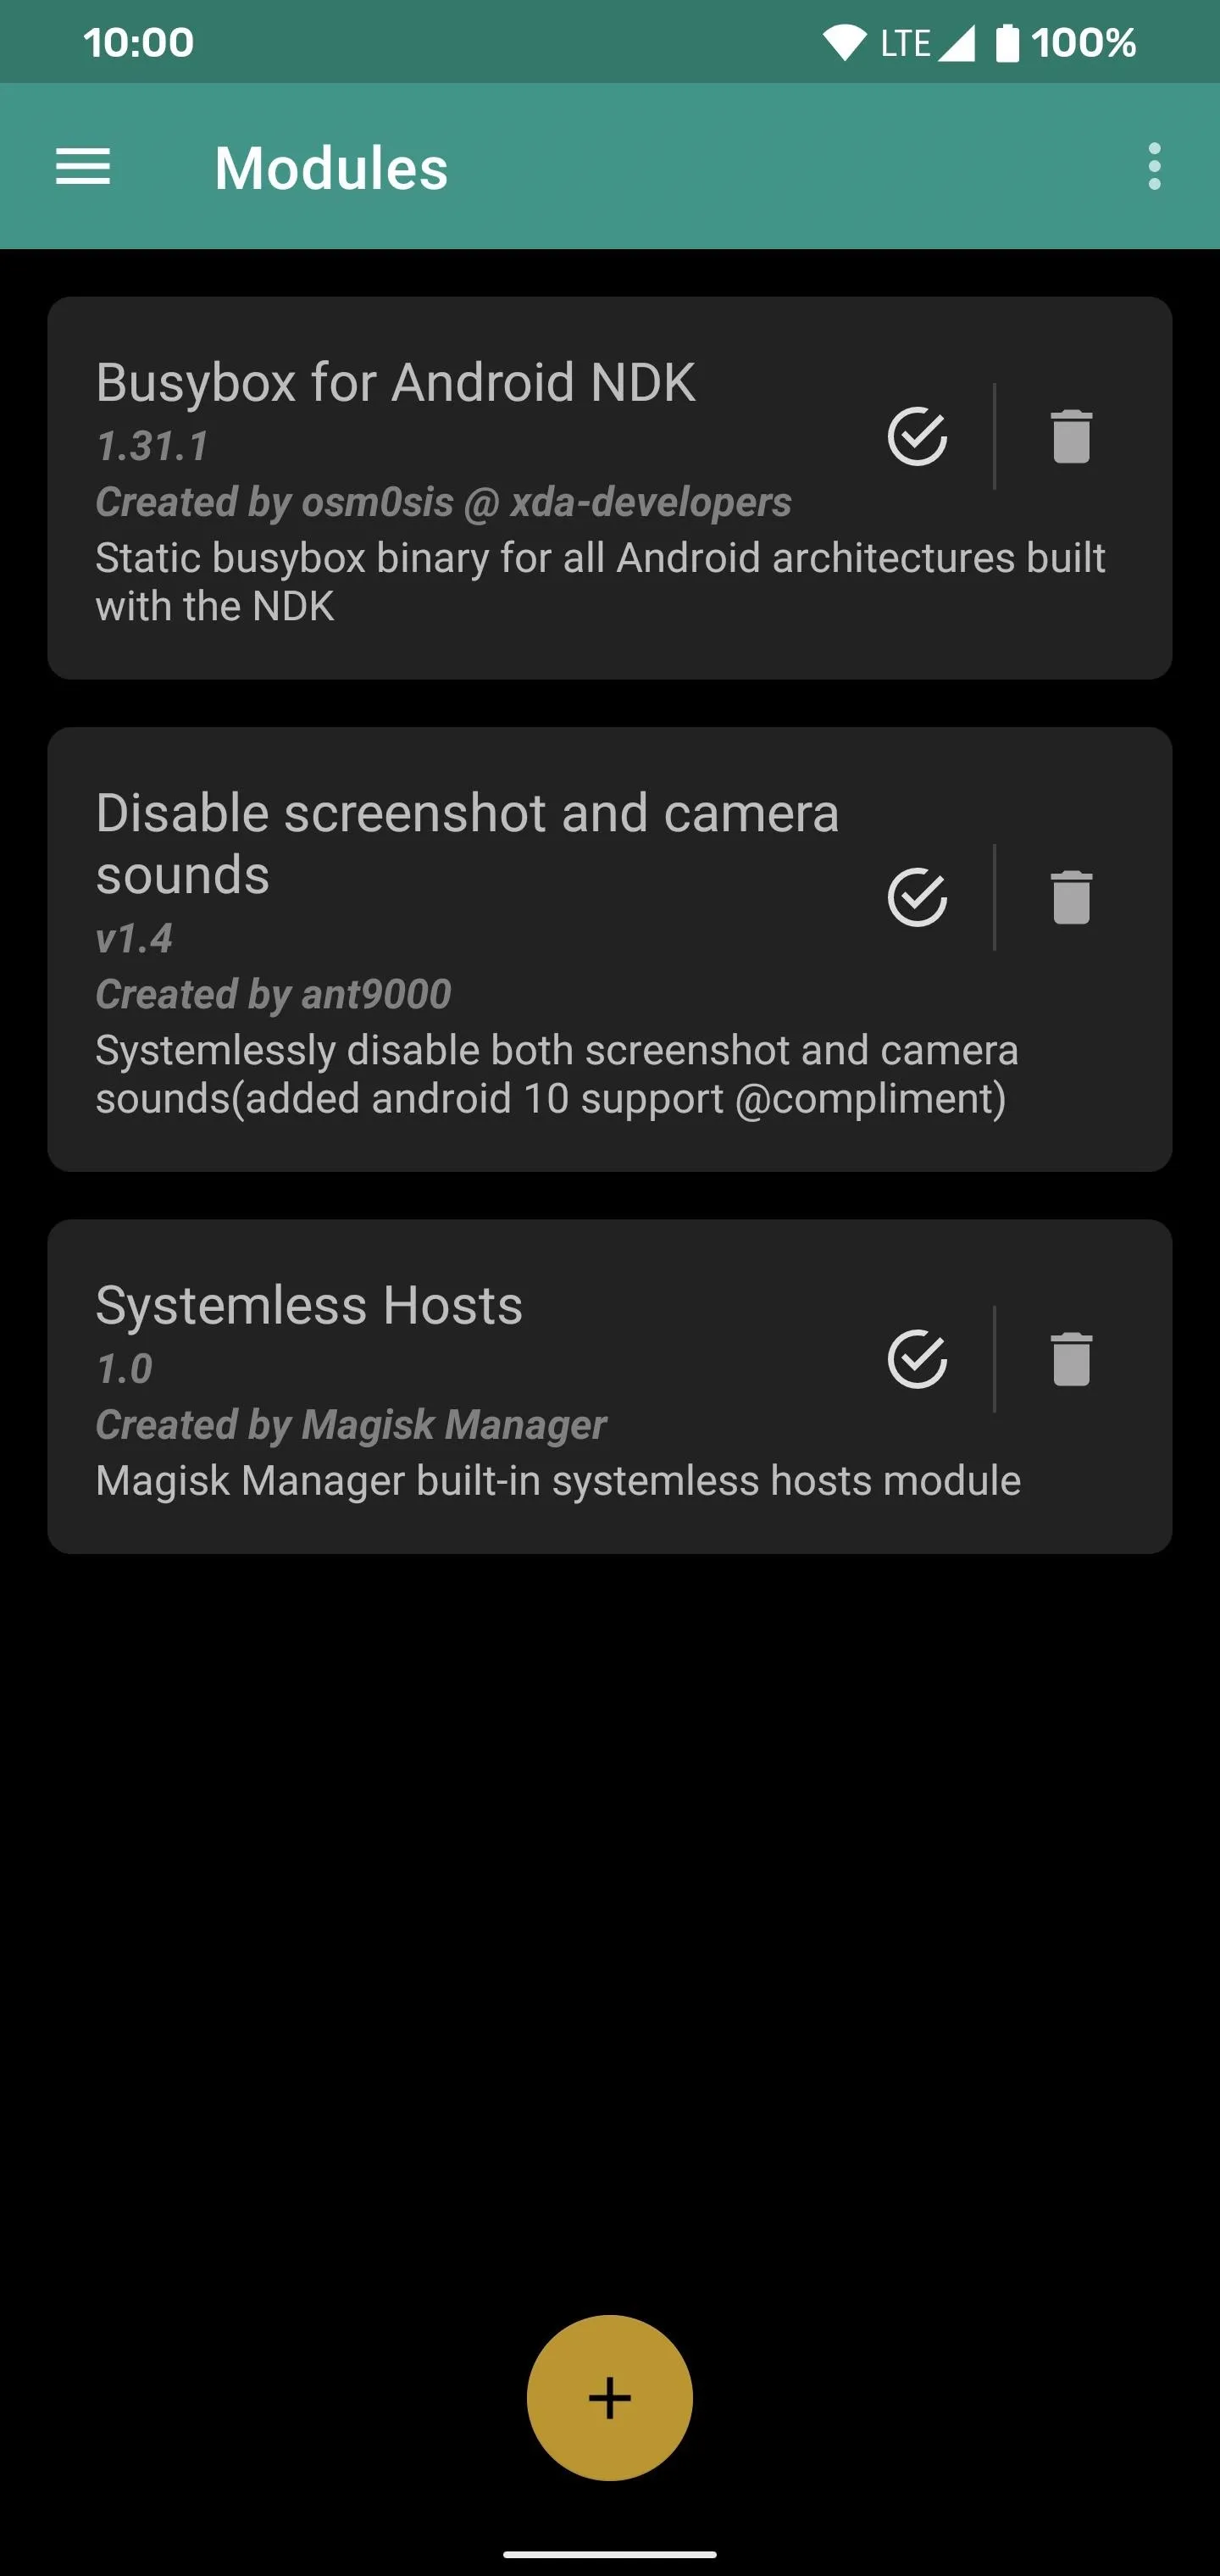
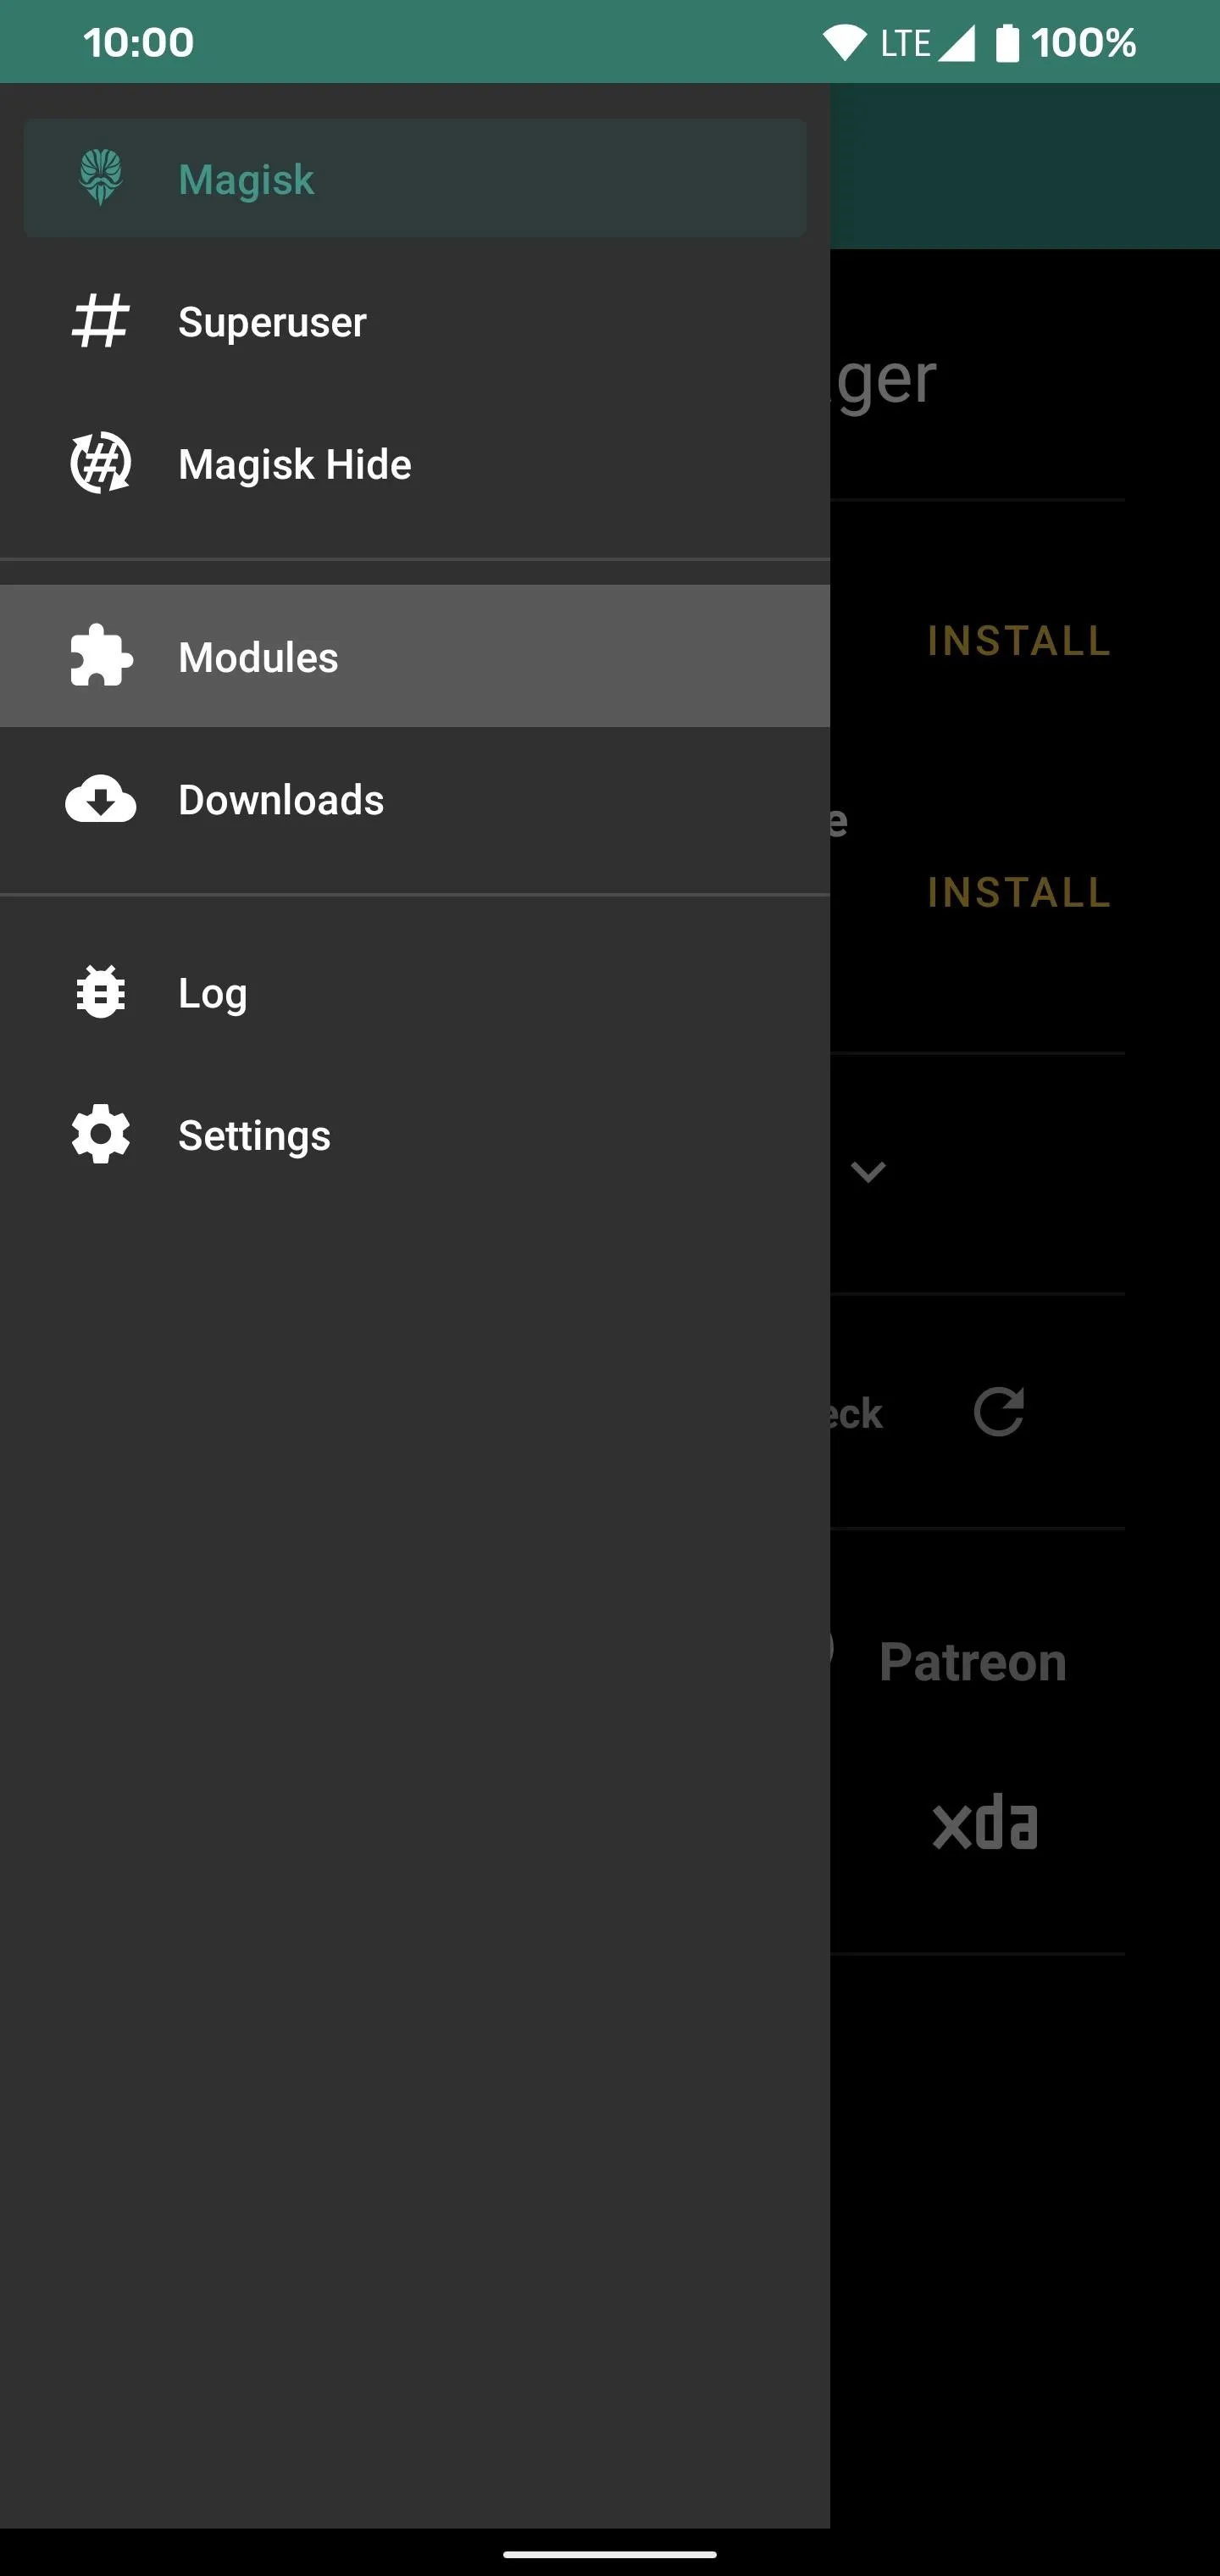
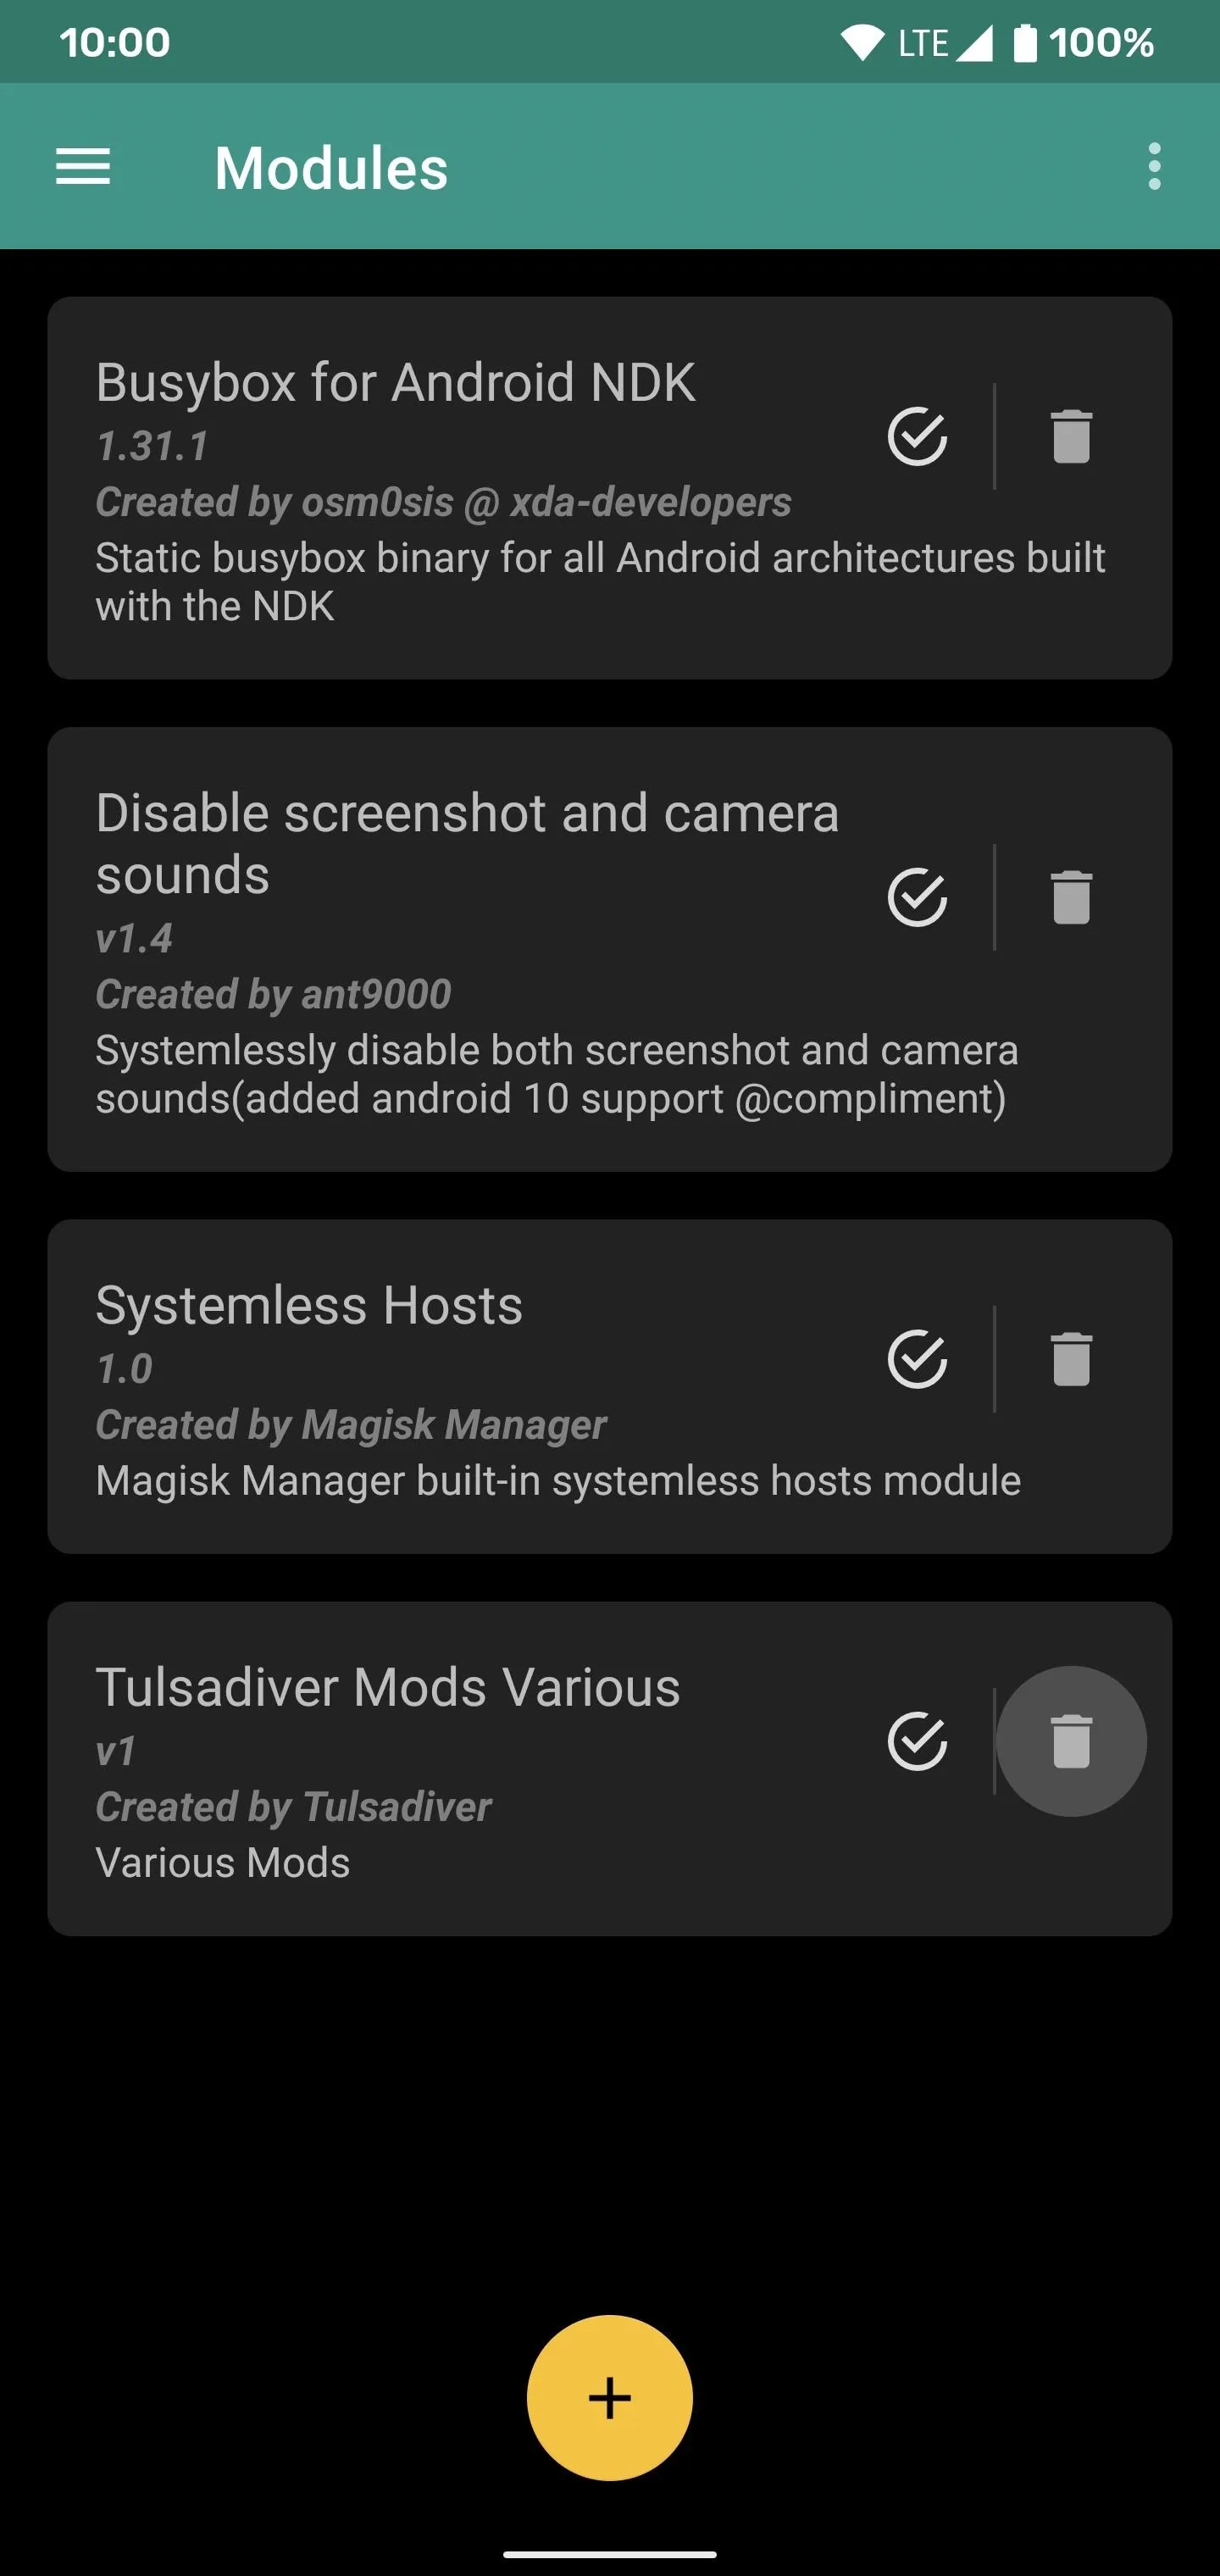
Now you'll need to manually install the module since you had to download it from a third-party source rather than the official Magisk repo. Open the Magisk Manager app to the main screen, hit the menu icon on the left, go to the "Modules" section, then hit the plus sign button at the bottom.

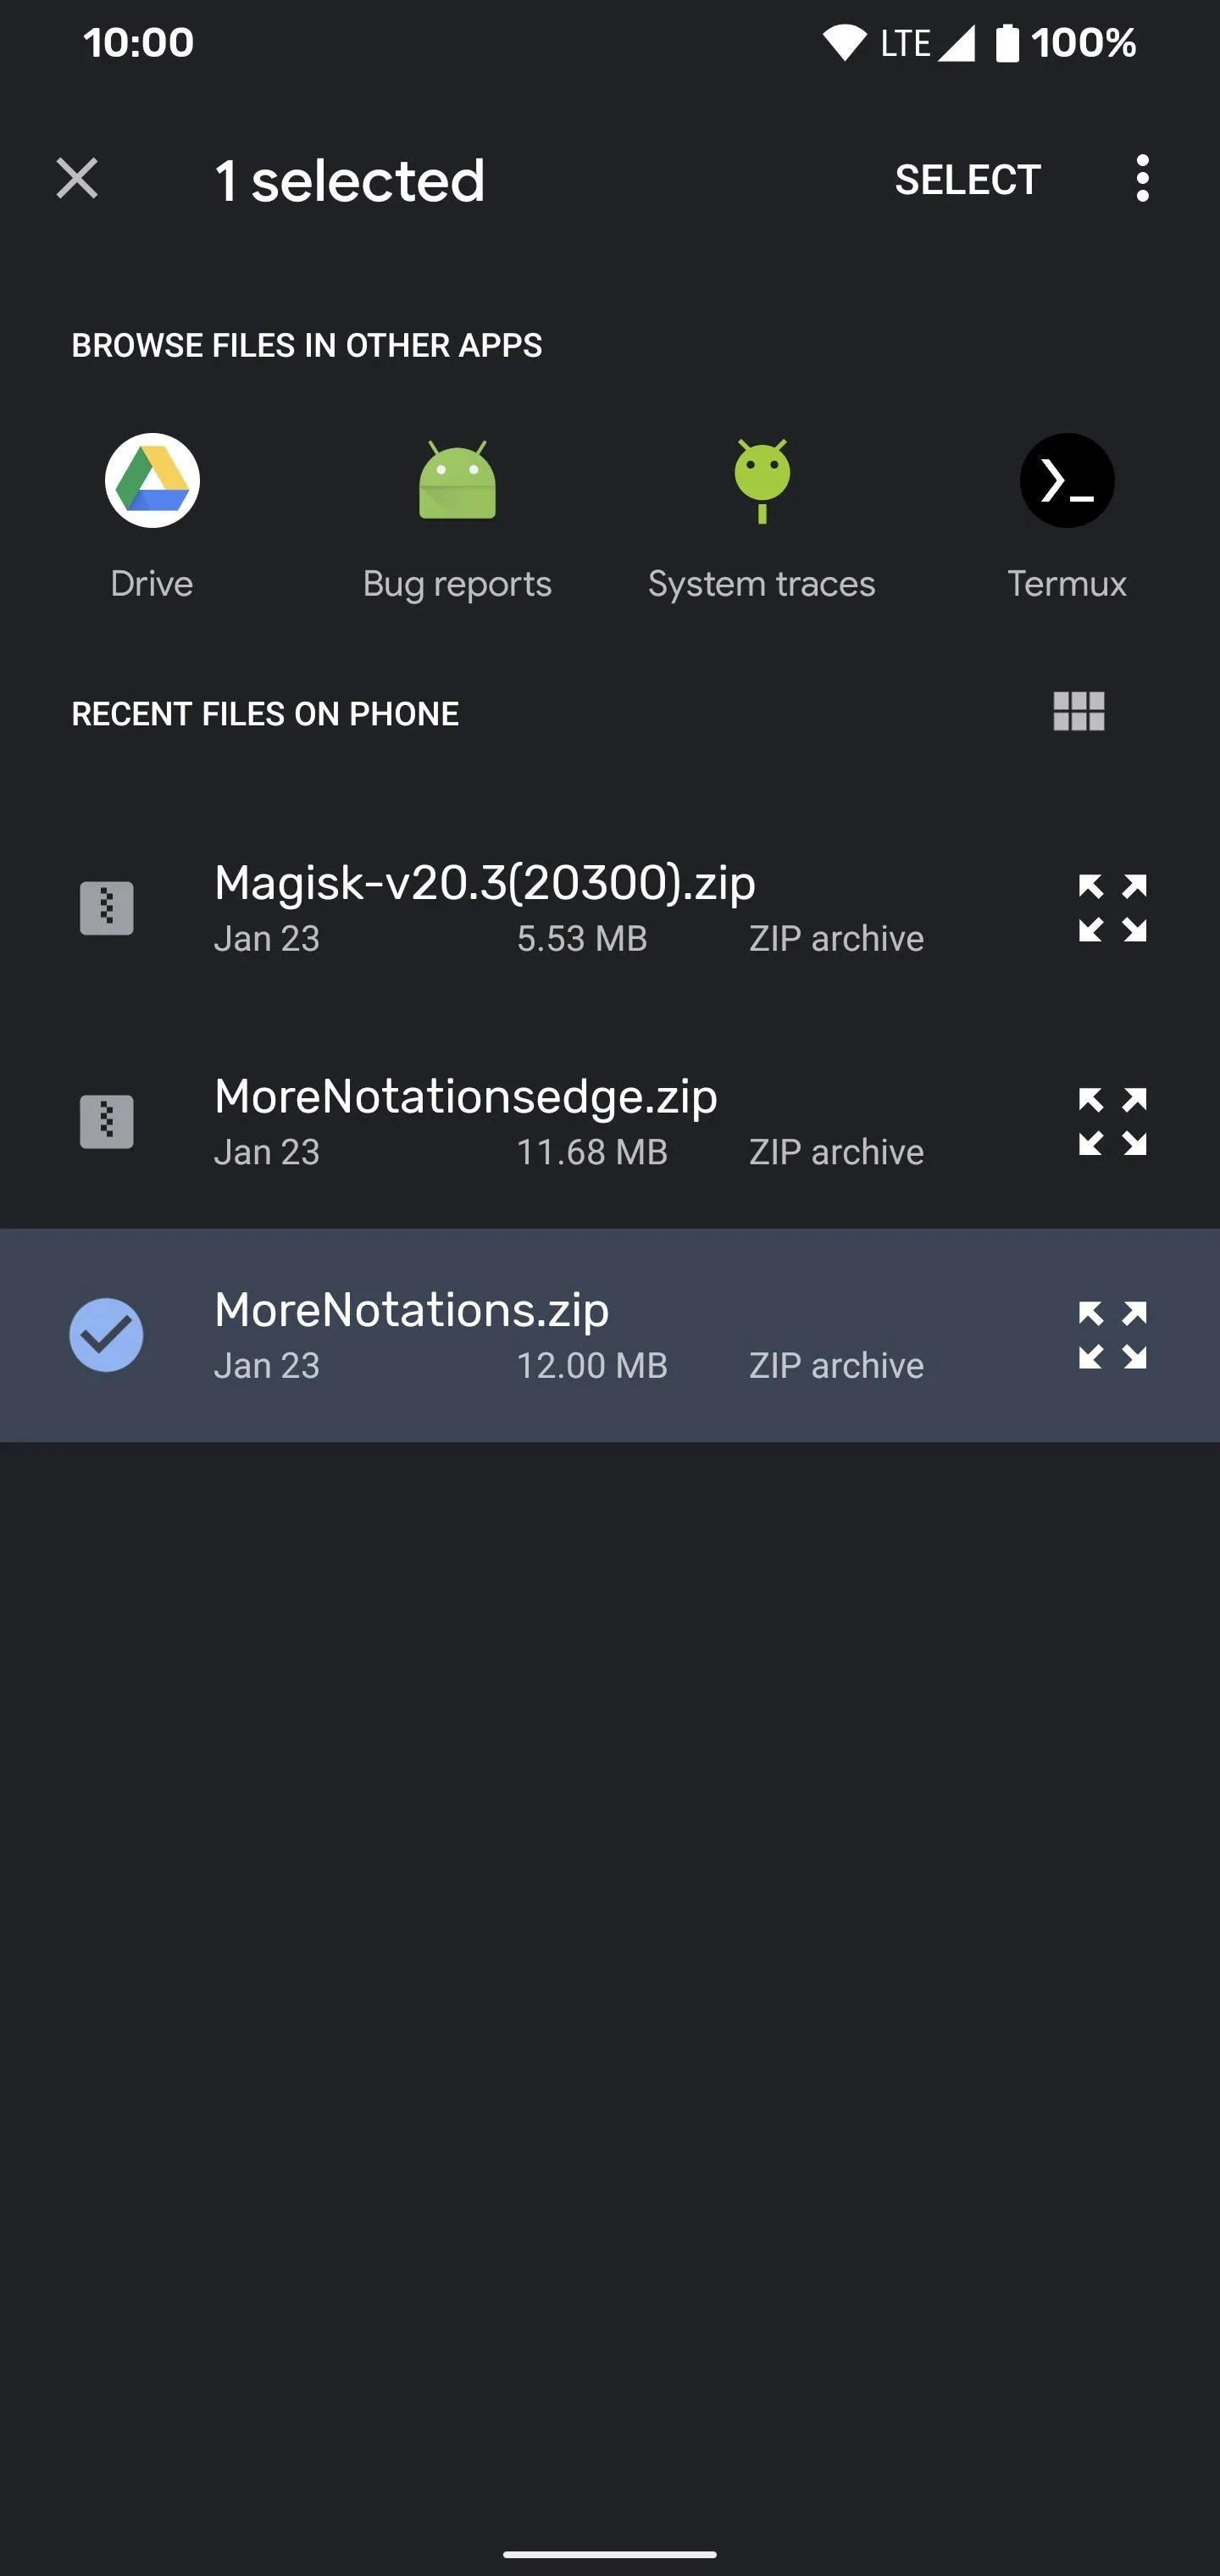
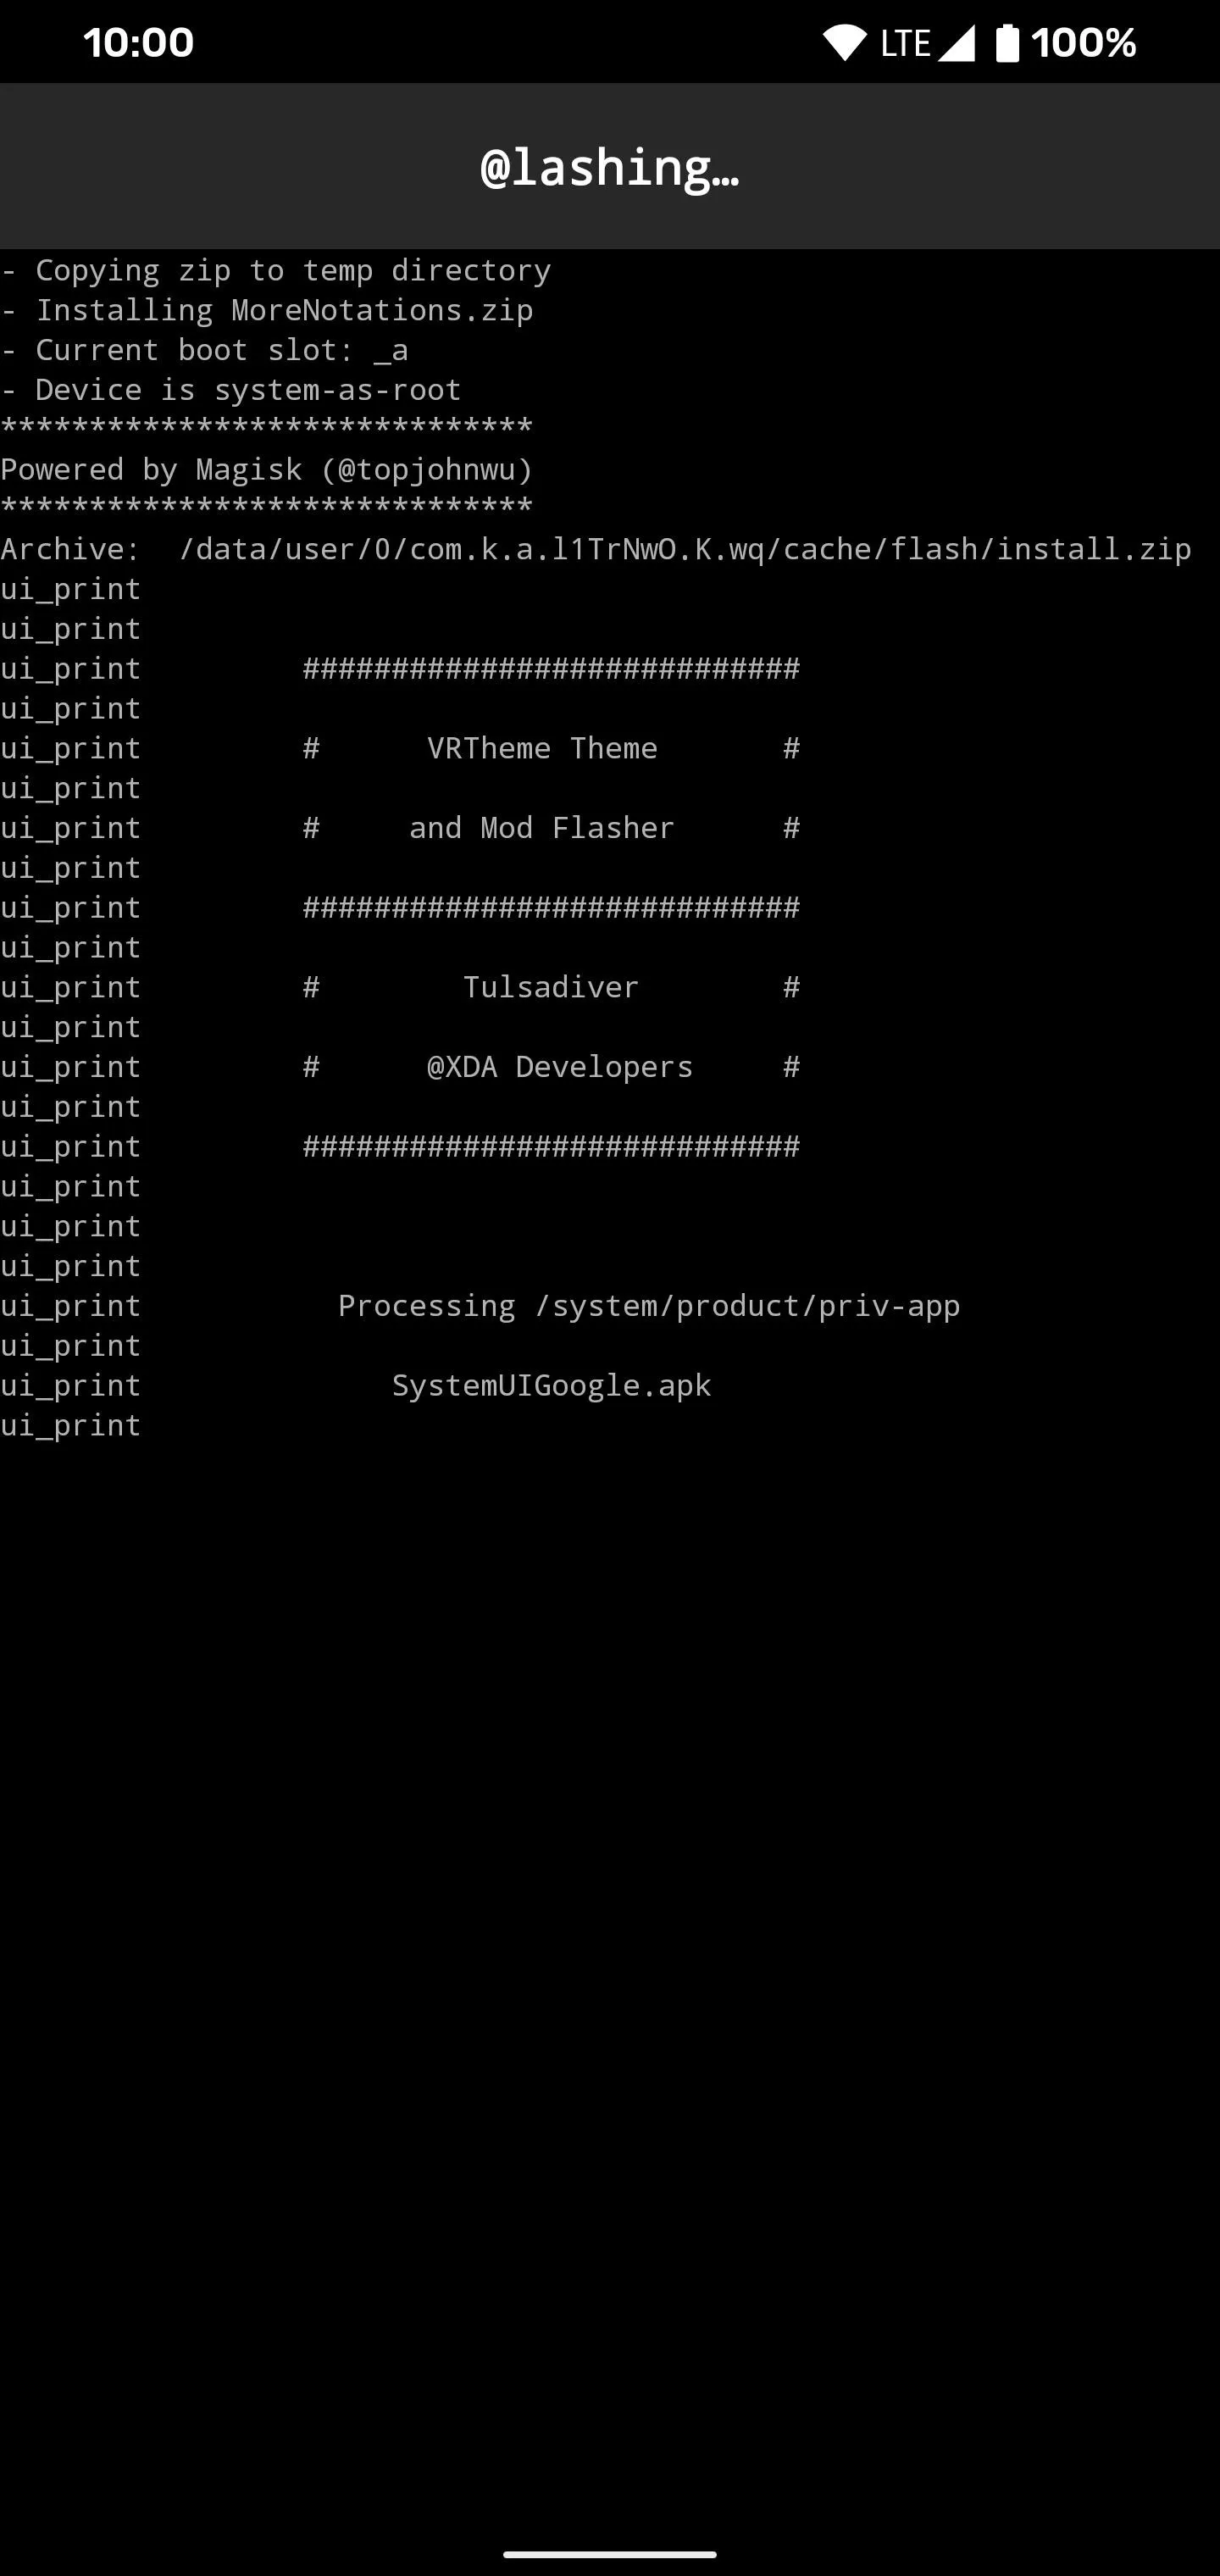
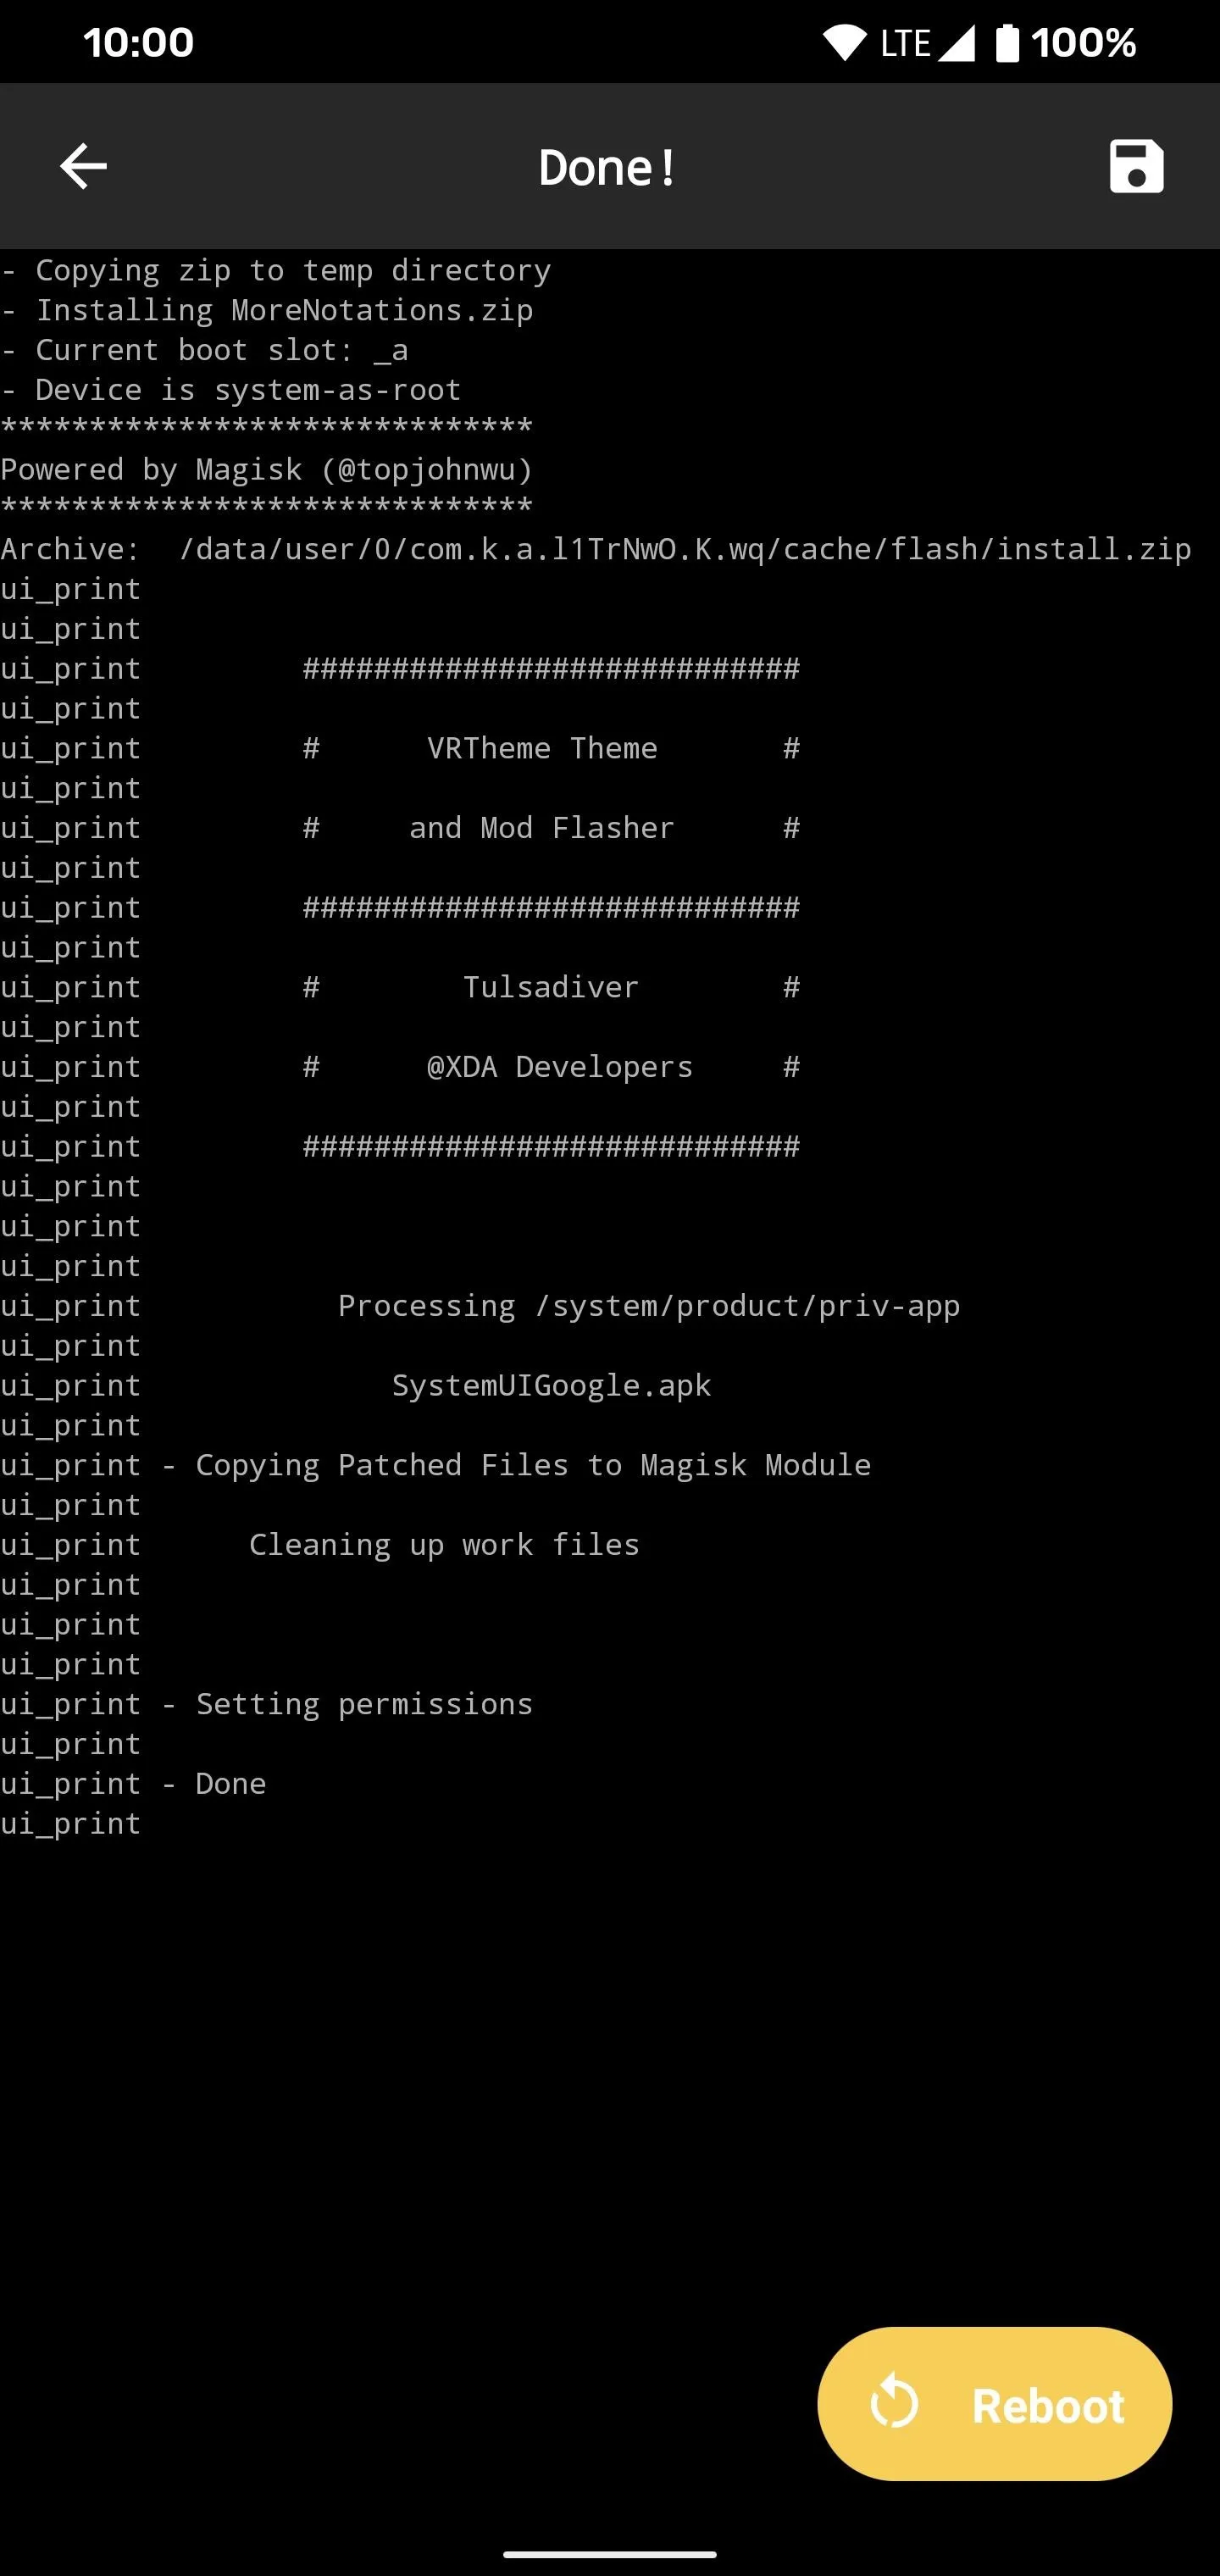
From there, locate the module you downloaded from the previous step (remember, it should be in your "Download" folder), then tap the file once to start the installation process. Once finished, hit "Reboot" to activate the module. After you come back from the restart, then you can move onto the next step.
Test Out Your New Notification Icon Limit
Now you can have a little fun here by giving yourself as many notification icons as you can. Play some music in the background, get emails, receive messages, and do whatever else you can to get lots of notifications. If you don't feel like doing this right now, then make a habit of not swiping away your notifications for a bit. Either way, you should have up to seven icons max now. Enjoy!

Notice the dot icon on the right? That signifies there are more notifications to be seen but aren't shown.

When the module is installed, you can theoretically have a max limit of seven icons now. Notice how the notification dot is now gone, and the limit has been lifted from four.
Notice the dot icon on the right? That signifies there are more notifications to be seen but aren't shown.
When the module is installed, you can theoretically have a max limit of seven icons now. Notice how the notification dot is now gone, and the limit has been lifted from four.
Final Note
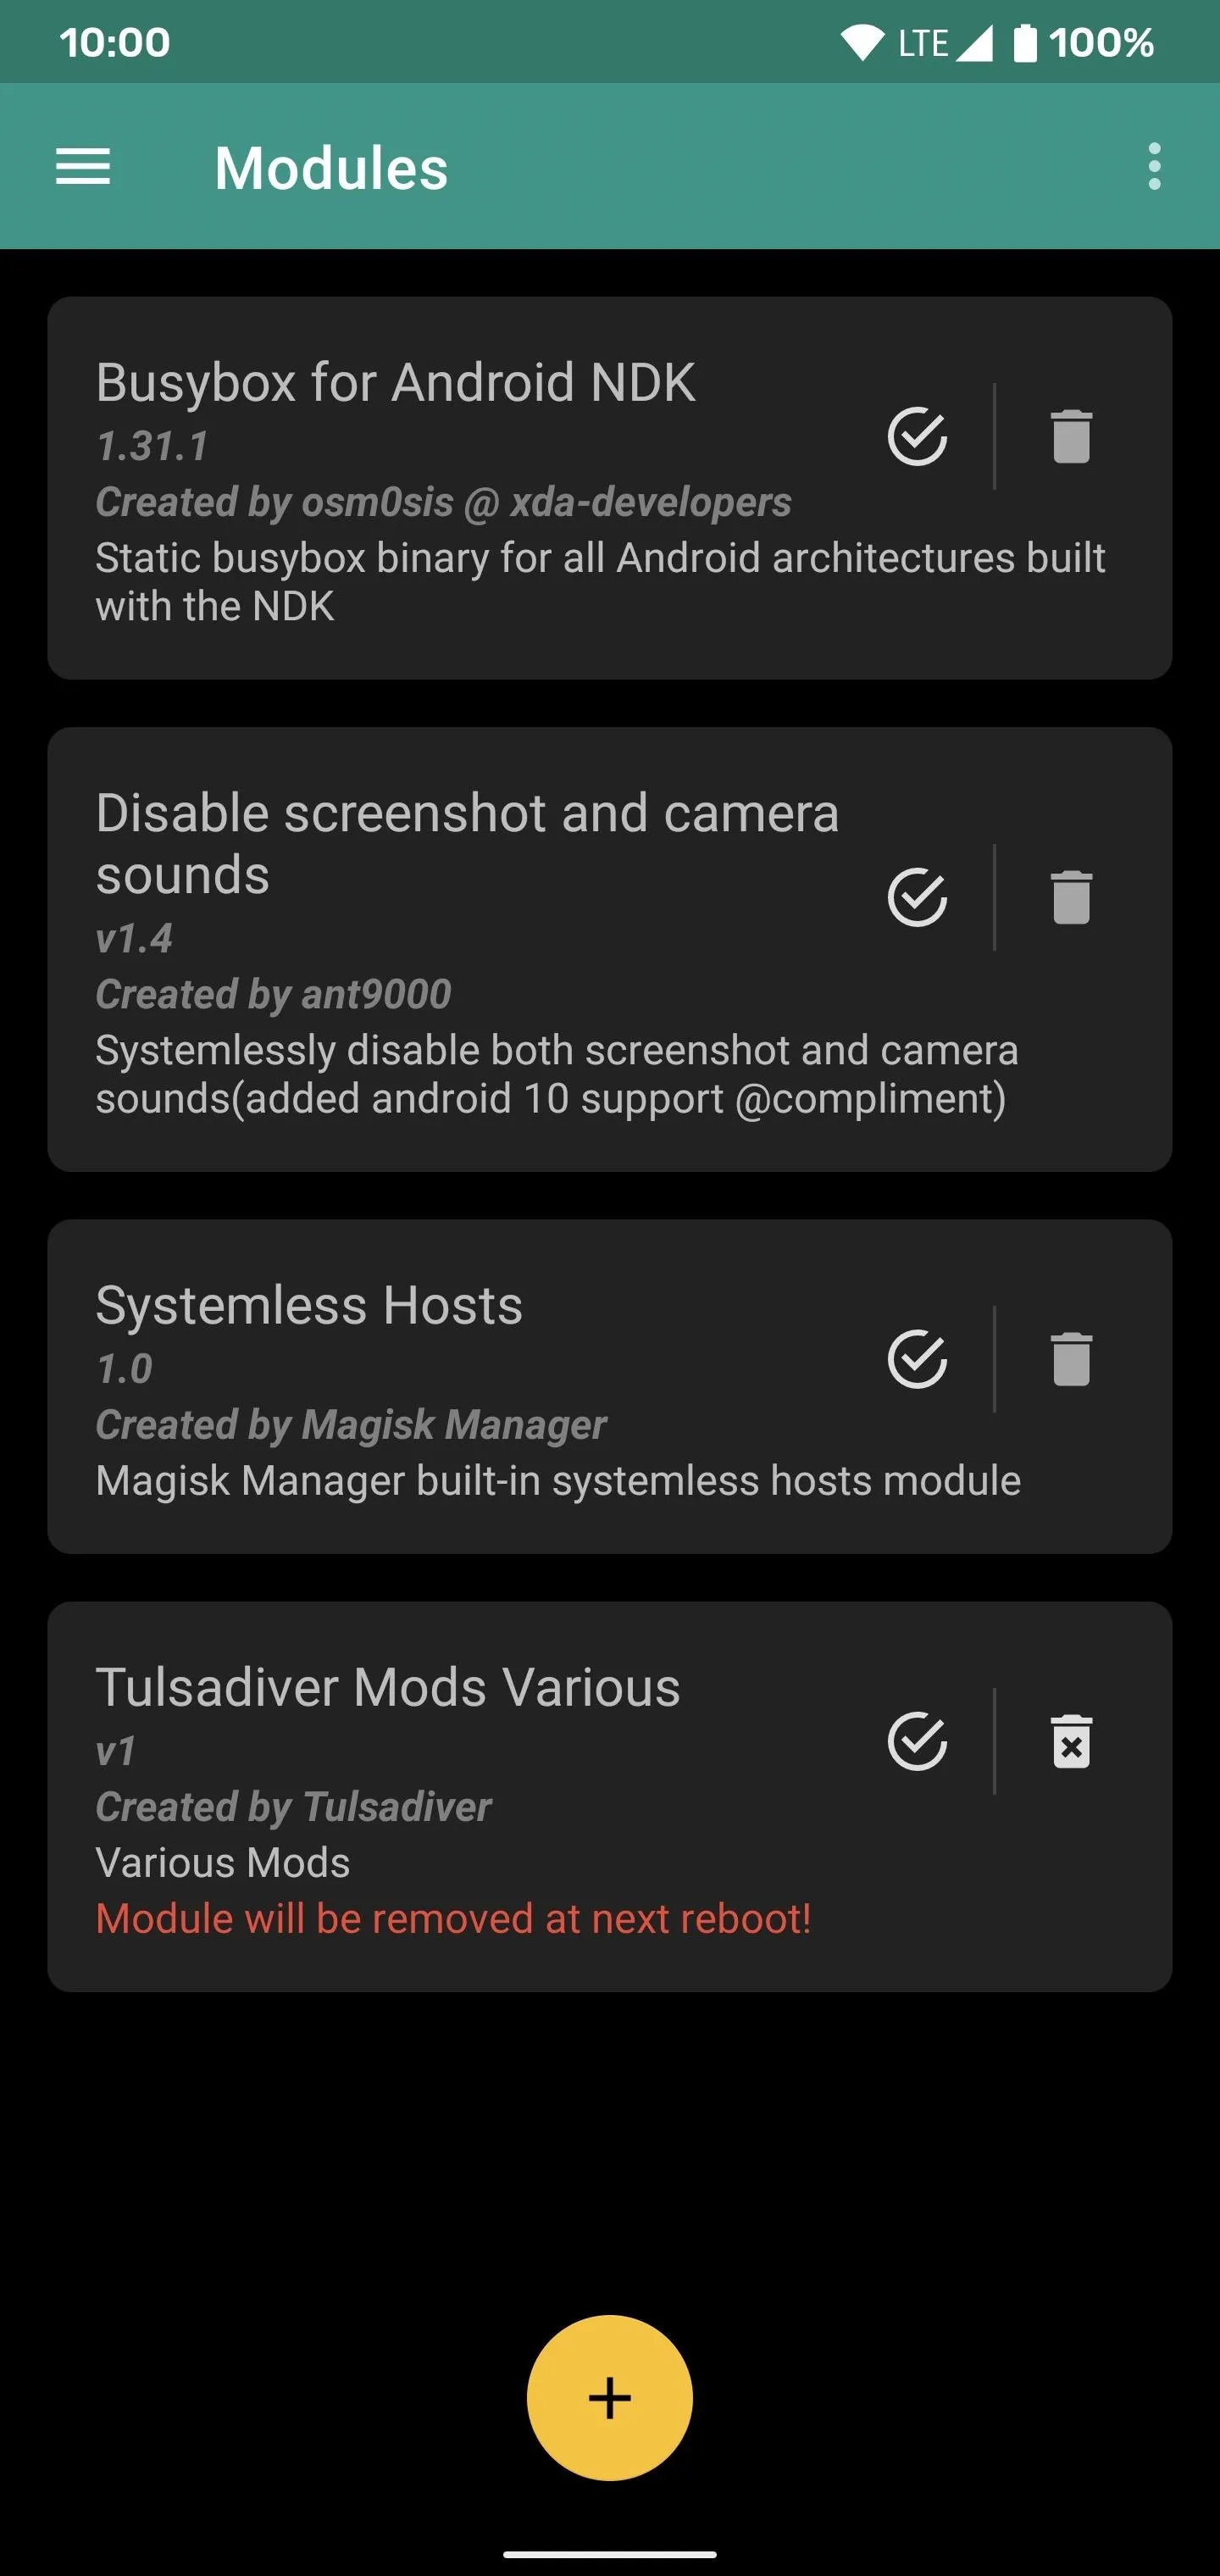
Since this module works systemlessly through Magisk, it's quite simple to remove if you want to go back to the stock notifications icon behavior. Open the Magisk Manager app to the main screen, hit the menu on the left, then tap "Modules." Locate the "Tulsadiver Mods Various" module on the list then hit the trash bin icon. Once you reboot your device, it'll be removed from your system.
Cover photo and screenshots by Stephen Perkins/Gadget Hacks


Comments
Be the first, drop a comment!