


Haptic feedback and vibration of our smartphones have come a long way in recent years. These features are much more premium now than they once were, but most users are still unable to adjust the intensity for notifications or phone calls. Most higher-end devices make less noise on surfaces than in the past, but adjusting these values can still come in handy even today.
This all depends on the quality of the vibration system being used, but each device can vary when it comes to haptic feedback. For example, sometimes we might want to be notified with a simple lightweight buzz from our phone rather than one that can shake the whole table. Being rooted can give us the option of tweaking this value using a custom kernel at any given time.
Lowering the vibration intensity allows for a more customized user experience, and is quite useful if you receive many notifications every day. Also, the vibration system is not having to work as much at a lower value, so it can potentially save a little battery at the end of the day. The guide below will explain how we can accomplish this on the Pixel 2 in a few simple steps on a system-wide level.
Requirements
Download ElementalX Kernel
To obtain the settings required to adjust the vibration feedback of your device, you need a kernel that has the option built in. The ElementalX kernel is one of the longest running and most popular kernels you can get right now for Pixel devices. Check out the main download page for the Pixel 2 and select either Android Pie (9) or Android Oreo (8.1.0).
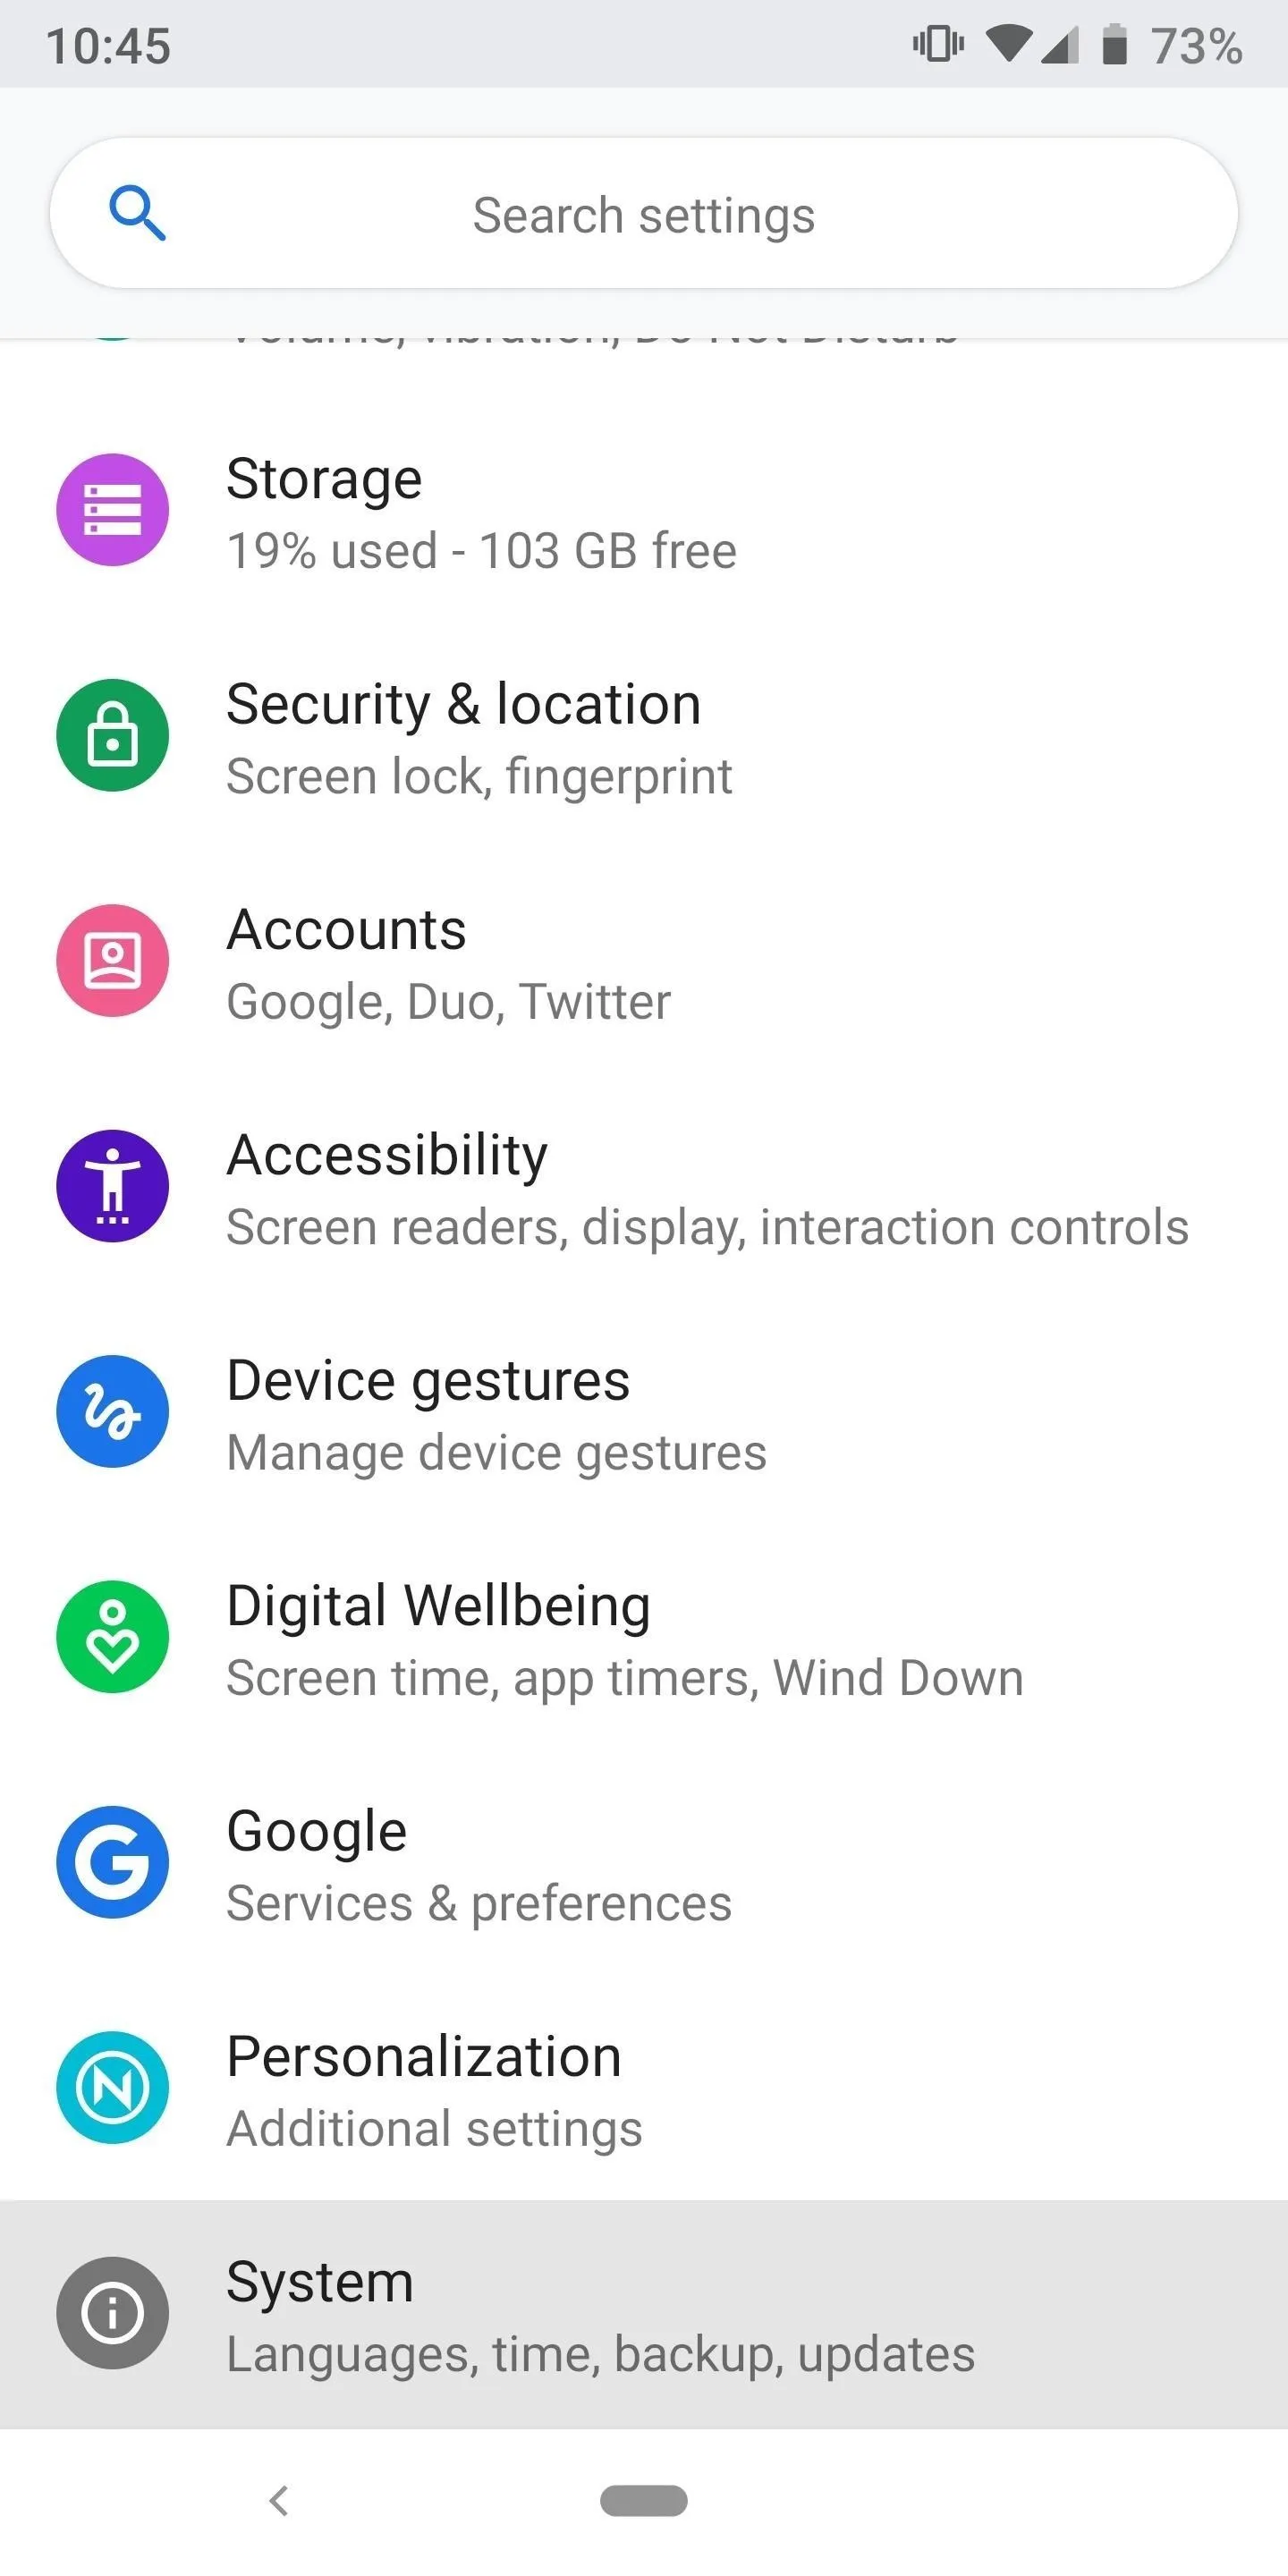
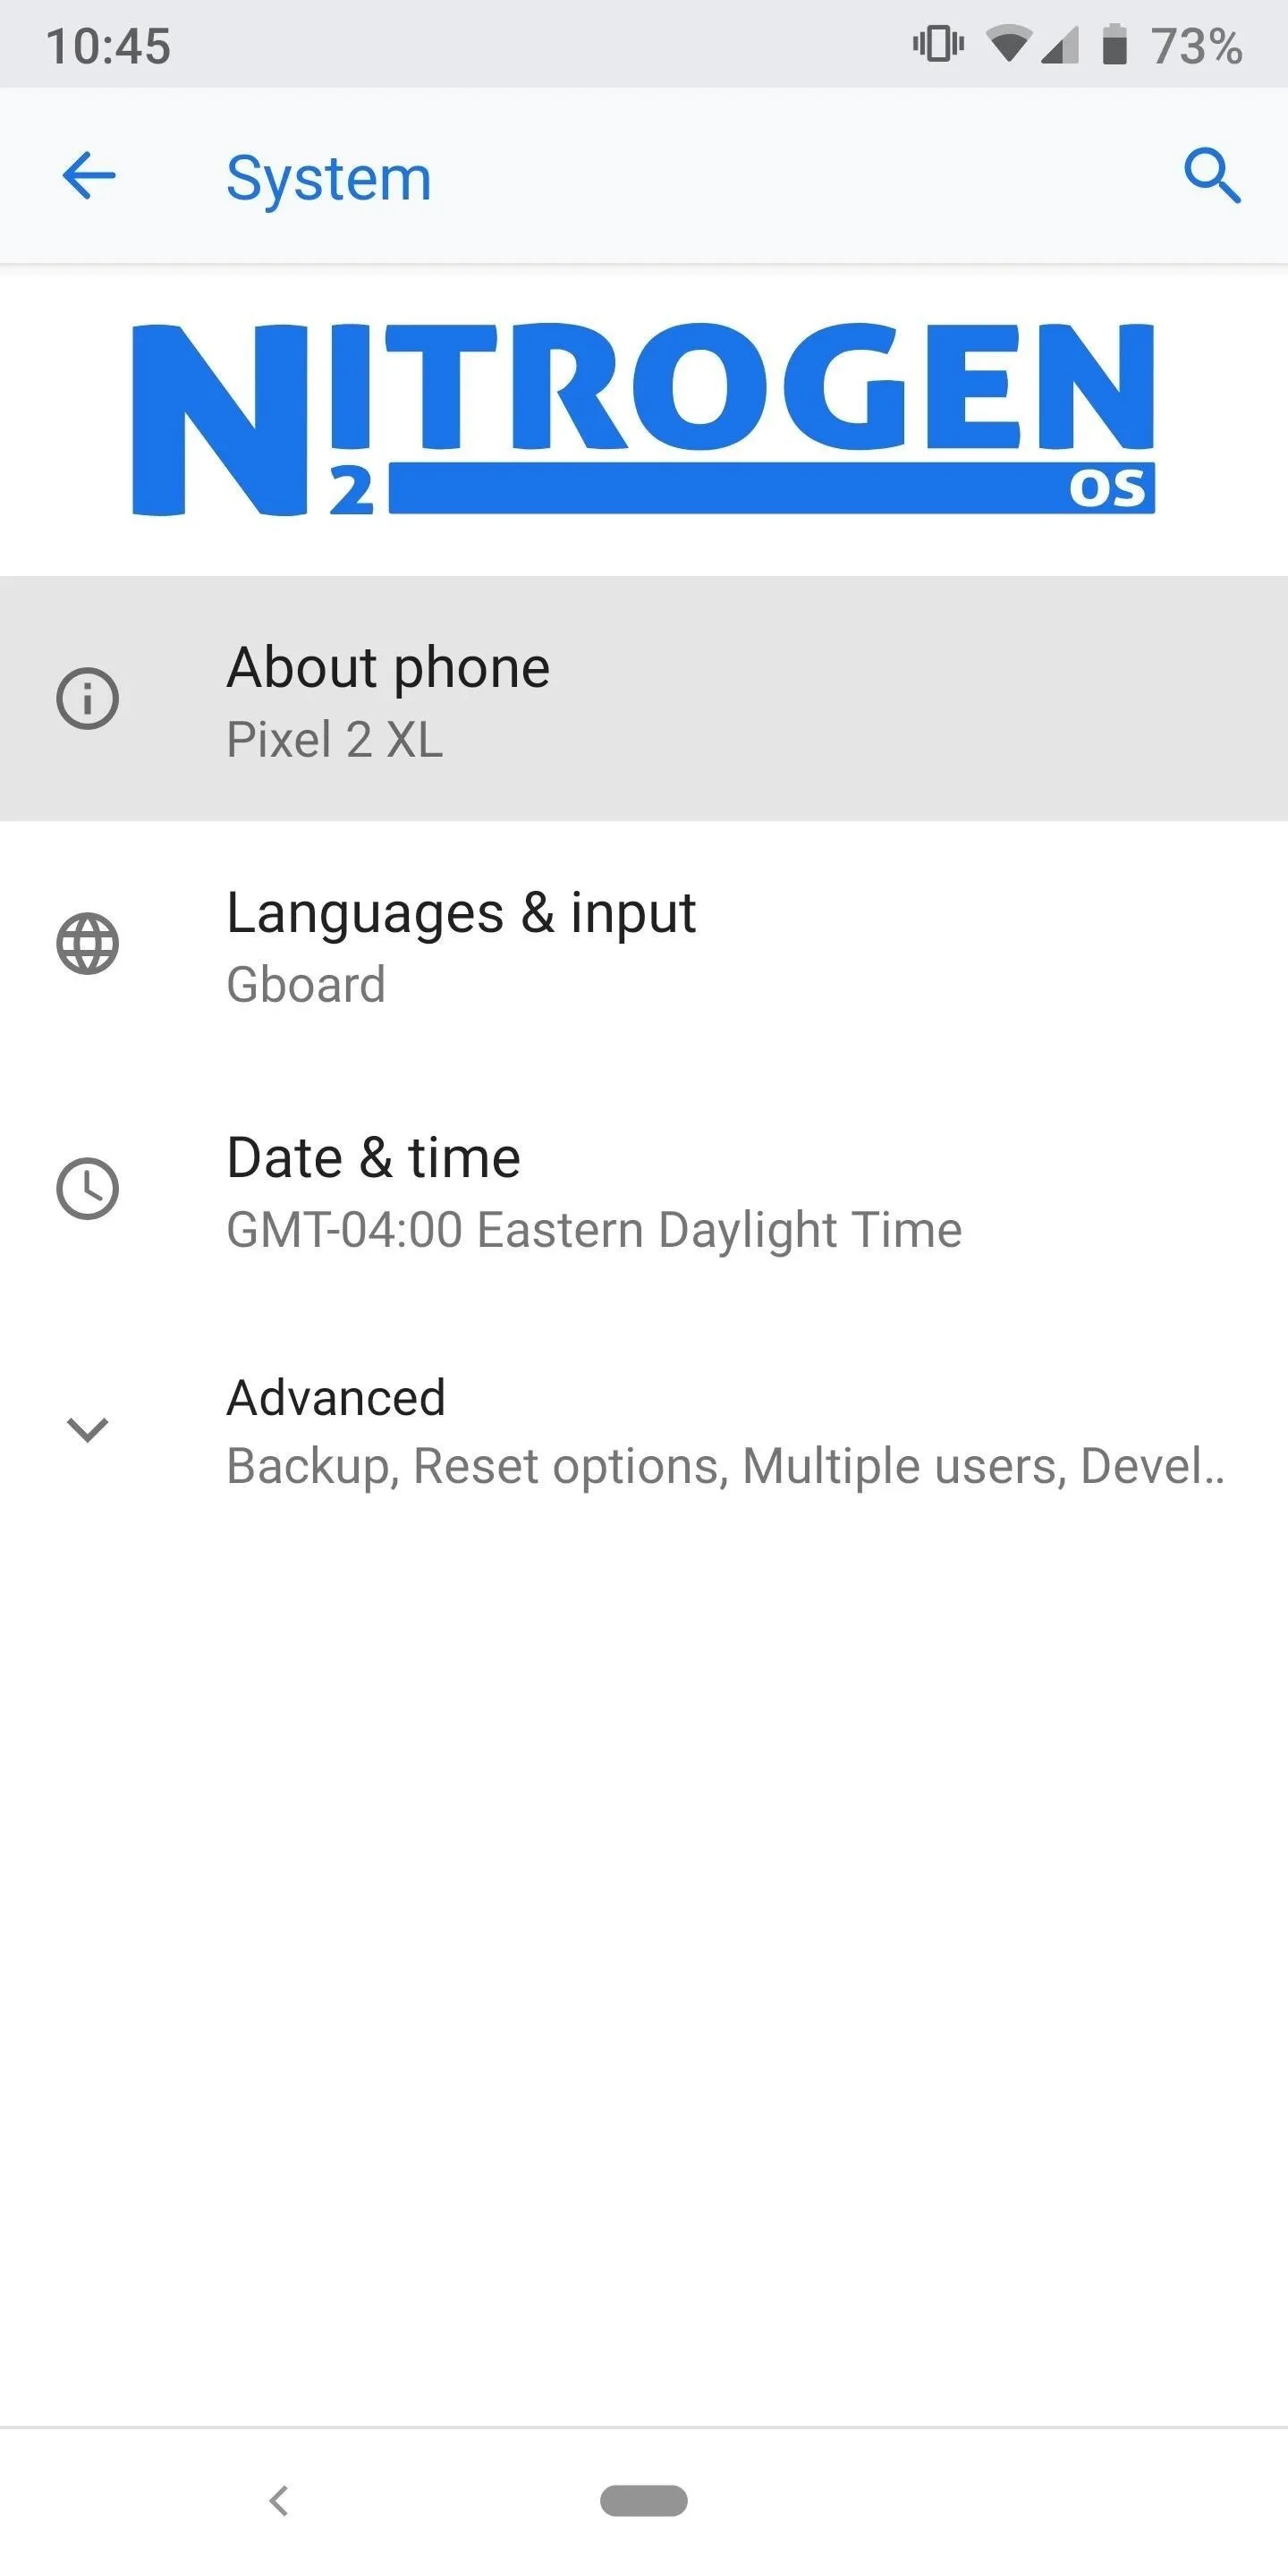
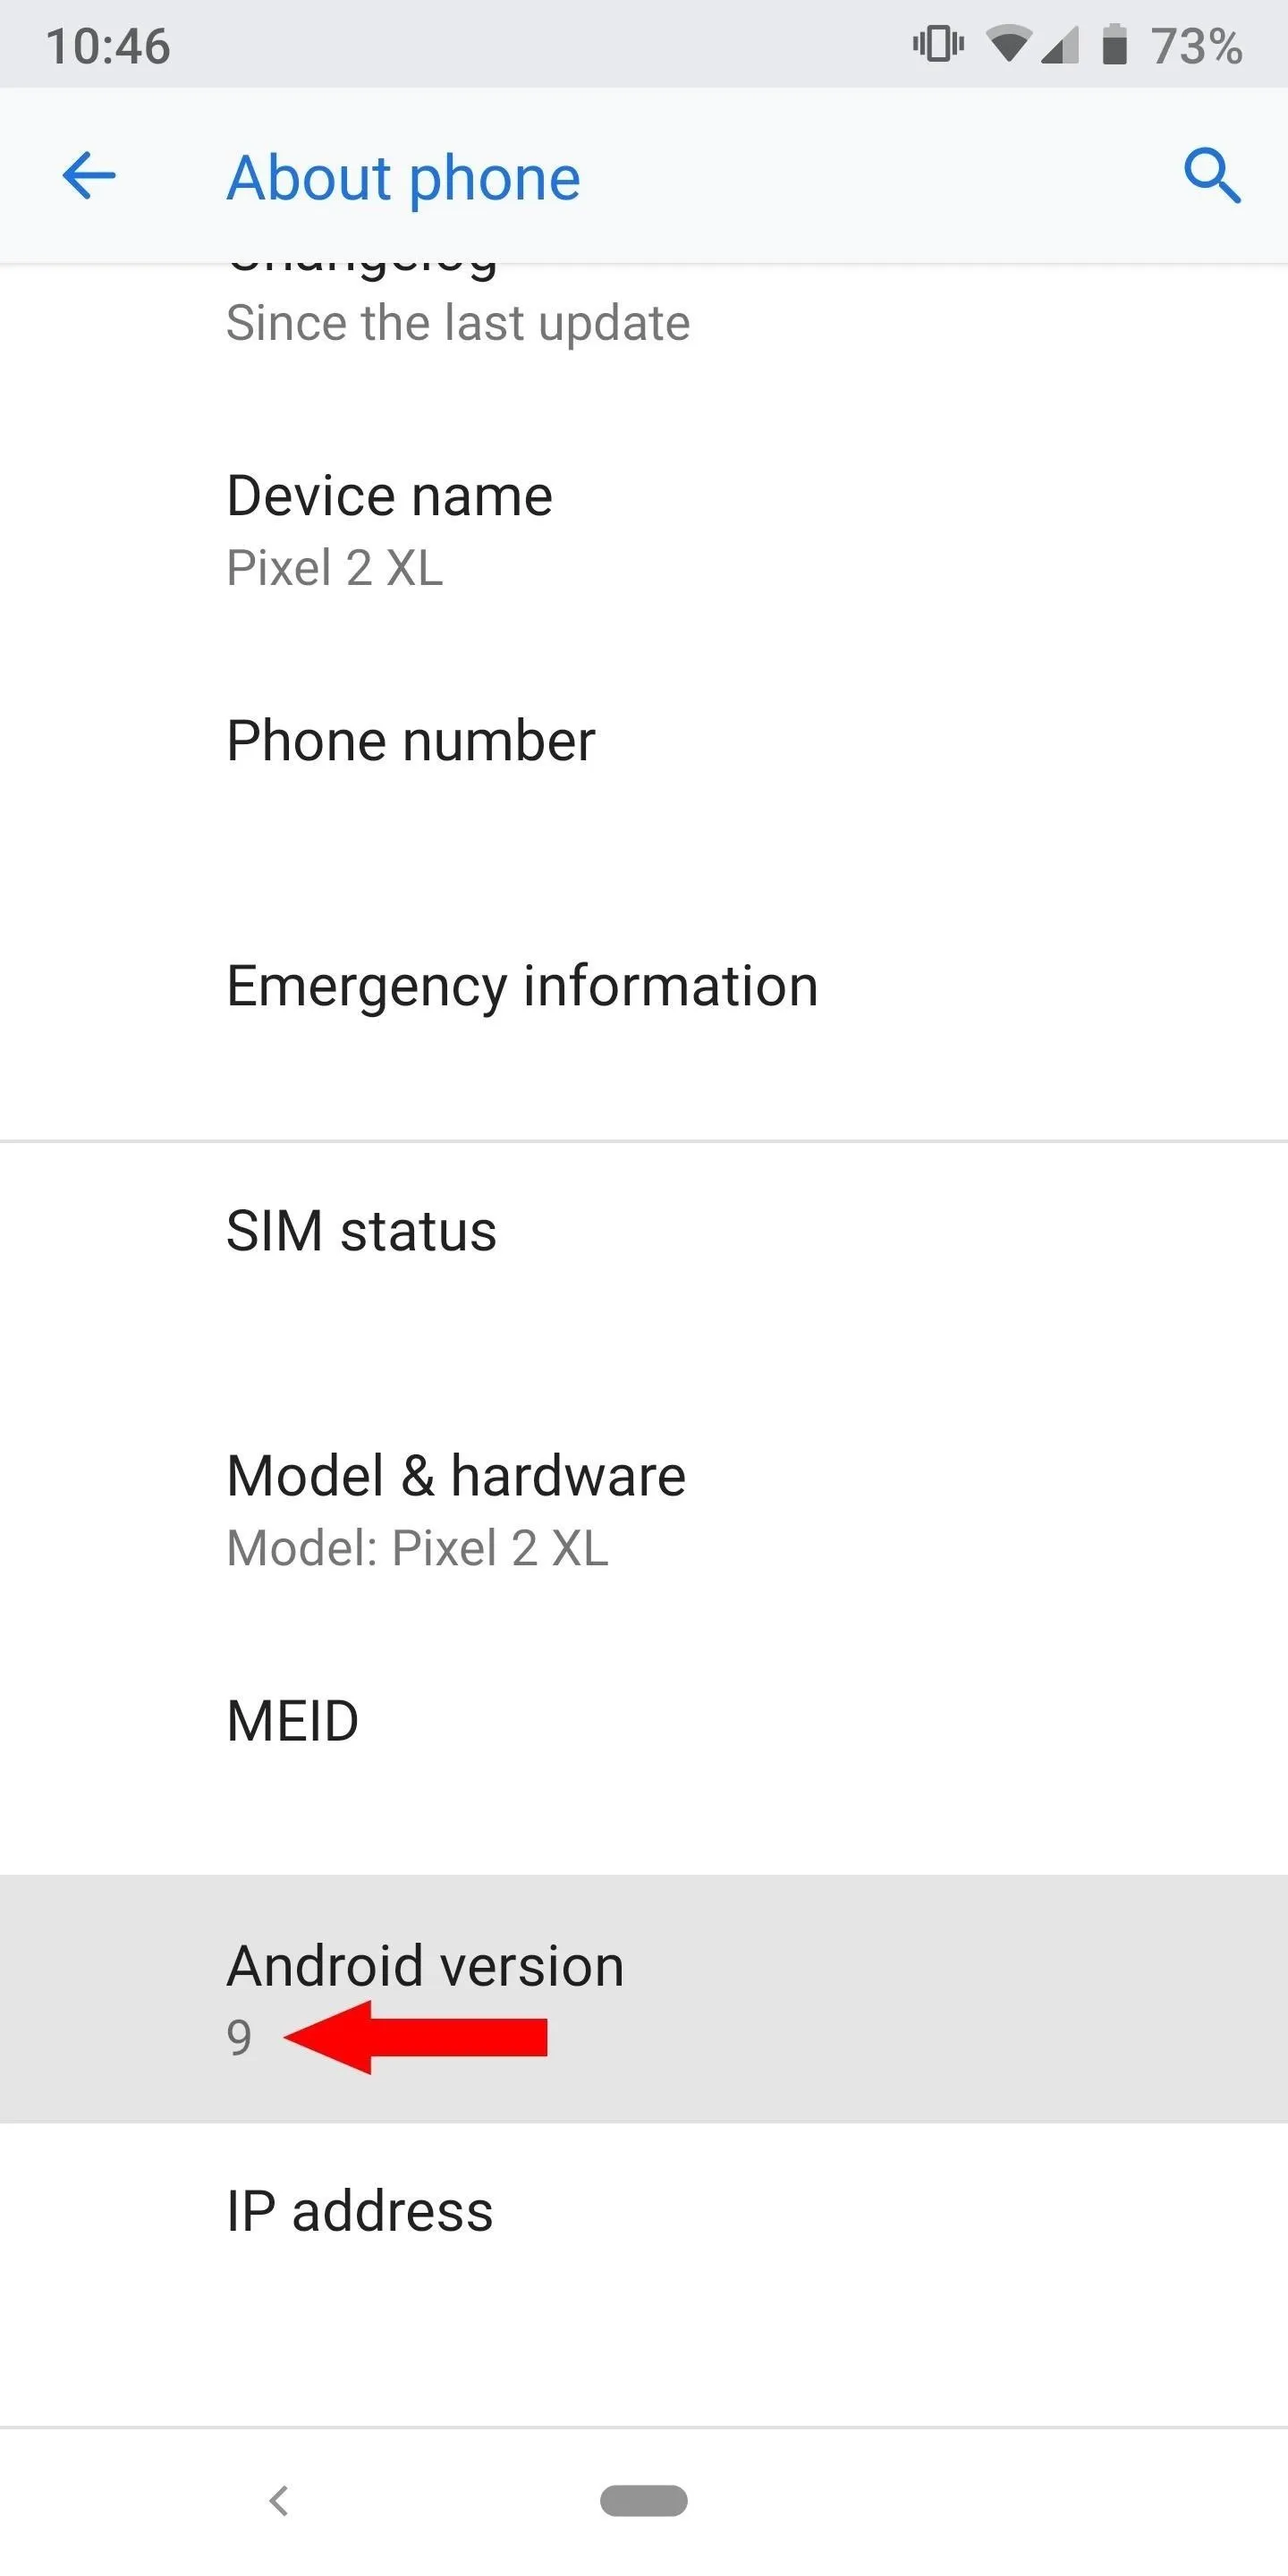
If you are unaware of what OS version your device is using right now, tap "System," "About phone," and from that point, check under the "Android version" section. You will be able to identify which OS version you are using so you can download the correct file for the kernel. You always need to make sure you download and flash the correct version of a kernel; otherwise, you might have a soft bootloop on your hands.
Flash the File in TWRP
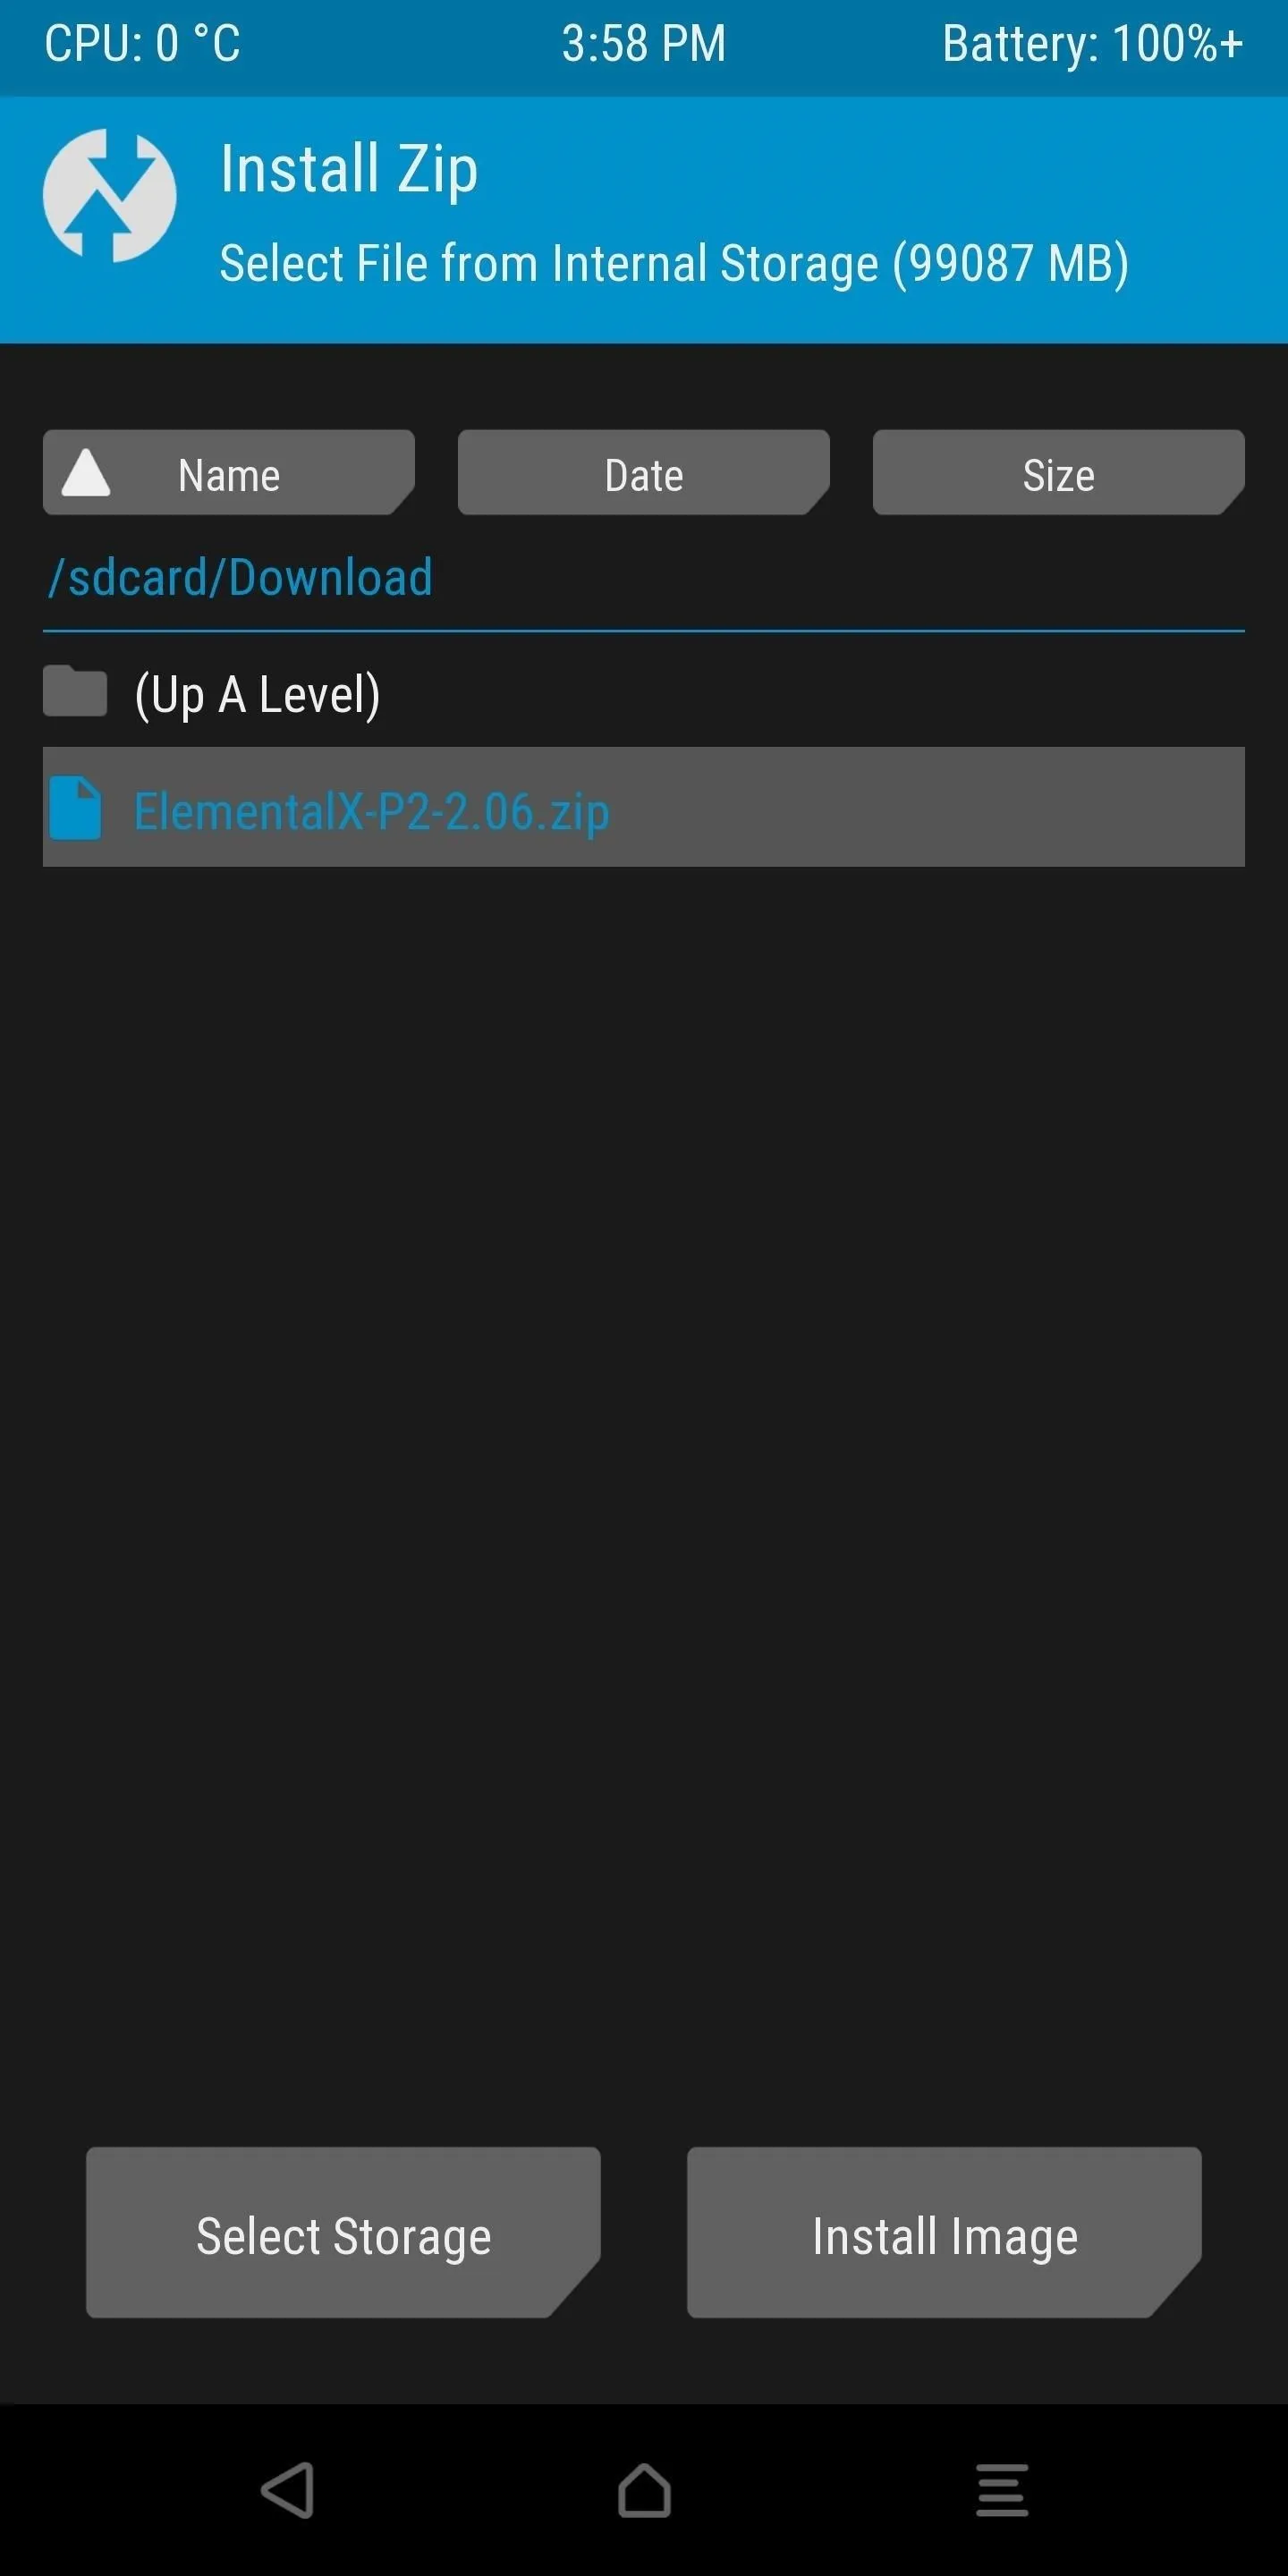
If you downloaded the file on your computer, go ahead and transfer it to the "Download" folder of your phone's internal storage. Otherwise, the file should be in the default download location set by the web browser on your phone. Now that you have the correct kernel file downloaded on your phone's internal storage, you can reboot into the TWRP recovery environment.
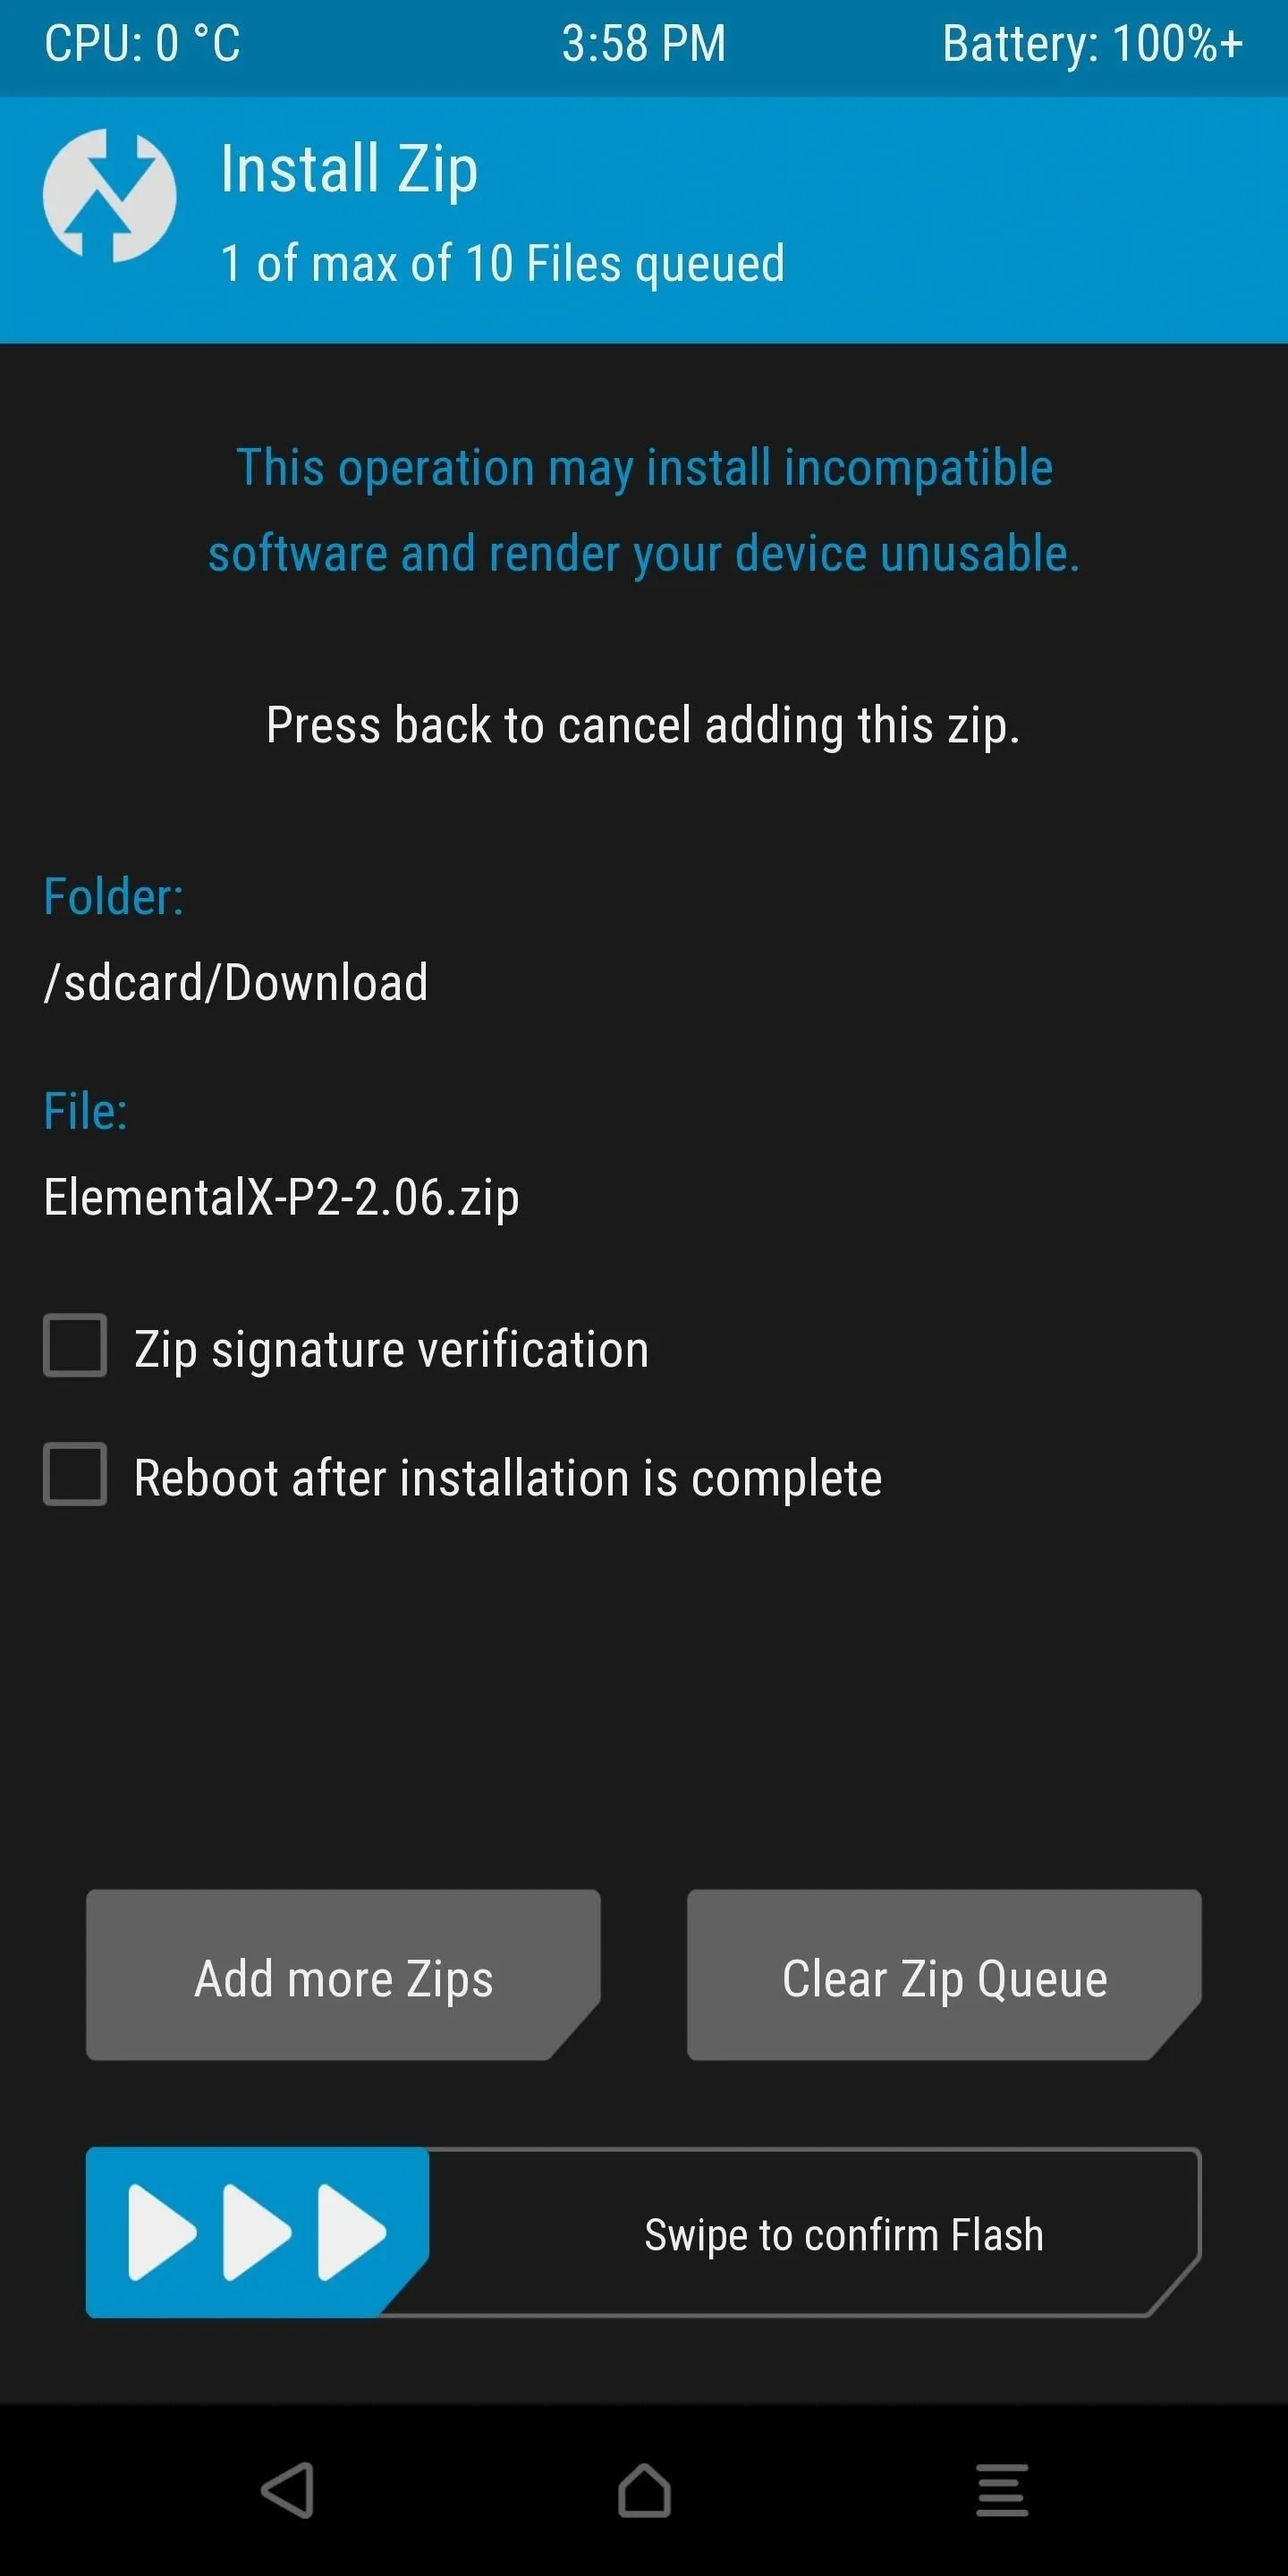
Starting from the main menu in TWRP, you want to tap "Install" and then navigate to the "Download" folder. Locate and tap the file you just downloaded for the kernel, and then "Swipe to confirm Flash." An on-screen installer will walk you through the few necessary steps to install the kernel onto your device.
Install EX Kernel Manager
You should have successfully gotten the kernel installed on your device by this point and are ready to move forward. For this guide, we are looking at making adjustments to the vibration feedback from notifications and phone calls across the system. To do this, you need to install the official EX Kernel Manager app by flar2 from the Google Play Store. This app provides you with access to all of the custom kernel tweaks and settings that can be changed at will.
- Play Store Link: EX Kernel Manager ($4.49)

Grant Permissions
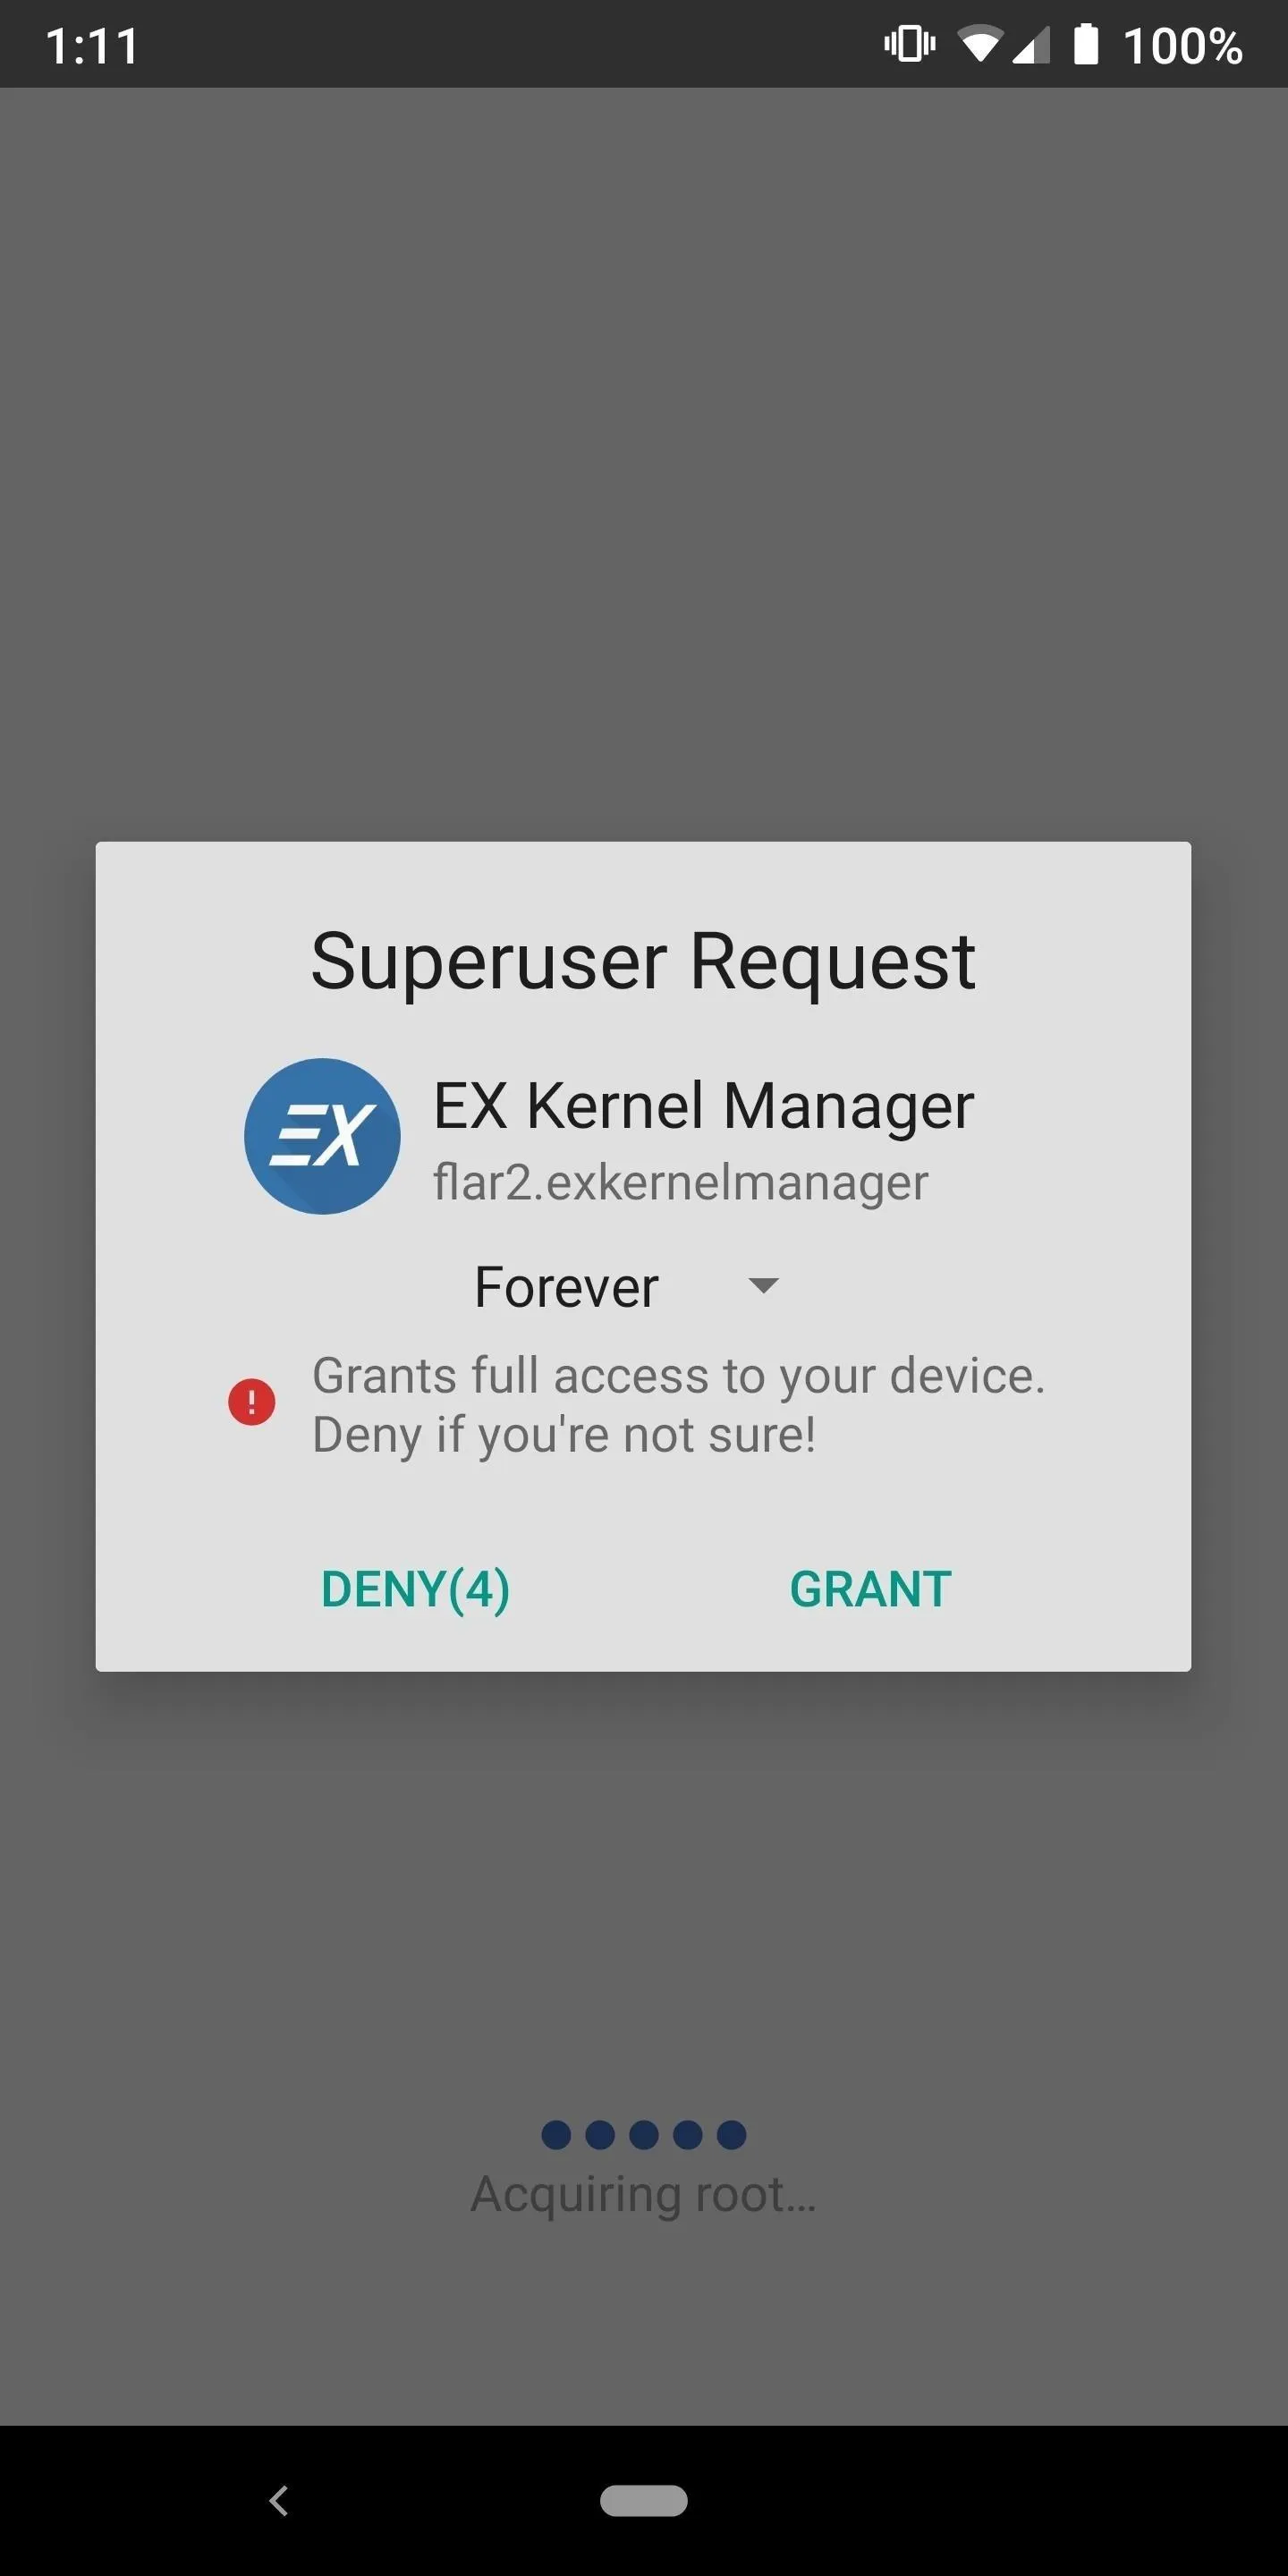
Before you can begin using the app, you must grant it root user permissions to have access to your system. Open the EX Kernel Manager for the first time, and you should be prompted with a superuser notification from Magisk. Press "GRANT" on the popup to grant the appropriate permissions, which will give you full access to all of the kernel settings from there!
Adjust the Intensity
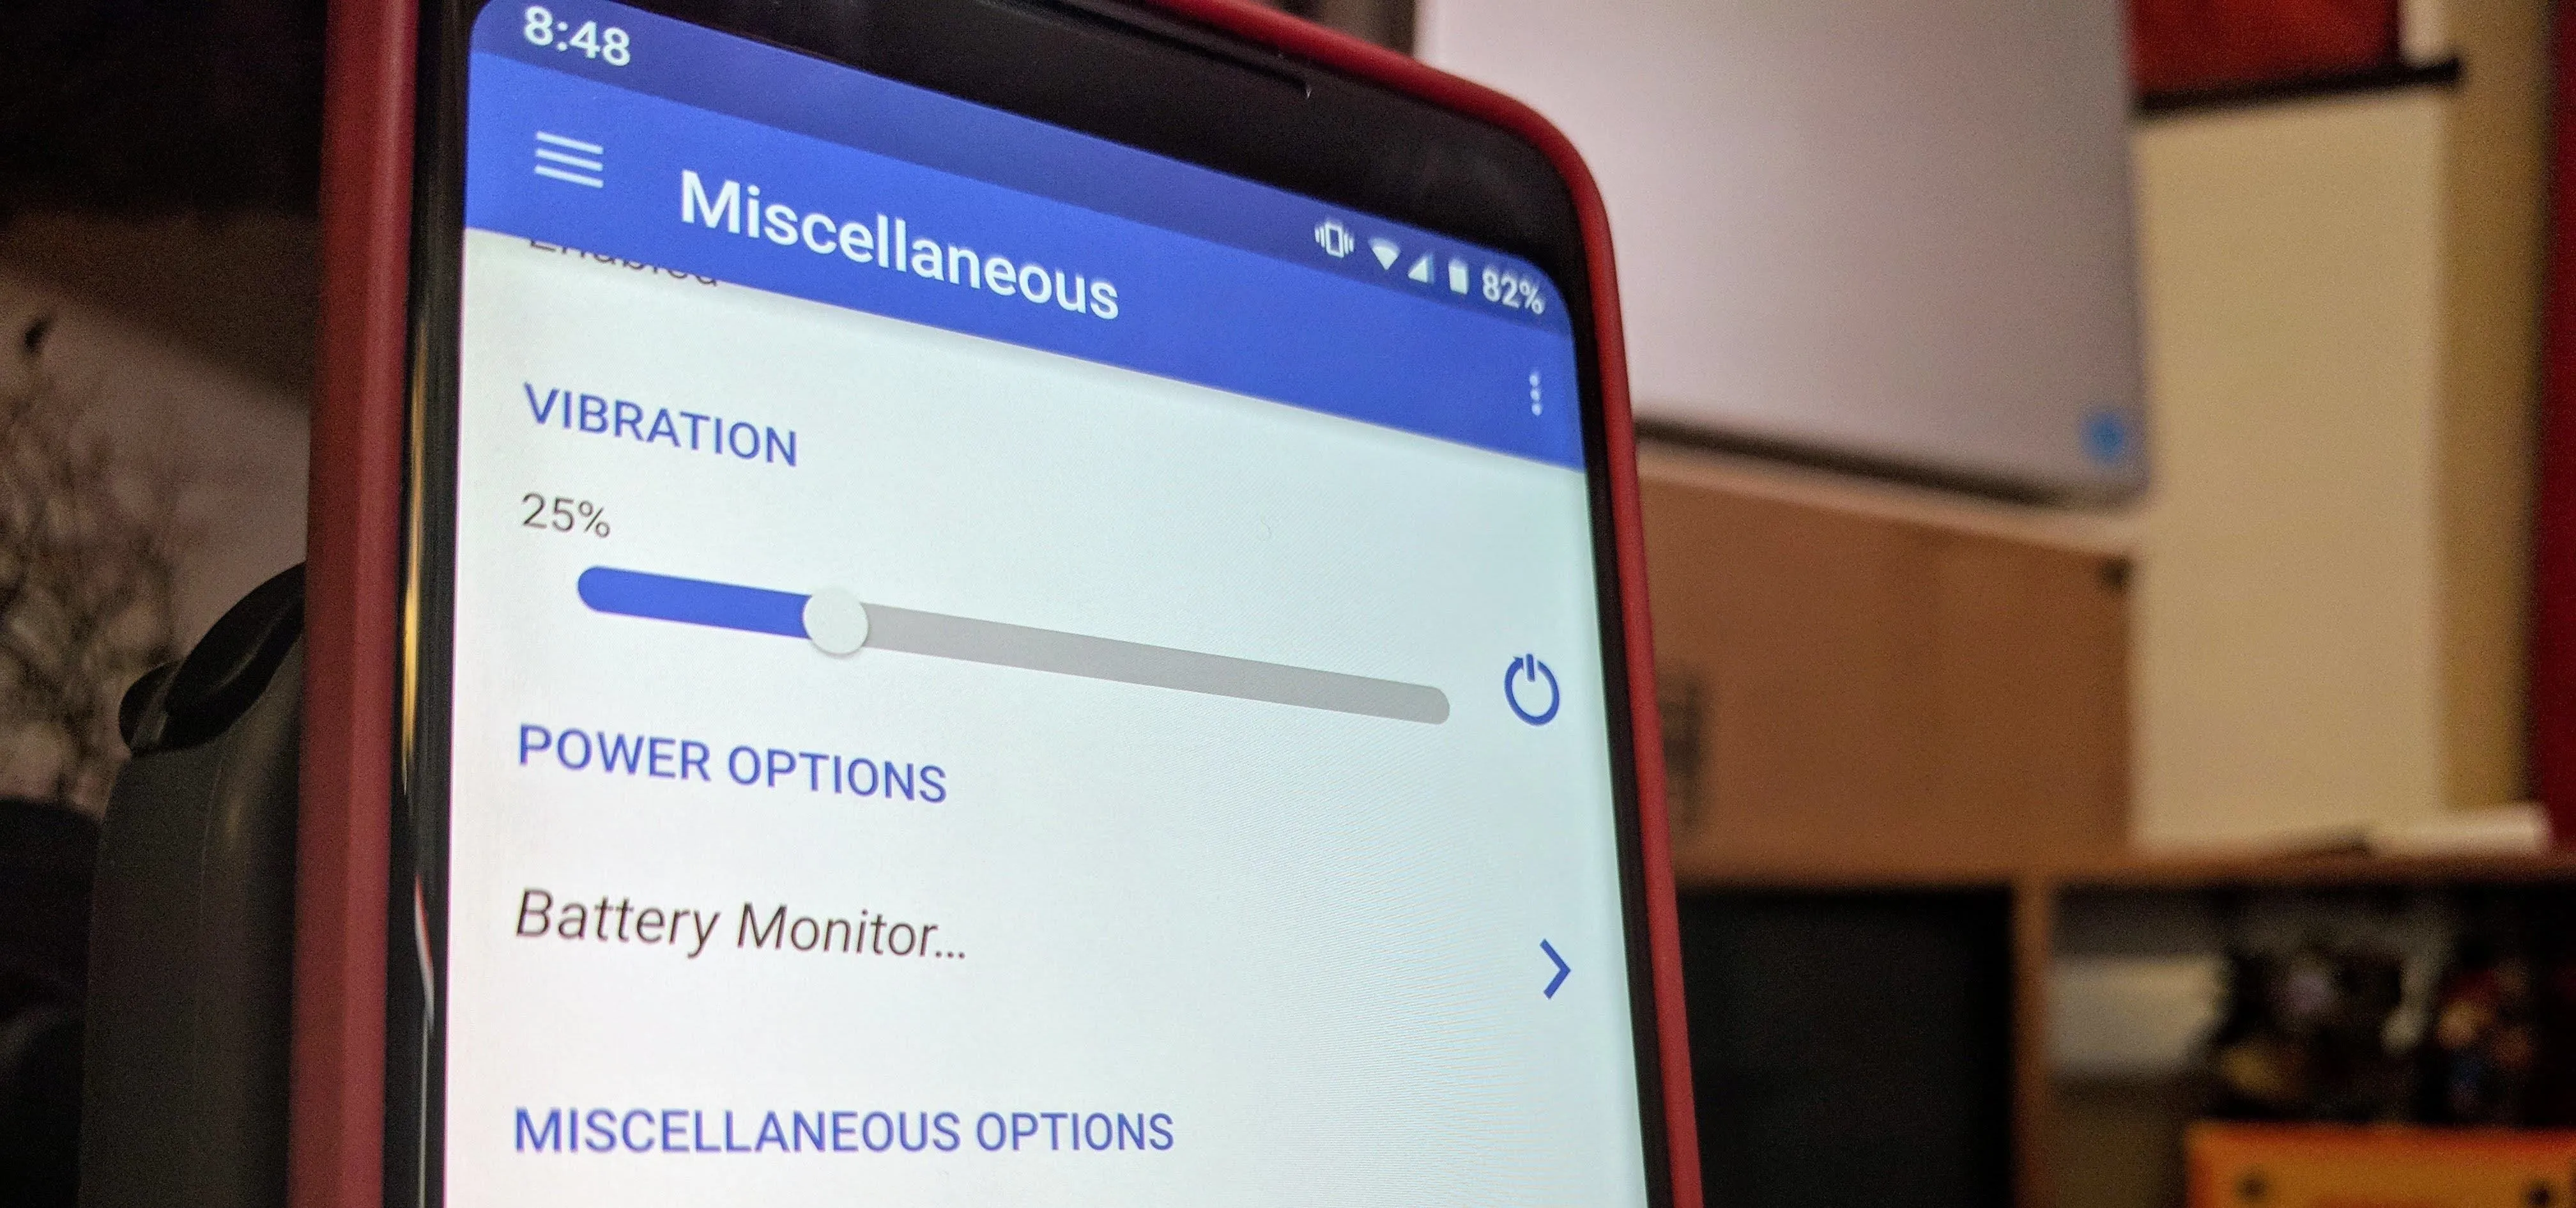
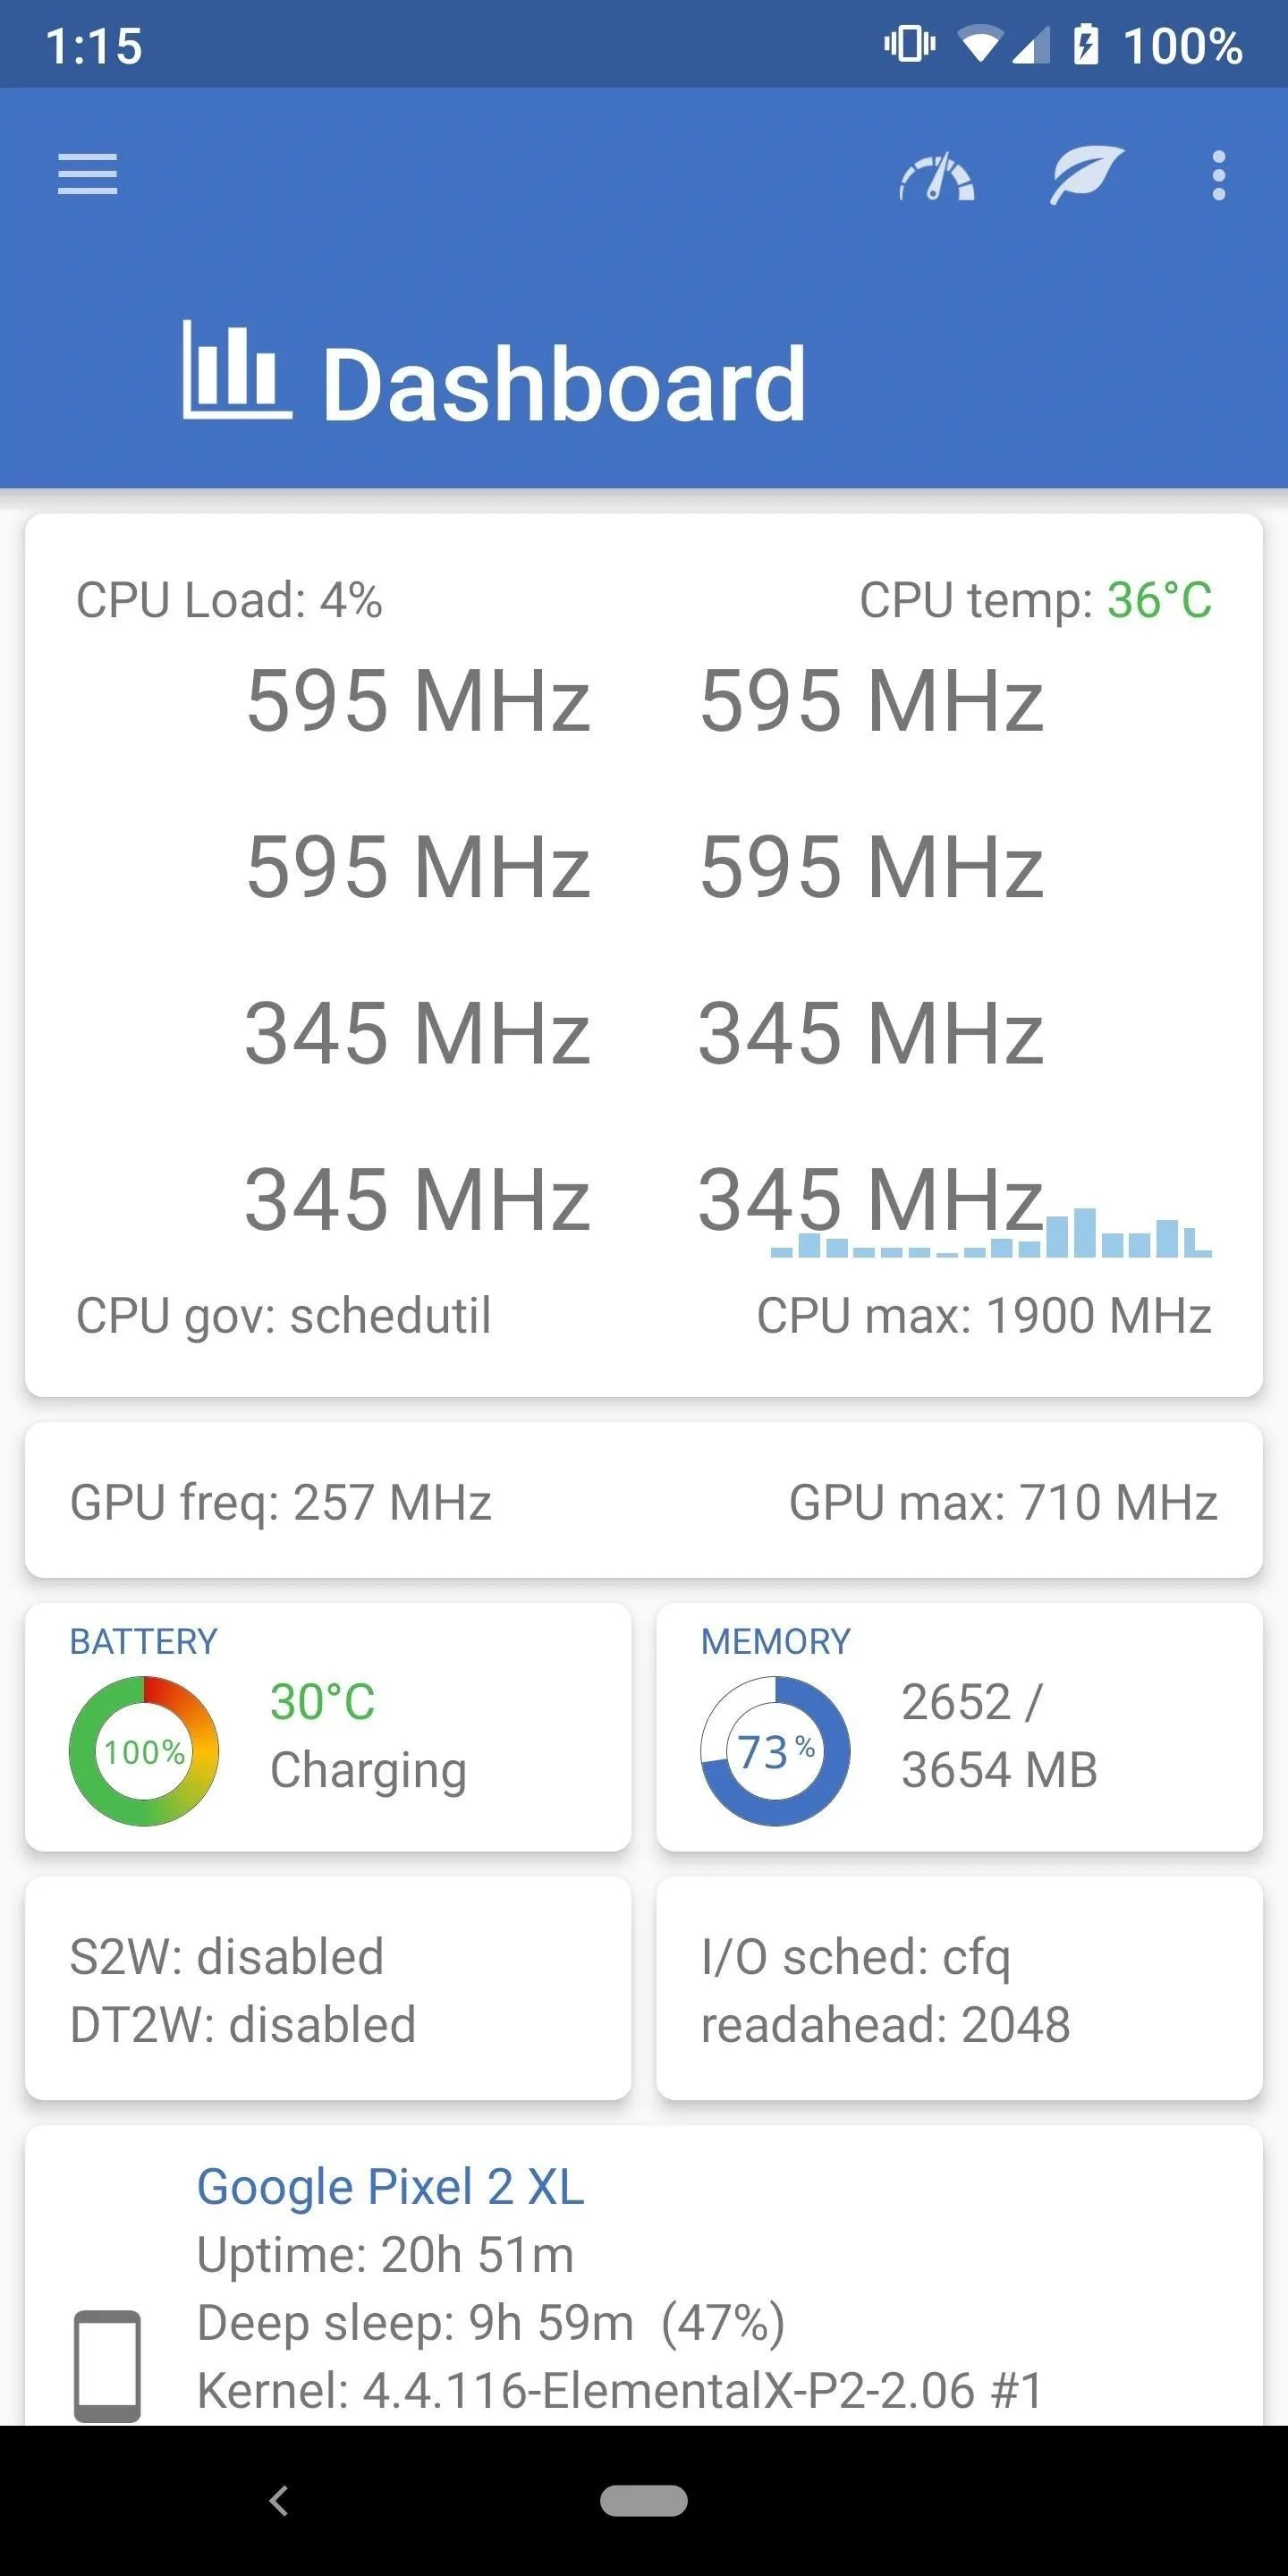
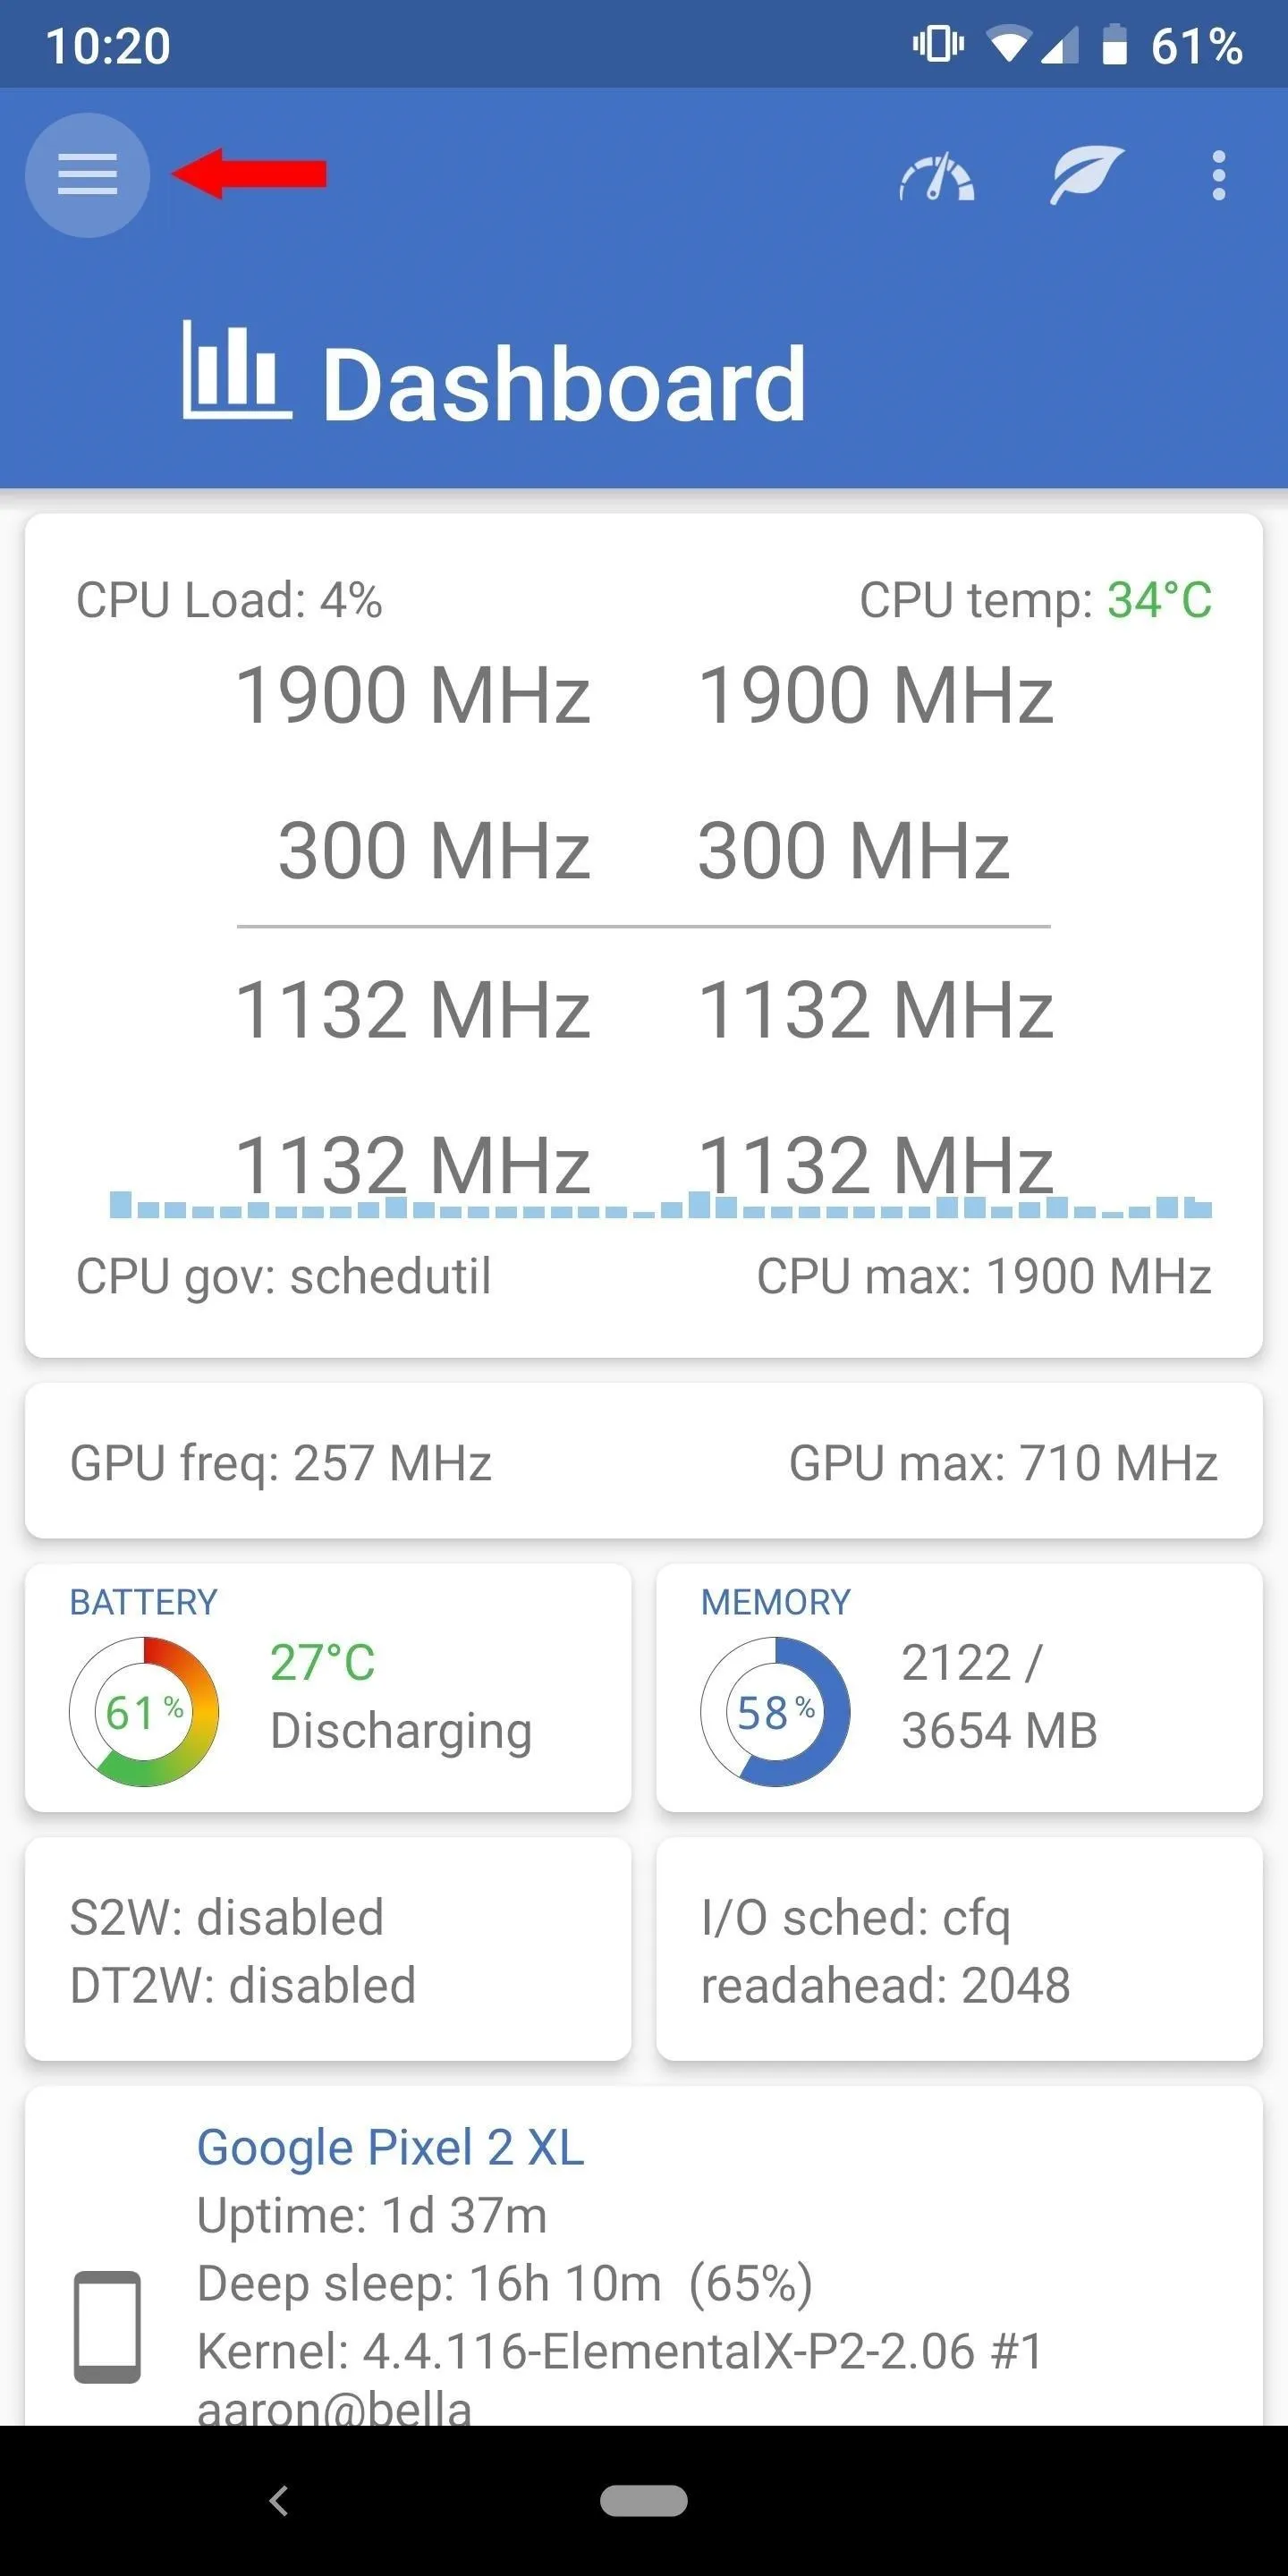
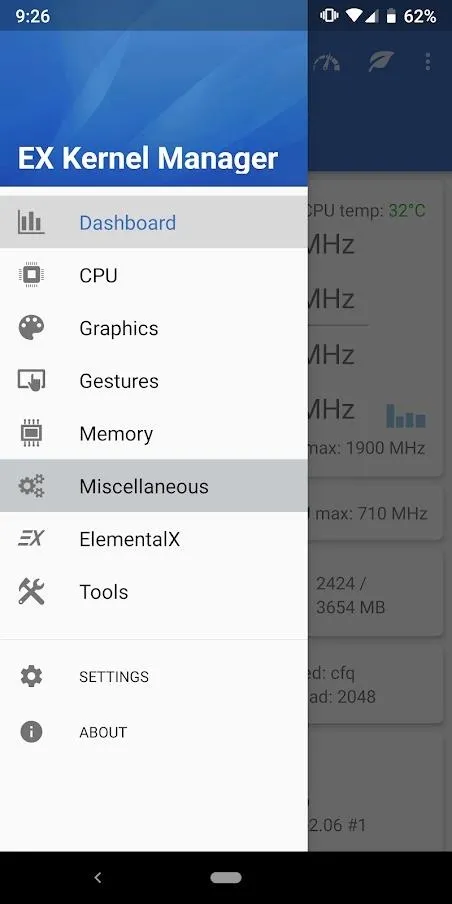
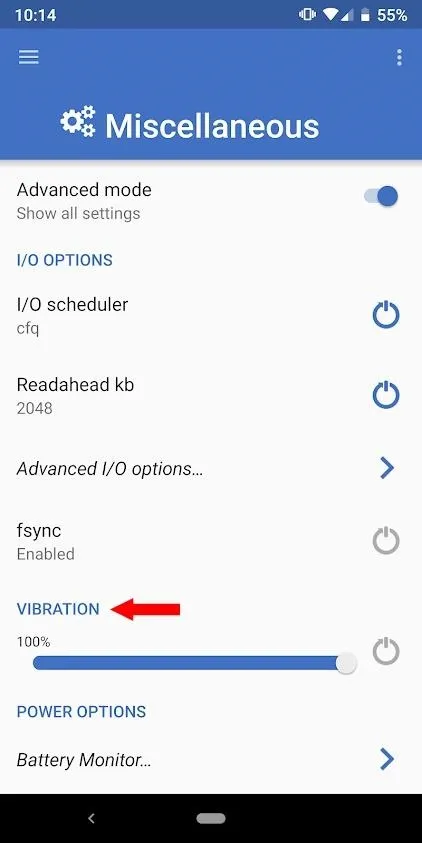
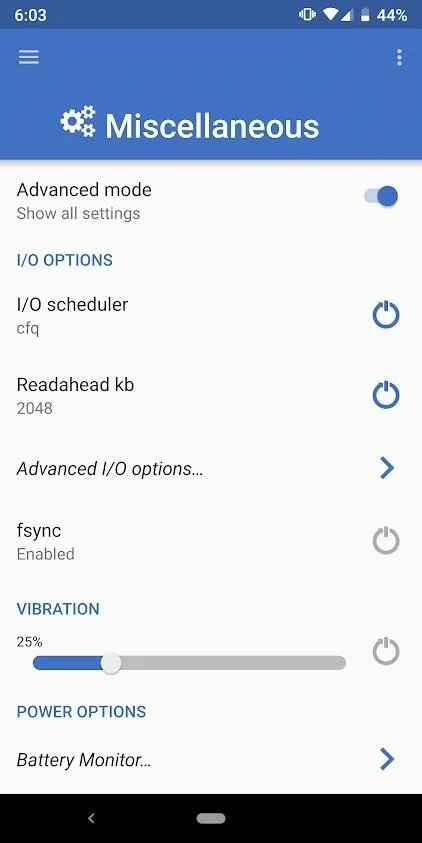
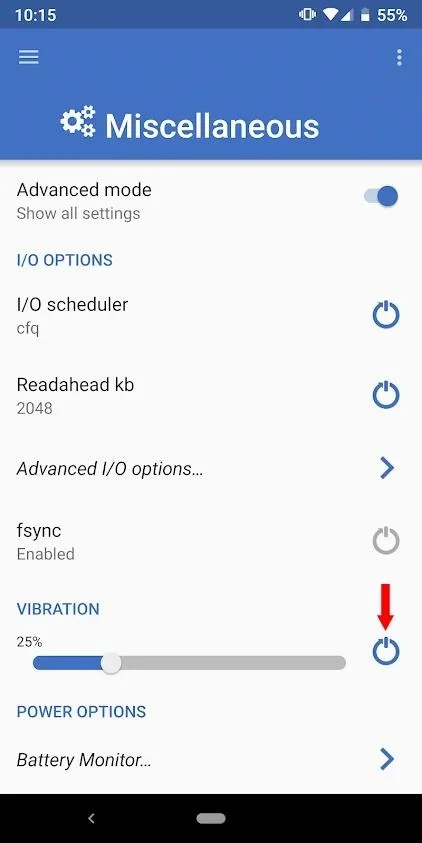
From the main dashboard on the EX Kernel Manager app, tap the hamburger menu on the left, and then go to "Miscellaneous." Scroll down if you have to and look for the "Vibration" setting that has a slider bar for making adjustments. By default, the vibration intensity is set to 100%, but it can go all the way down to 0%, which turns it off completely. This is where you can make any adjustment you see necessary, but a good starting point is by reducing the value in increments of 25%.
Once you find a value that you are comfortable with using, make sure you tap the "Apply on boot" button for the vibration setting (power icon). Whenever you receive notifications or phone calls that normally vibrate the phone, you should notice an immediate difference from here on out. Now you are all set and can make adjustments whenever you need to!
- Follow Gadget Hacks on Pinterest, Reddit, Twitter, YouTube, and Flipboard
- Sign up for Gadget Hacks' daily newsletter or weekly Android and iOS updates
- Follow WonderHowTo on Facebook, Twitter, Pinterest, and Flipboard
Cover image and screenshots by Stephen Perkins/Gadget Hacks


Comments
Be the first, drop a comment!