Rooting usually means sacrifice. With most root methods, you lose access to apps like Netflix and Android Pay when SafetyNet gets tripped. More importantly, you lose the ability to accept OTA updates, forcing you to manually flash new Android versions. But there's a way around all of this if you root the right way.
The method we'll cover here involves patching your Pixel 3 or 3 XL's boot image with Magisk, then flashing the patched boot image with Fastboot commands. It's pretty straightforward, but it's different than most root methods — namely, you won't be installing TWRP if you follow this guide.
The downside to TWRP-less root is that you can't flash ZIPs. But if you just want root access and you're fine with the stock firmware, this method is a better fit. Because when it's all done, you'll just have to tap two buttons on your phone to unroot and get ready to accept the next OTA update — yep, it's really that simple!
Unlock Your Bootloader
Before you can do any modding, including rooting with Magisk, you'll need to unlock your bootloader. If you haven't done this already, we've written up a detailed guide that will walk you through it all — even if you're a complete beginner.
Download the Factory Images
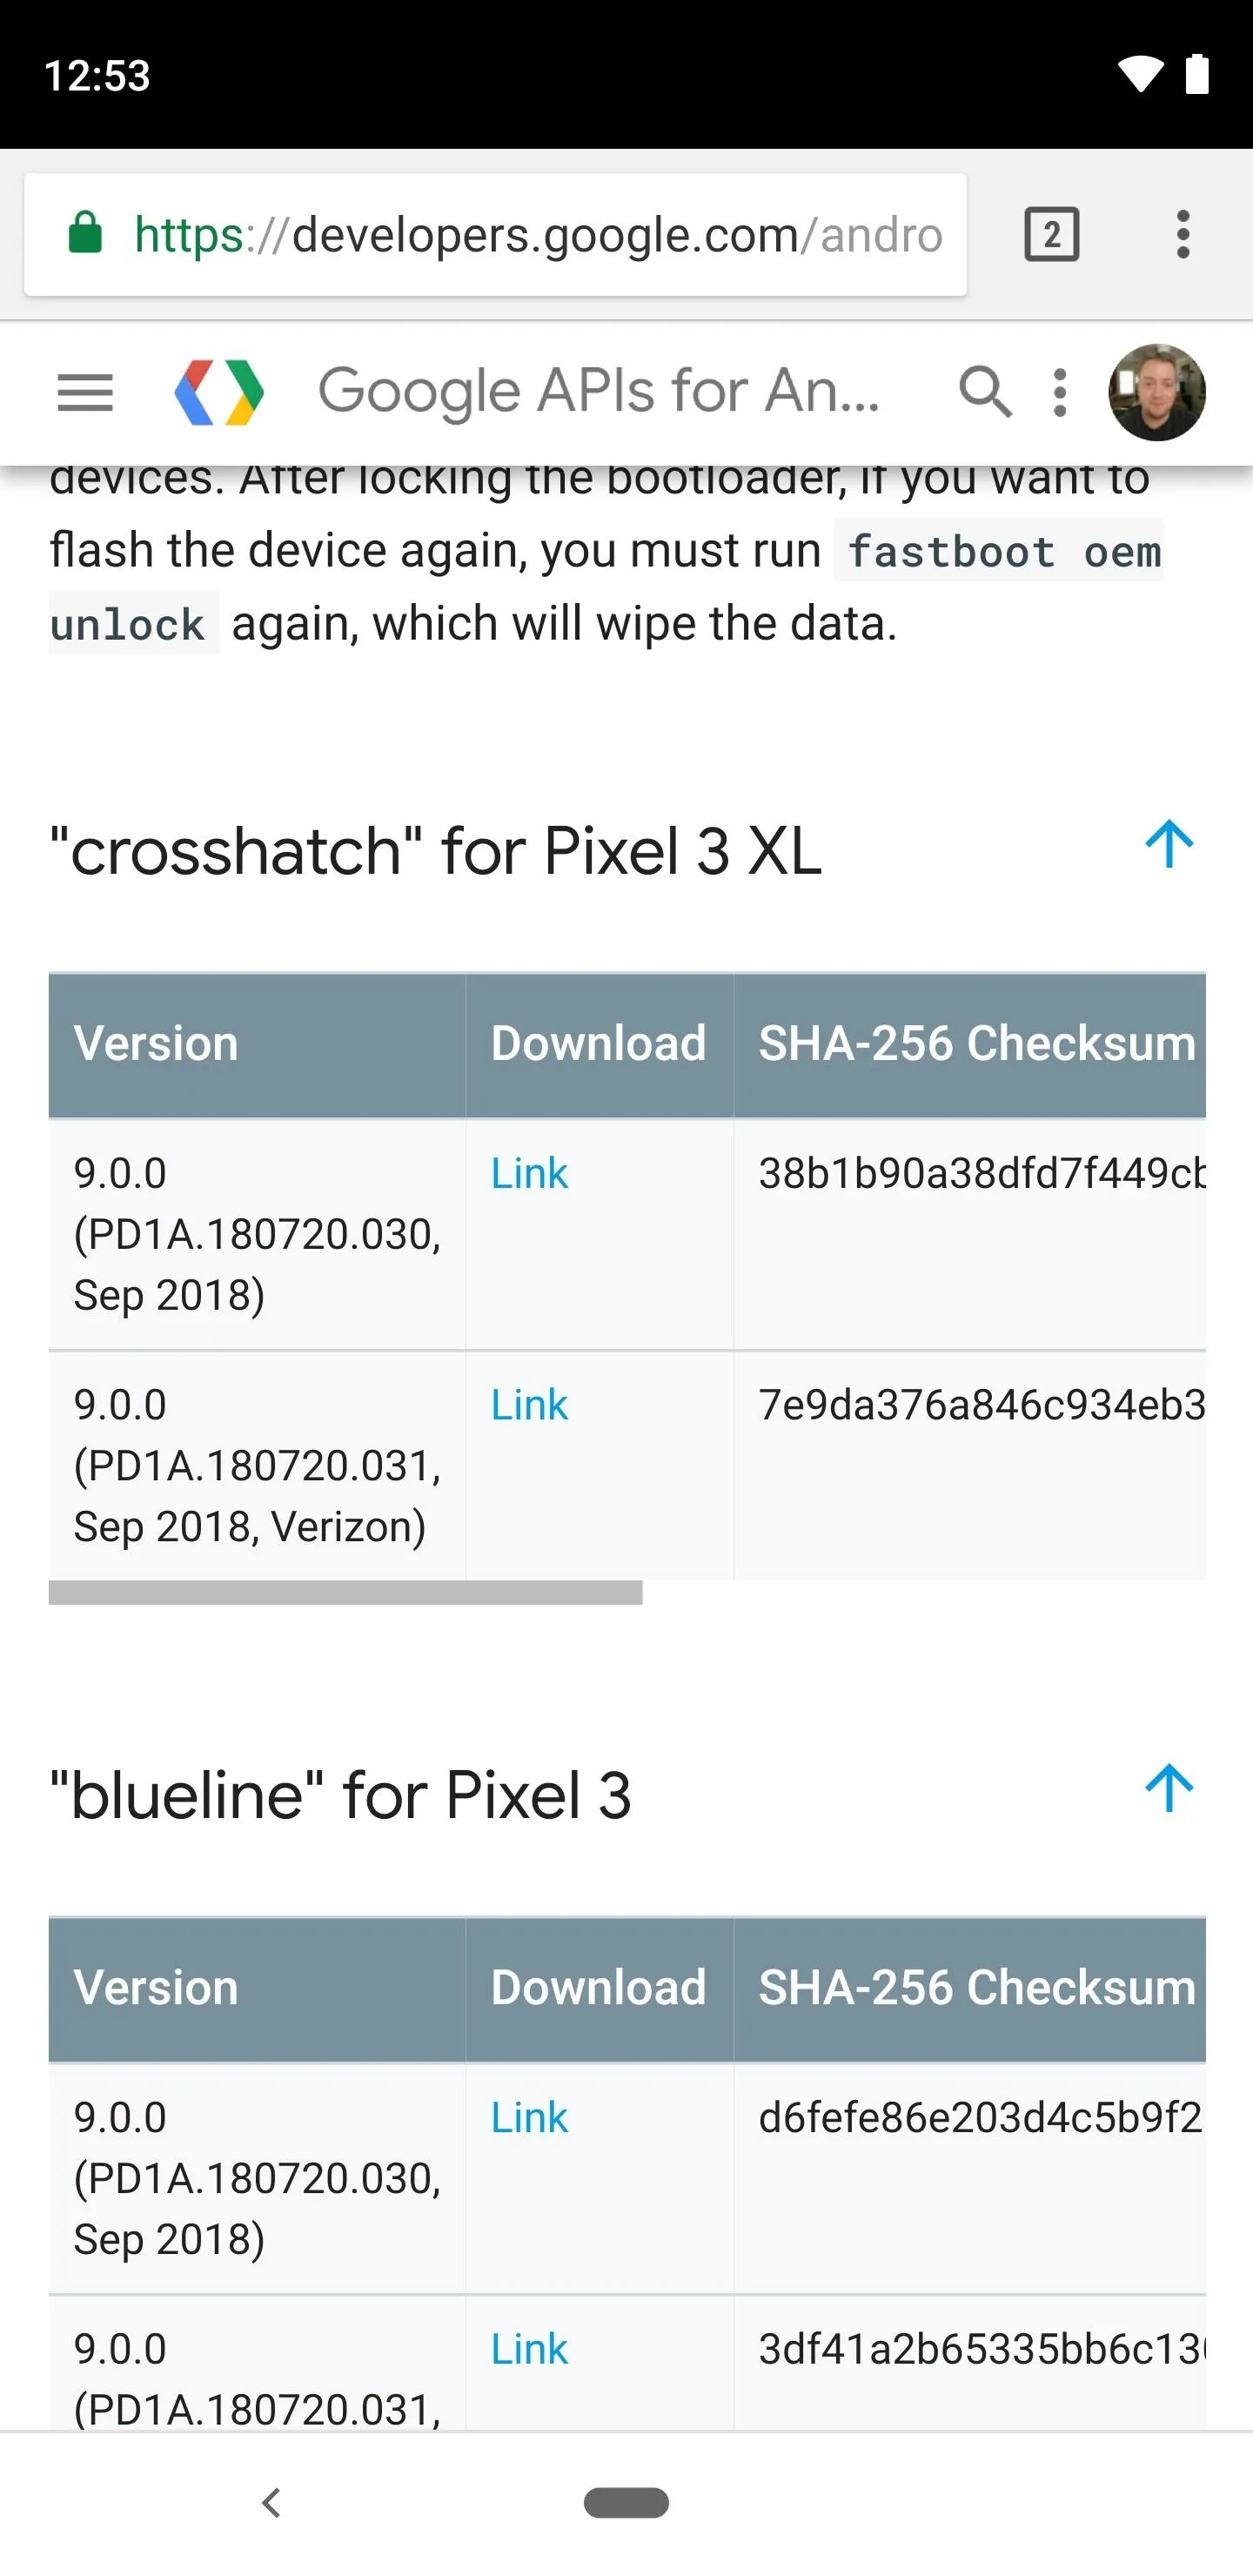
With your bootloader unlocked, the next step involves grabbing the factory images package for your particular model. From your phone, tap the link below to head to Google's official firmware page, then locate your device in the list. Download the firmware version that coincides with your current build number in Settings –> System –> About Phone.
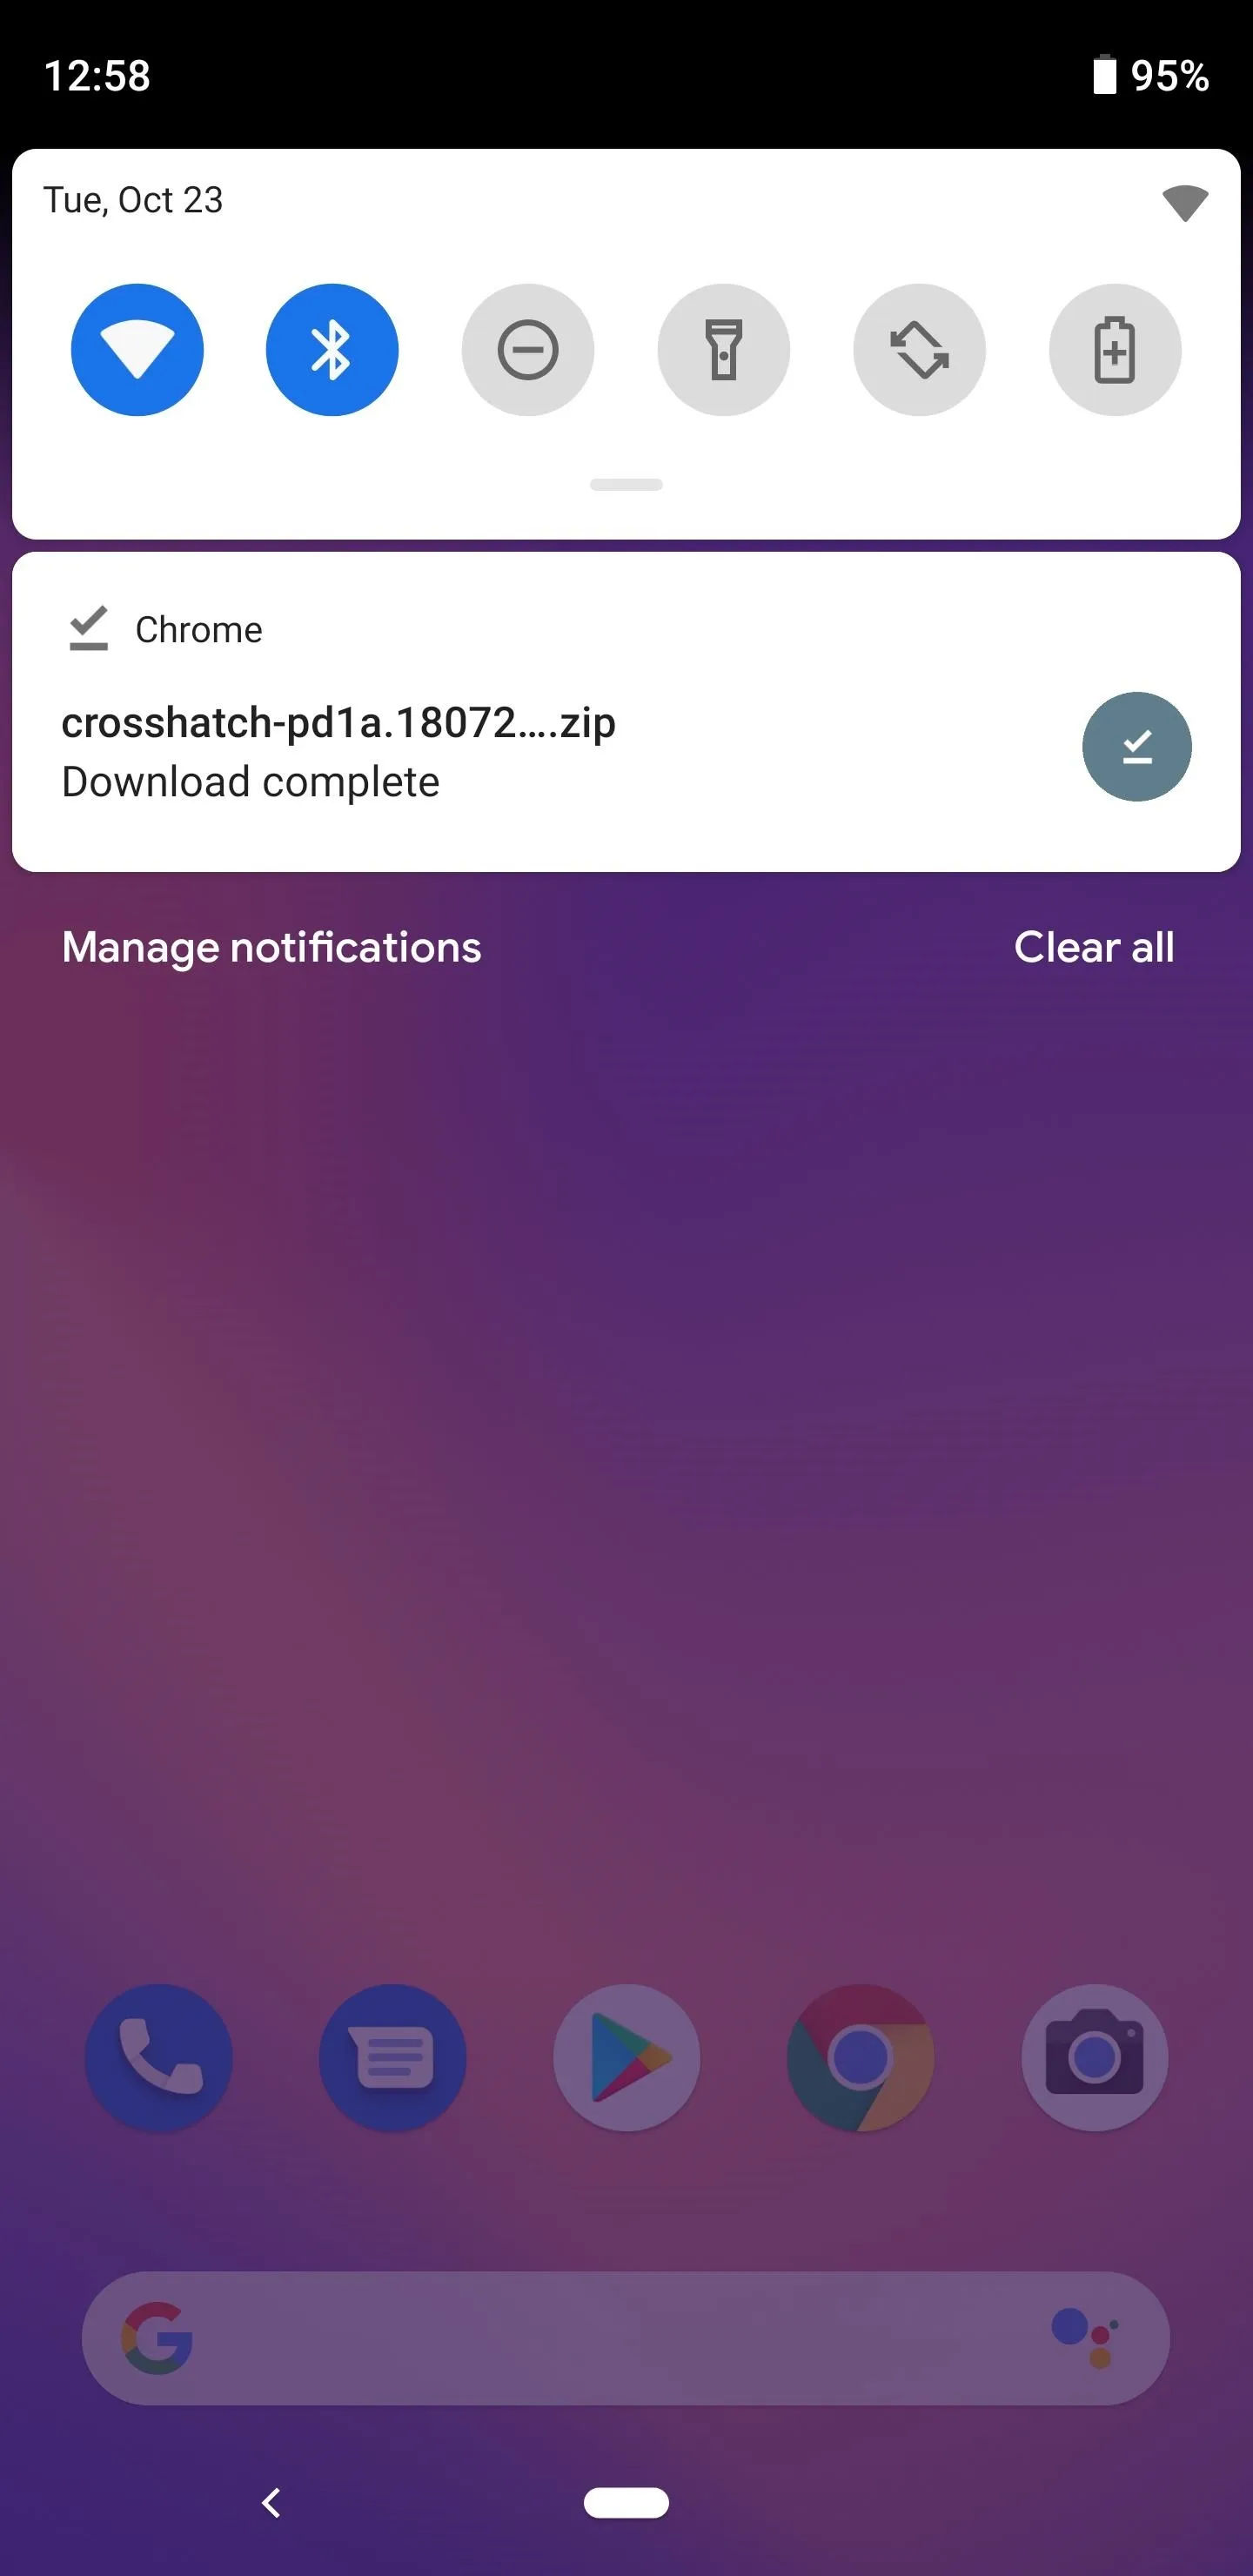
The file is quite large, so do this while you're on Wi-Fi if you have a metered cellular plan. On a good connection, it will take about 10 minutes to download.


Extract the Boot Image
Now you have the entire factory firmware package for your Pixel 3 or 3 XL, but you only need one tiny piece of it — the boot image. So you'll need to extract this file with a file manager that's capable of handling archives. If you don't have one of your own, we recommend Solid Explorer.
- Play Store Link: Solid Explorer (free)
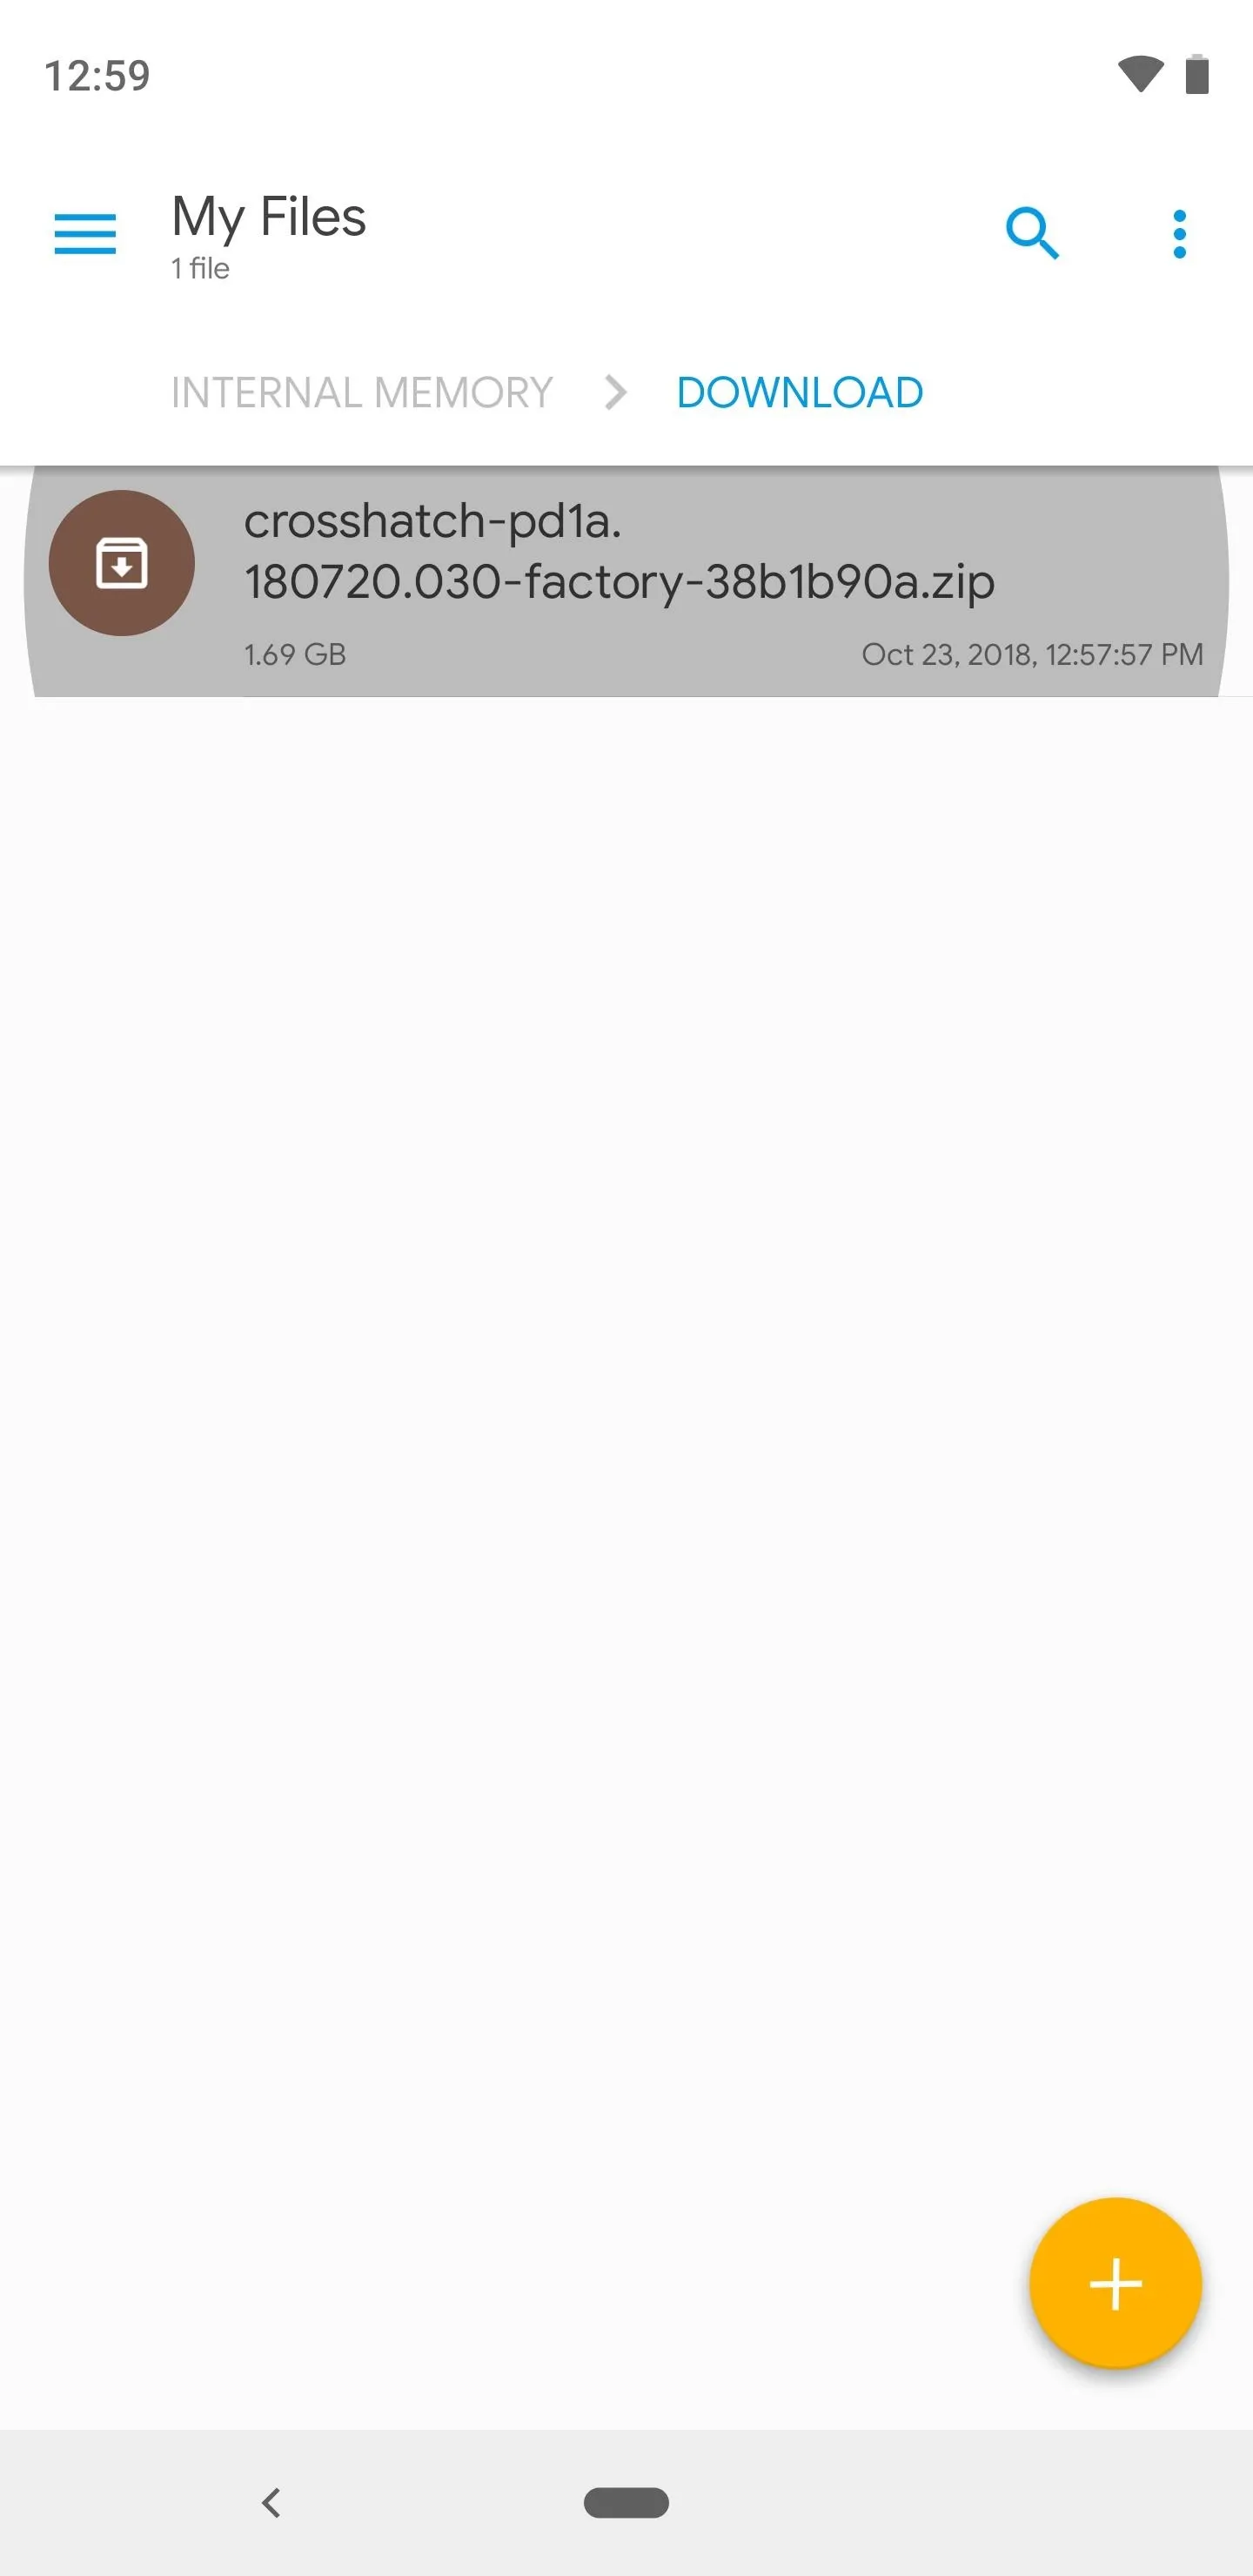
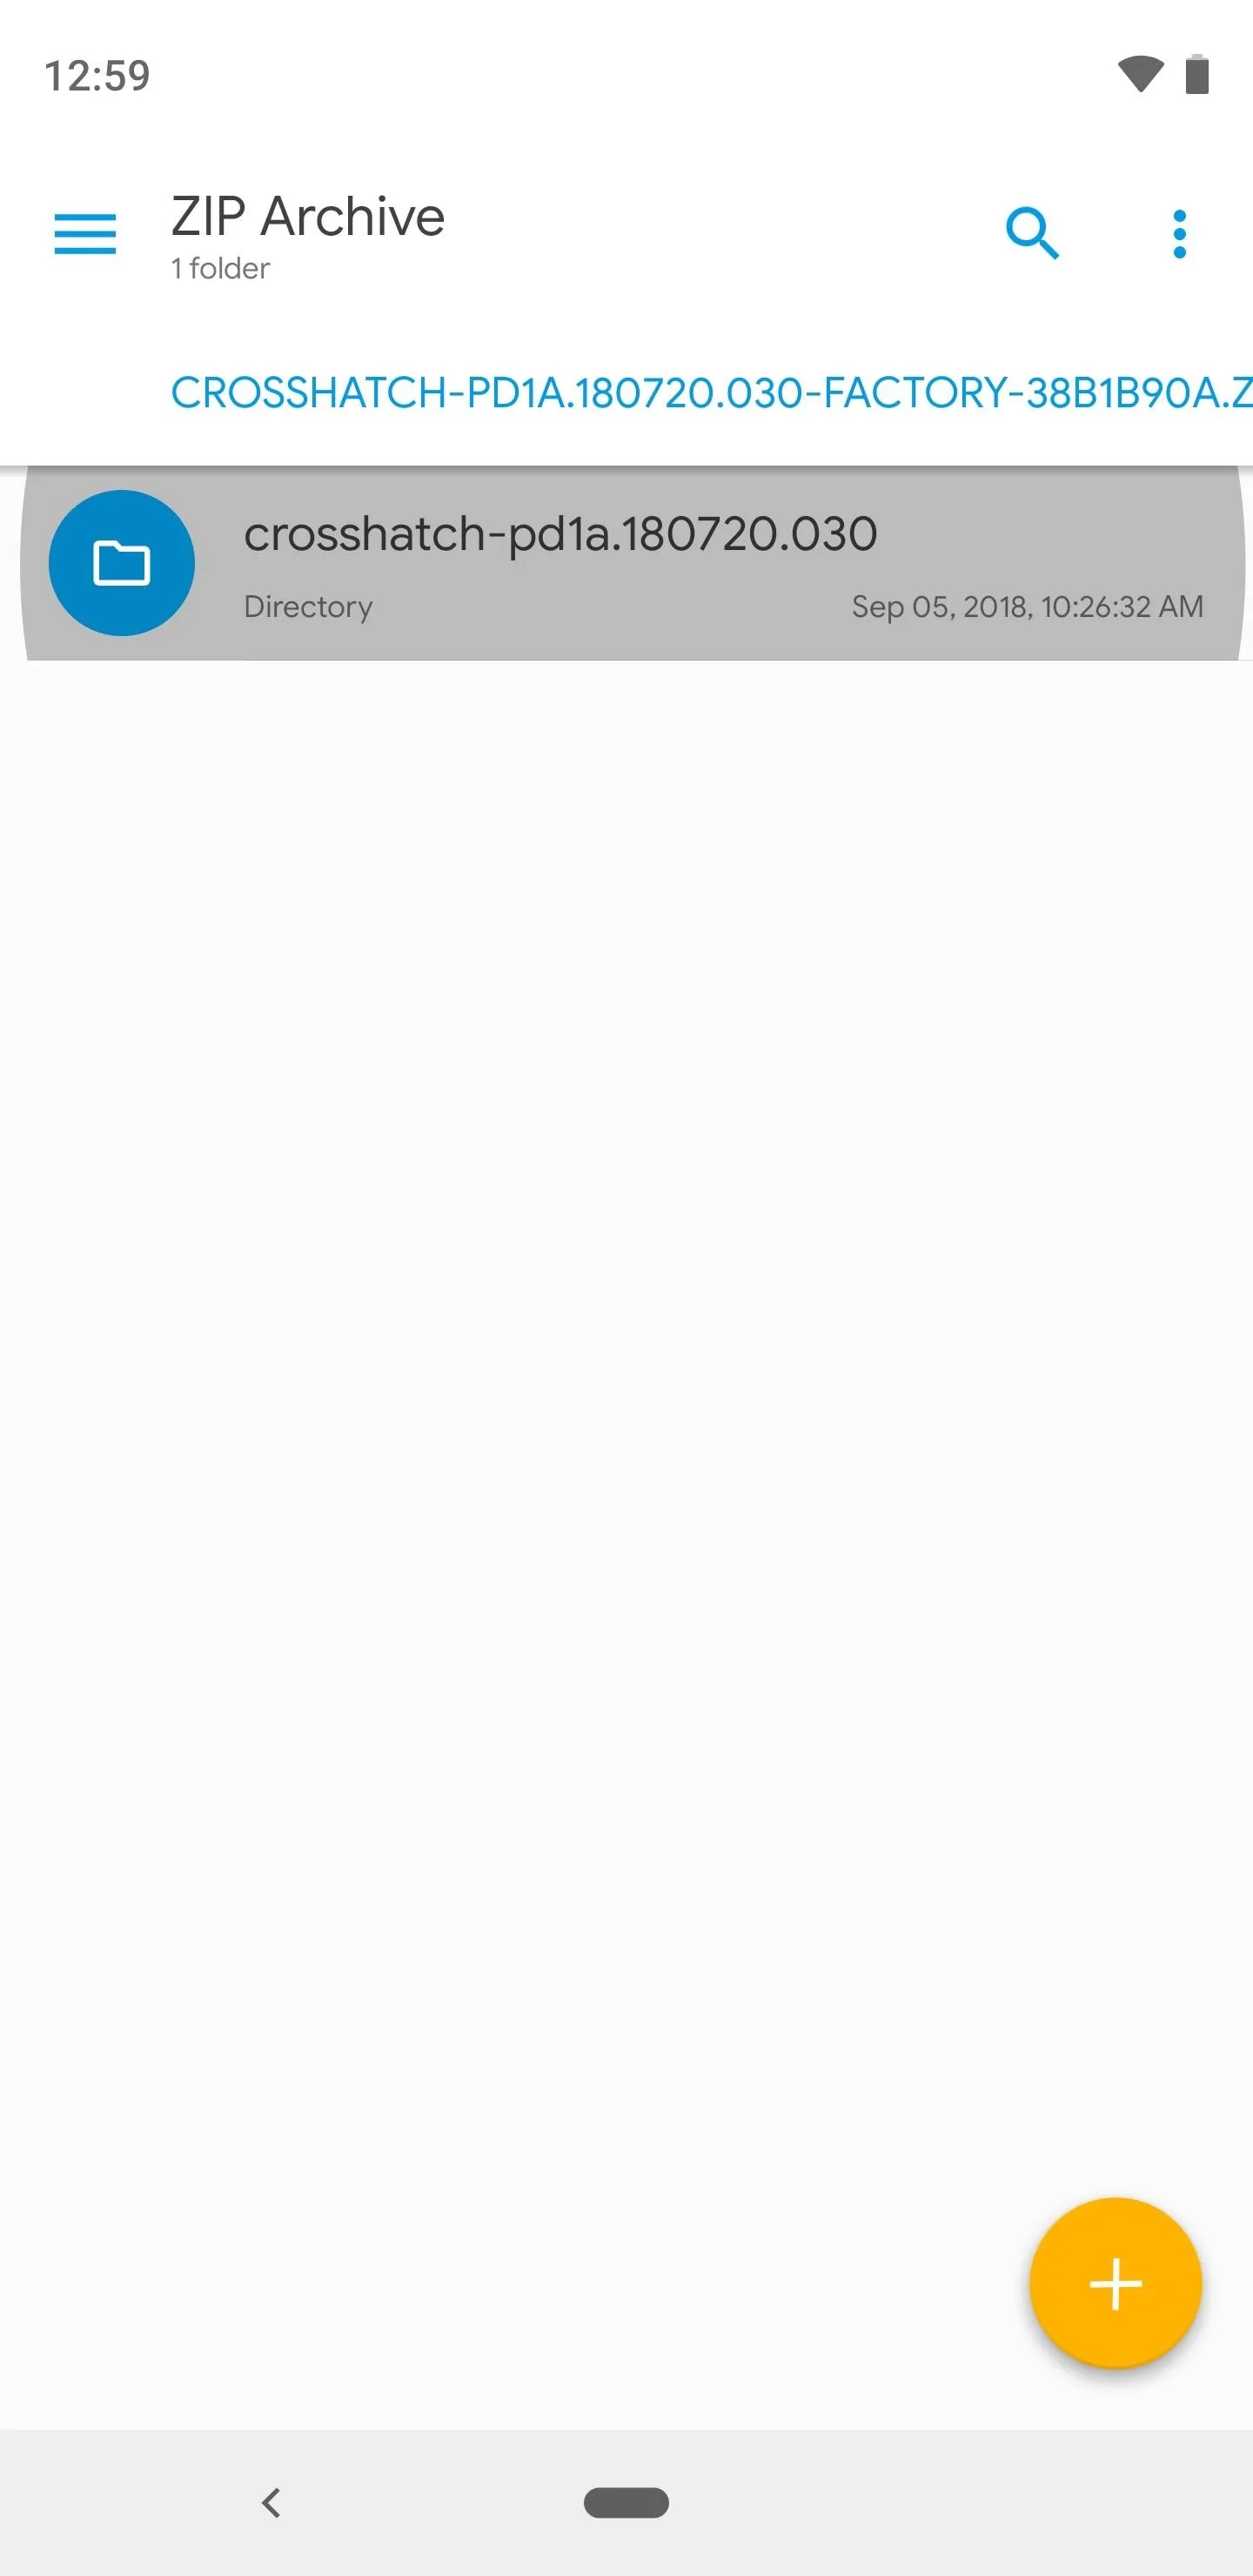
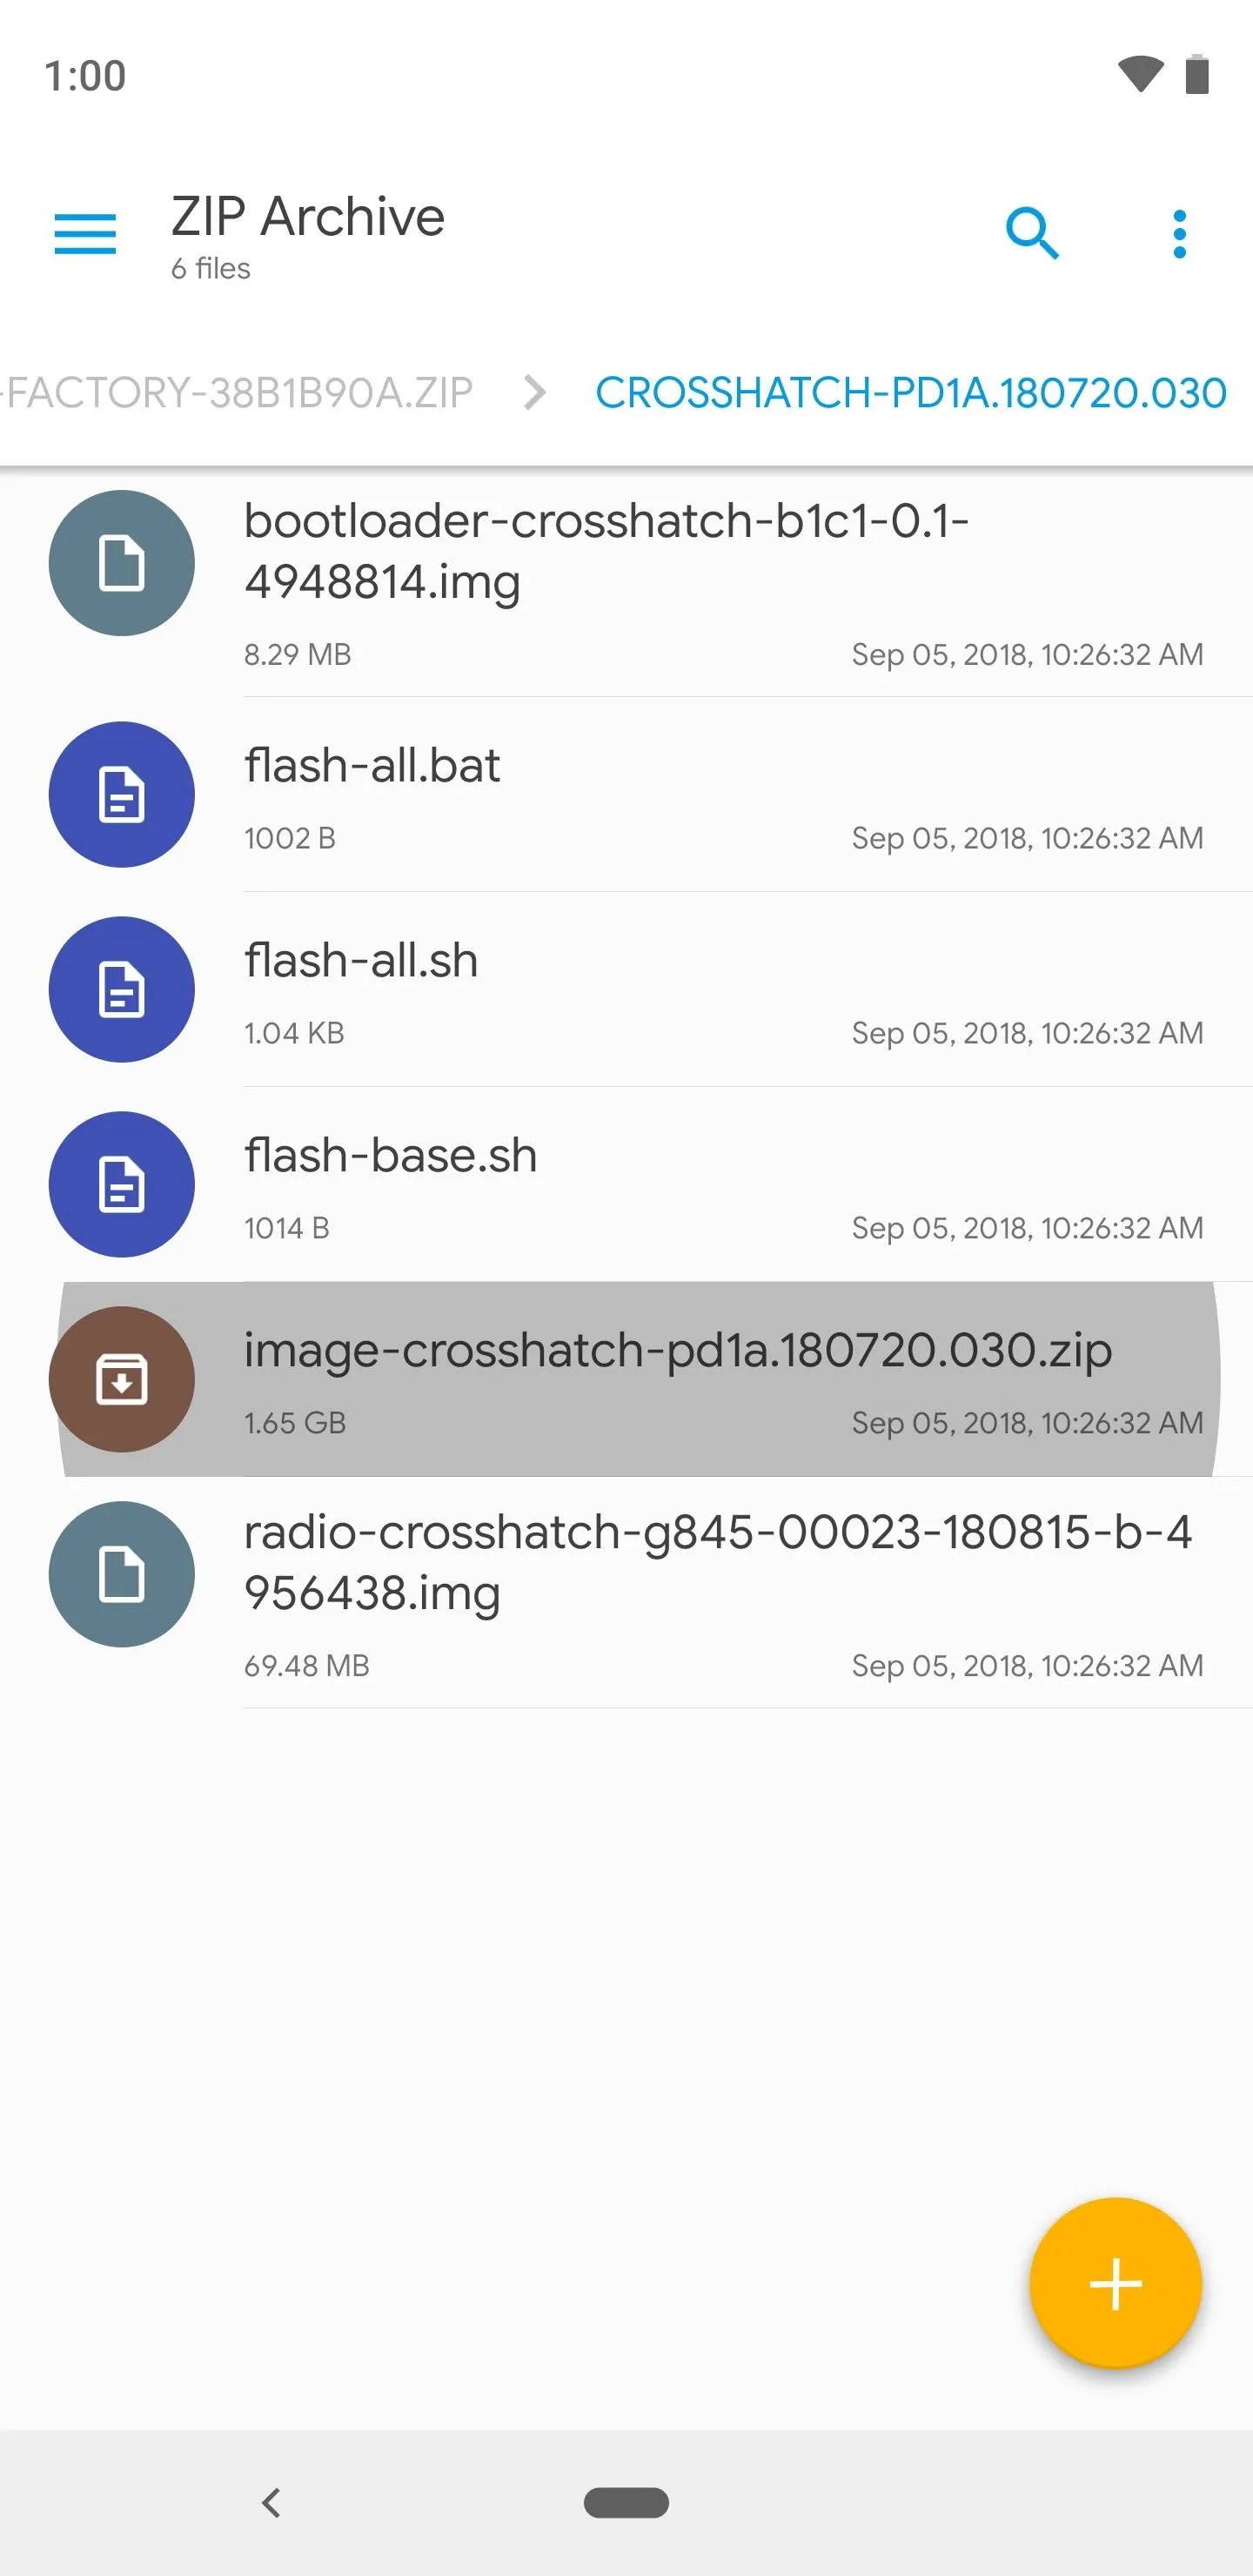
In your file explorer, open the Download folder and tap the factory images package to open the archive. Open the folder that you'll find inside, the tap the "image-[codename]-[version].zip" file to unpack it as well.


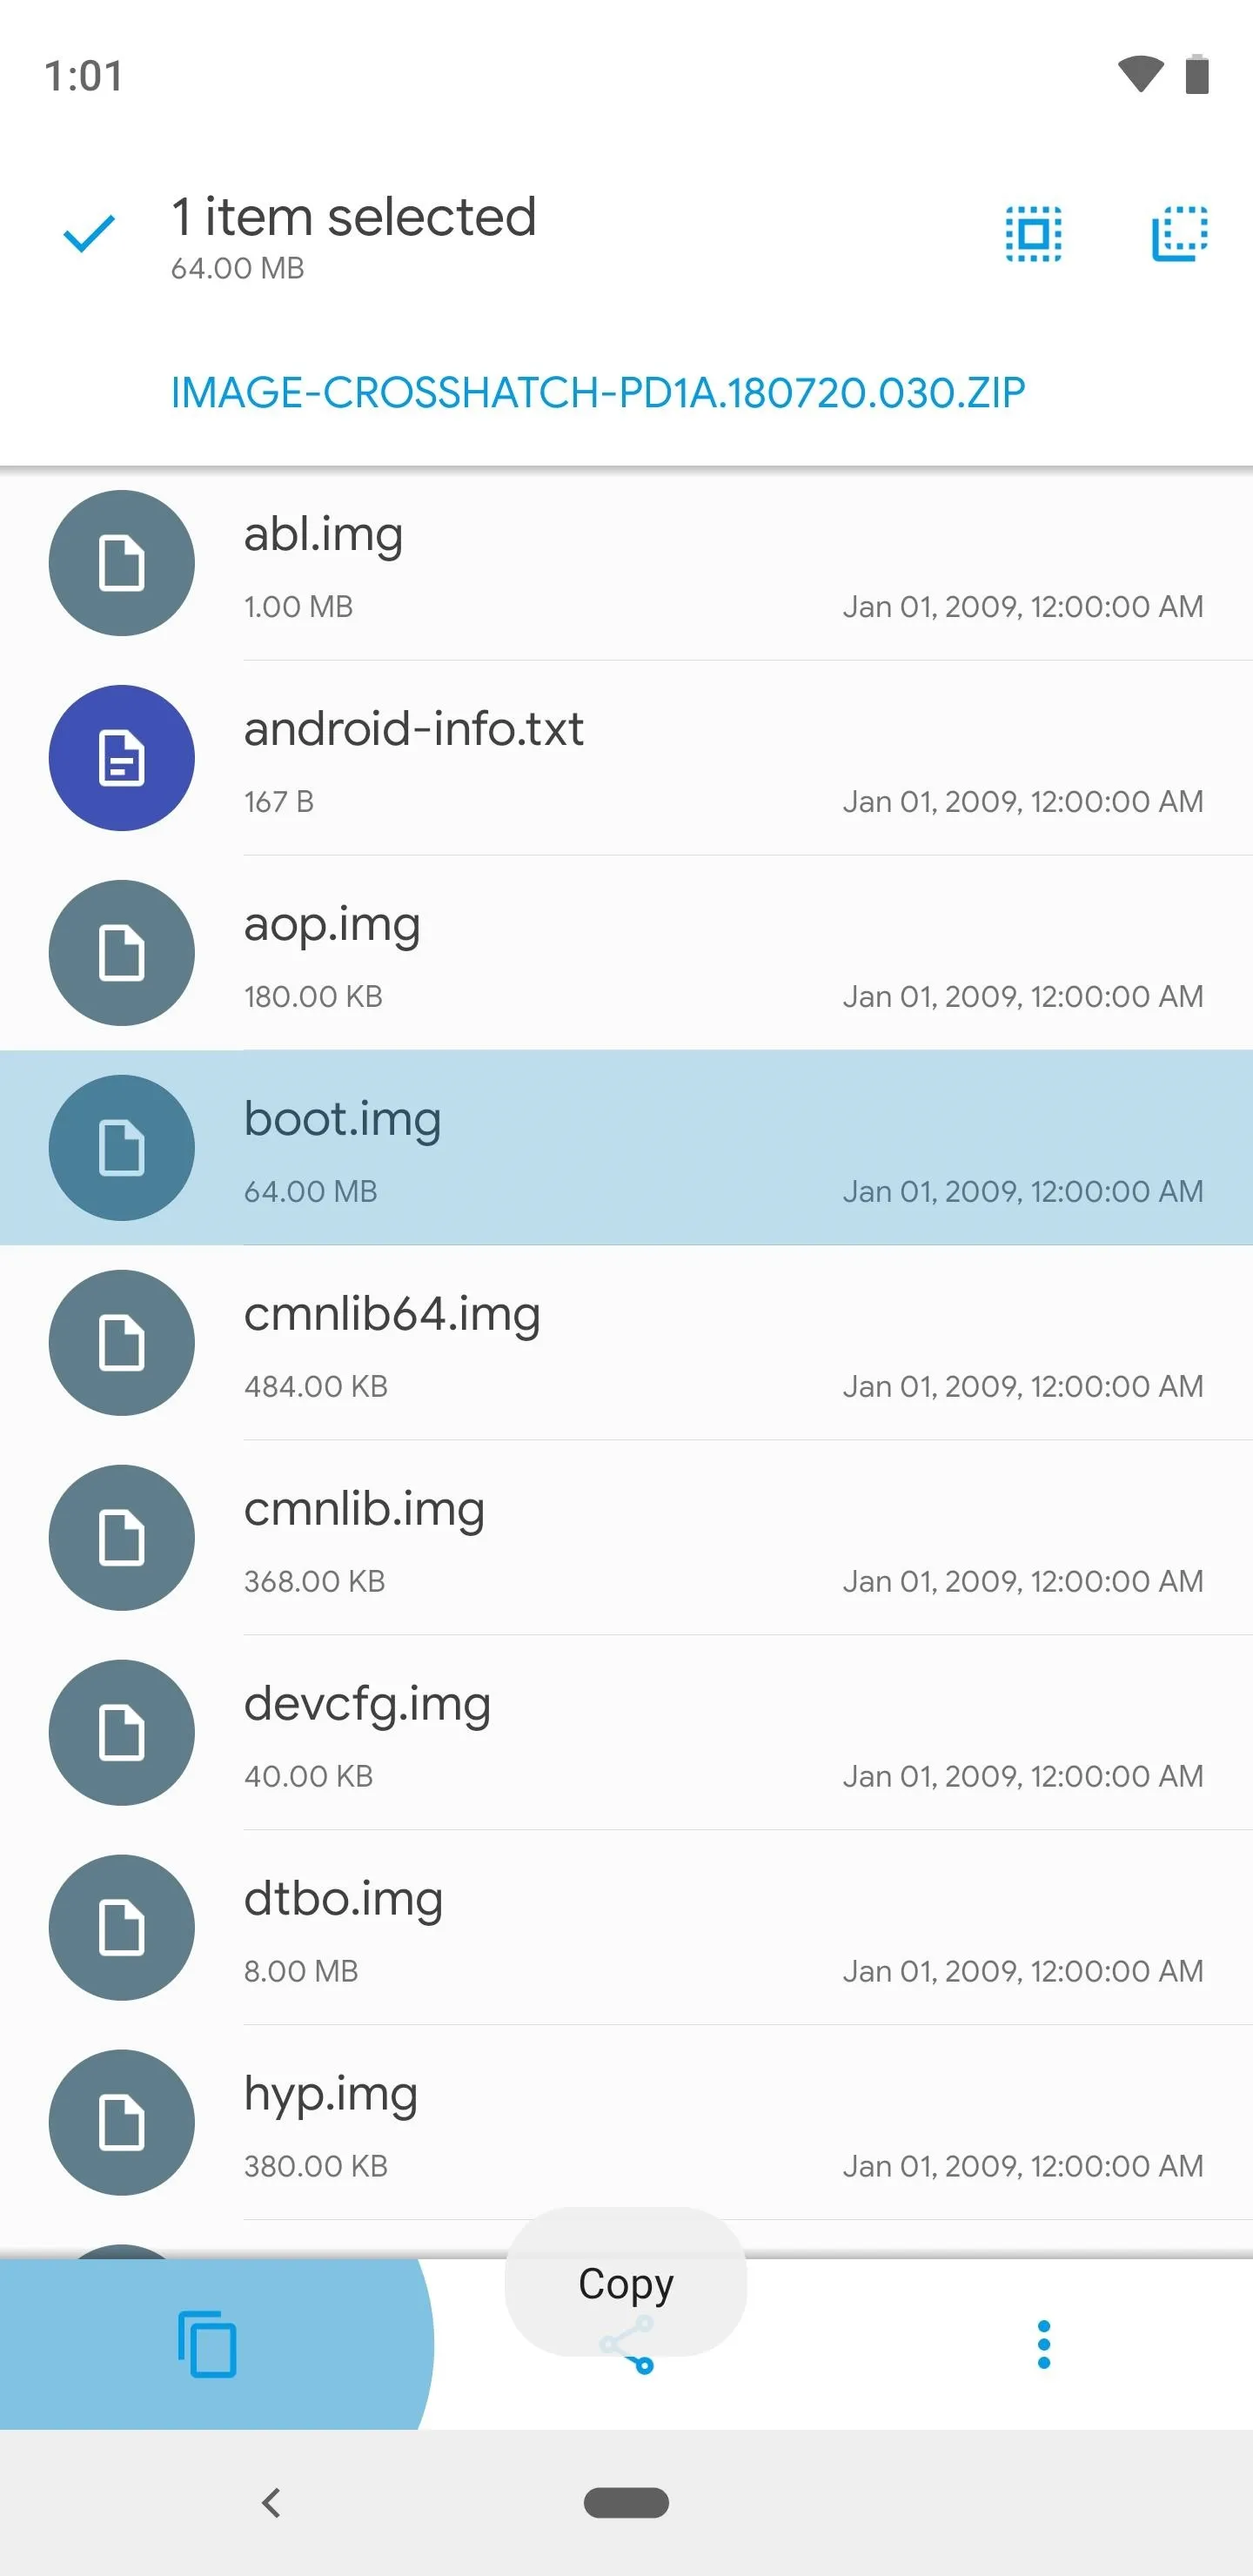
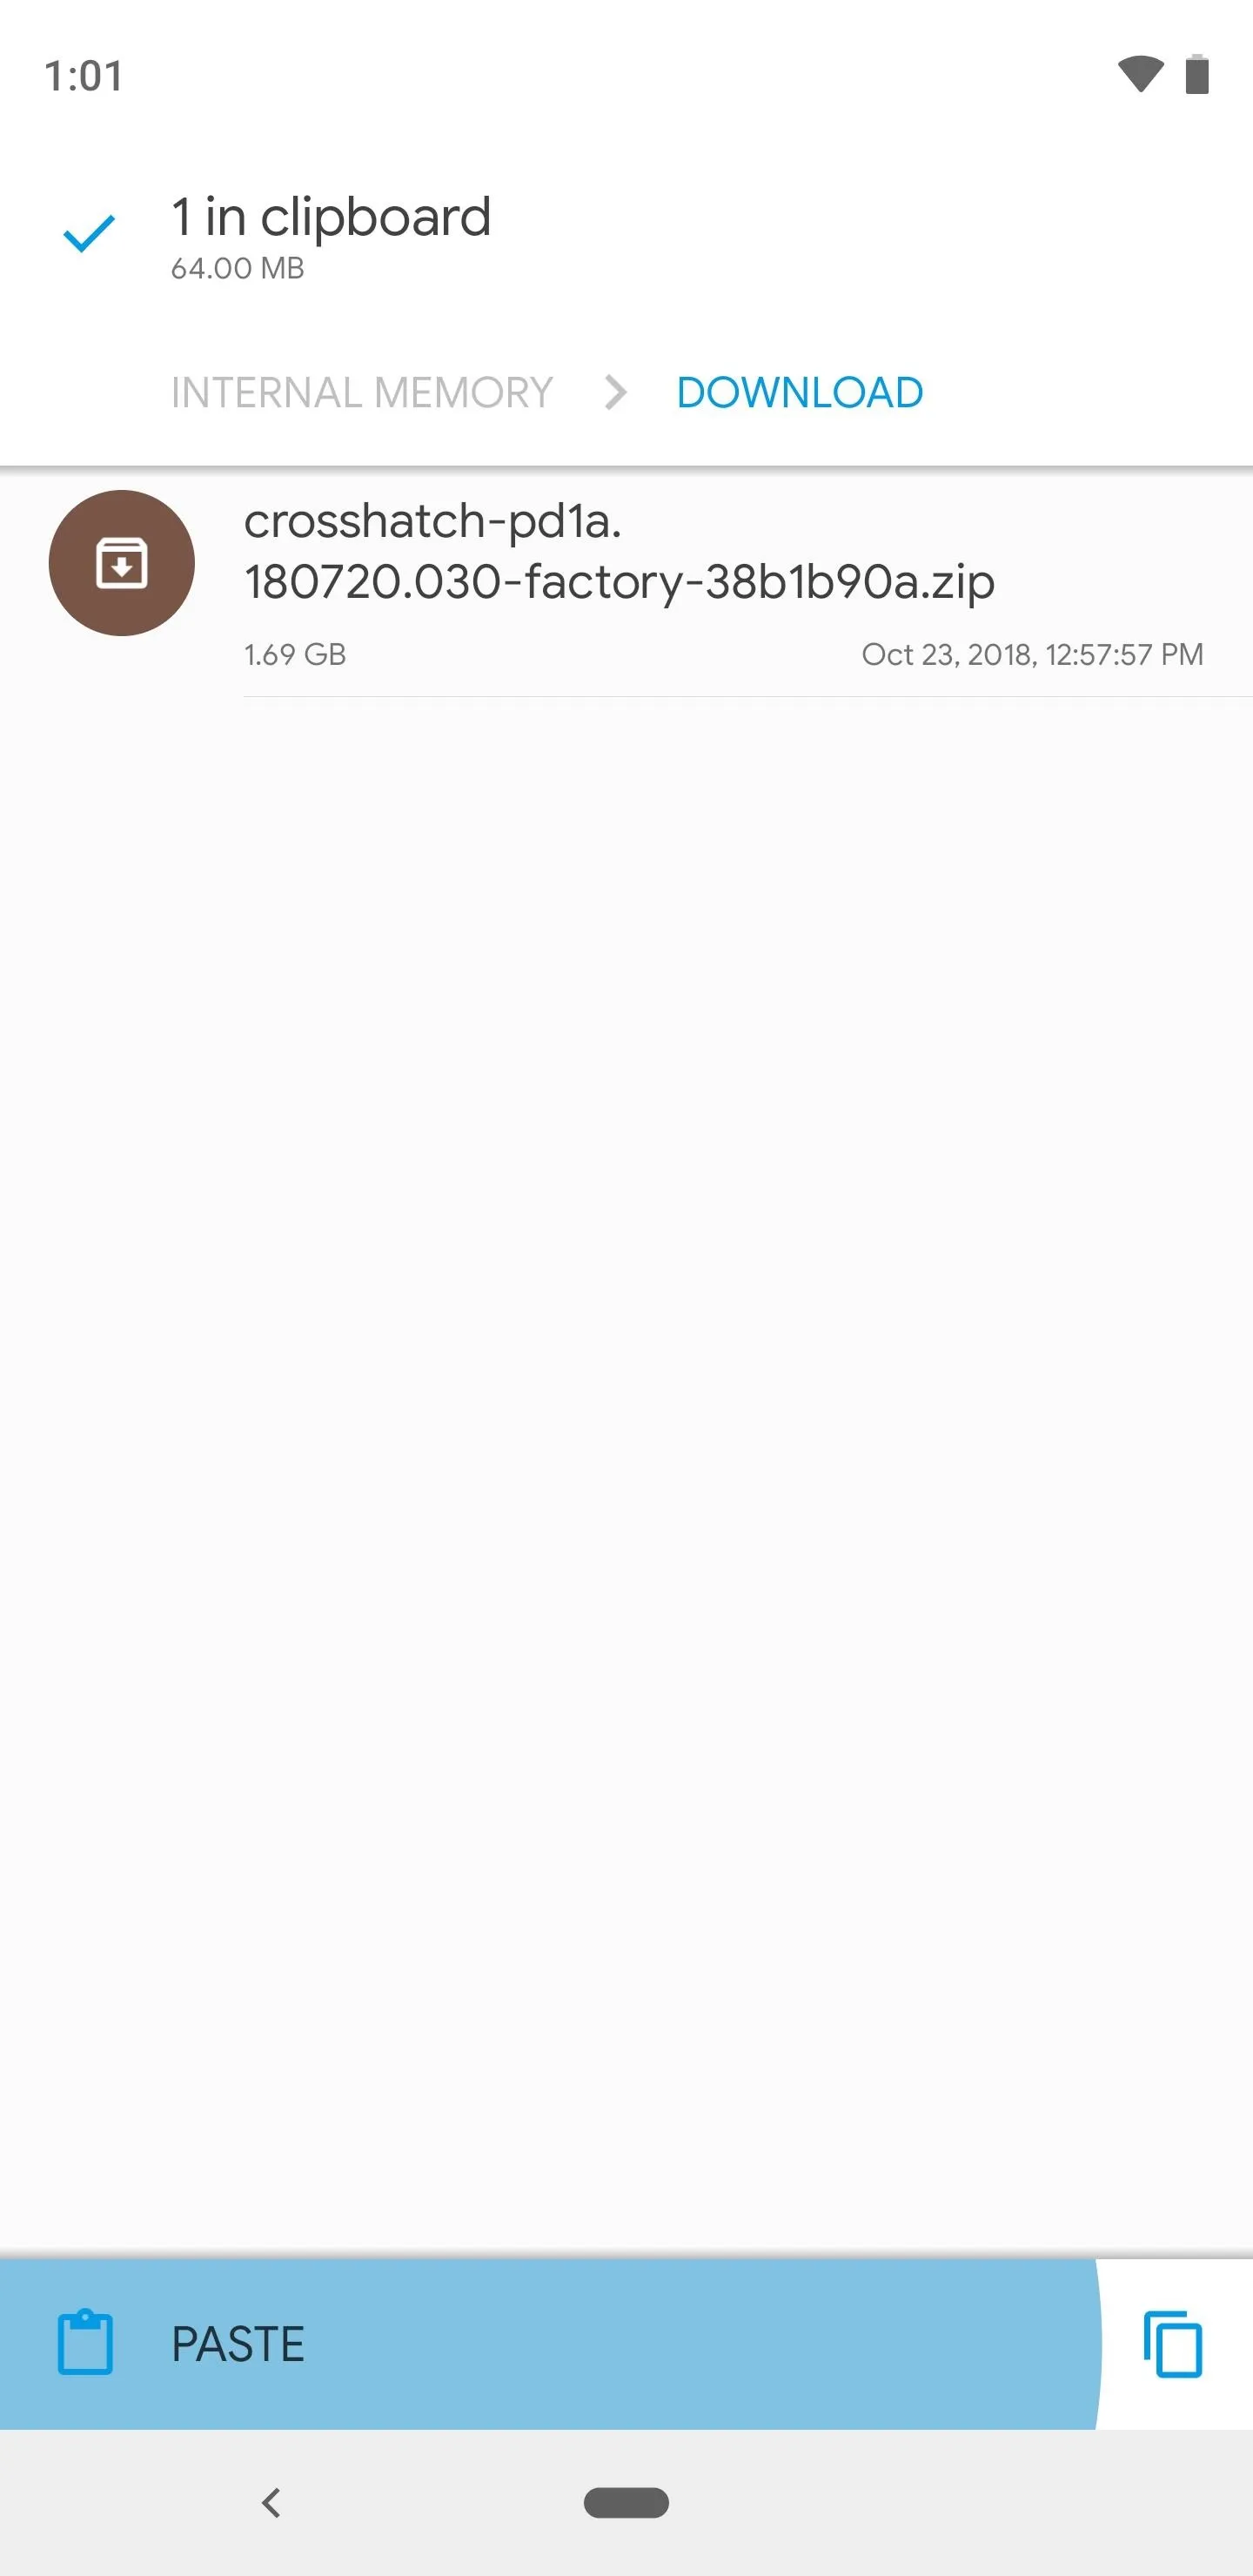
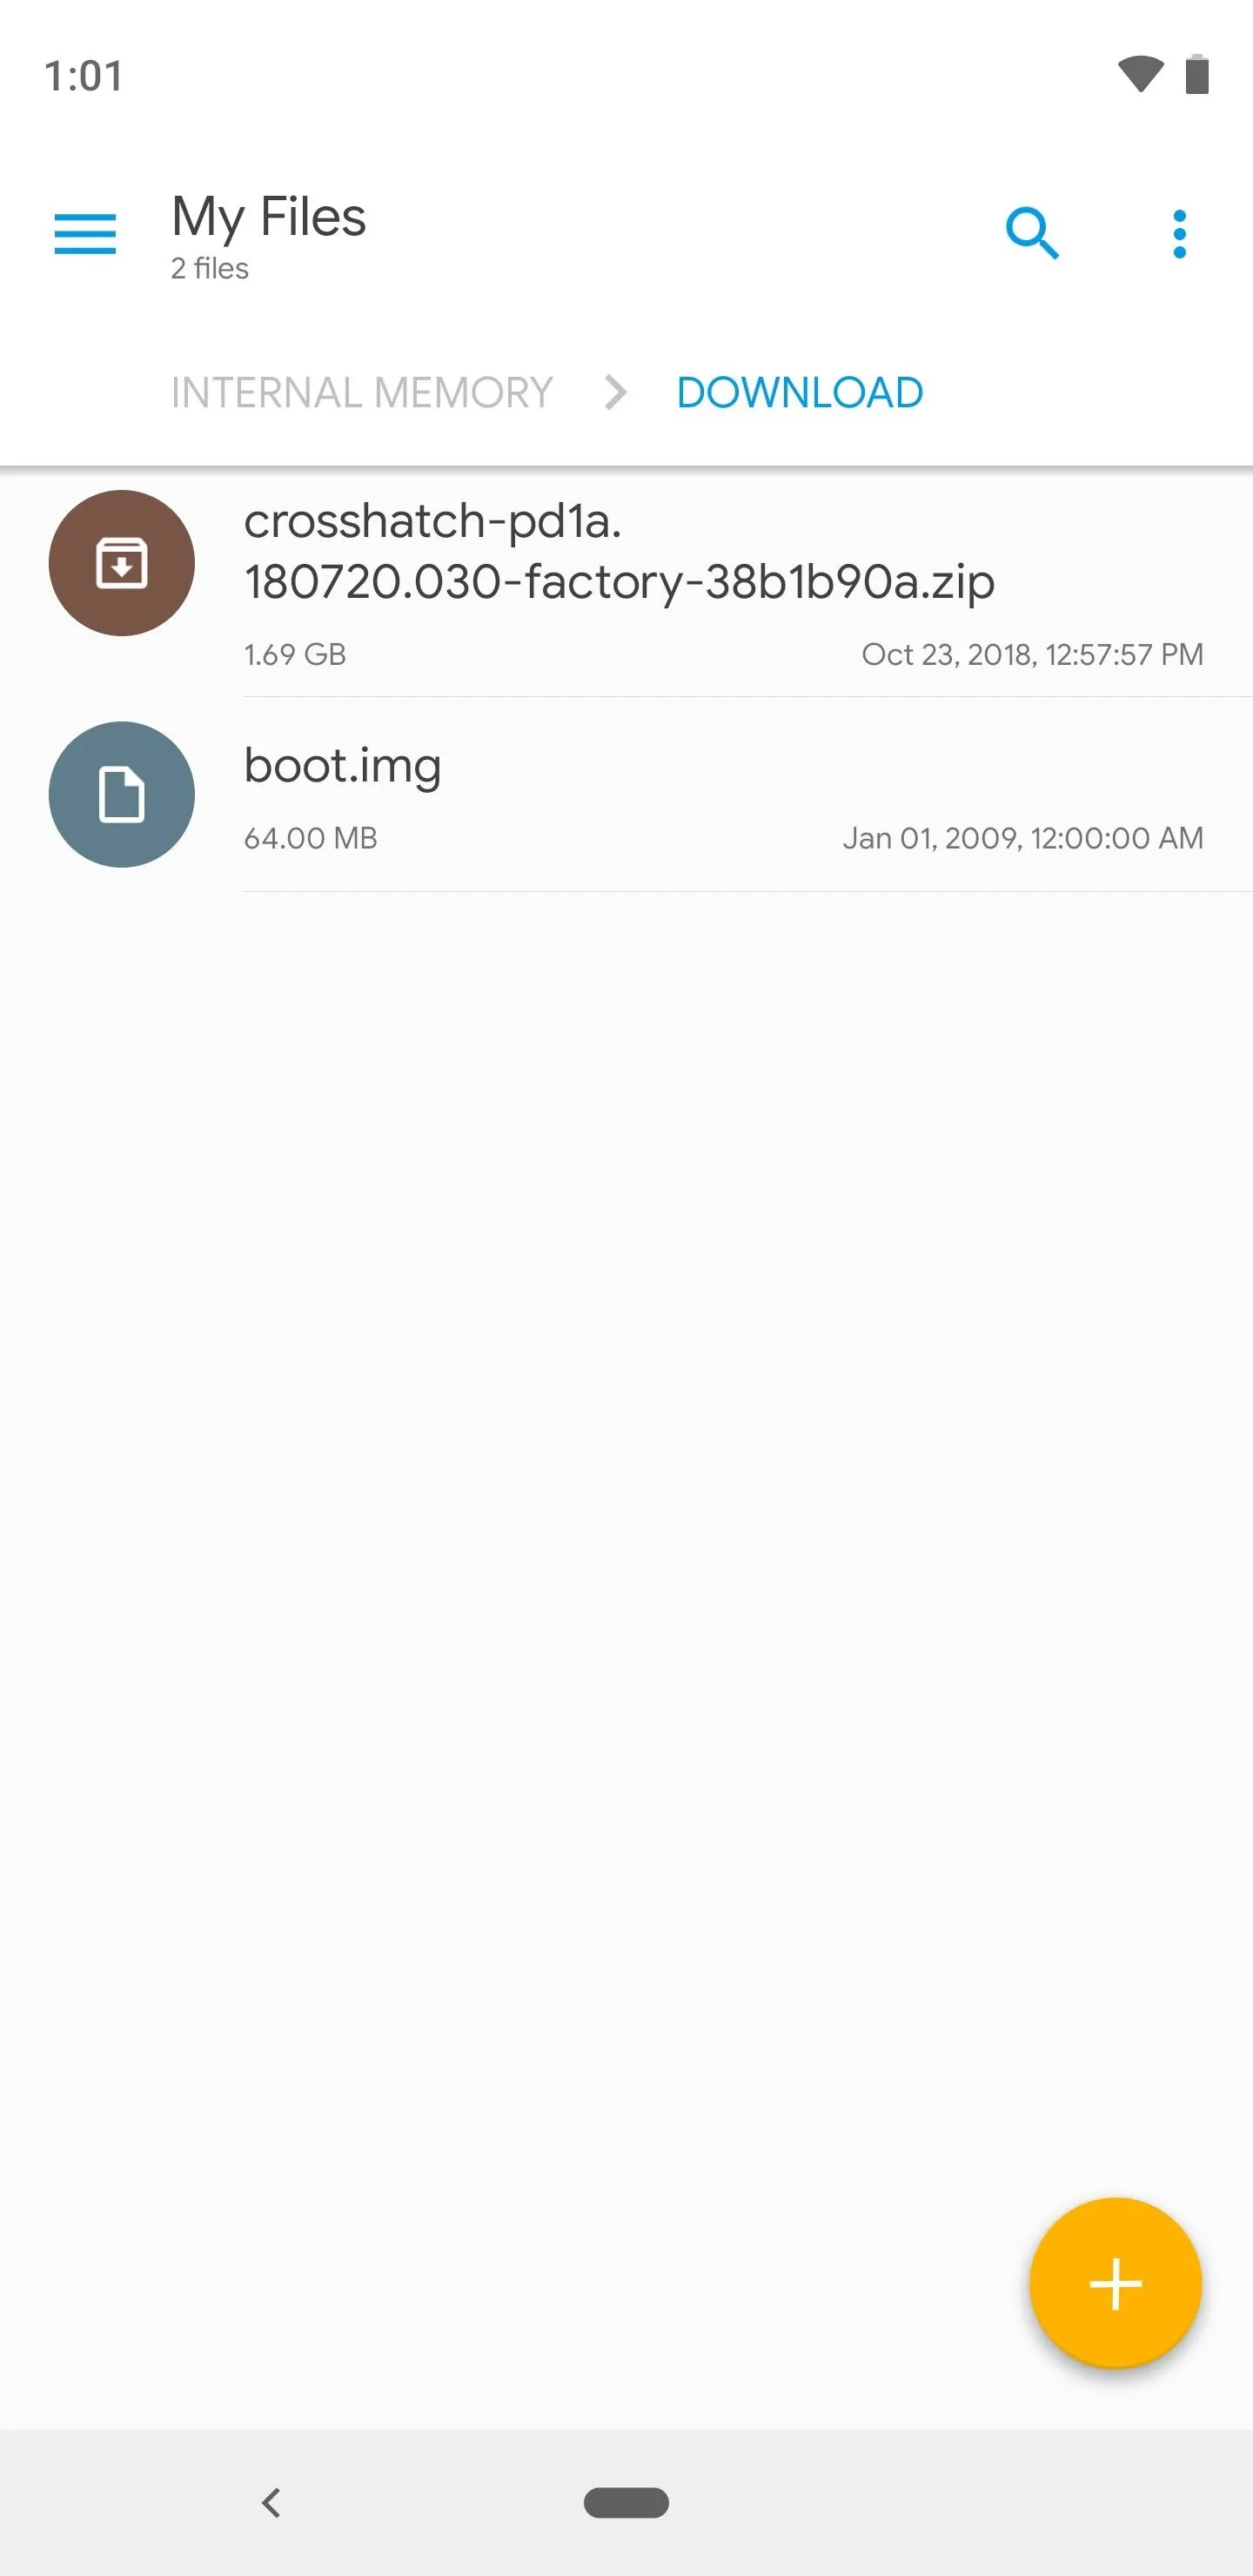
In here, you'll see a series of IMG files. Long-press the "boot.img" file, then choose the copy icon from the bottom menu in Solid Explorer. Next, tap your back button a few times to head back out to the main Download folder, then press the "Paste" button at the bottom of the screen to extract the boot.img file to this folder.


Install Magisk Manager
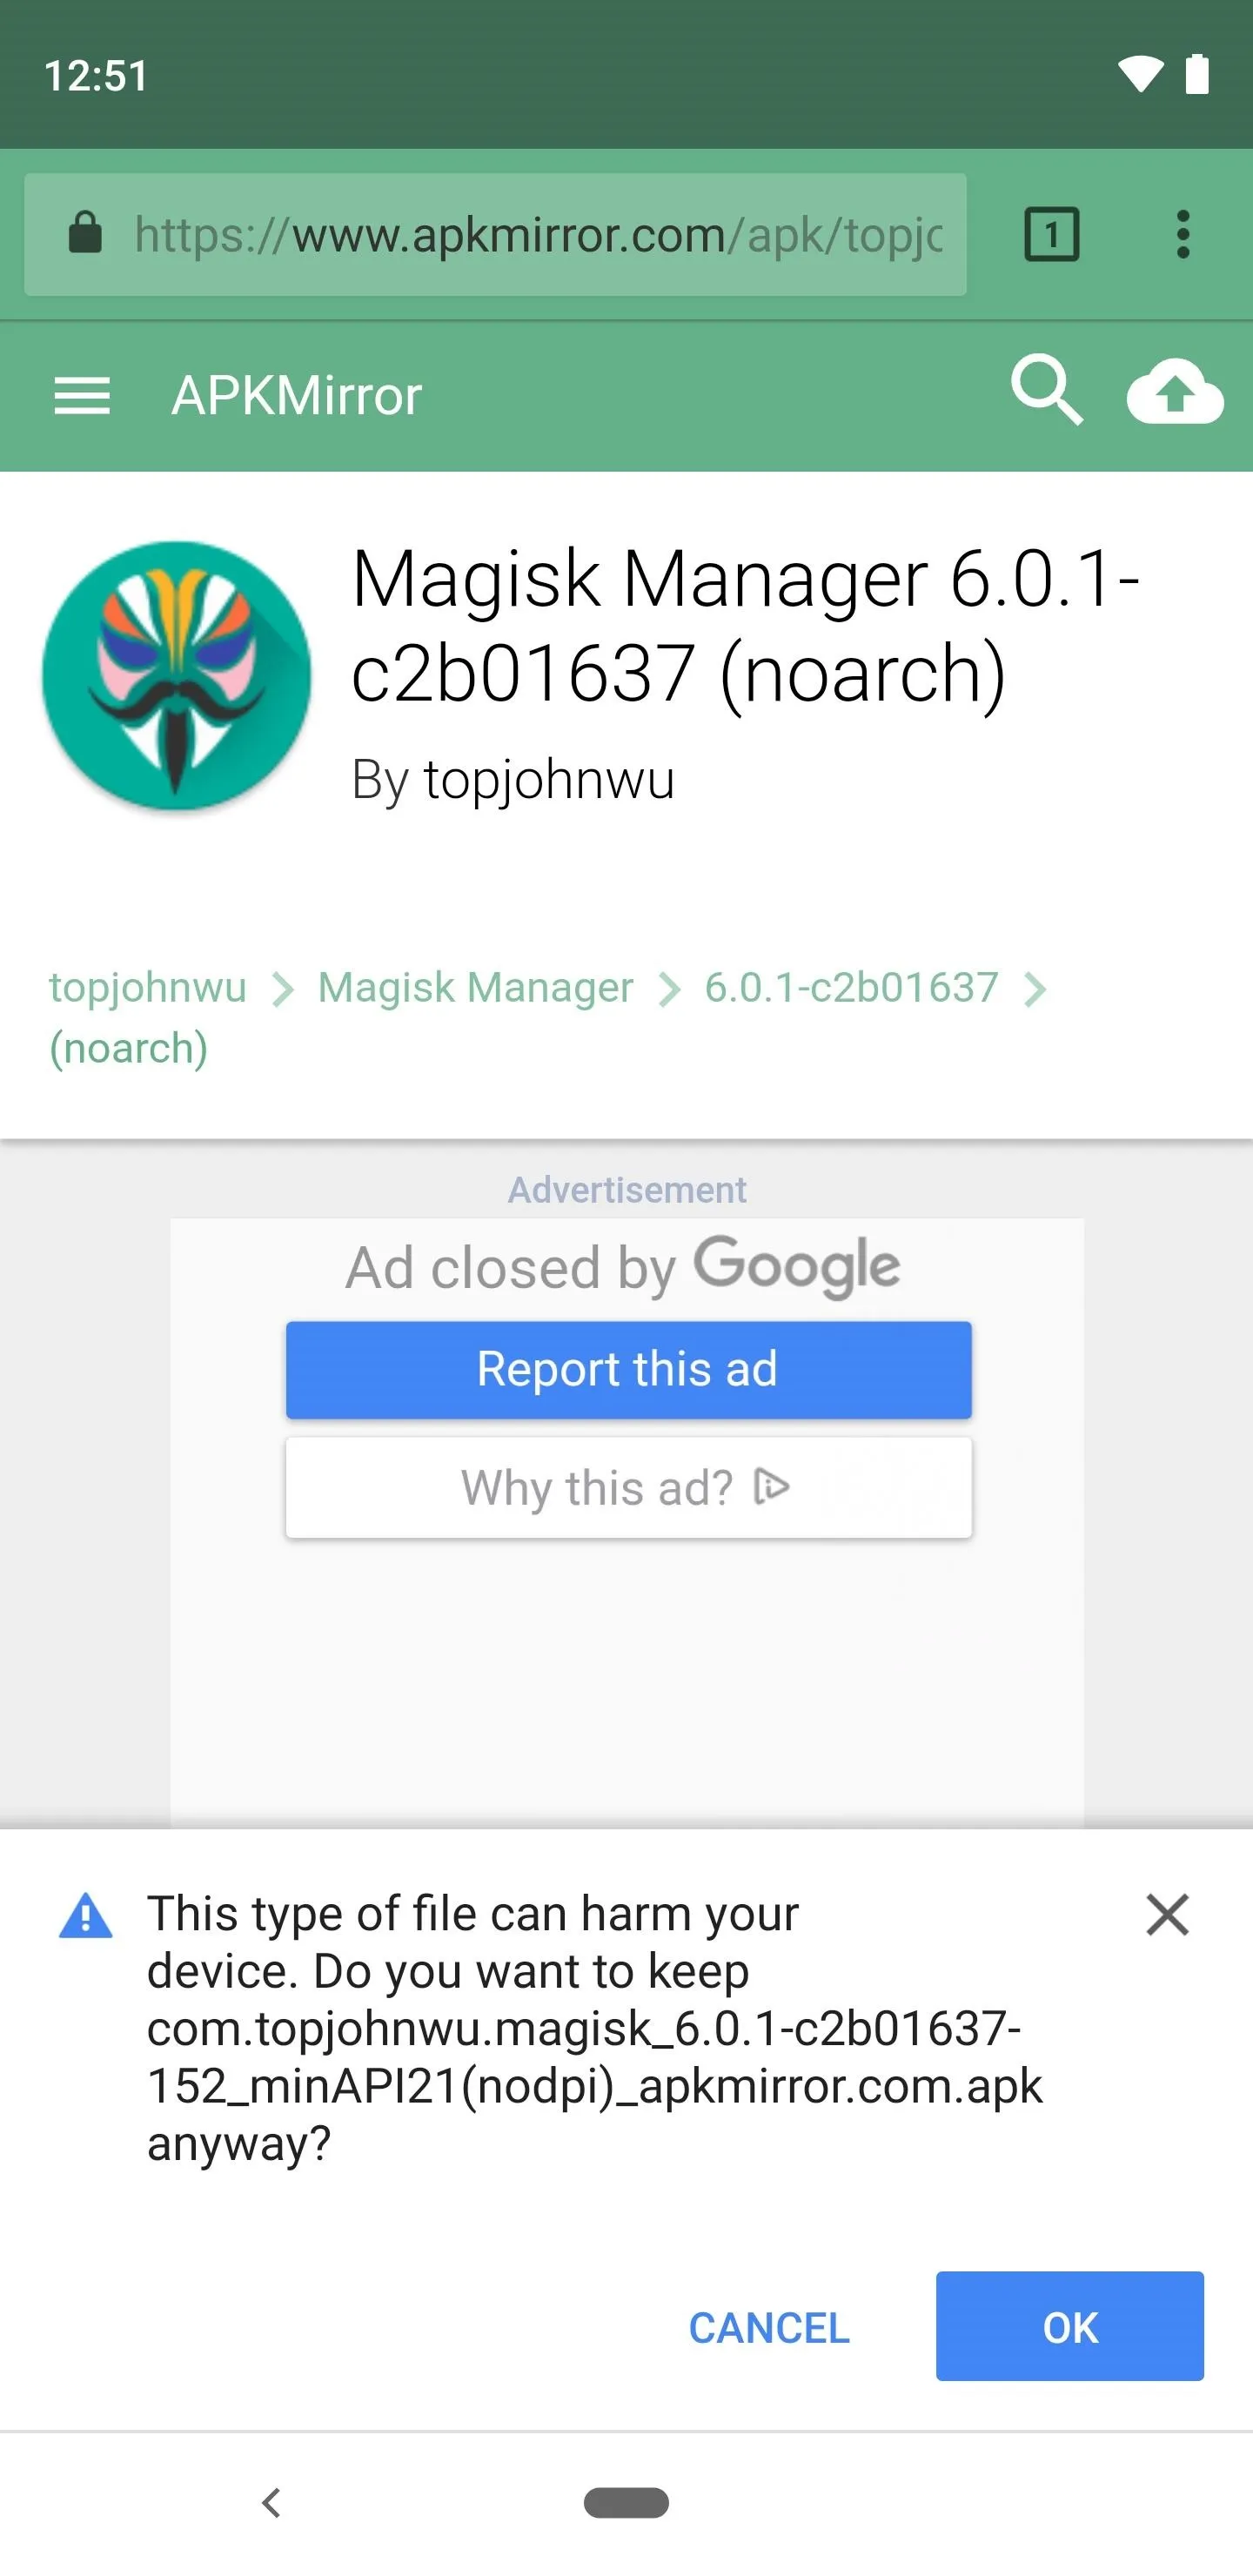
Next, you'll need the Magisk Manager app. To start, download the latest version from APKMirror at the link below.
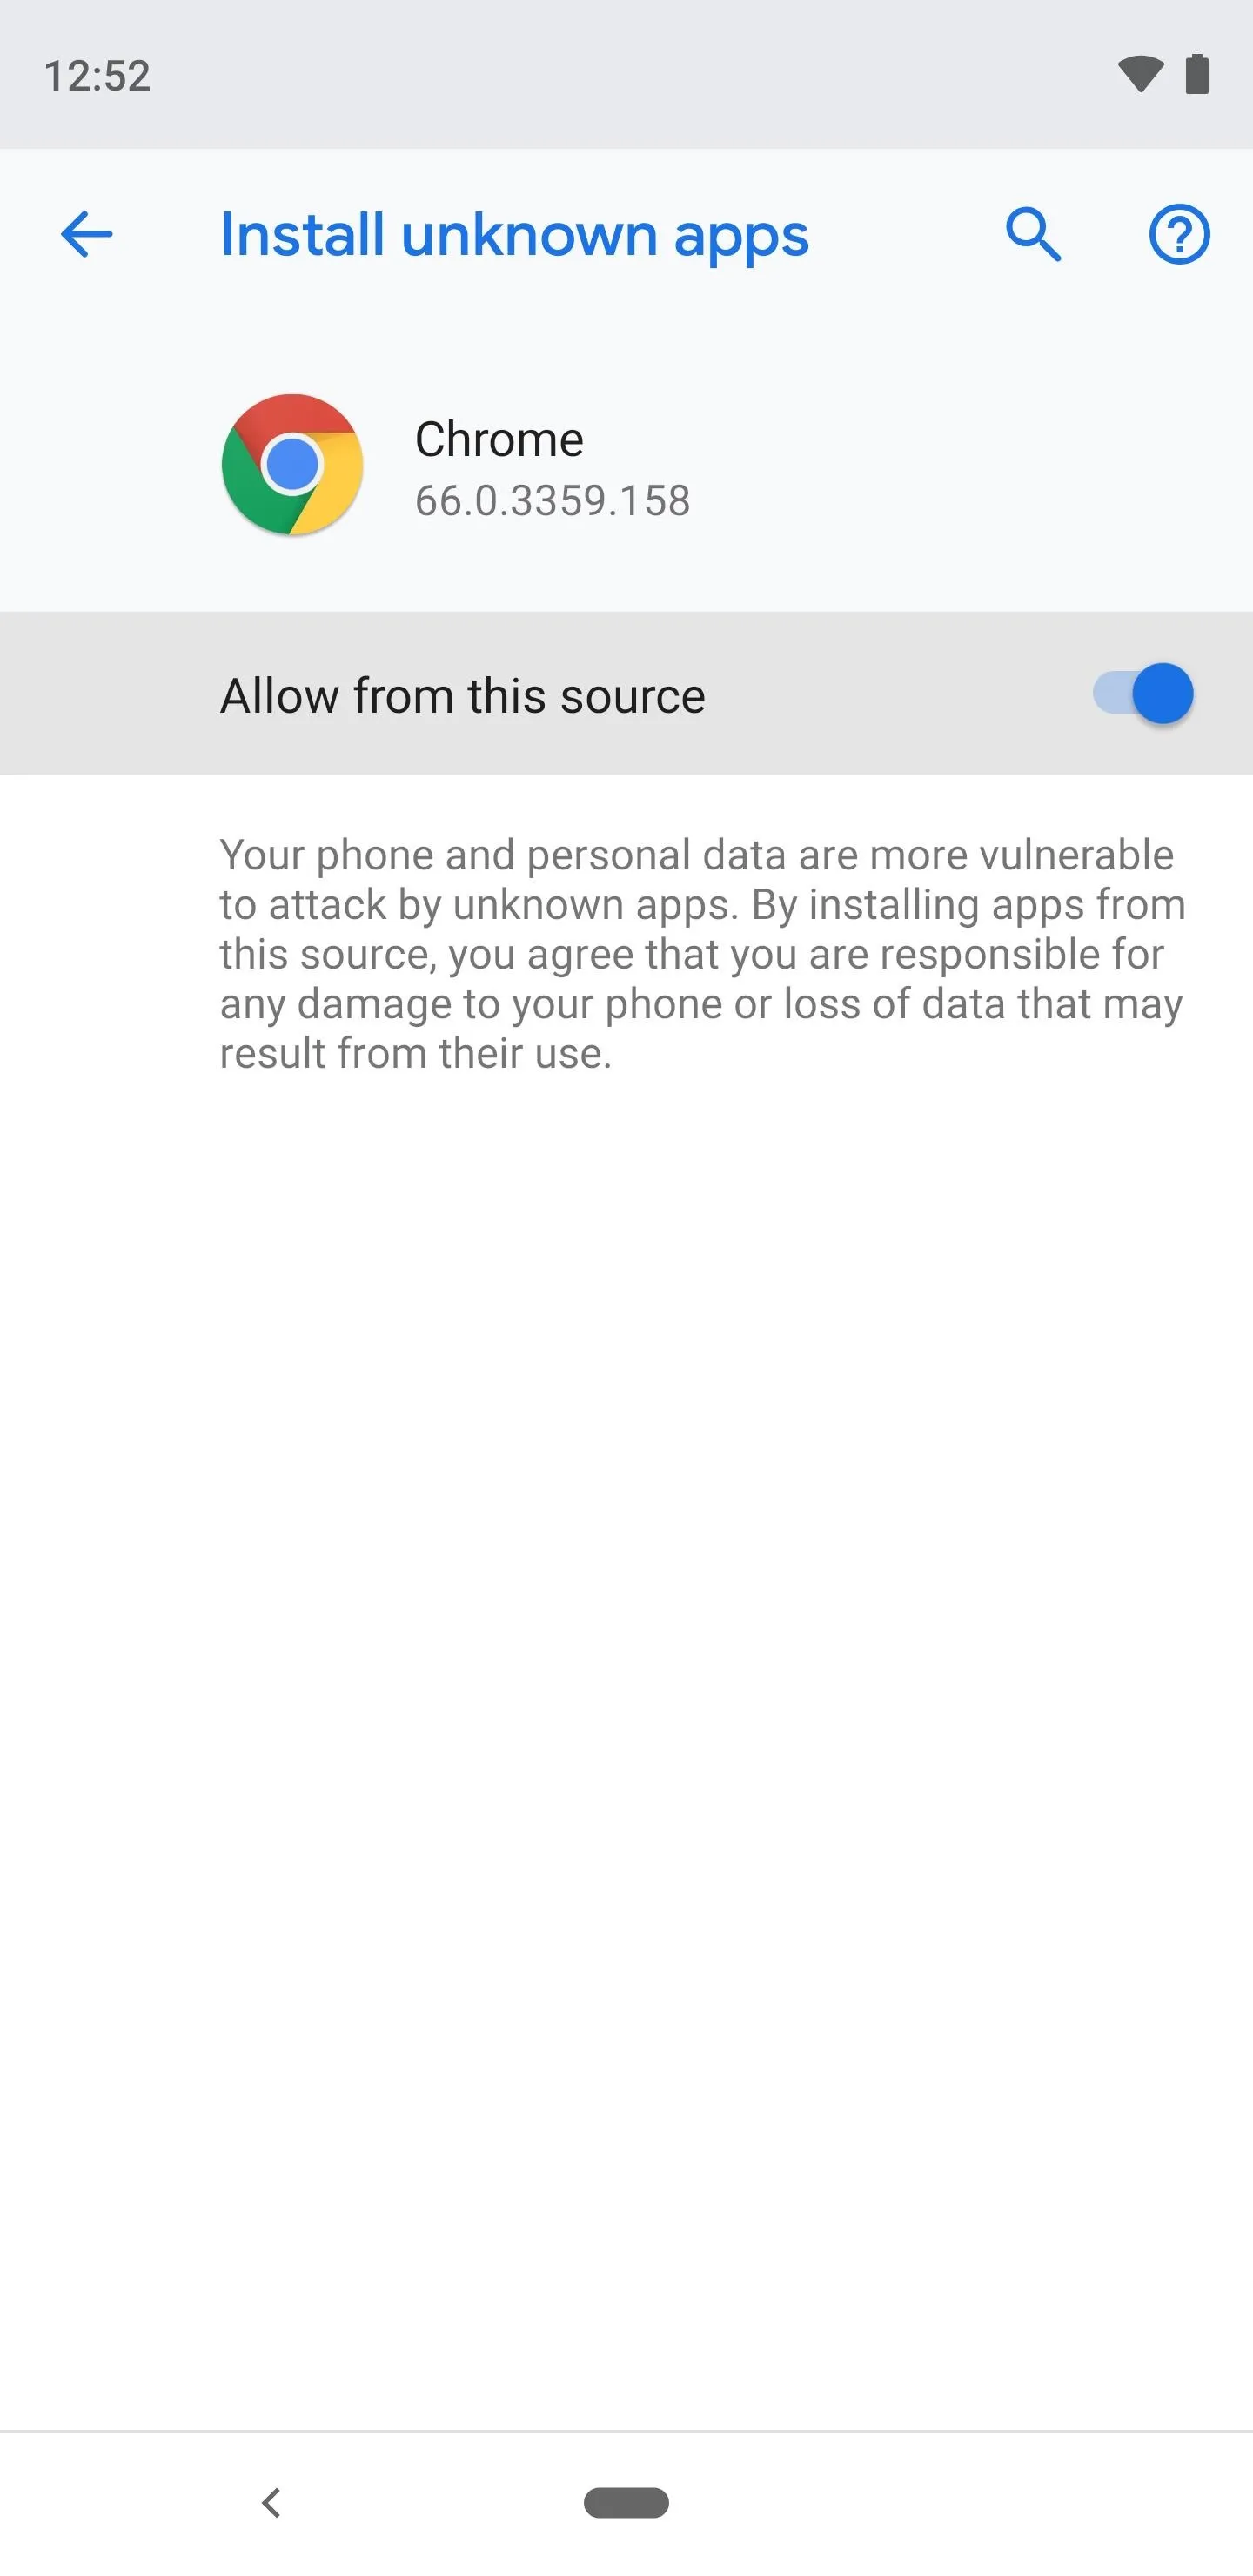
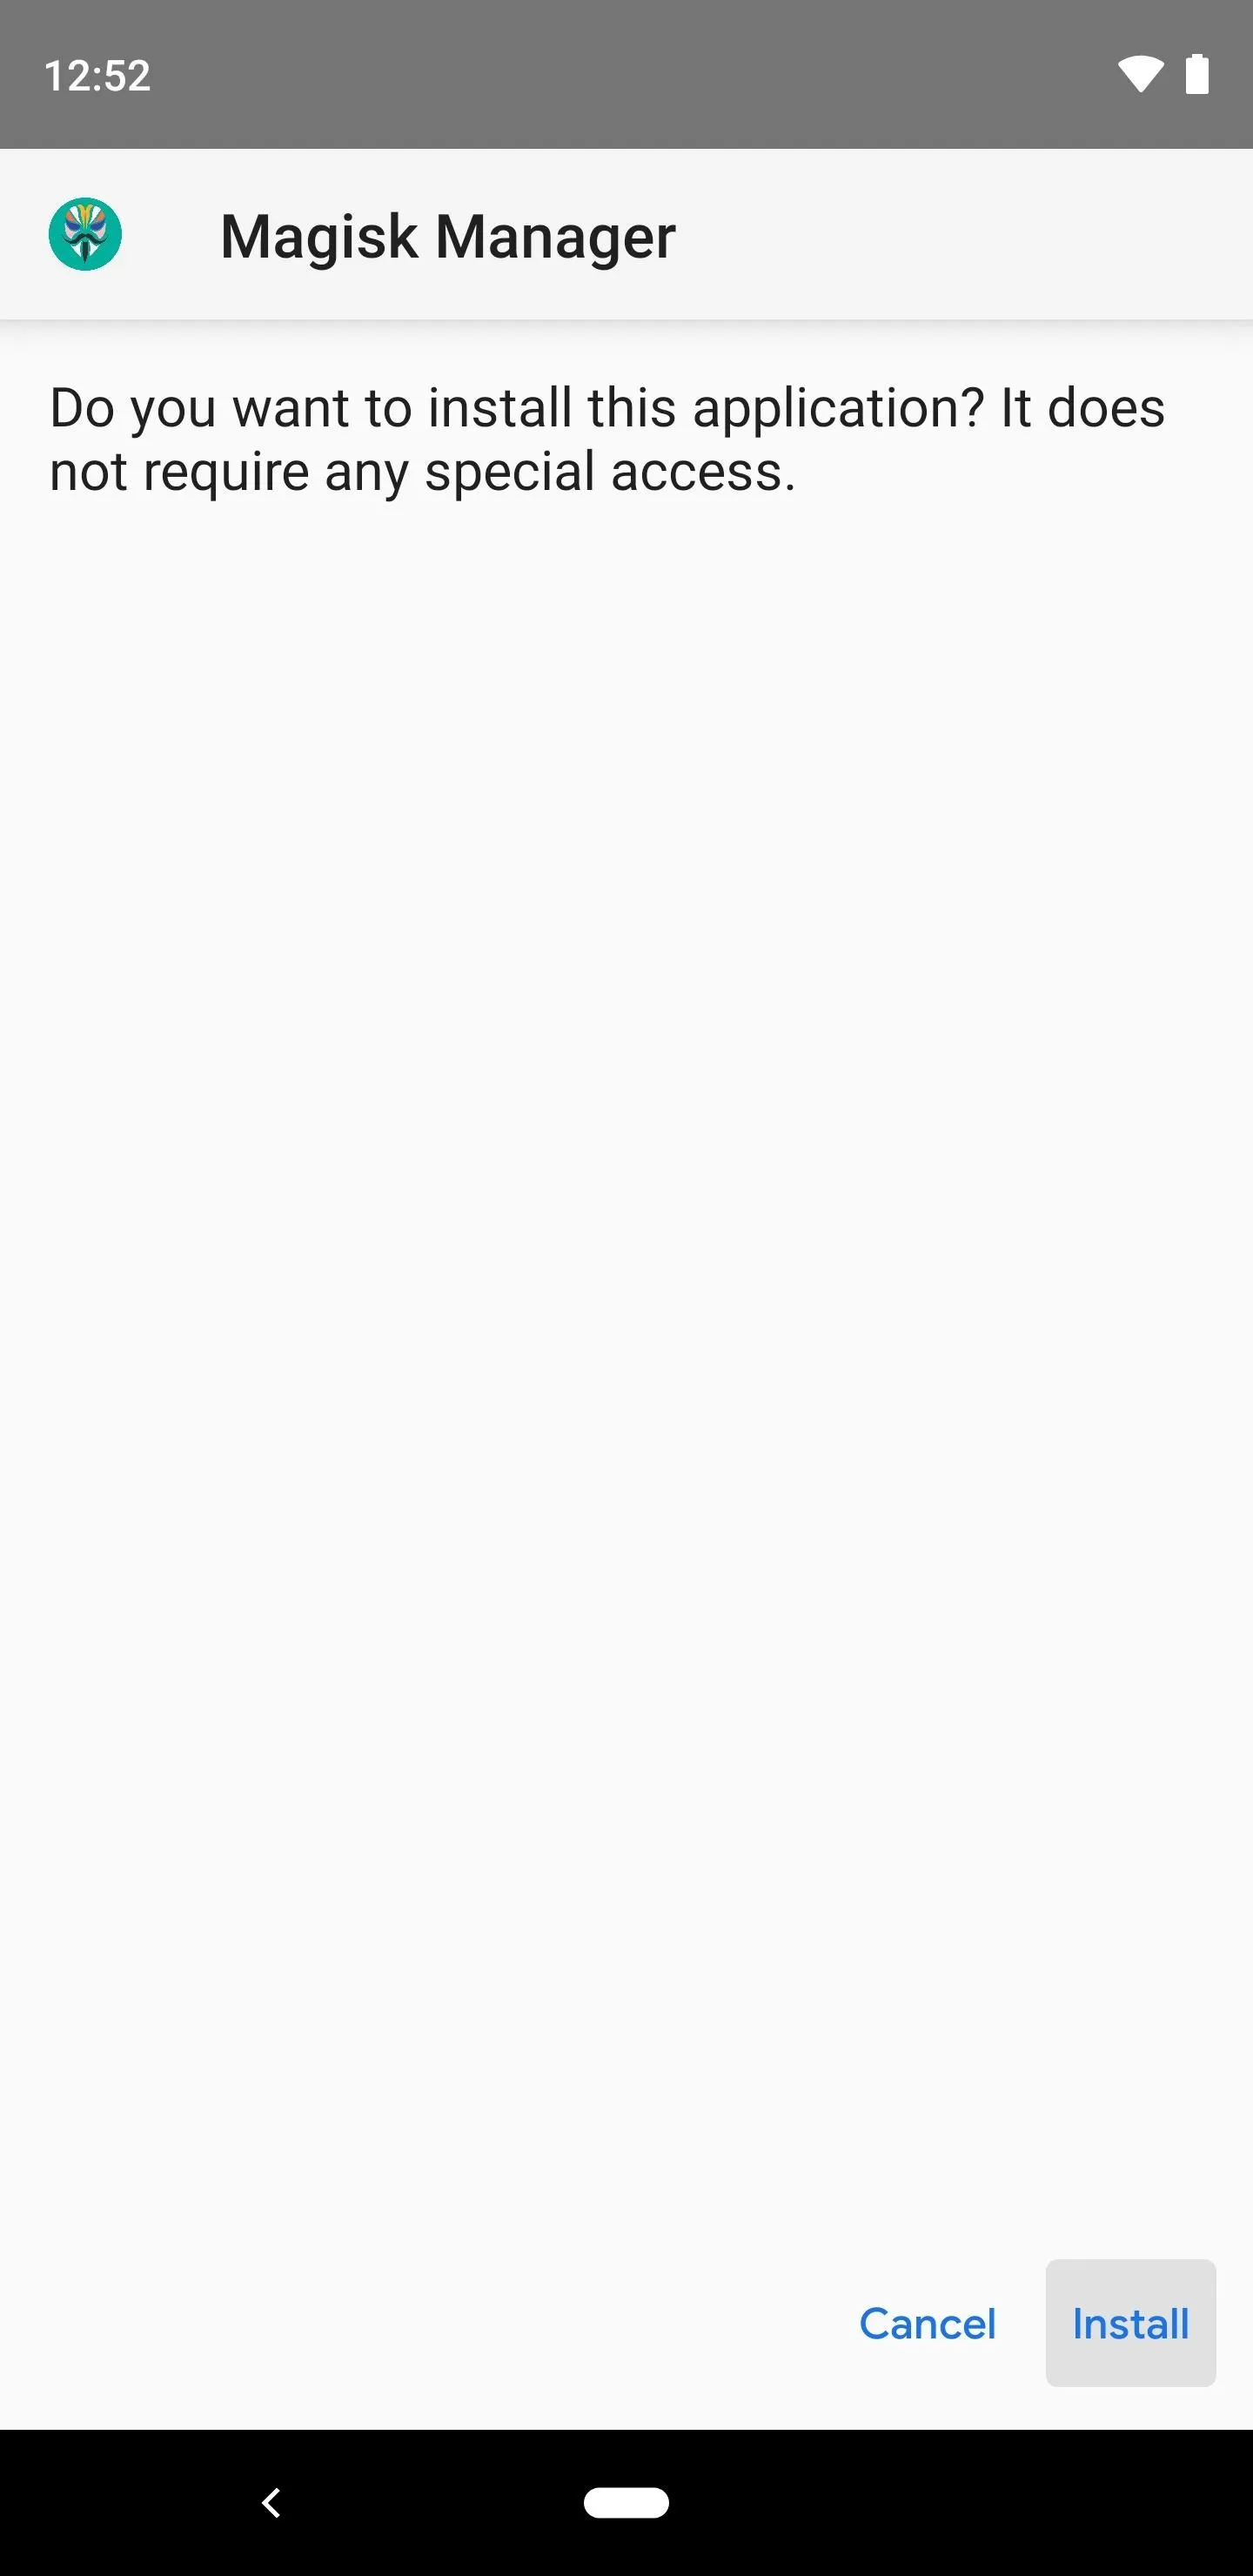
When the file finishes downloading, tap the "Download complete" notification to open it. If this is your first time sideloading an app on this device, you'll see a prompt saying your browser isn't allowed to install apps. Tap "Settings" on this prompt, then enable the switch next to "Allow from this source" on the next screen. Then, hit your back button once and press the "Install" button.


Switch to the Magisk Beta Channel
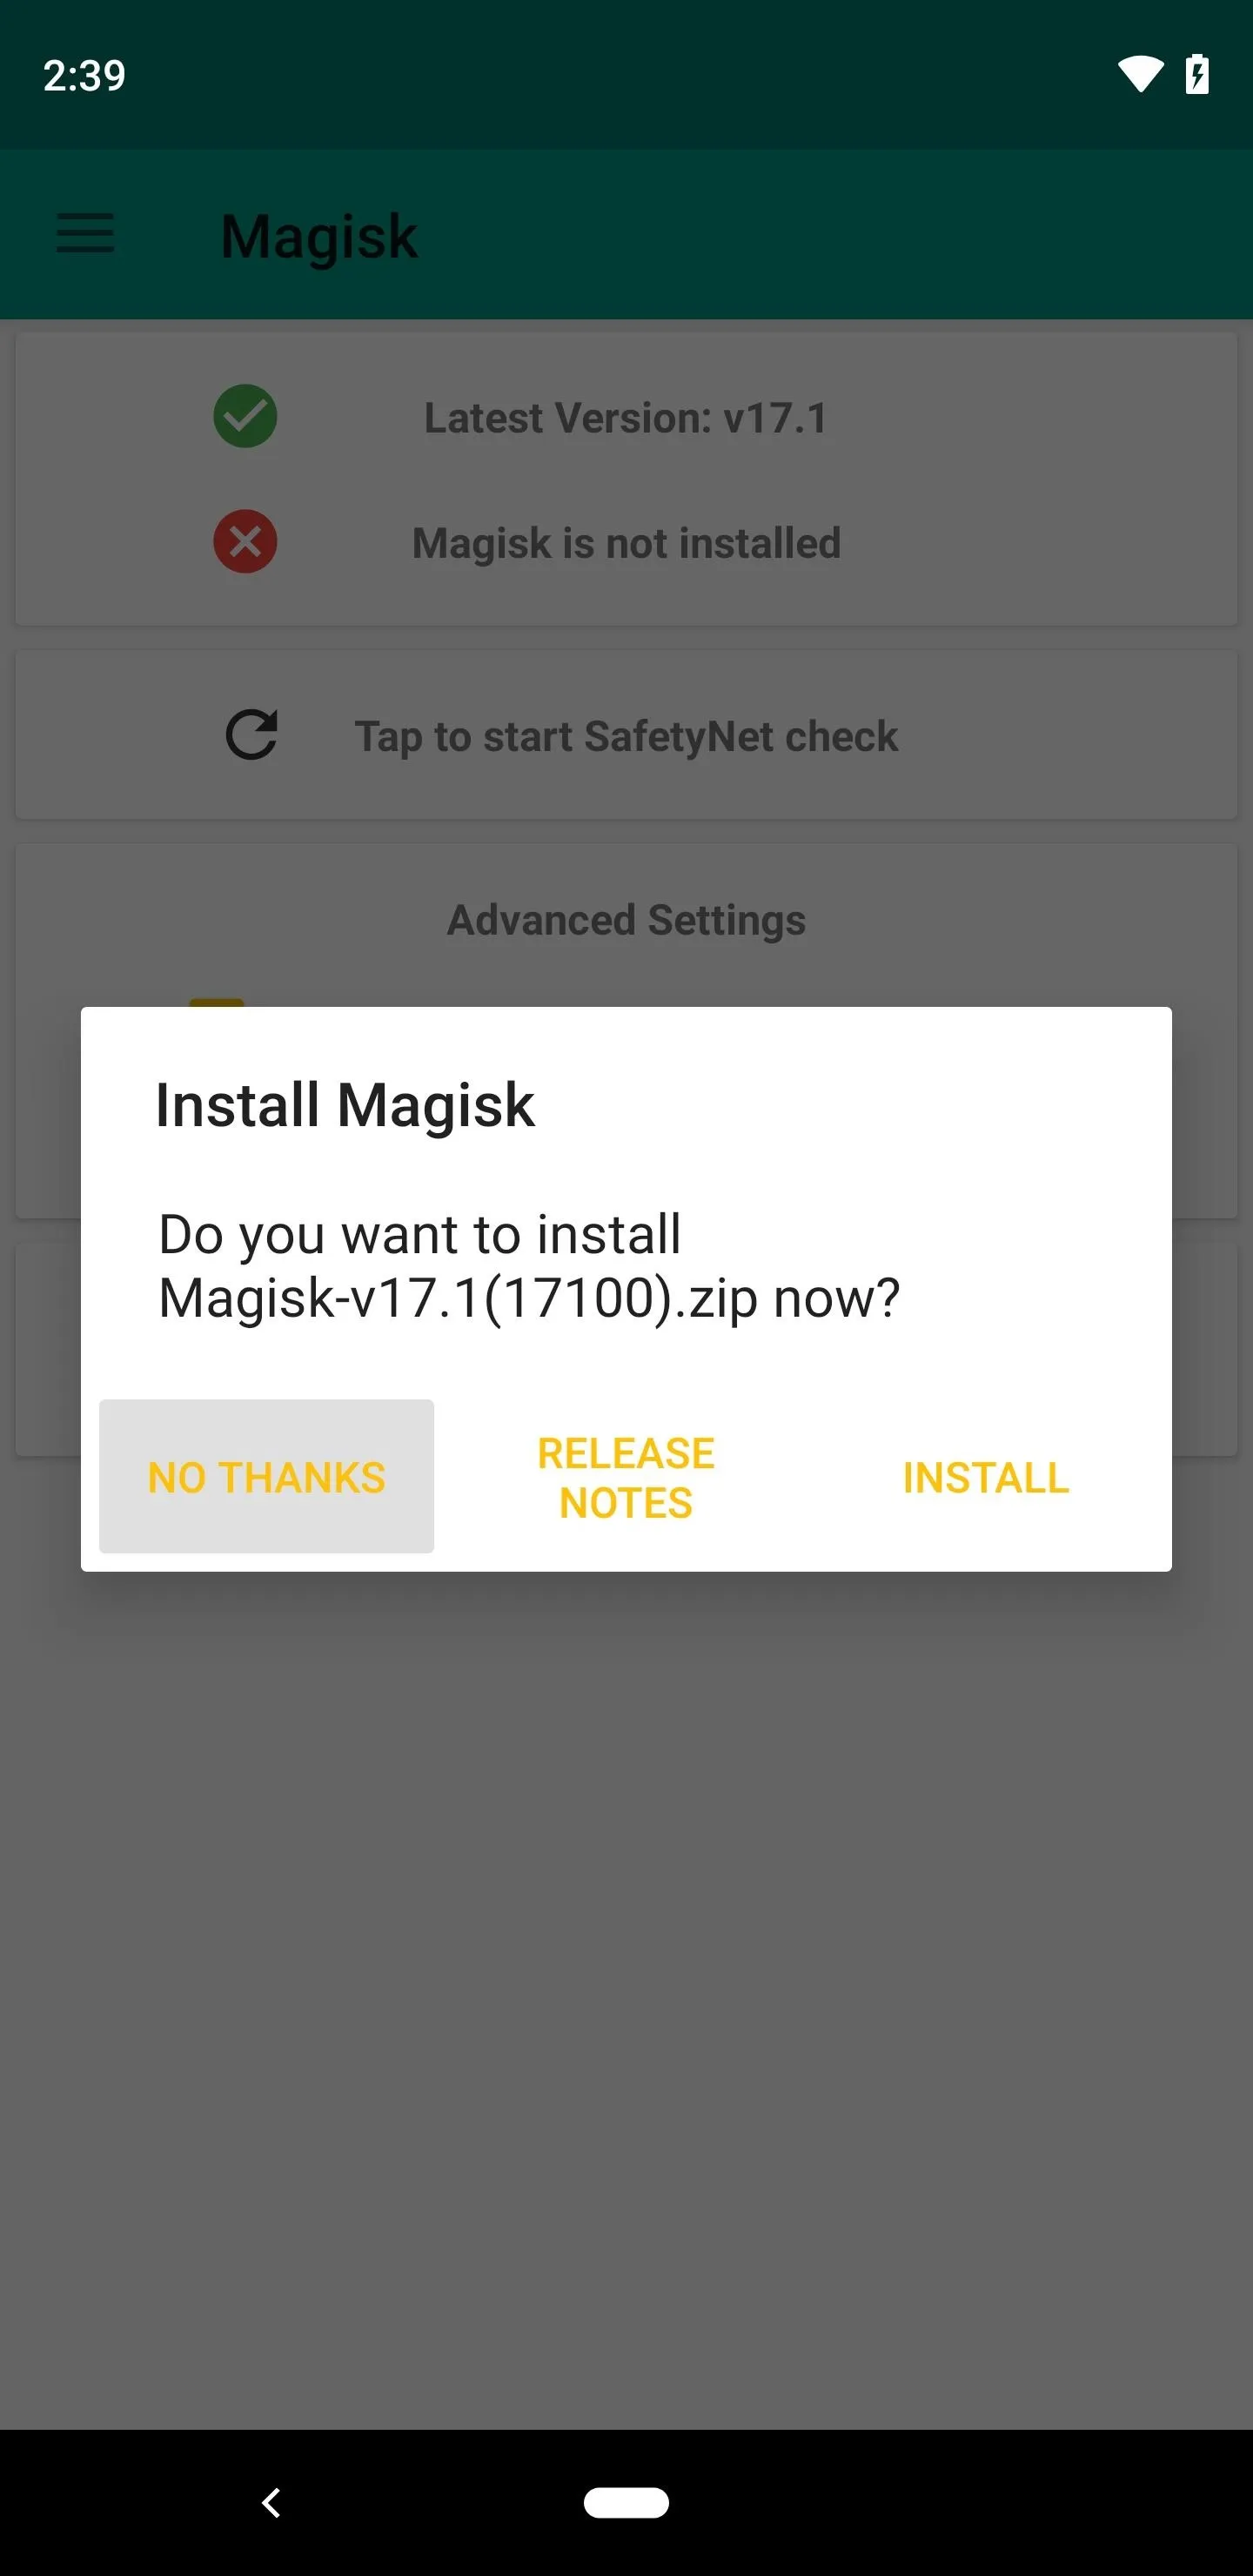
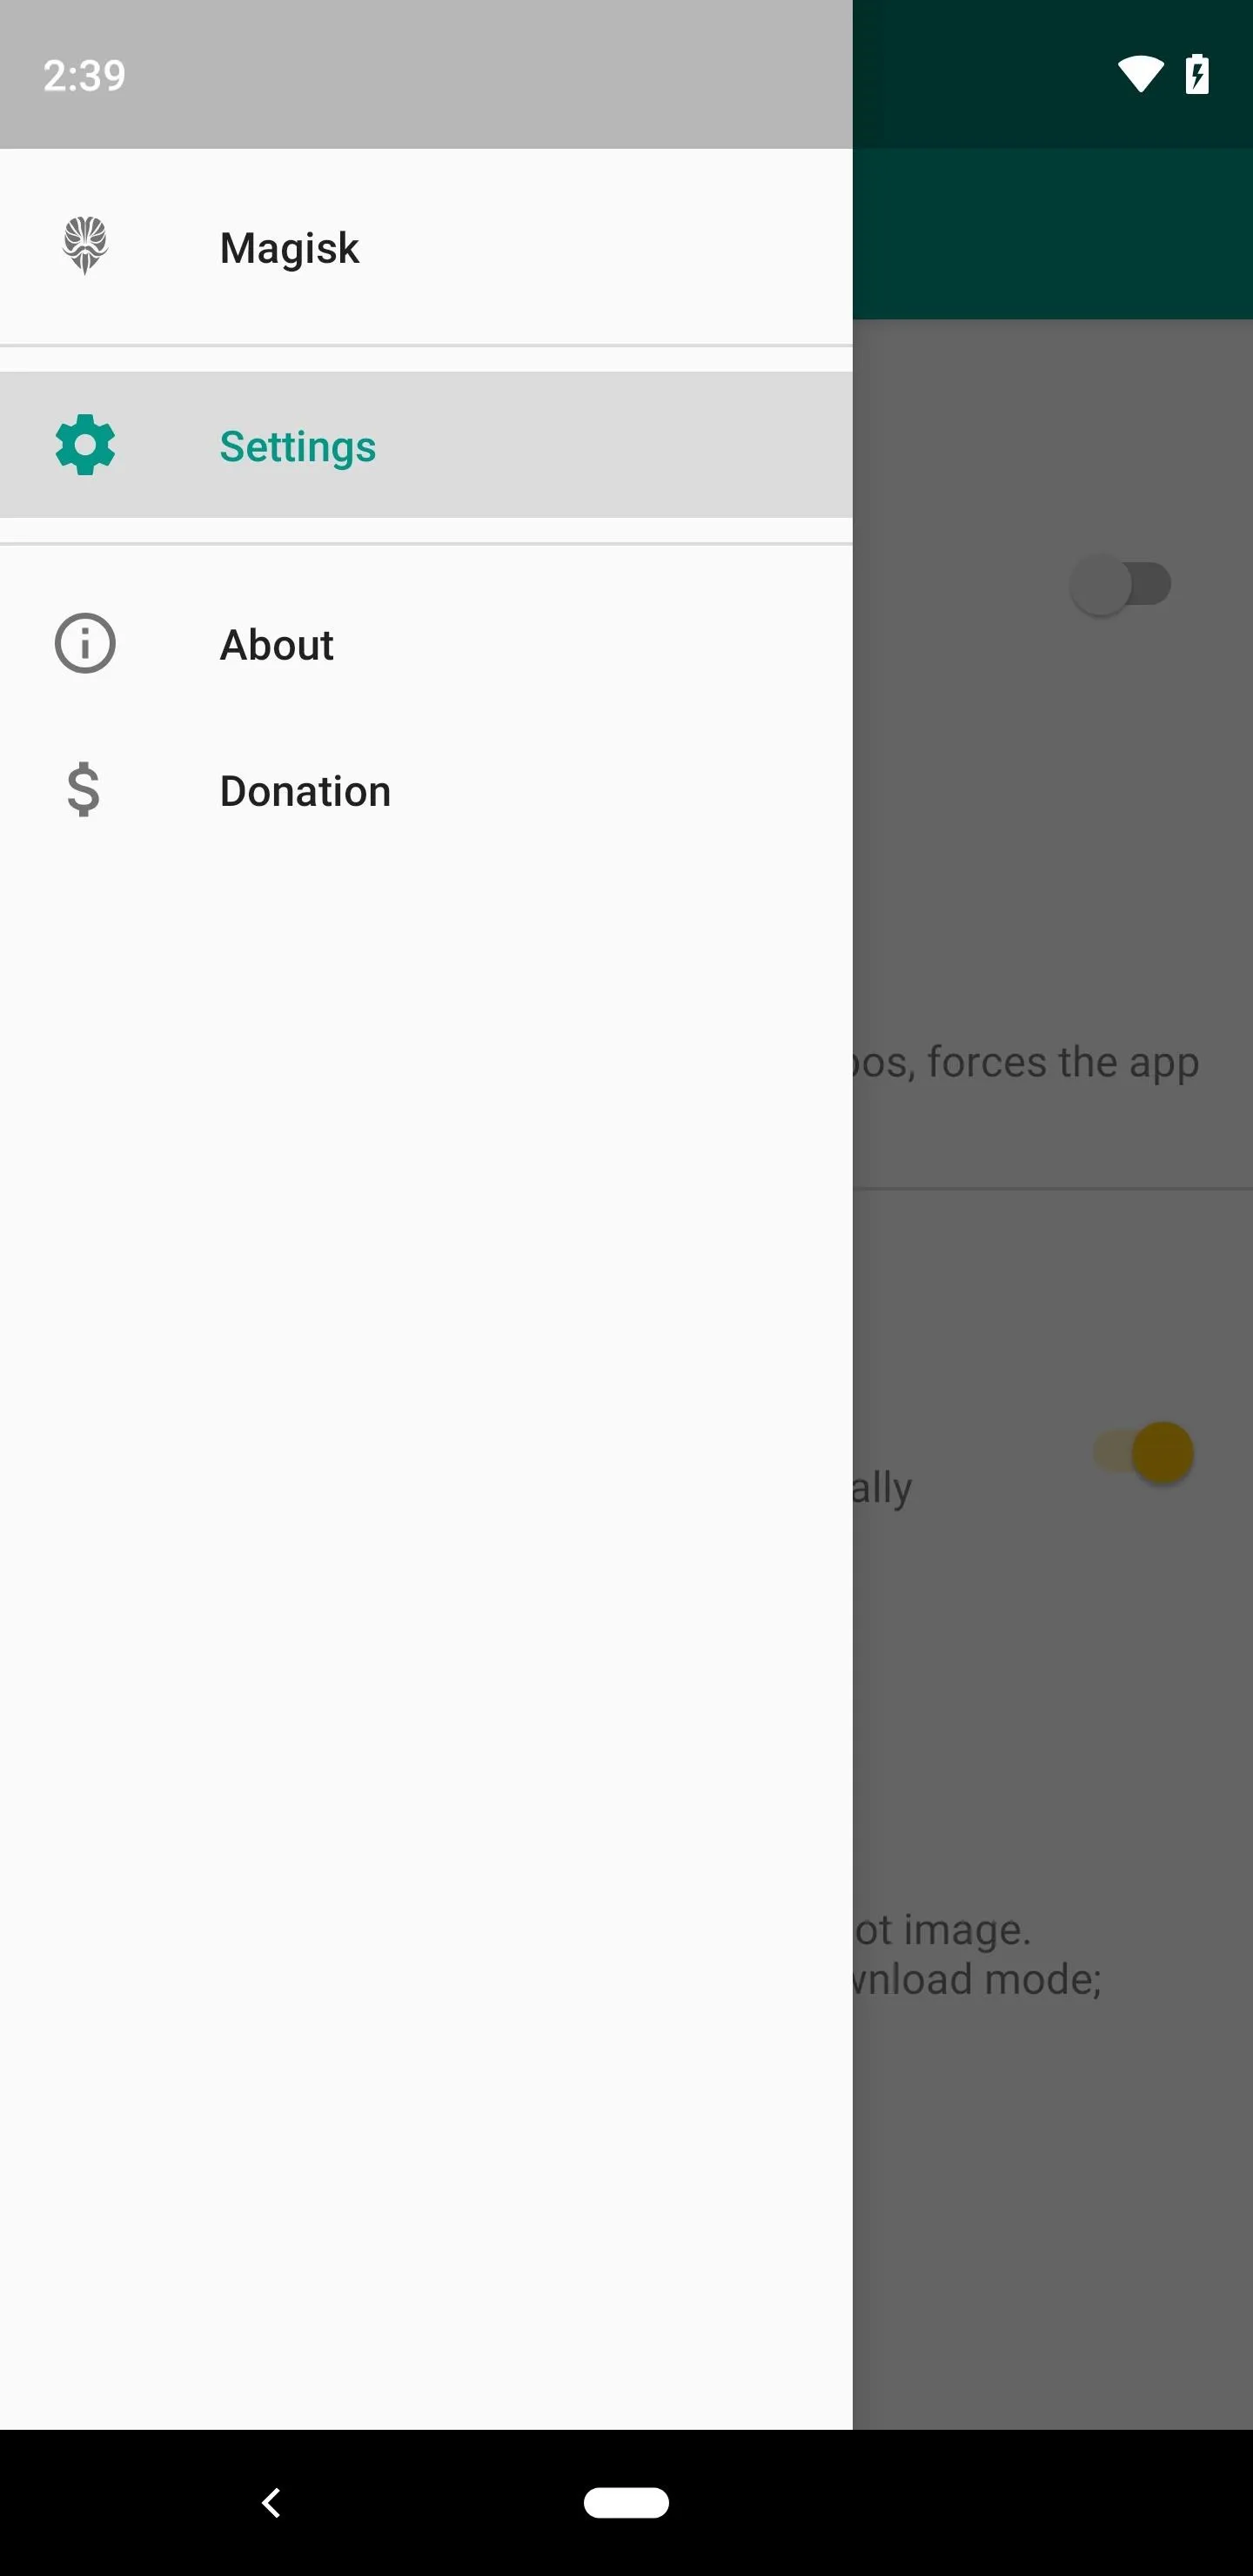
Now, open the Magisk Manager app and grant the permissions it requests on first-run. You'll be asked if you'd like to install Magisk — tap "No Thanks" on the popup. Next, head to the side navigation menu by tapping the hamburger icon in the top-left, then choose "Settings."


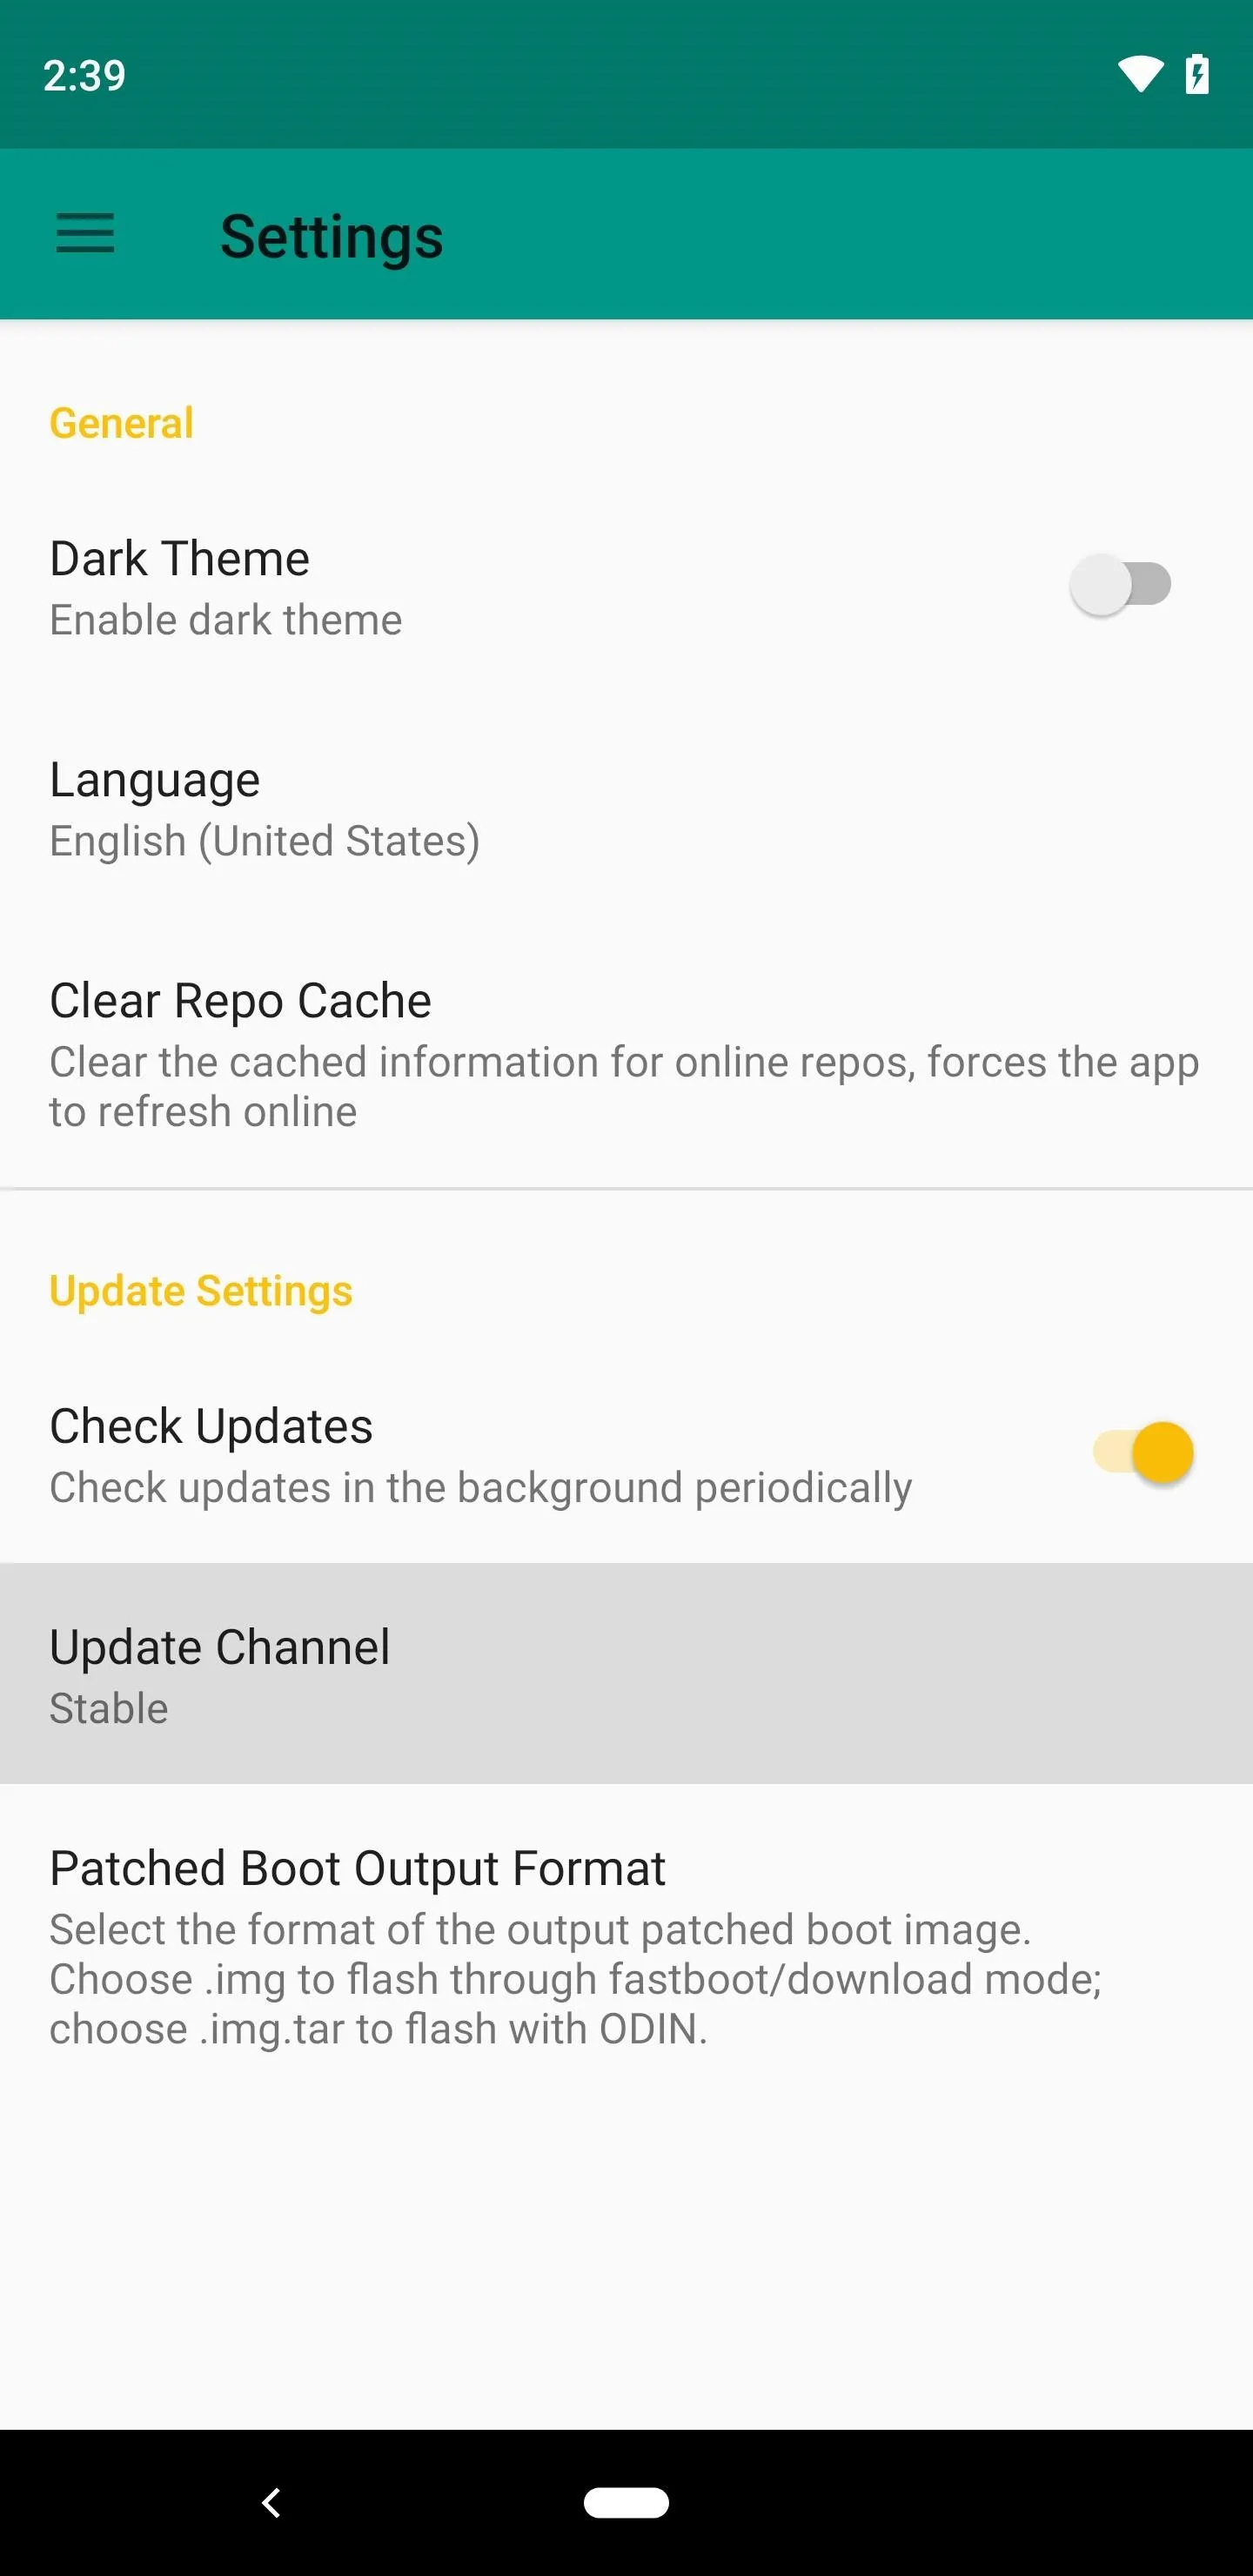
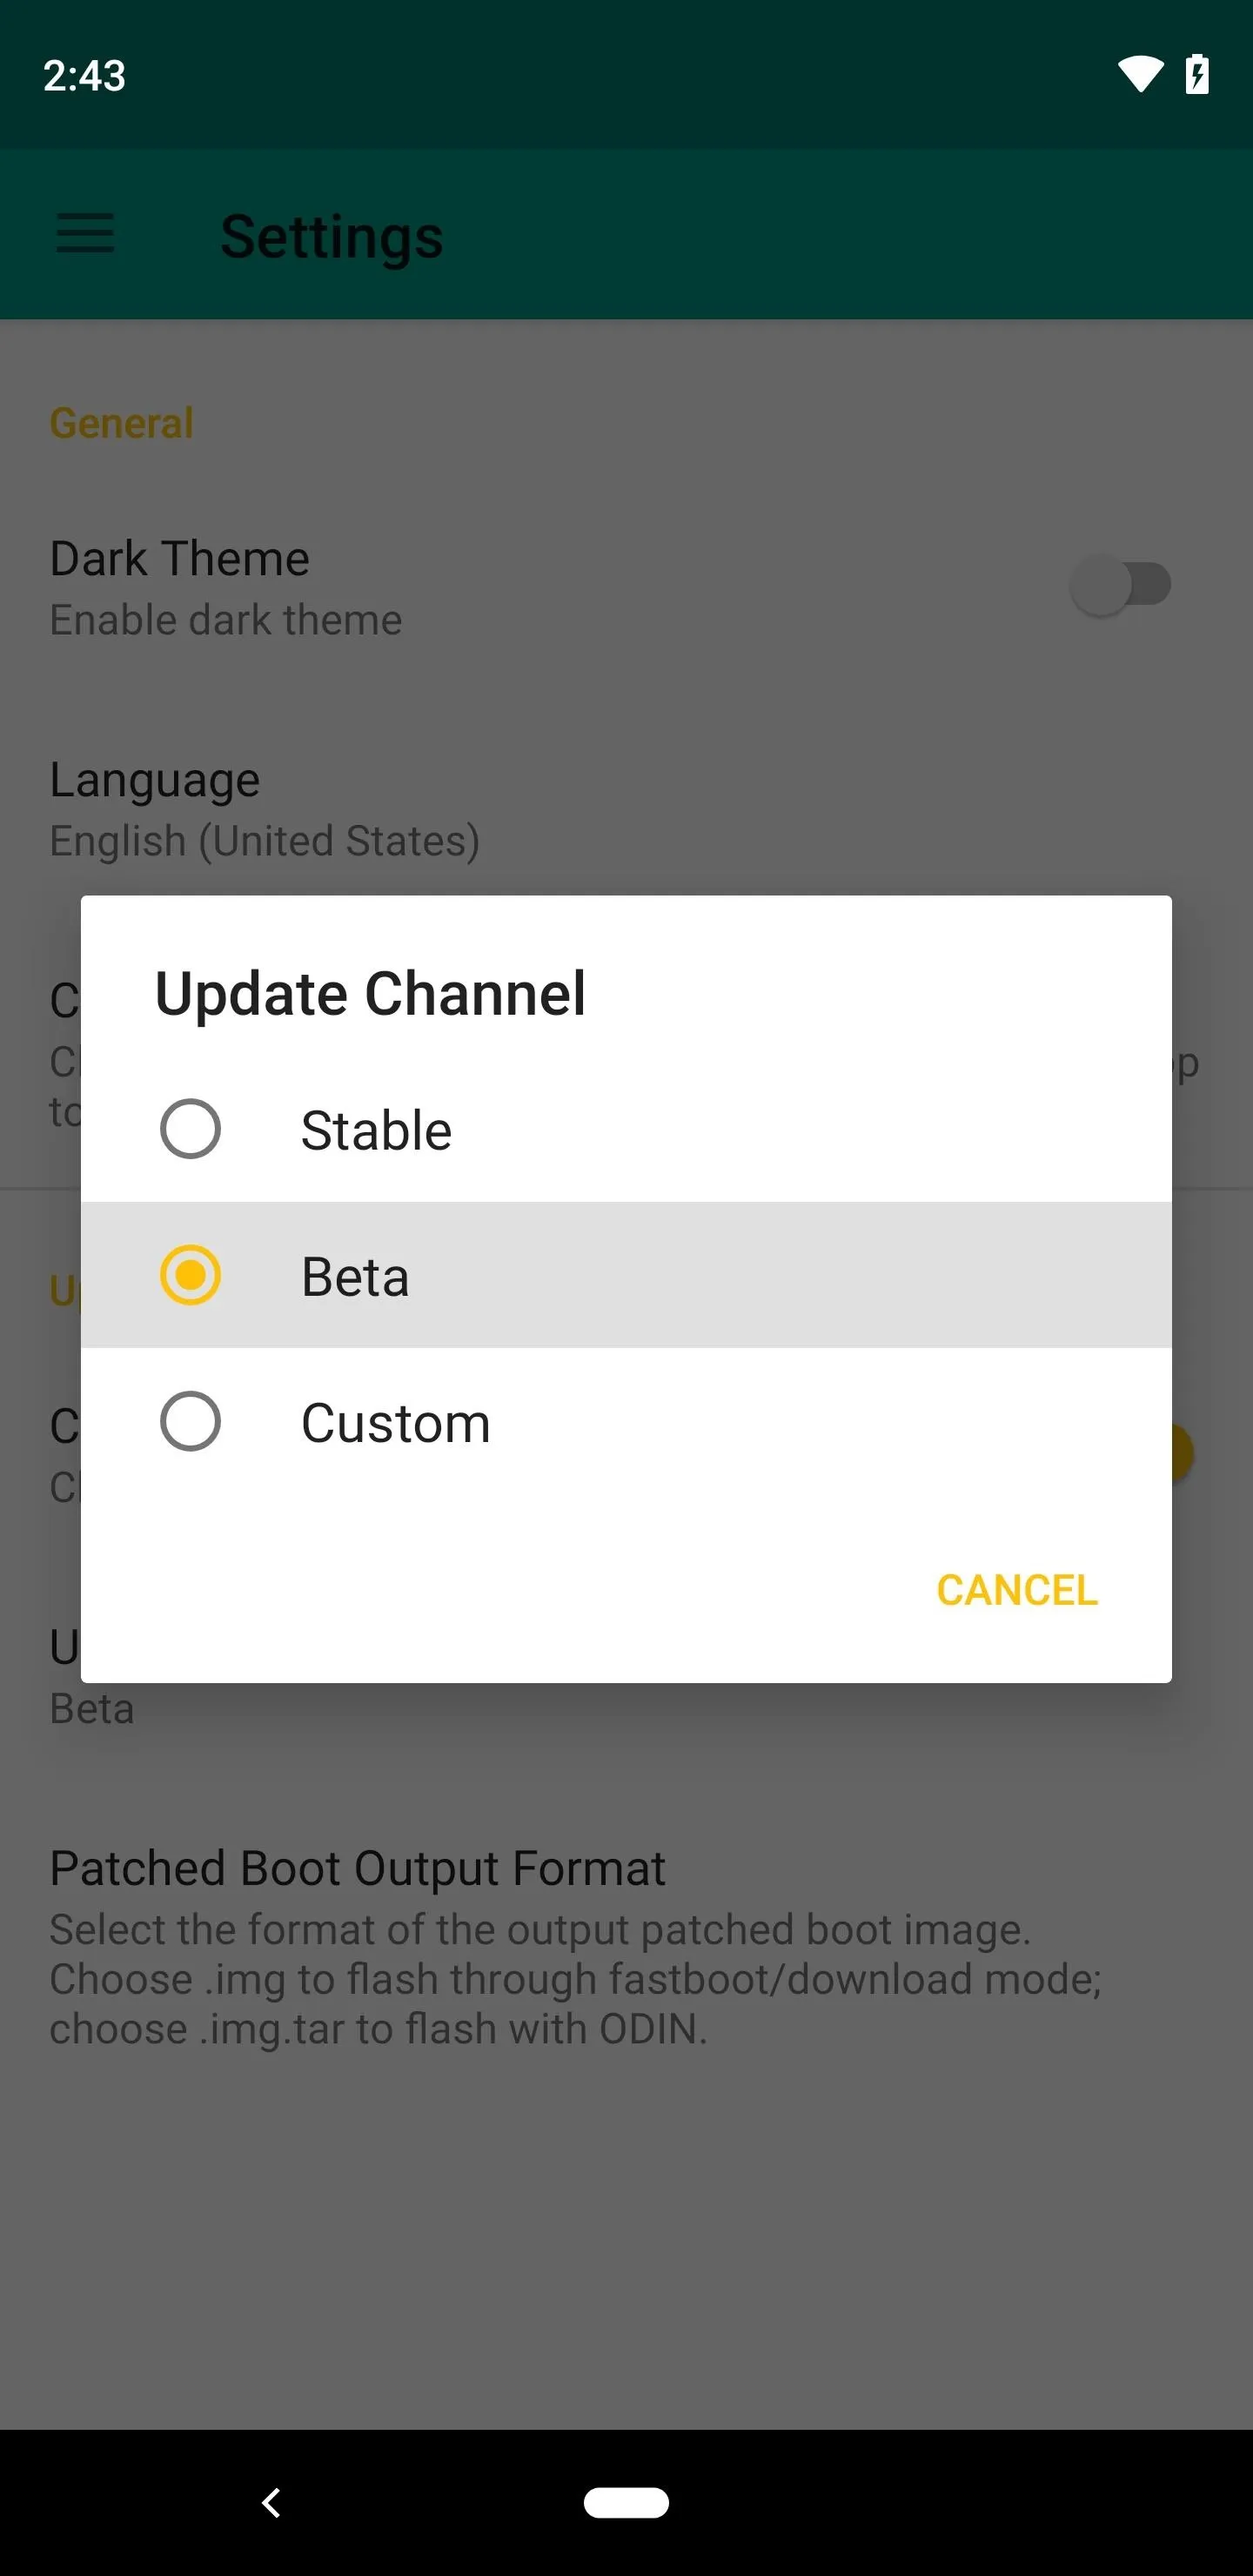
In Magisk Manager's settings, choose "Update Channel." Select "Beta" from the popup, then hit your back button to head out to Magisk Manager's main menu.


Patch the Boot Image
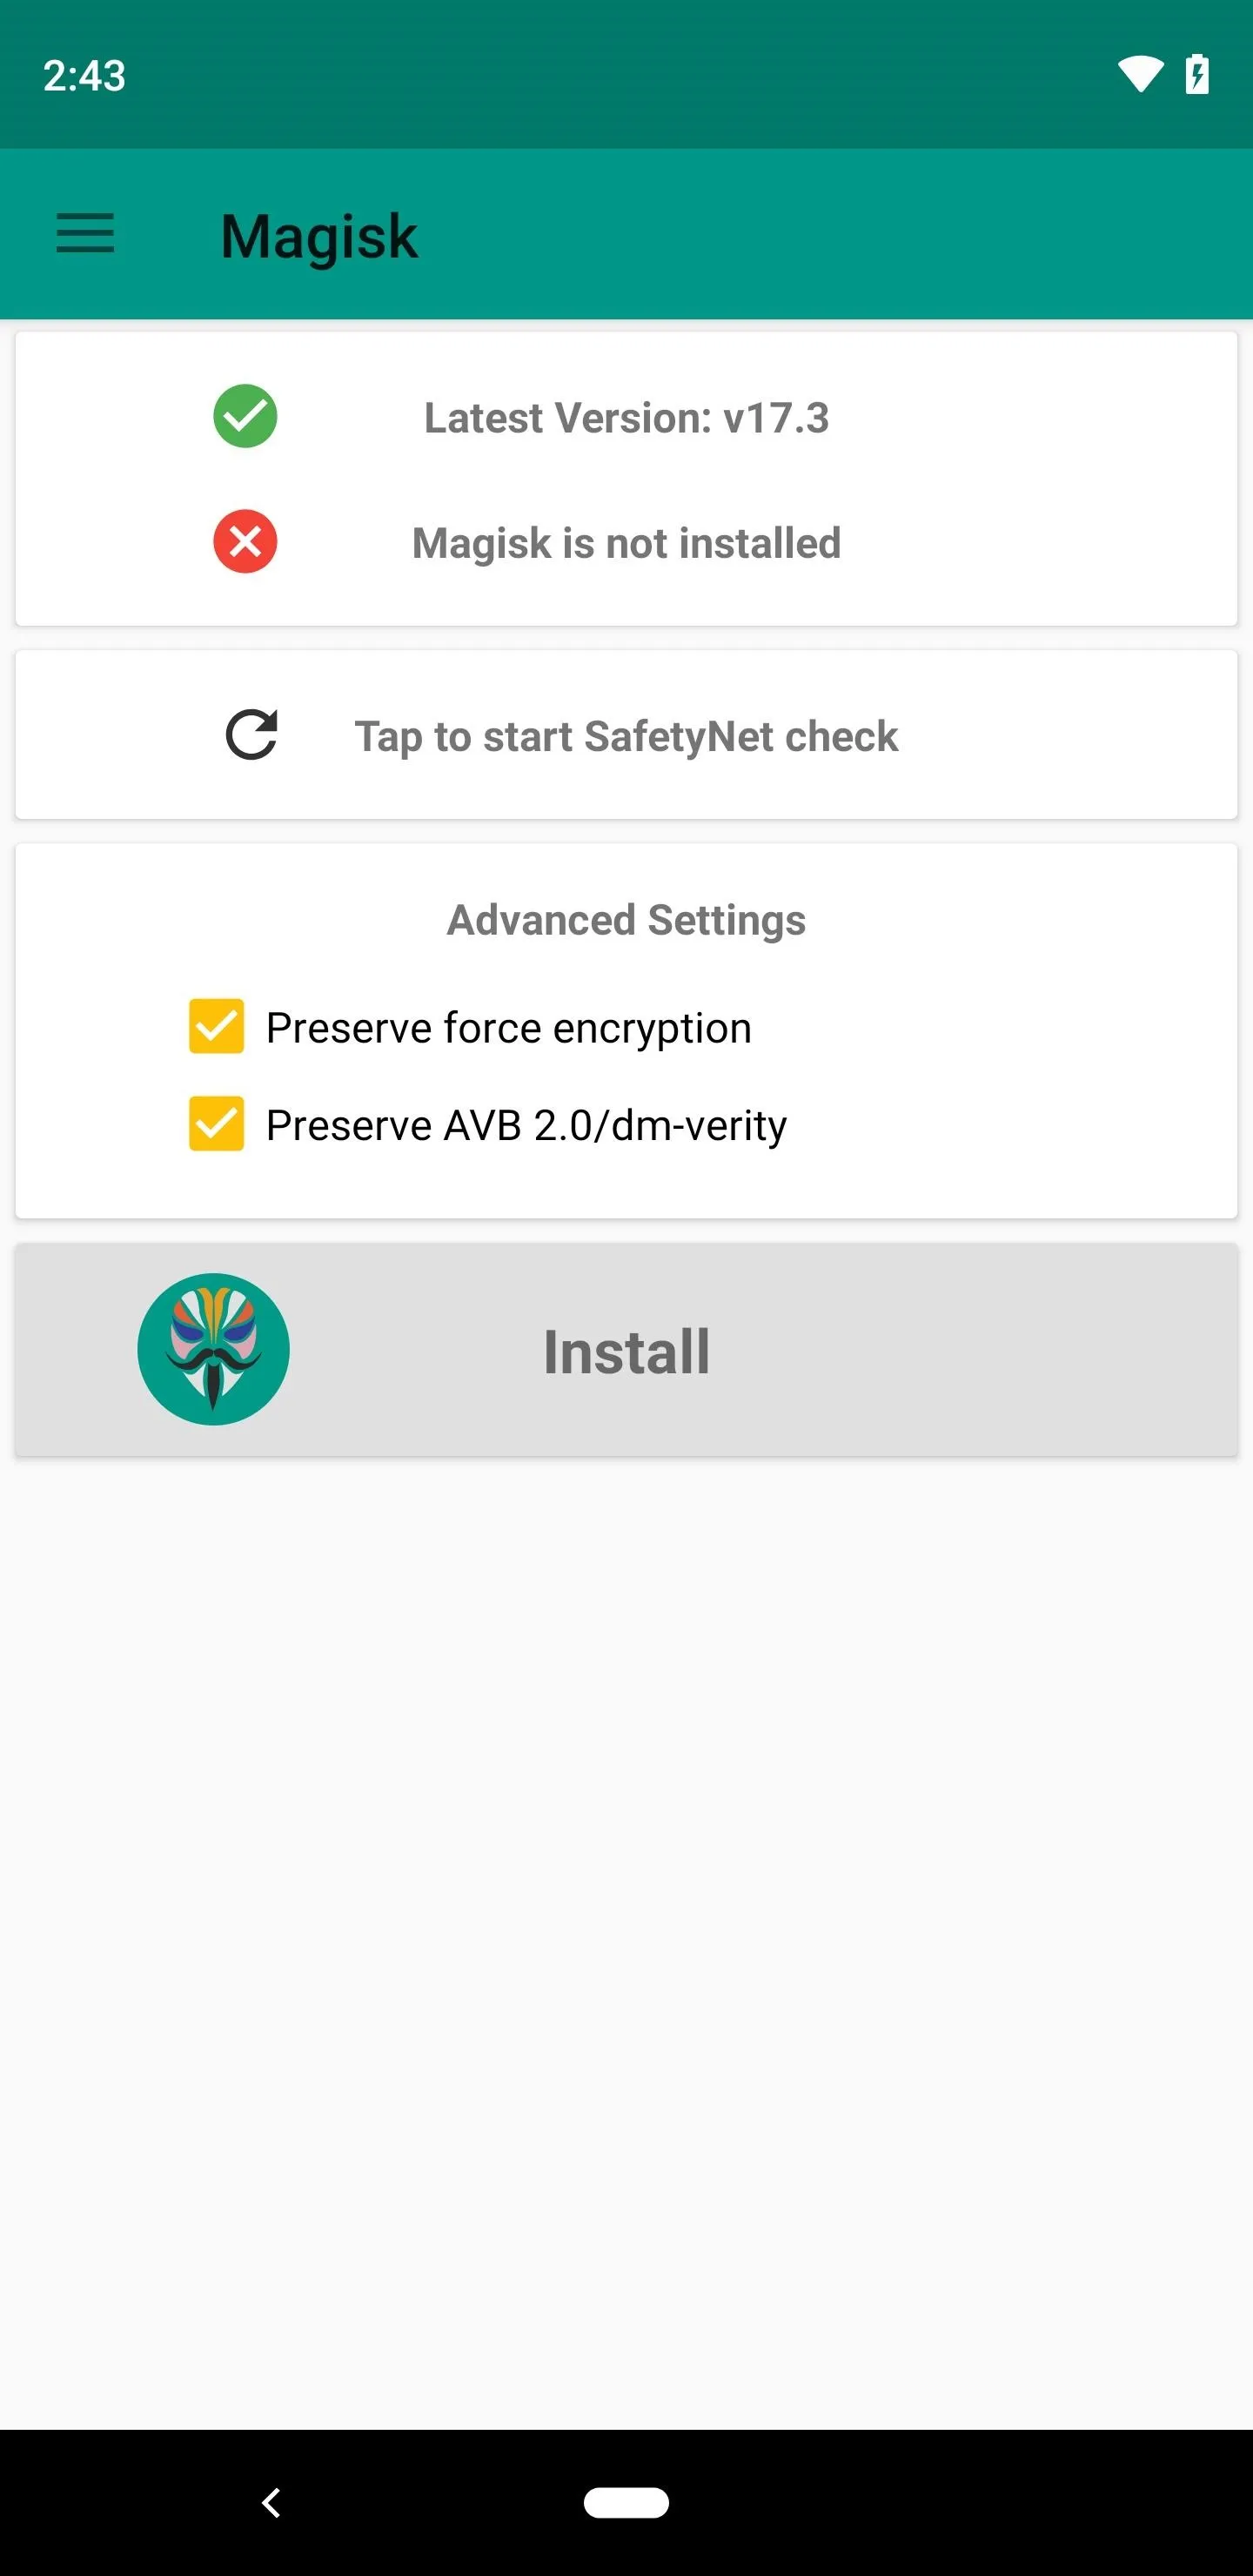
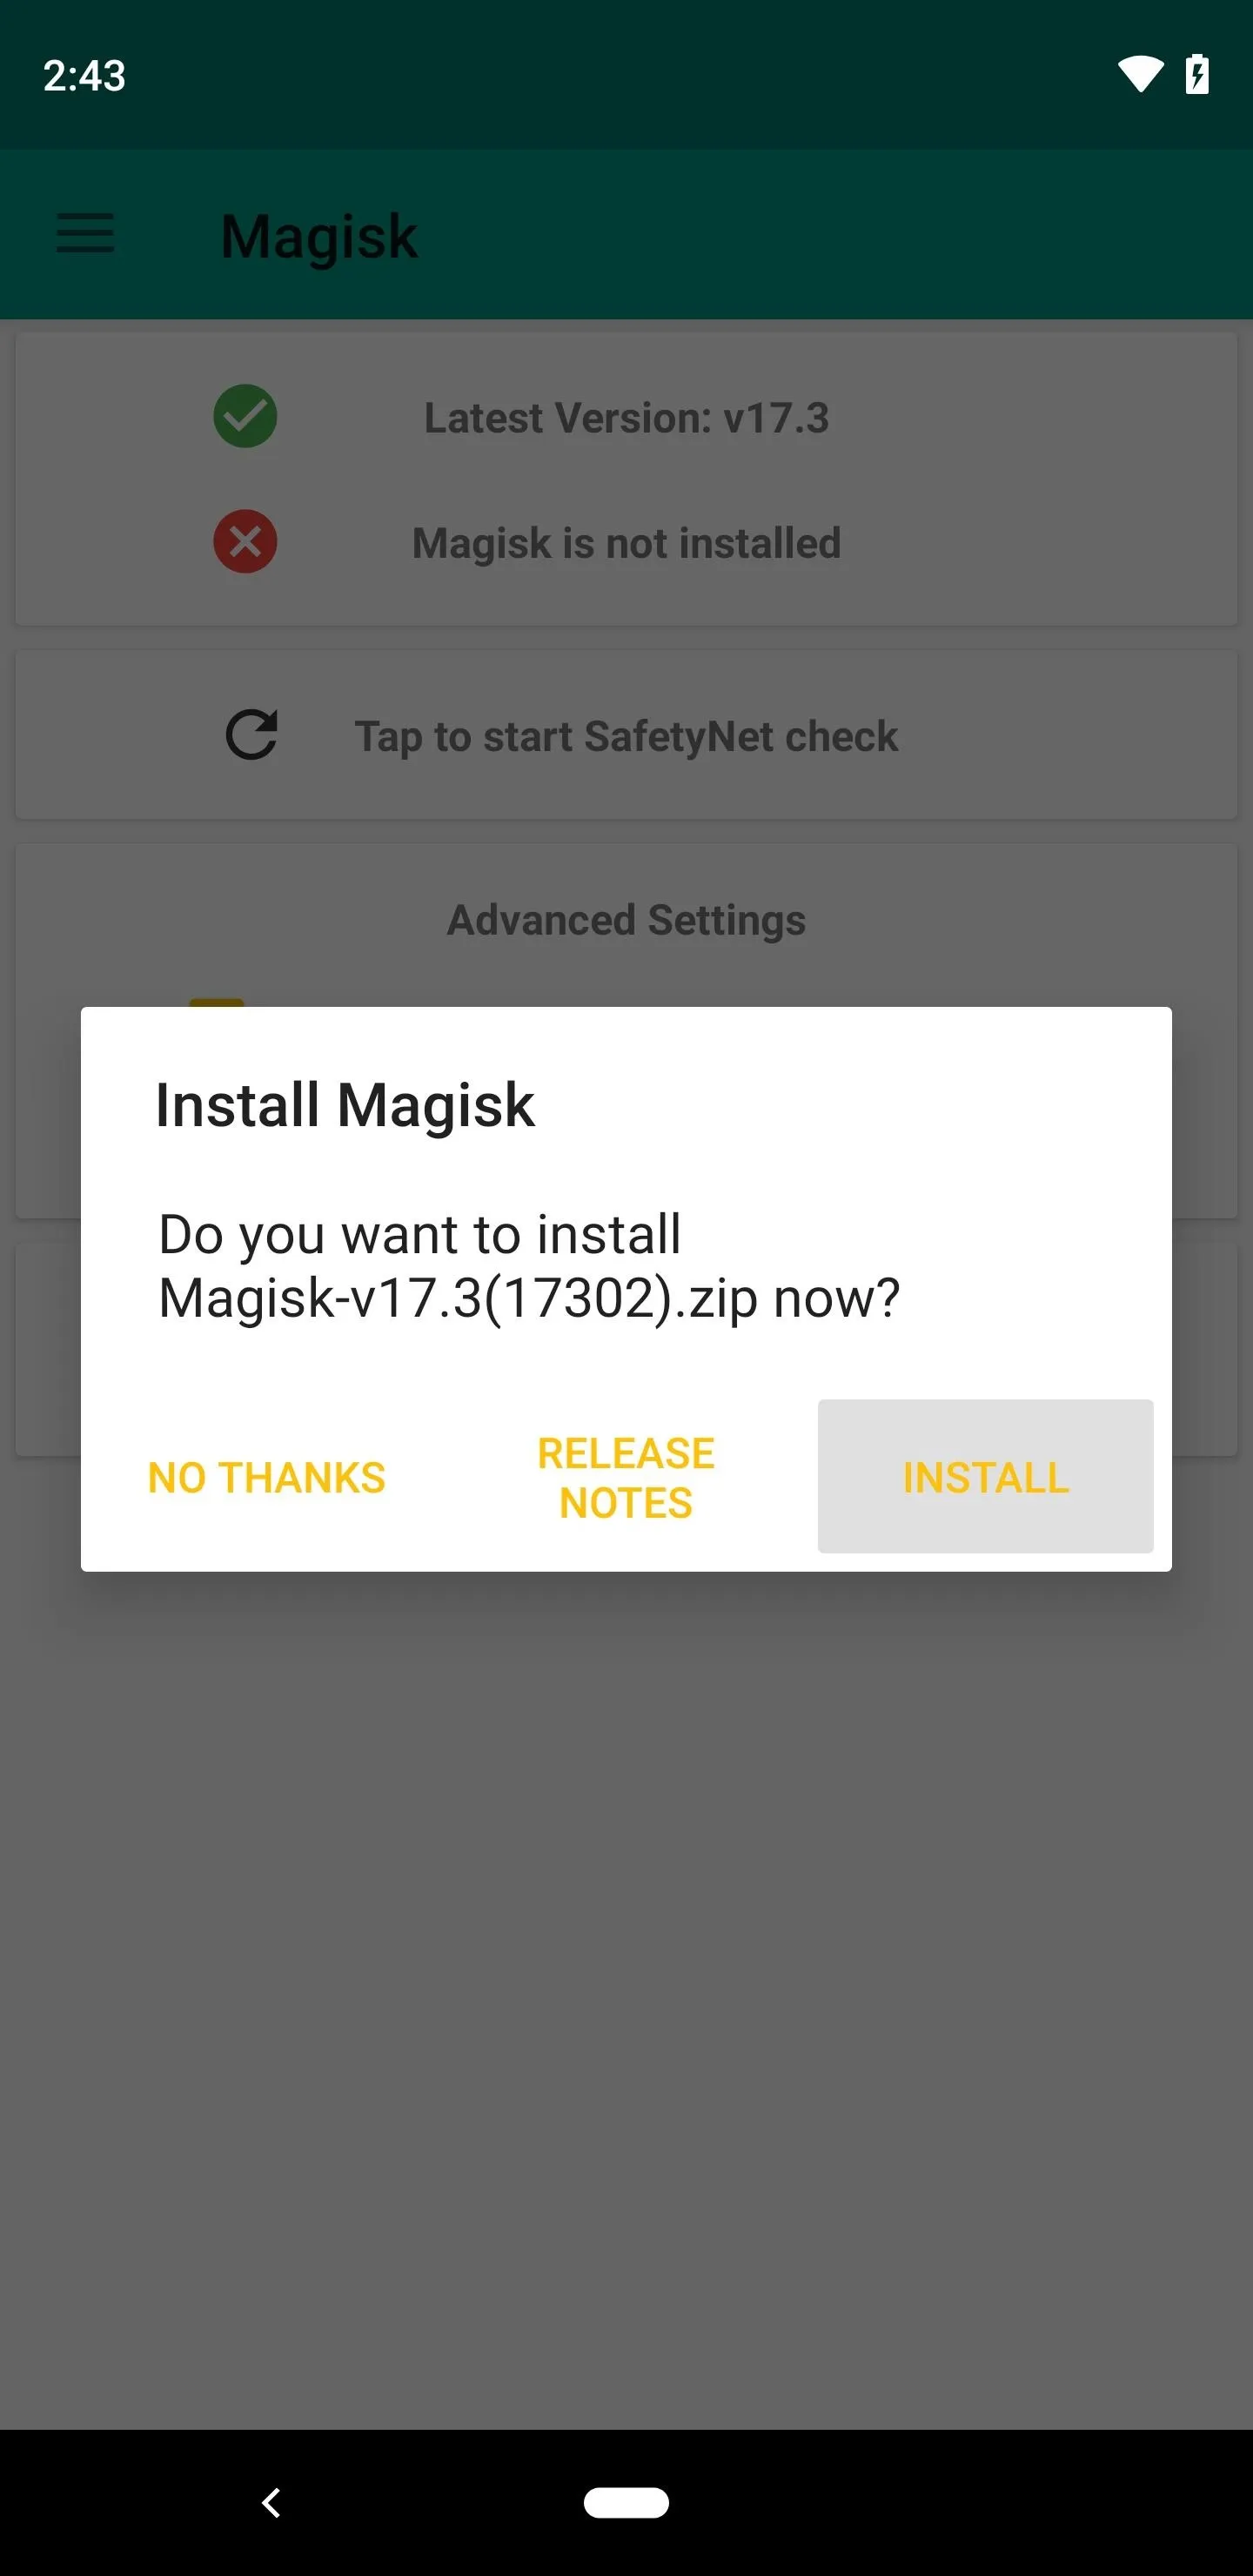
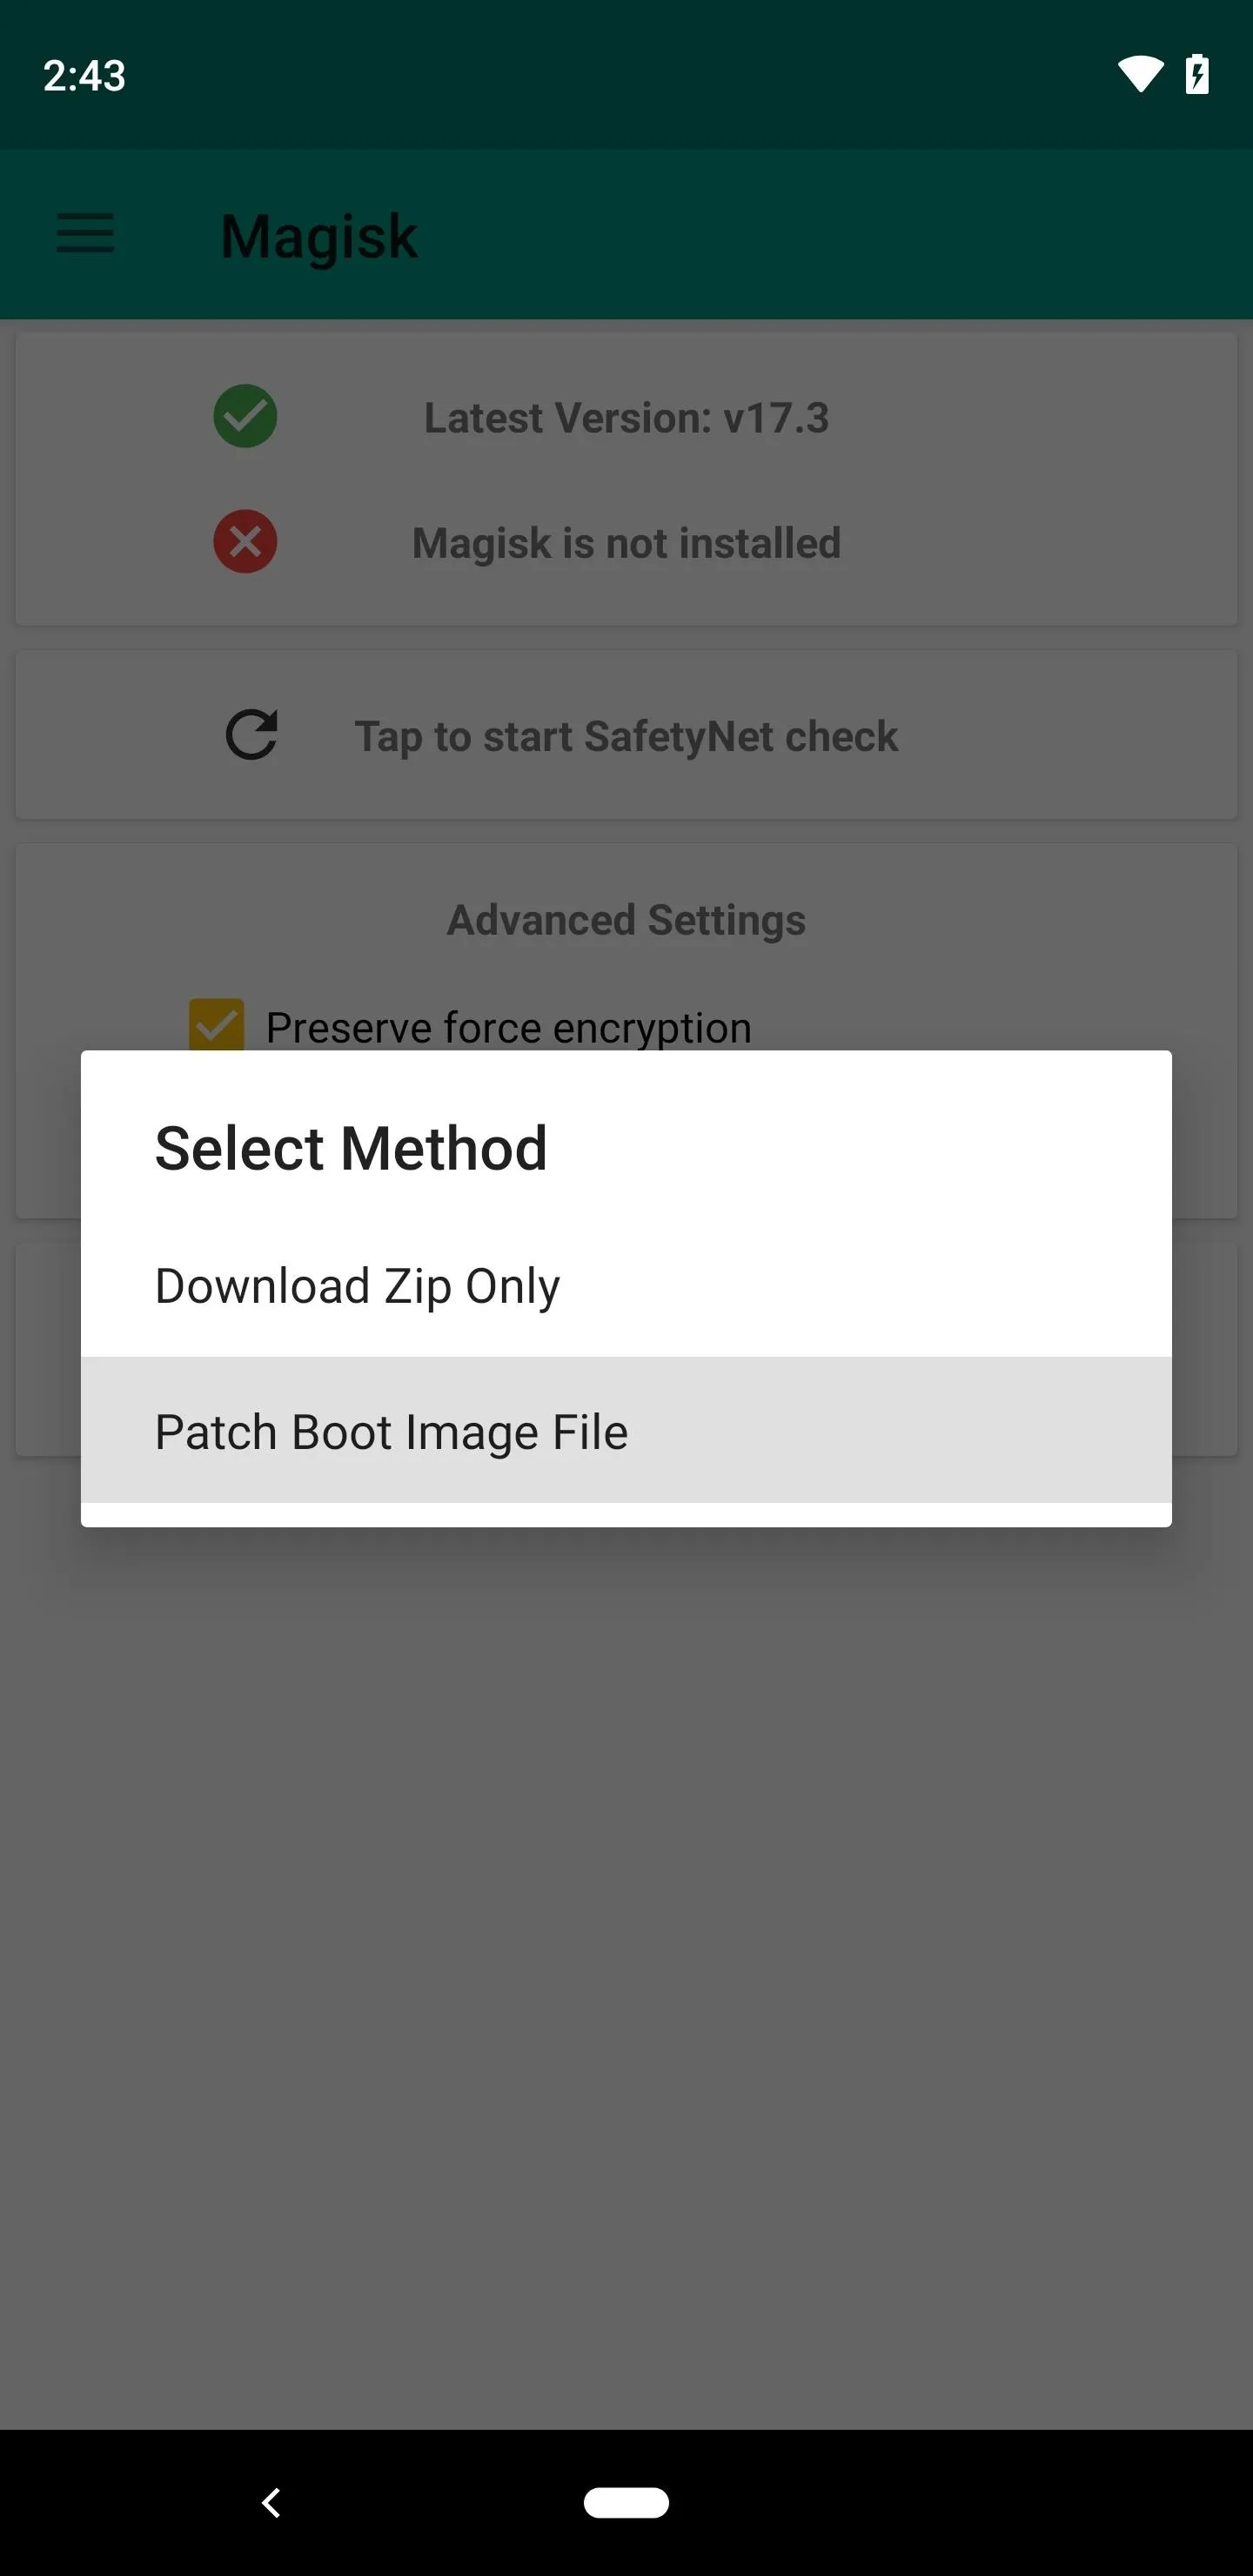
From the main menu in Magisk Manager, tap the "Install" button. Tap "Install" again on the popup, then choose "Patch Boot Image File."


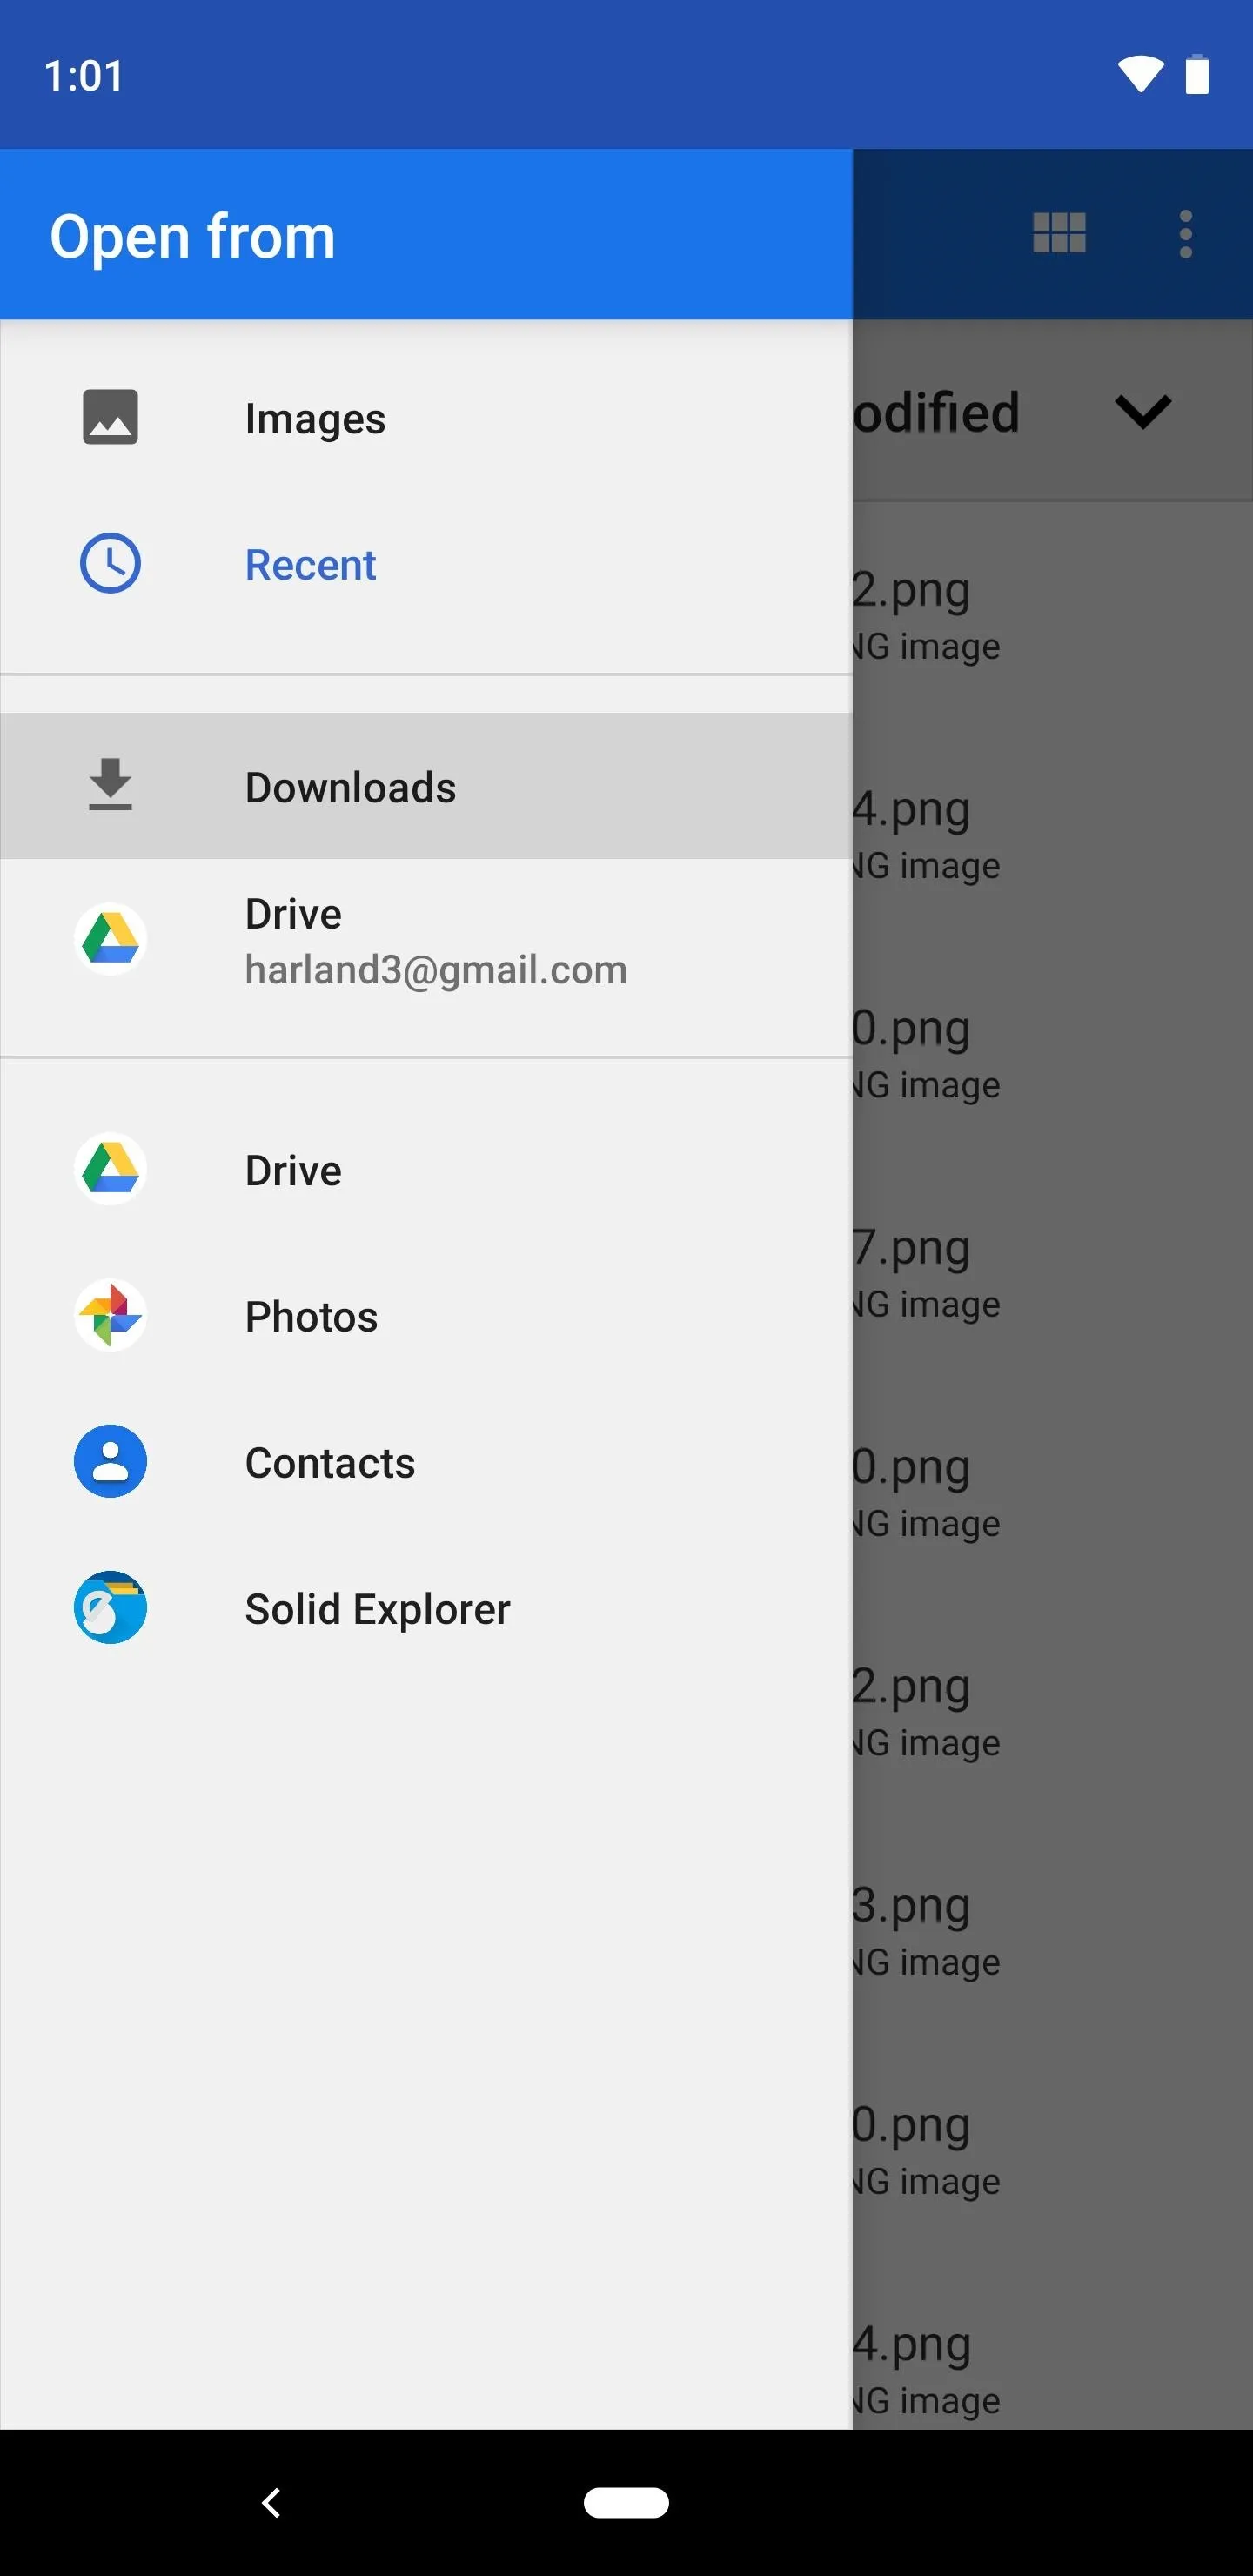
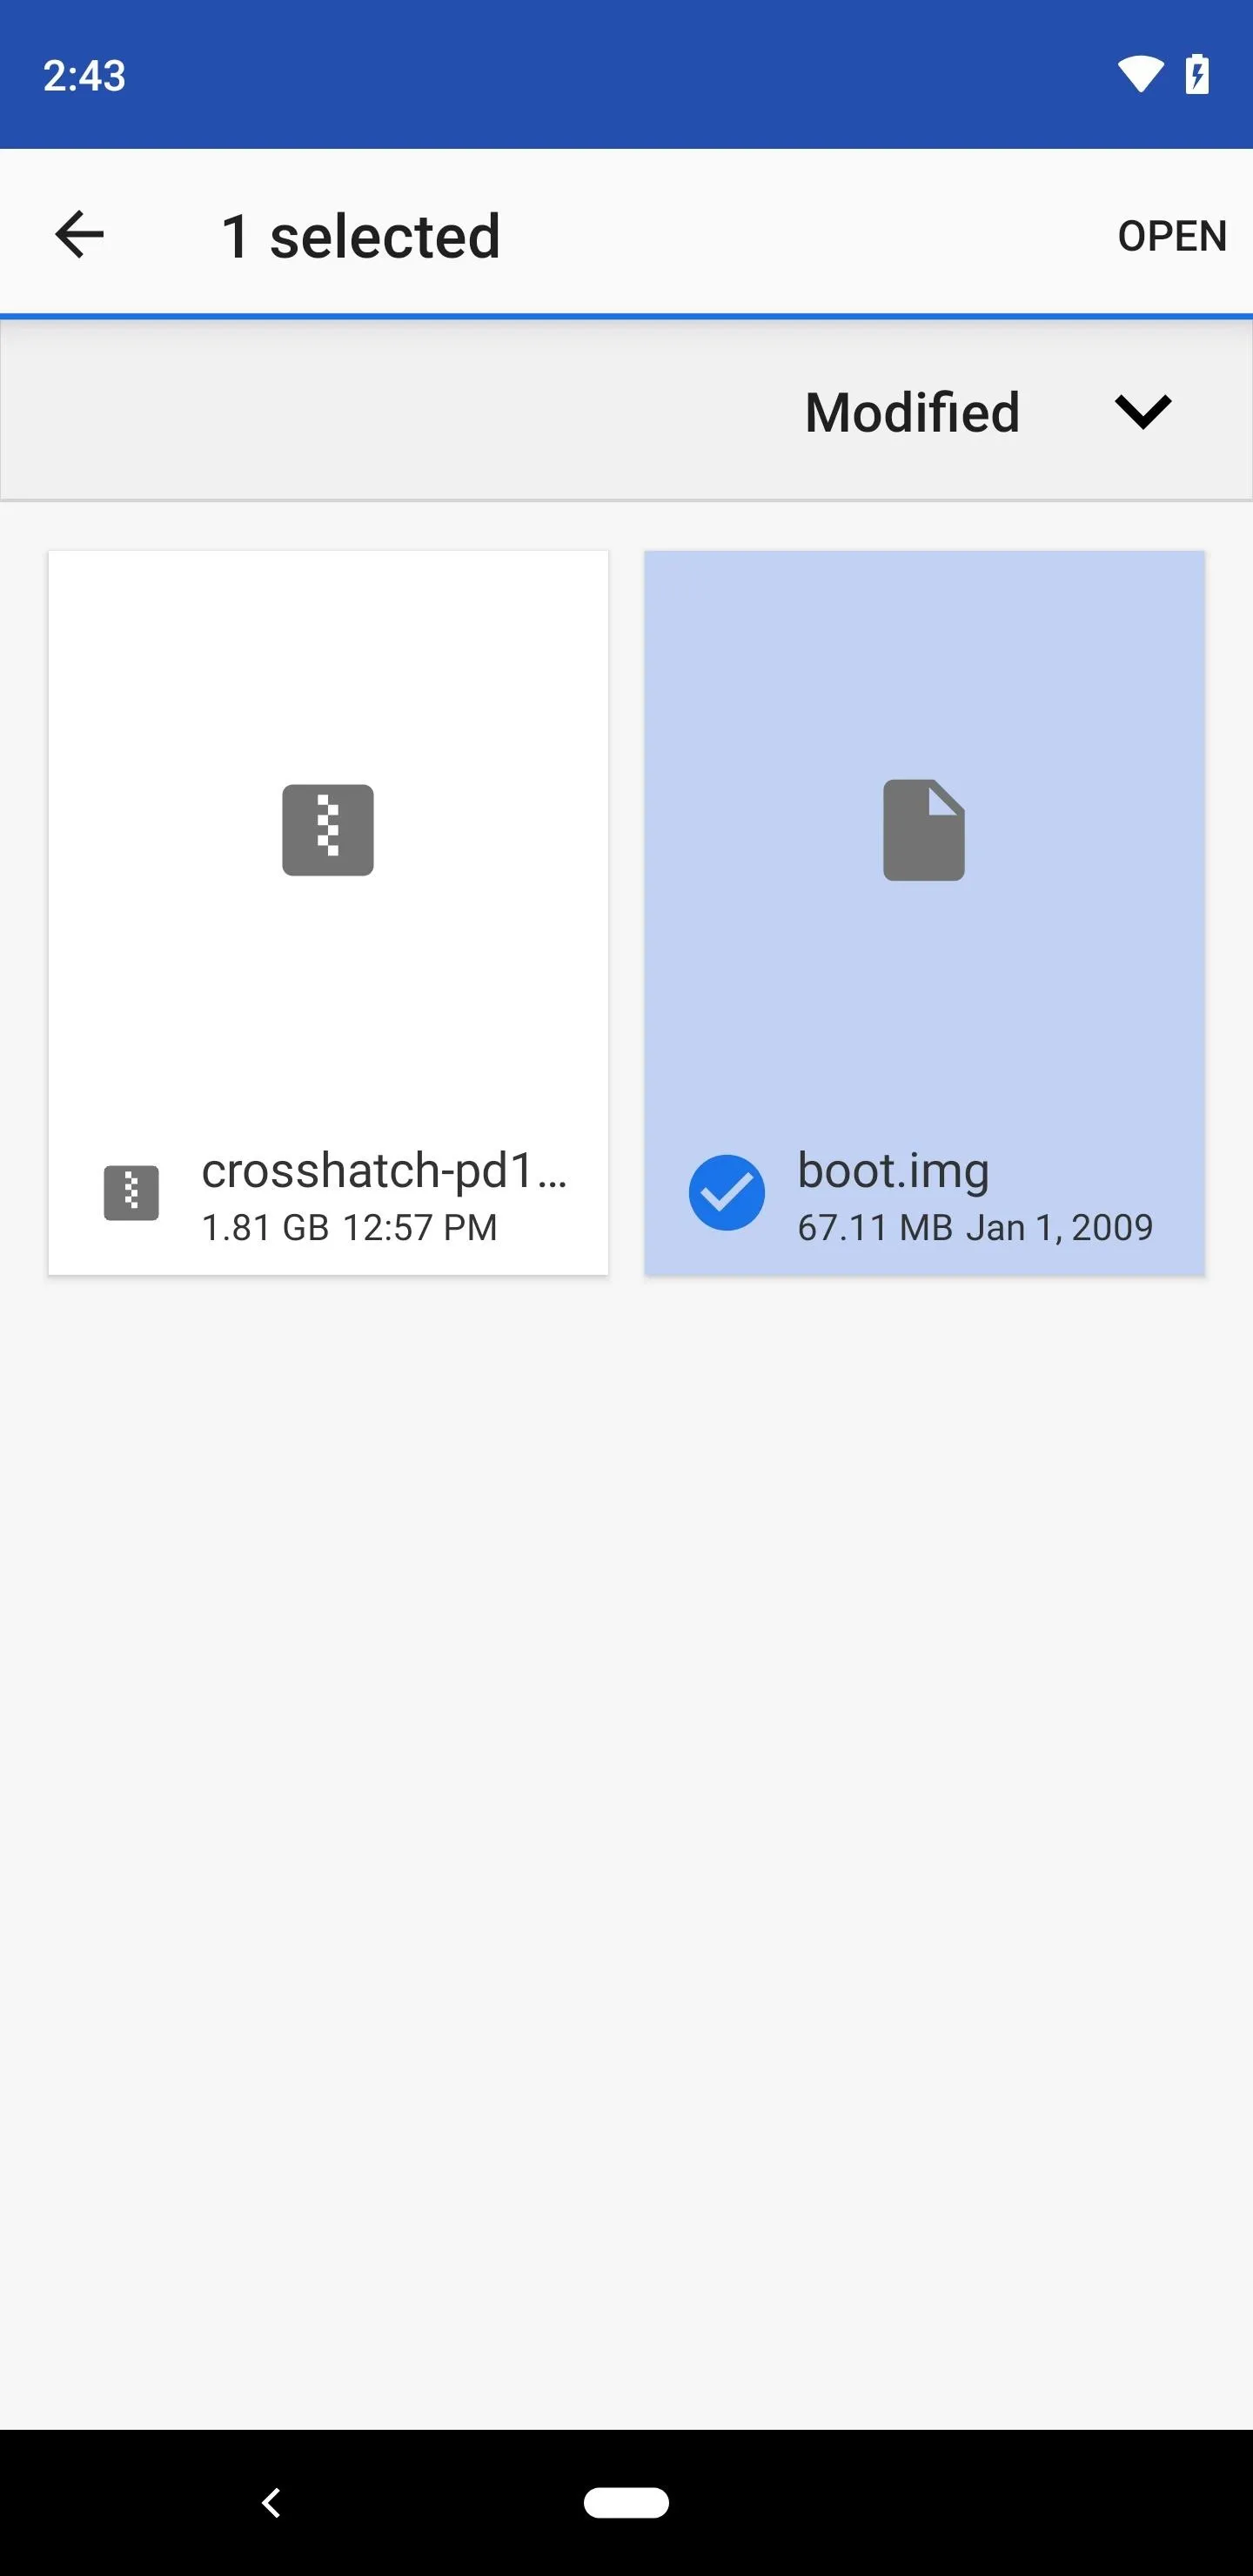
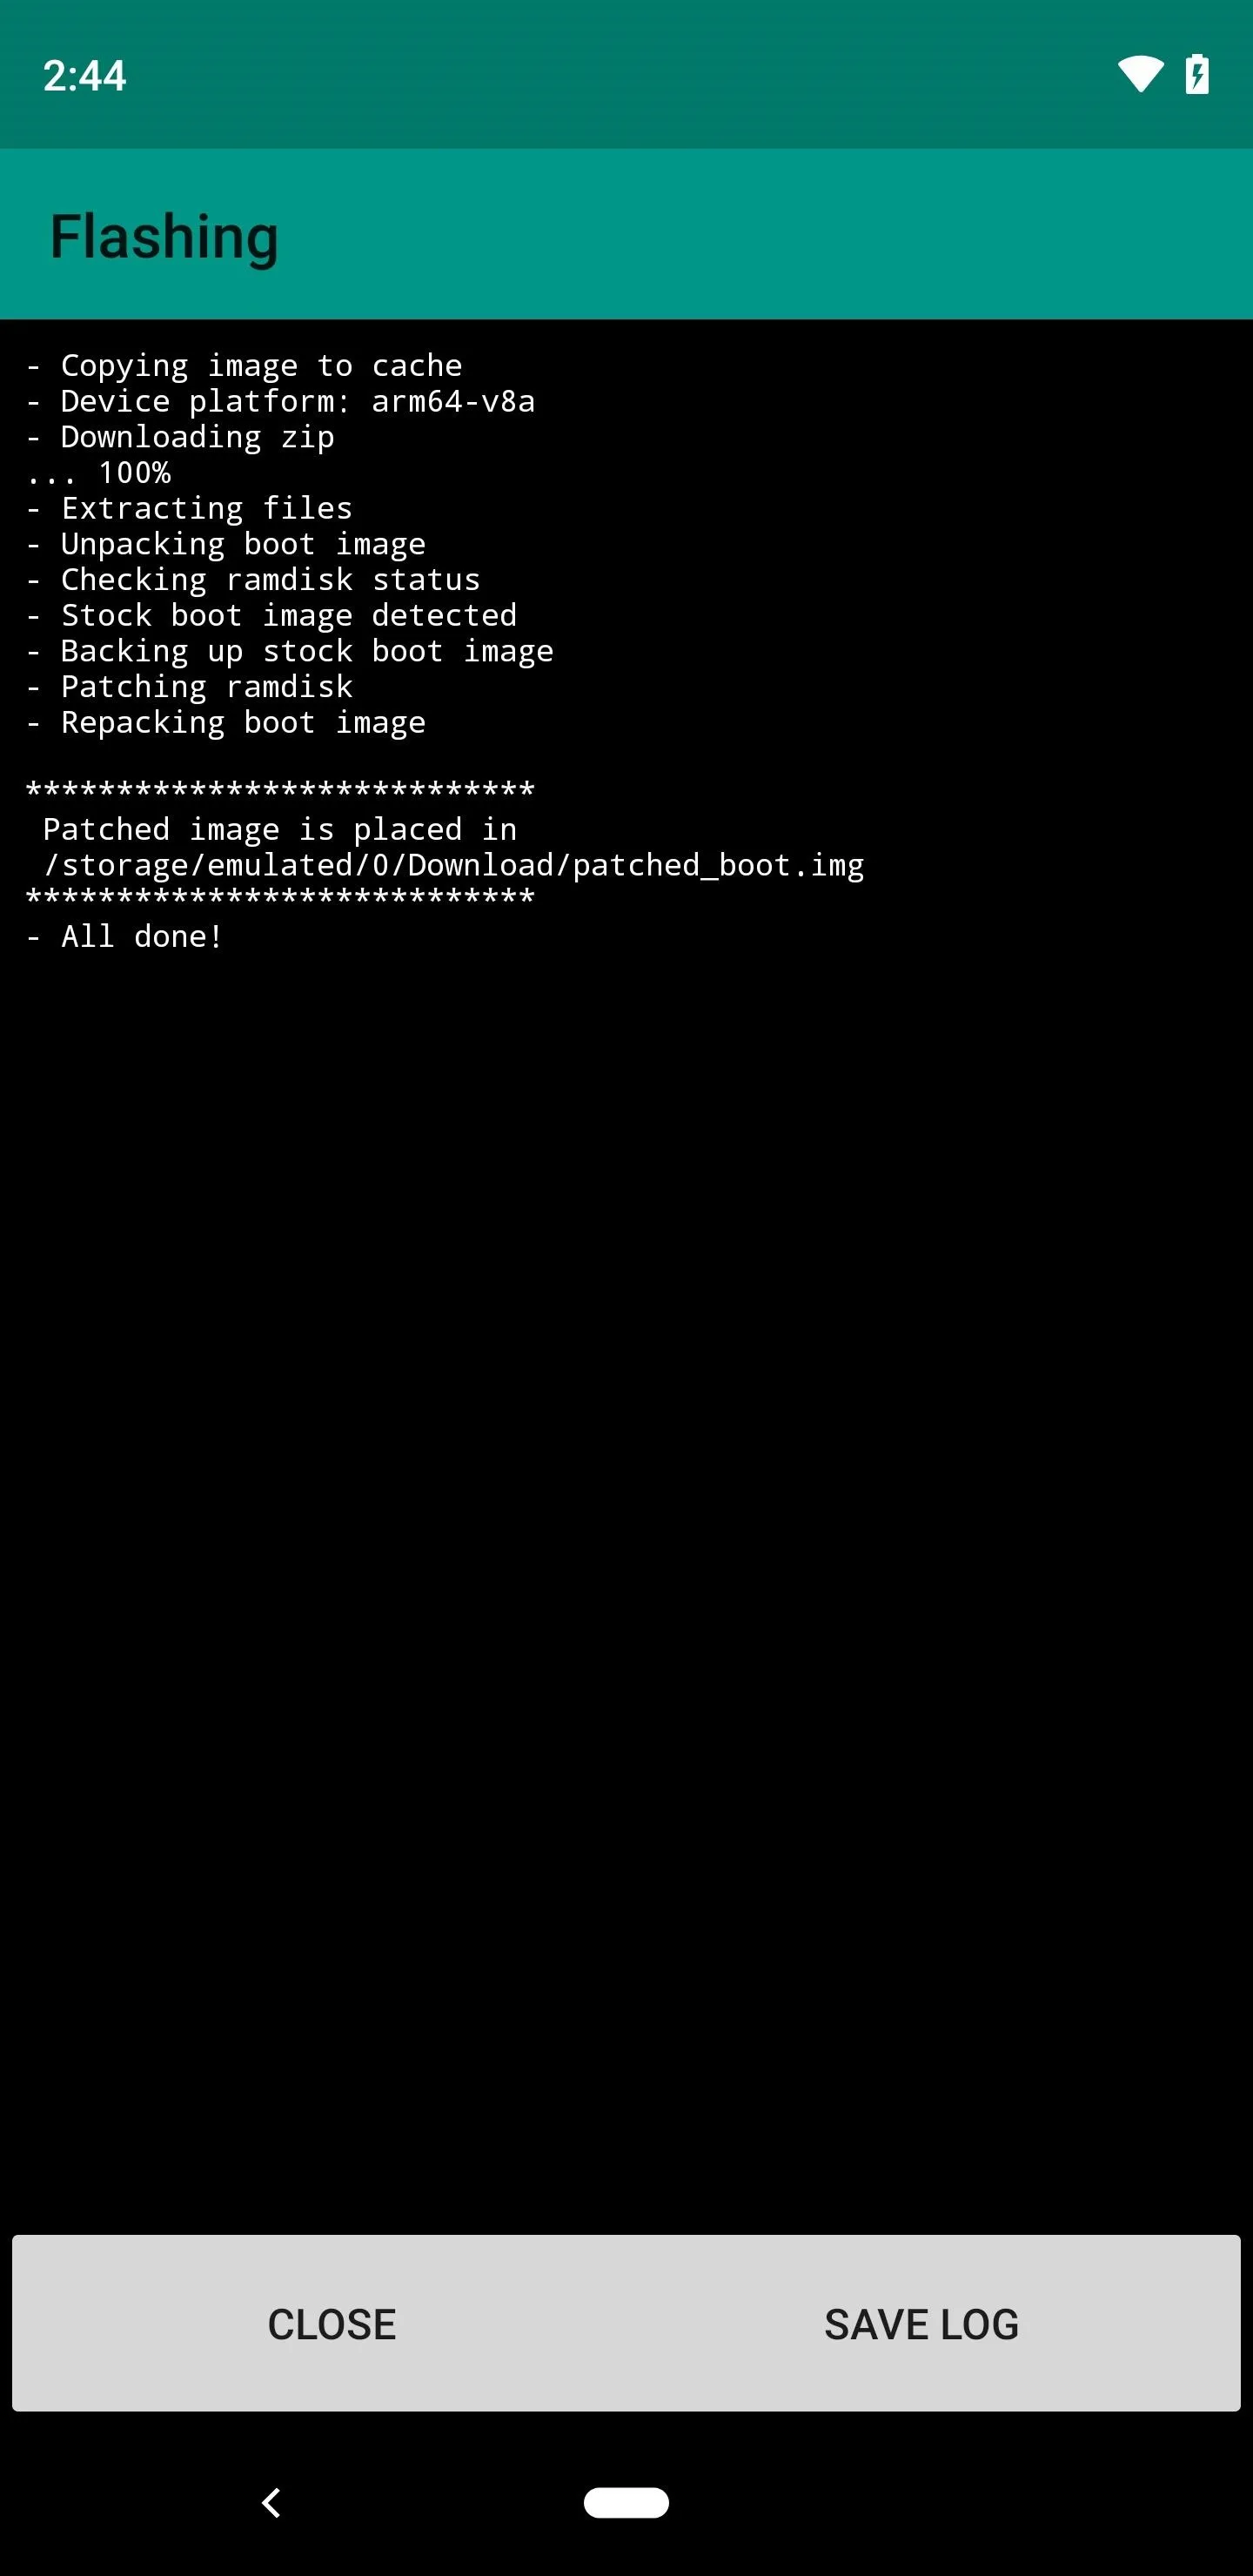
Next, the built-in file browser will appear. Open the side navigation menu (hamburger icon), then choose "Downloads." From here, select the "boot.img" file, then wait roughly one minute while Magisk patches the file. Tap "Close" when it's done.


Install the Platform-Tools on Your Computer
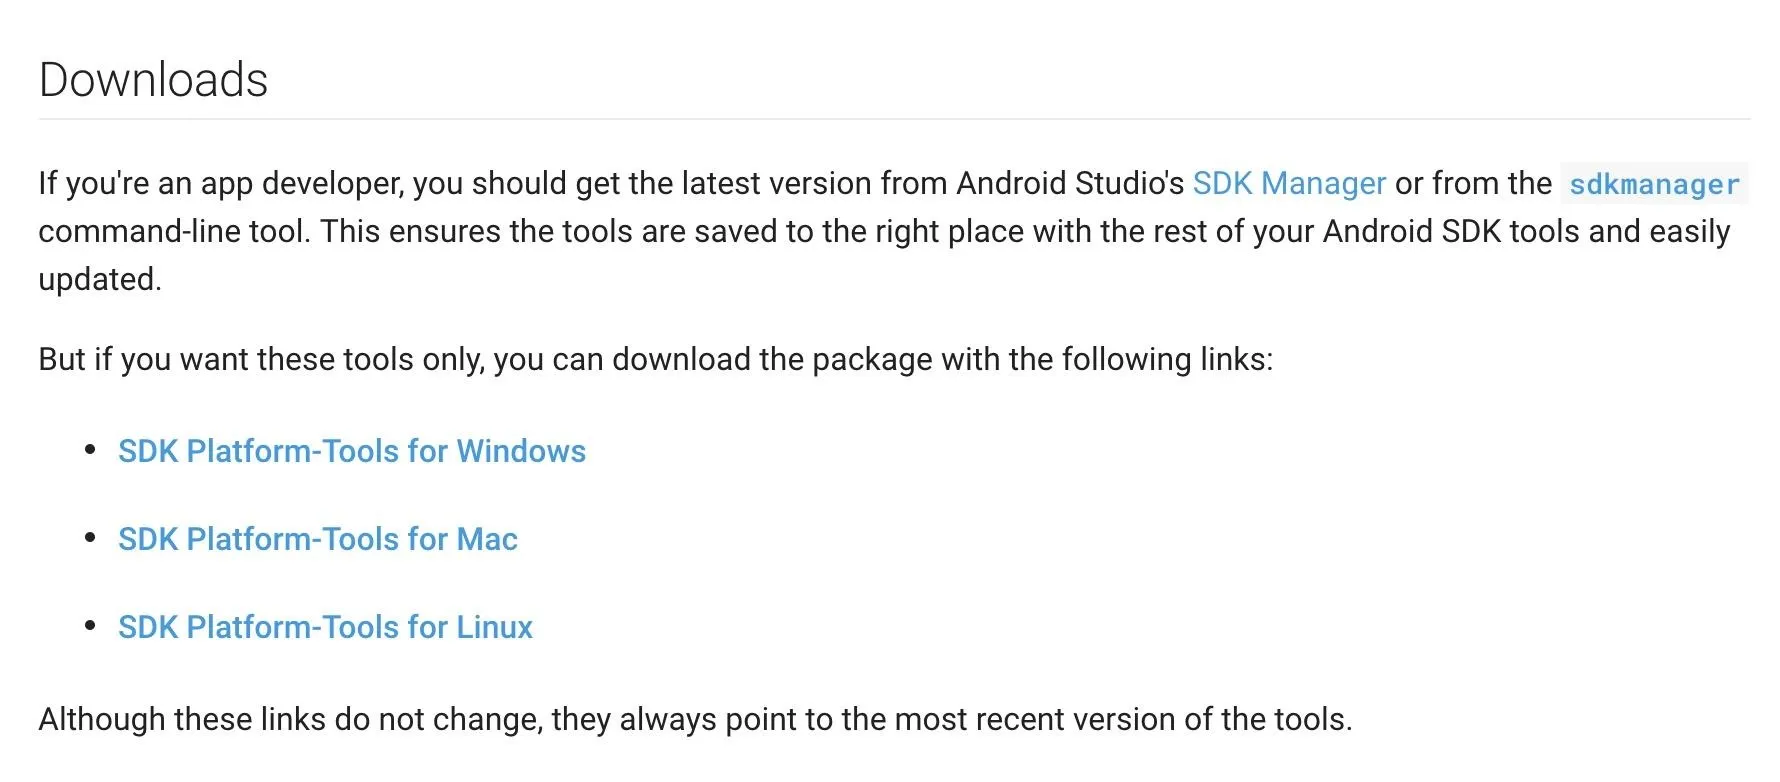
On your computer now, you'll need a tiny piece of software in order to send commands to your phone. Google's SDK Platform-Tools are now available as a standalone download, so it's not as complicated as it's been in the past. Simply download the ZIP for your operating system from the link below, then move the ZIP to your desktop and extract it.
Move the Patched Boot Image to Your Computer
Next, you'll need to move the patched boot image over from your phone to your computer. I'd recommend using the Google Drive app to do this — just upload it from your phone (remember, it's in the Download folder), then log into the Google Drive website on your PC to download the file.
IMPORTANT: In case you run into any issues below, I would also recommend transferring the non-patched boot image to your computer at this point. That way, you can simply re-flash the stock boot image to undo any changes you make here.
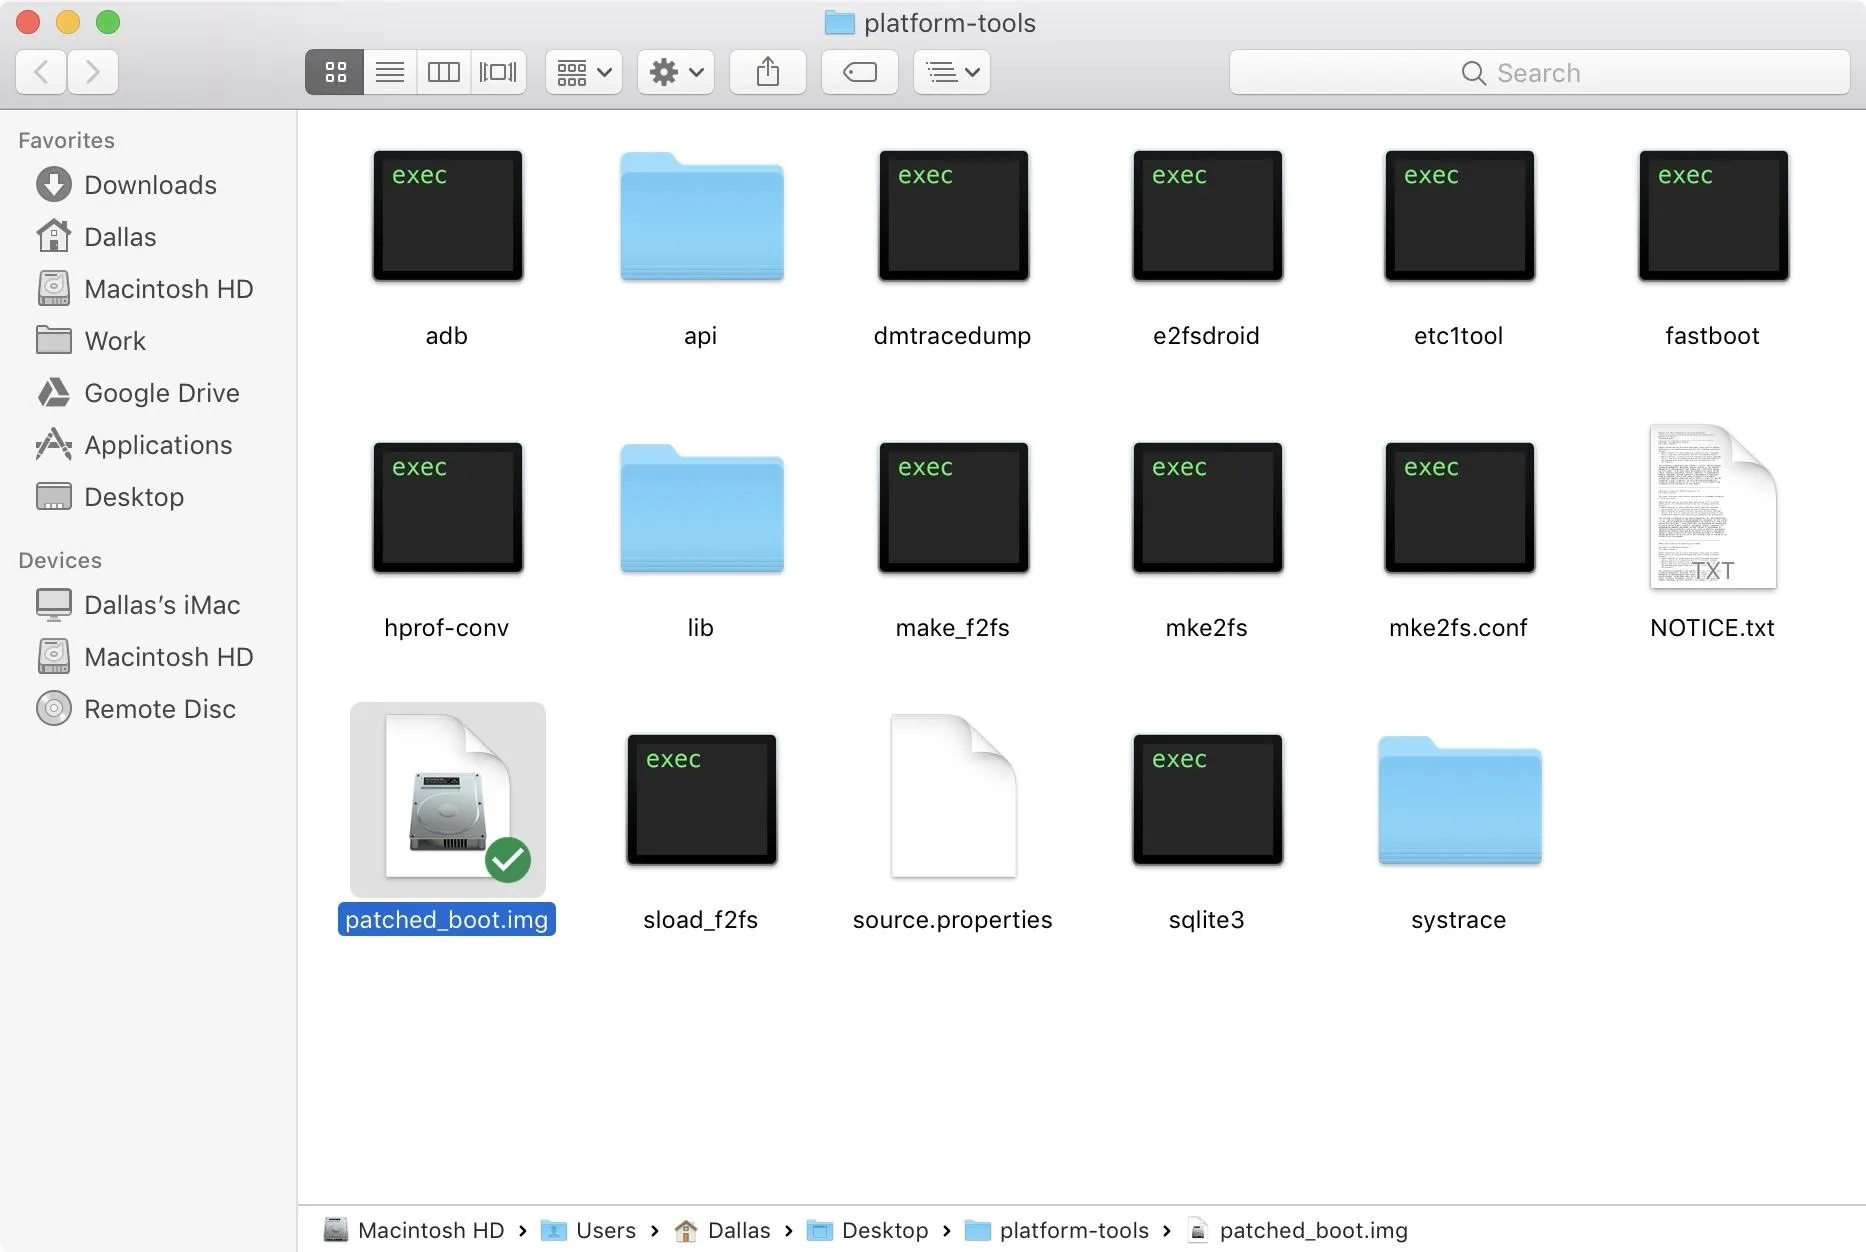
Once the files are on your computer's hard drive, move them over to the platform-tools folder that you extracted to your desktop.
Boot into Bootloader Mode
Next, you'll need to put your Pixel into Bootloader mode so that you can send the Fastboot command that will flash the patched boot image and root your phone.
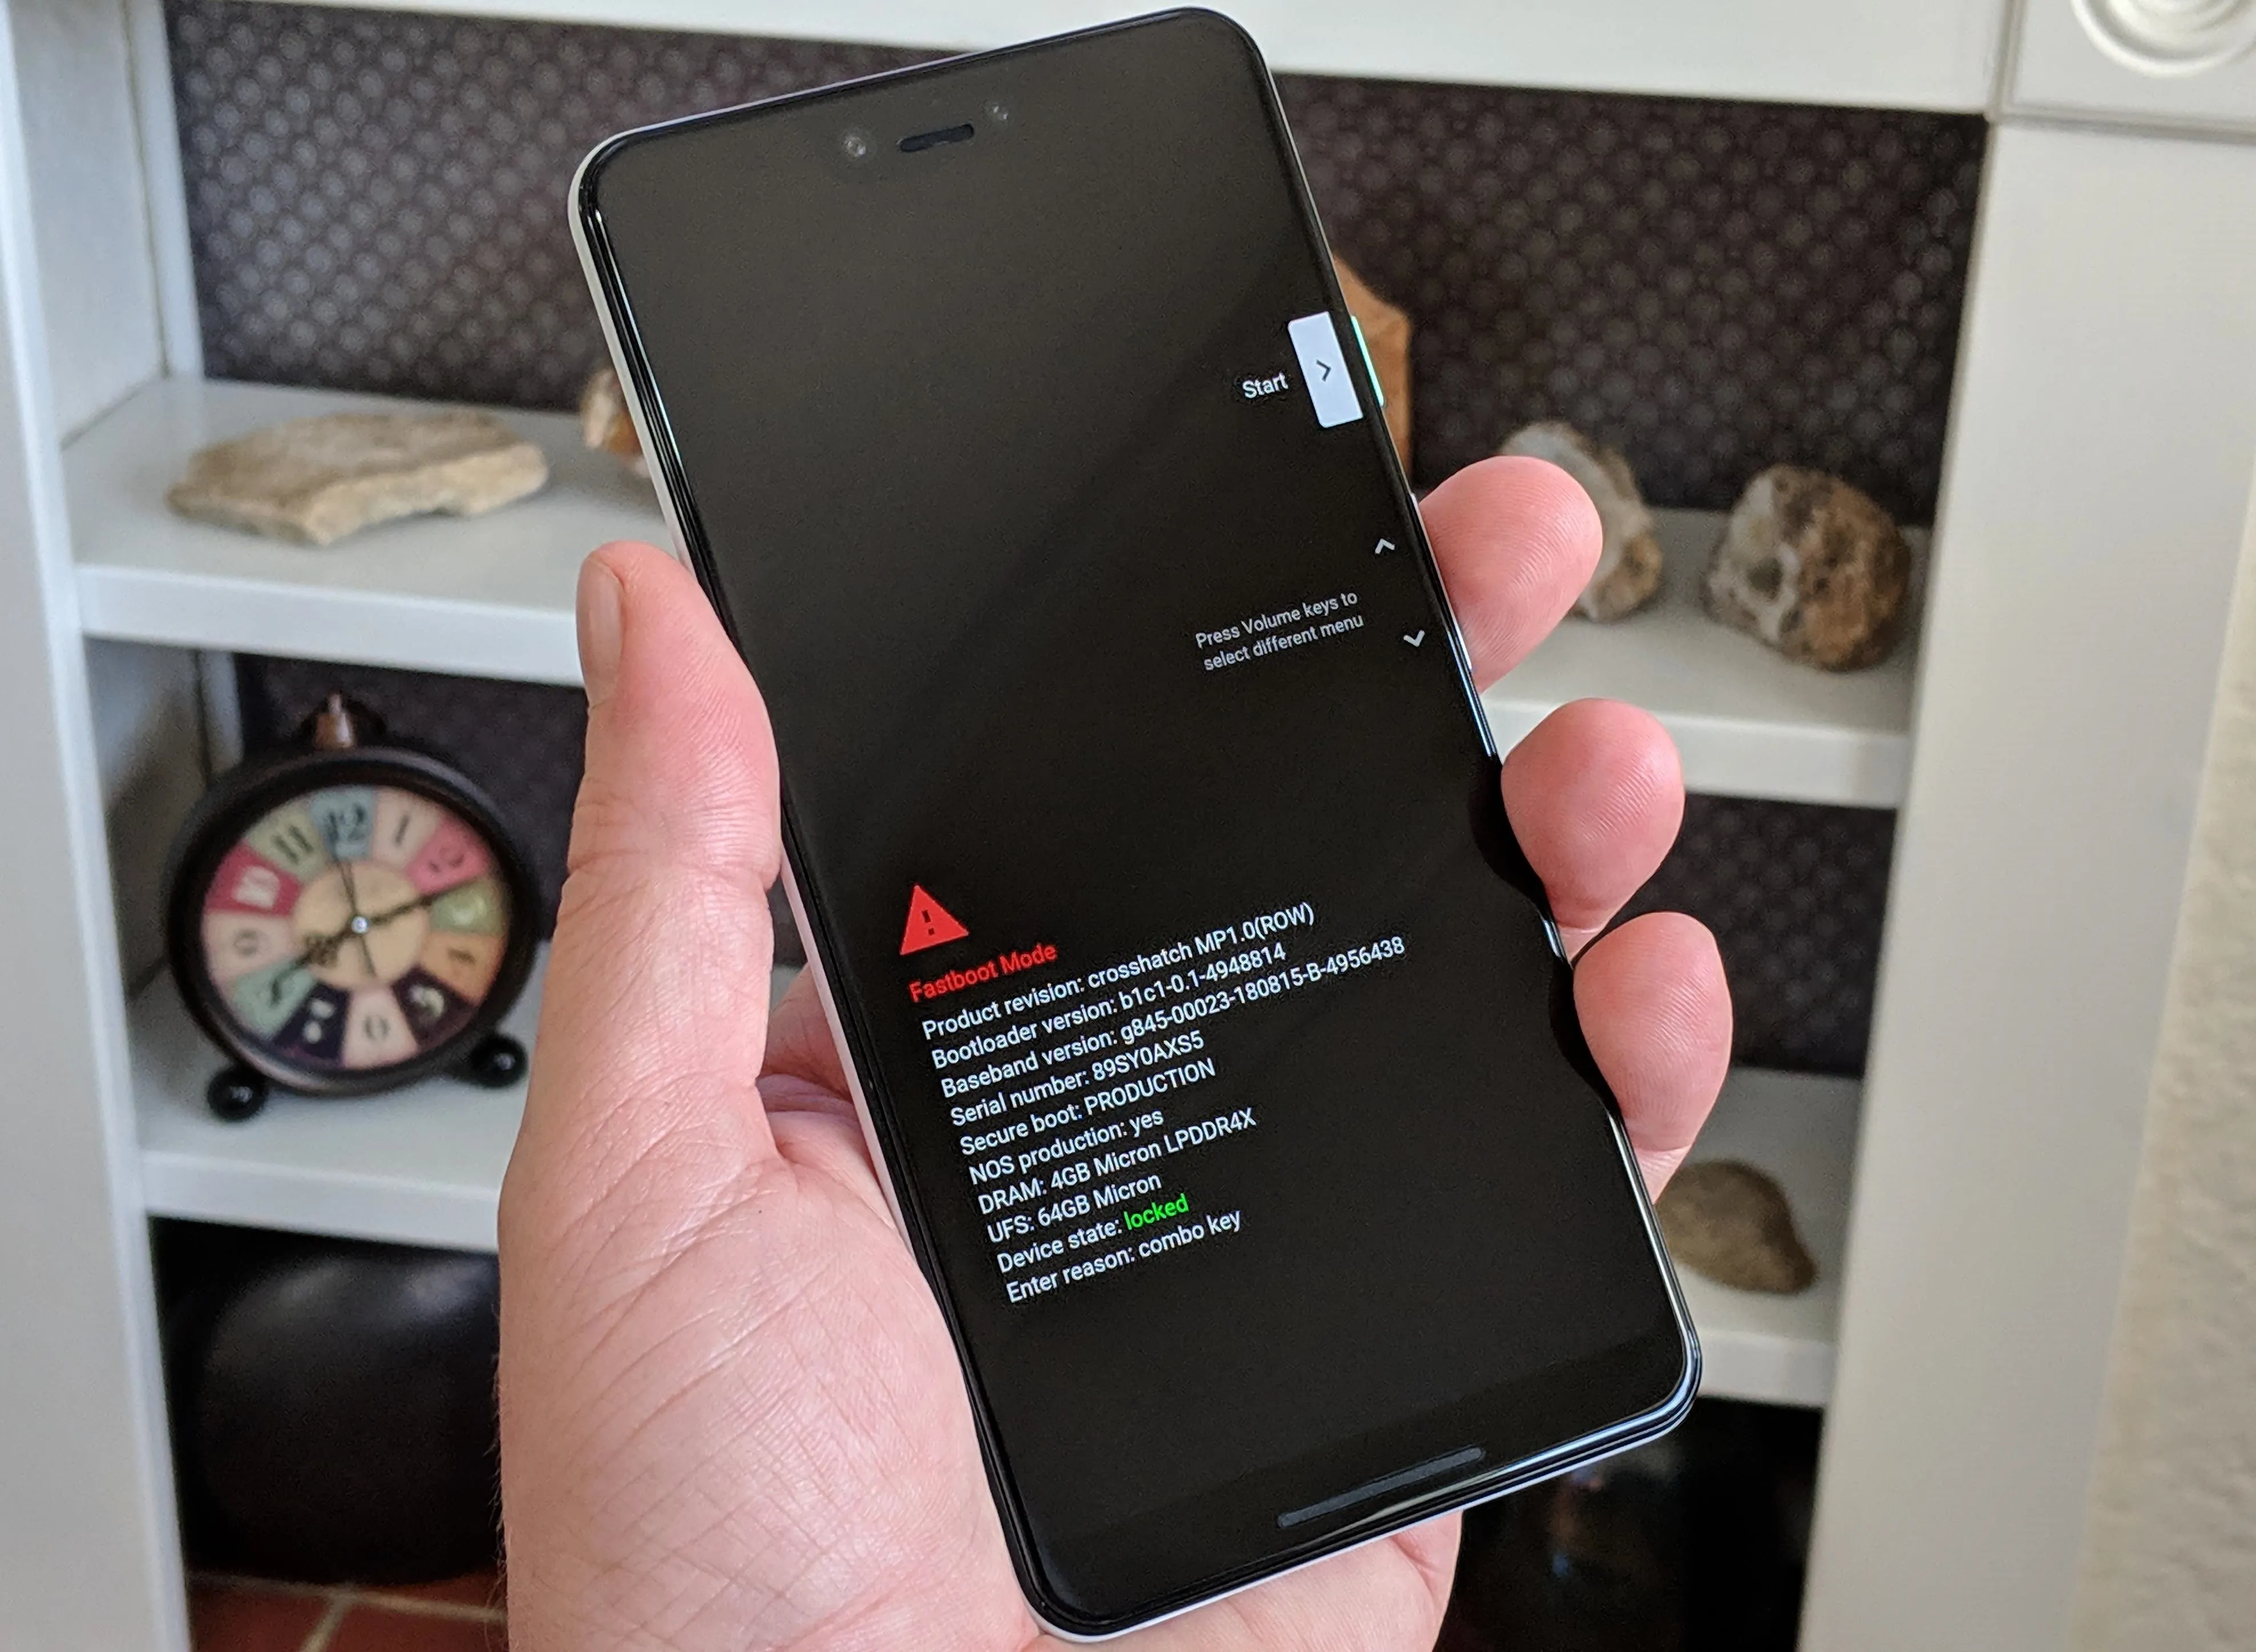
So long-press the power button to bring up the power menu. Choose "Reboot," then immediately press and hold the volume down button on the side of your phone. Keep holding the button down until you're taken to a screen that looks like the picture below — this is Bootloader mode. Just leave the phone on this screen and connect it to your computer using a USB data cable.
Dallas Thomas/Gadget Hacks
Open a Command Prompt in the Platform-Tools Folder
Now, you'll need to open a command prompt or terminal window inside of the platform-tools folder you just extracted to your desktop. To do that, you'll need to know the full file location of the platform-tools folder.
If you're on Windows, open the platform-tools folder on your desktop, then click the bar at the top of the Explorer window to reveal the folder's location. Copy this to your clipboard.
If you're on Mac, open the platform-tools folder, then open any of the other folders inside of it. Right-click any empty space, then choose "Get Info." Highlight the text to the right of the "Where" field, then right-click and copy it.
If you're on Linux, open the platform-tools folder on your desktop, then right-click any empty space and choose "Open in terminal."
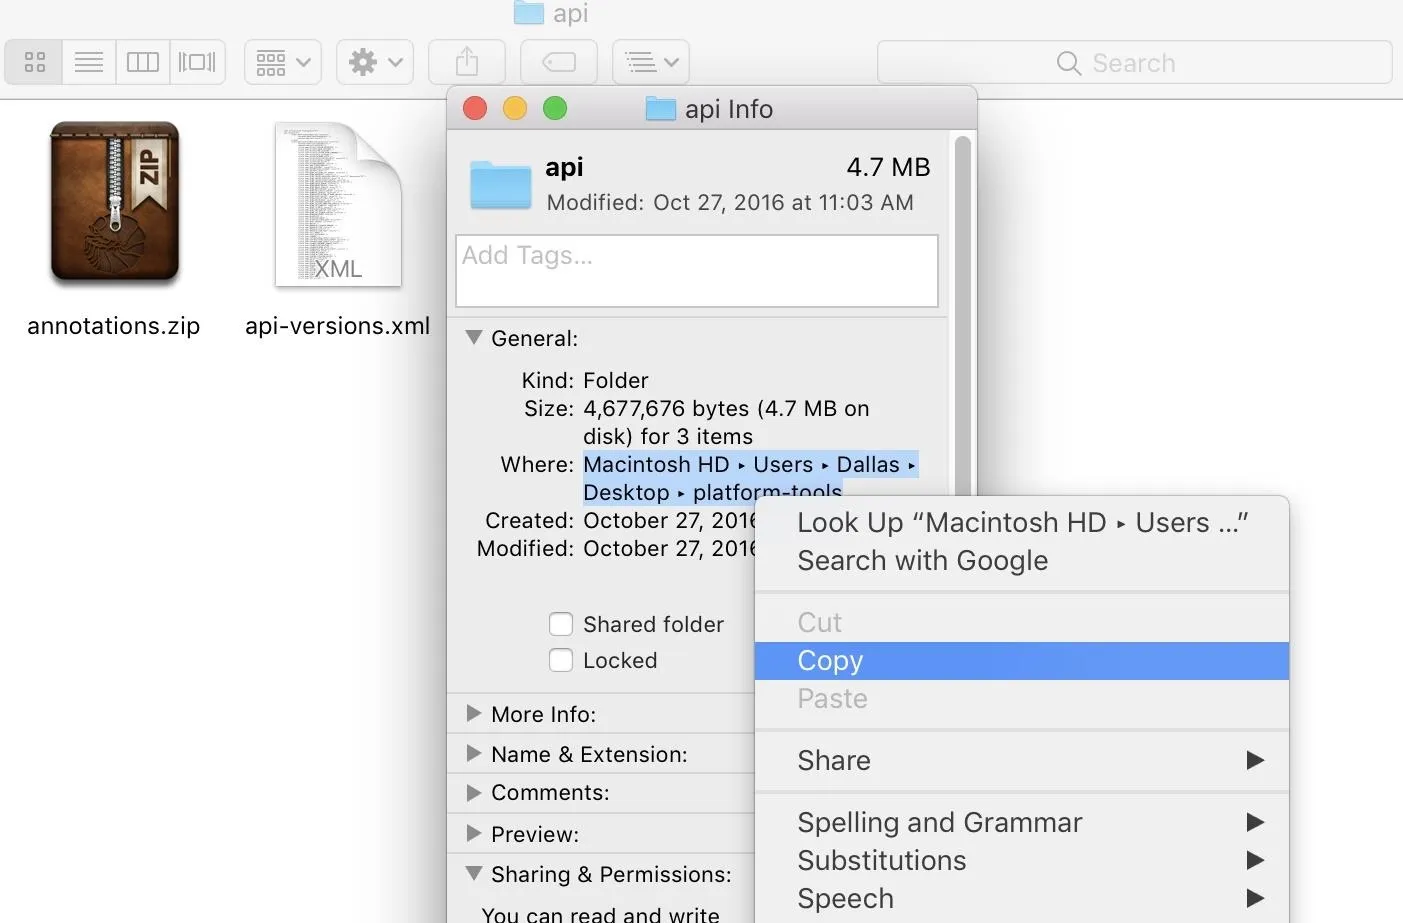
Now it's time to open a command prompt or terminal window. If you're on Linux, you can skip ahead to the next step.
If you're on Windows, press the Windows button on your keyboard, then type "cmd" and hit enter. If you're on Mac, open Spotlight Search by pressing command and the space bar simultaneously, then type "terminal" and hit enter.
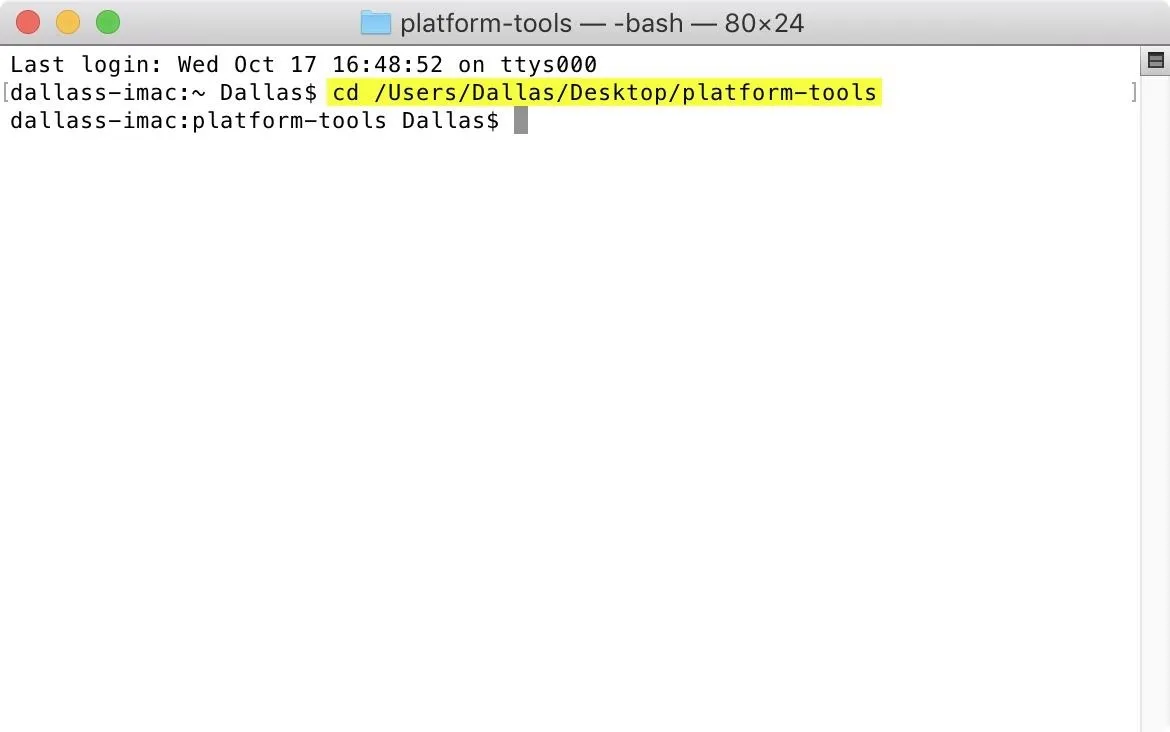
Next, change directories to the platform-tools folder by typing "cd" into the command prompt, then adding a space. Finally, paste in the file location you copied earlier, then hit enter.
Flash the Patched Boot Image
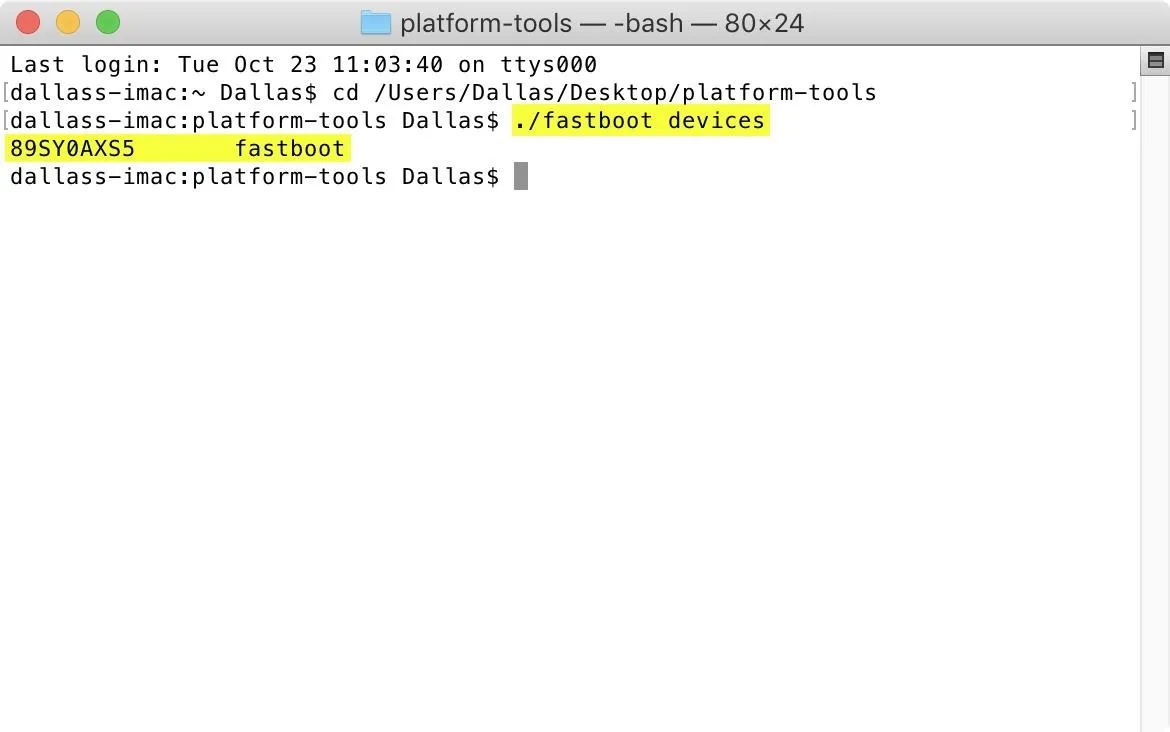
To verify the Fastboot connection, enter the following command:
fastboot devicesMac, Linux, and Windows PowerShell users may get an error after sending the above command. If so, enter this command instead:
./fastboot devicesIf this spits out a series of letters and numbers followed by the word "fastboot," you're good to go. If not, check your USB cable and read this guide for more tips on getting Fastboot up and running.
Now you're ready to actually root the phone. Type the following command, then press enter:
fastboot flash boot patched_boot.imgIf you're on Mac, Linux, or Windows PowerShell, you might get an error after sending the above command. If so, send this one instead:
./fastboot flash boot patched_boot.img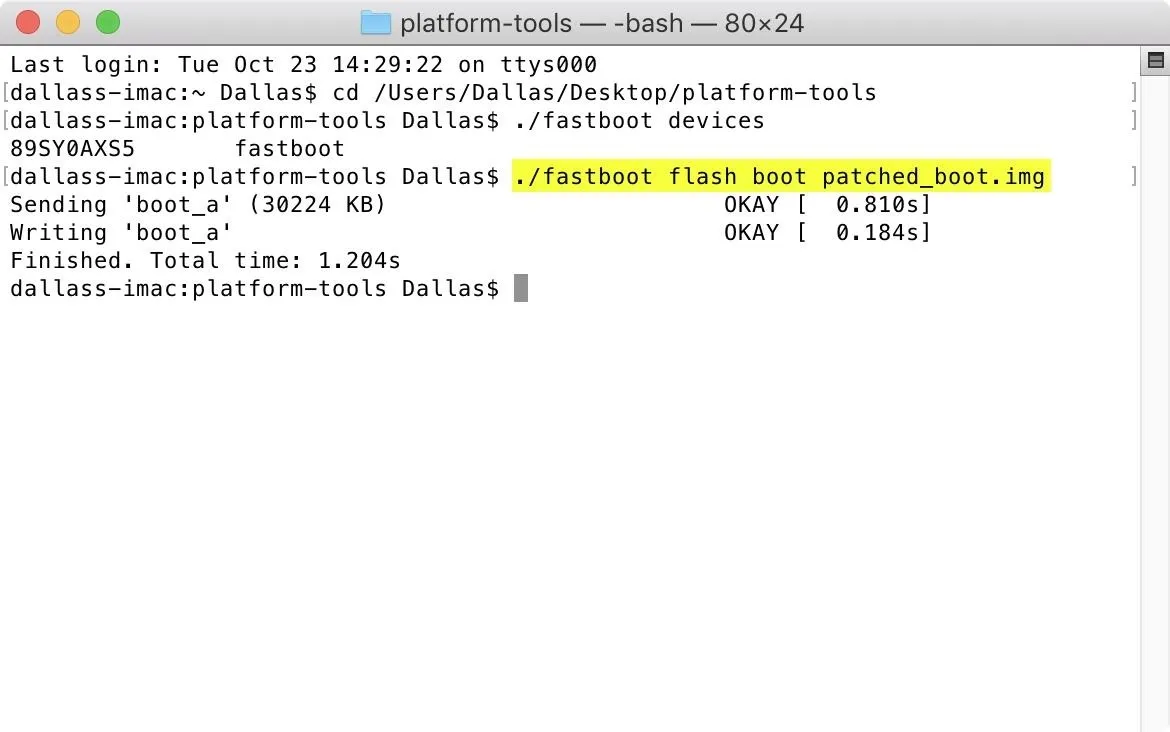
Verify Root
With the patched boot image now installed, press the volume buttons on your phone a few times until you see the "Start" option in the Bootloader menu. Press the power button to select it, then your phone should boot into Android. Side note: You'll see a screen during boot saying your bootloader is unlocked. This is normal, just wait for it to go away.
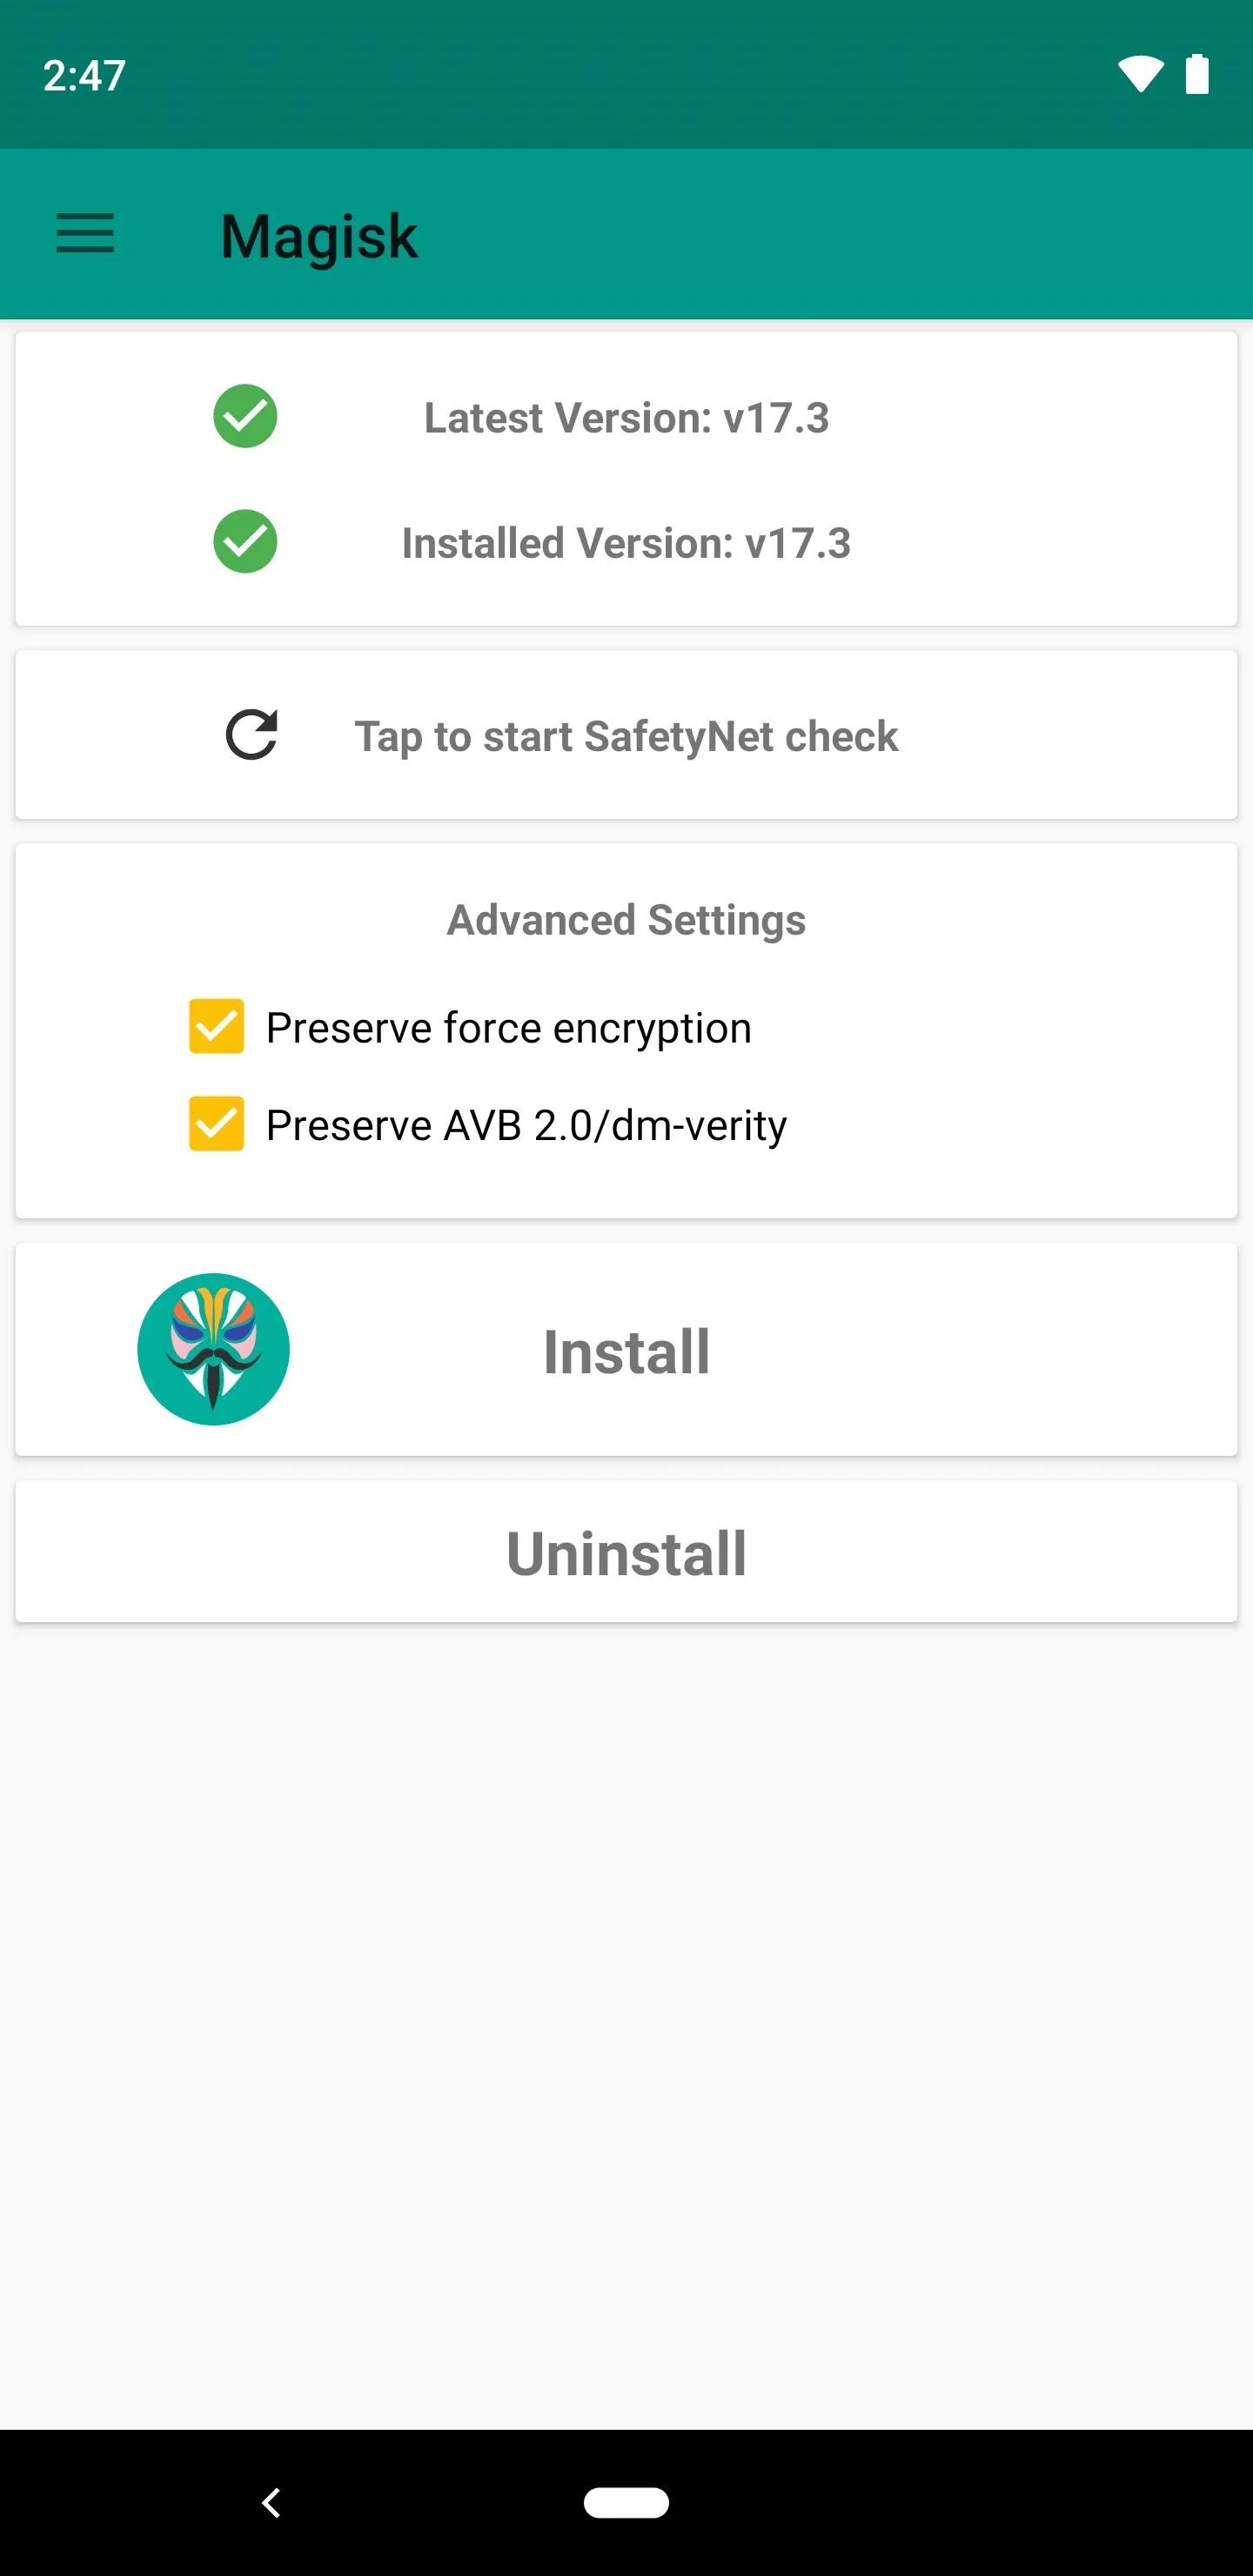
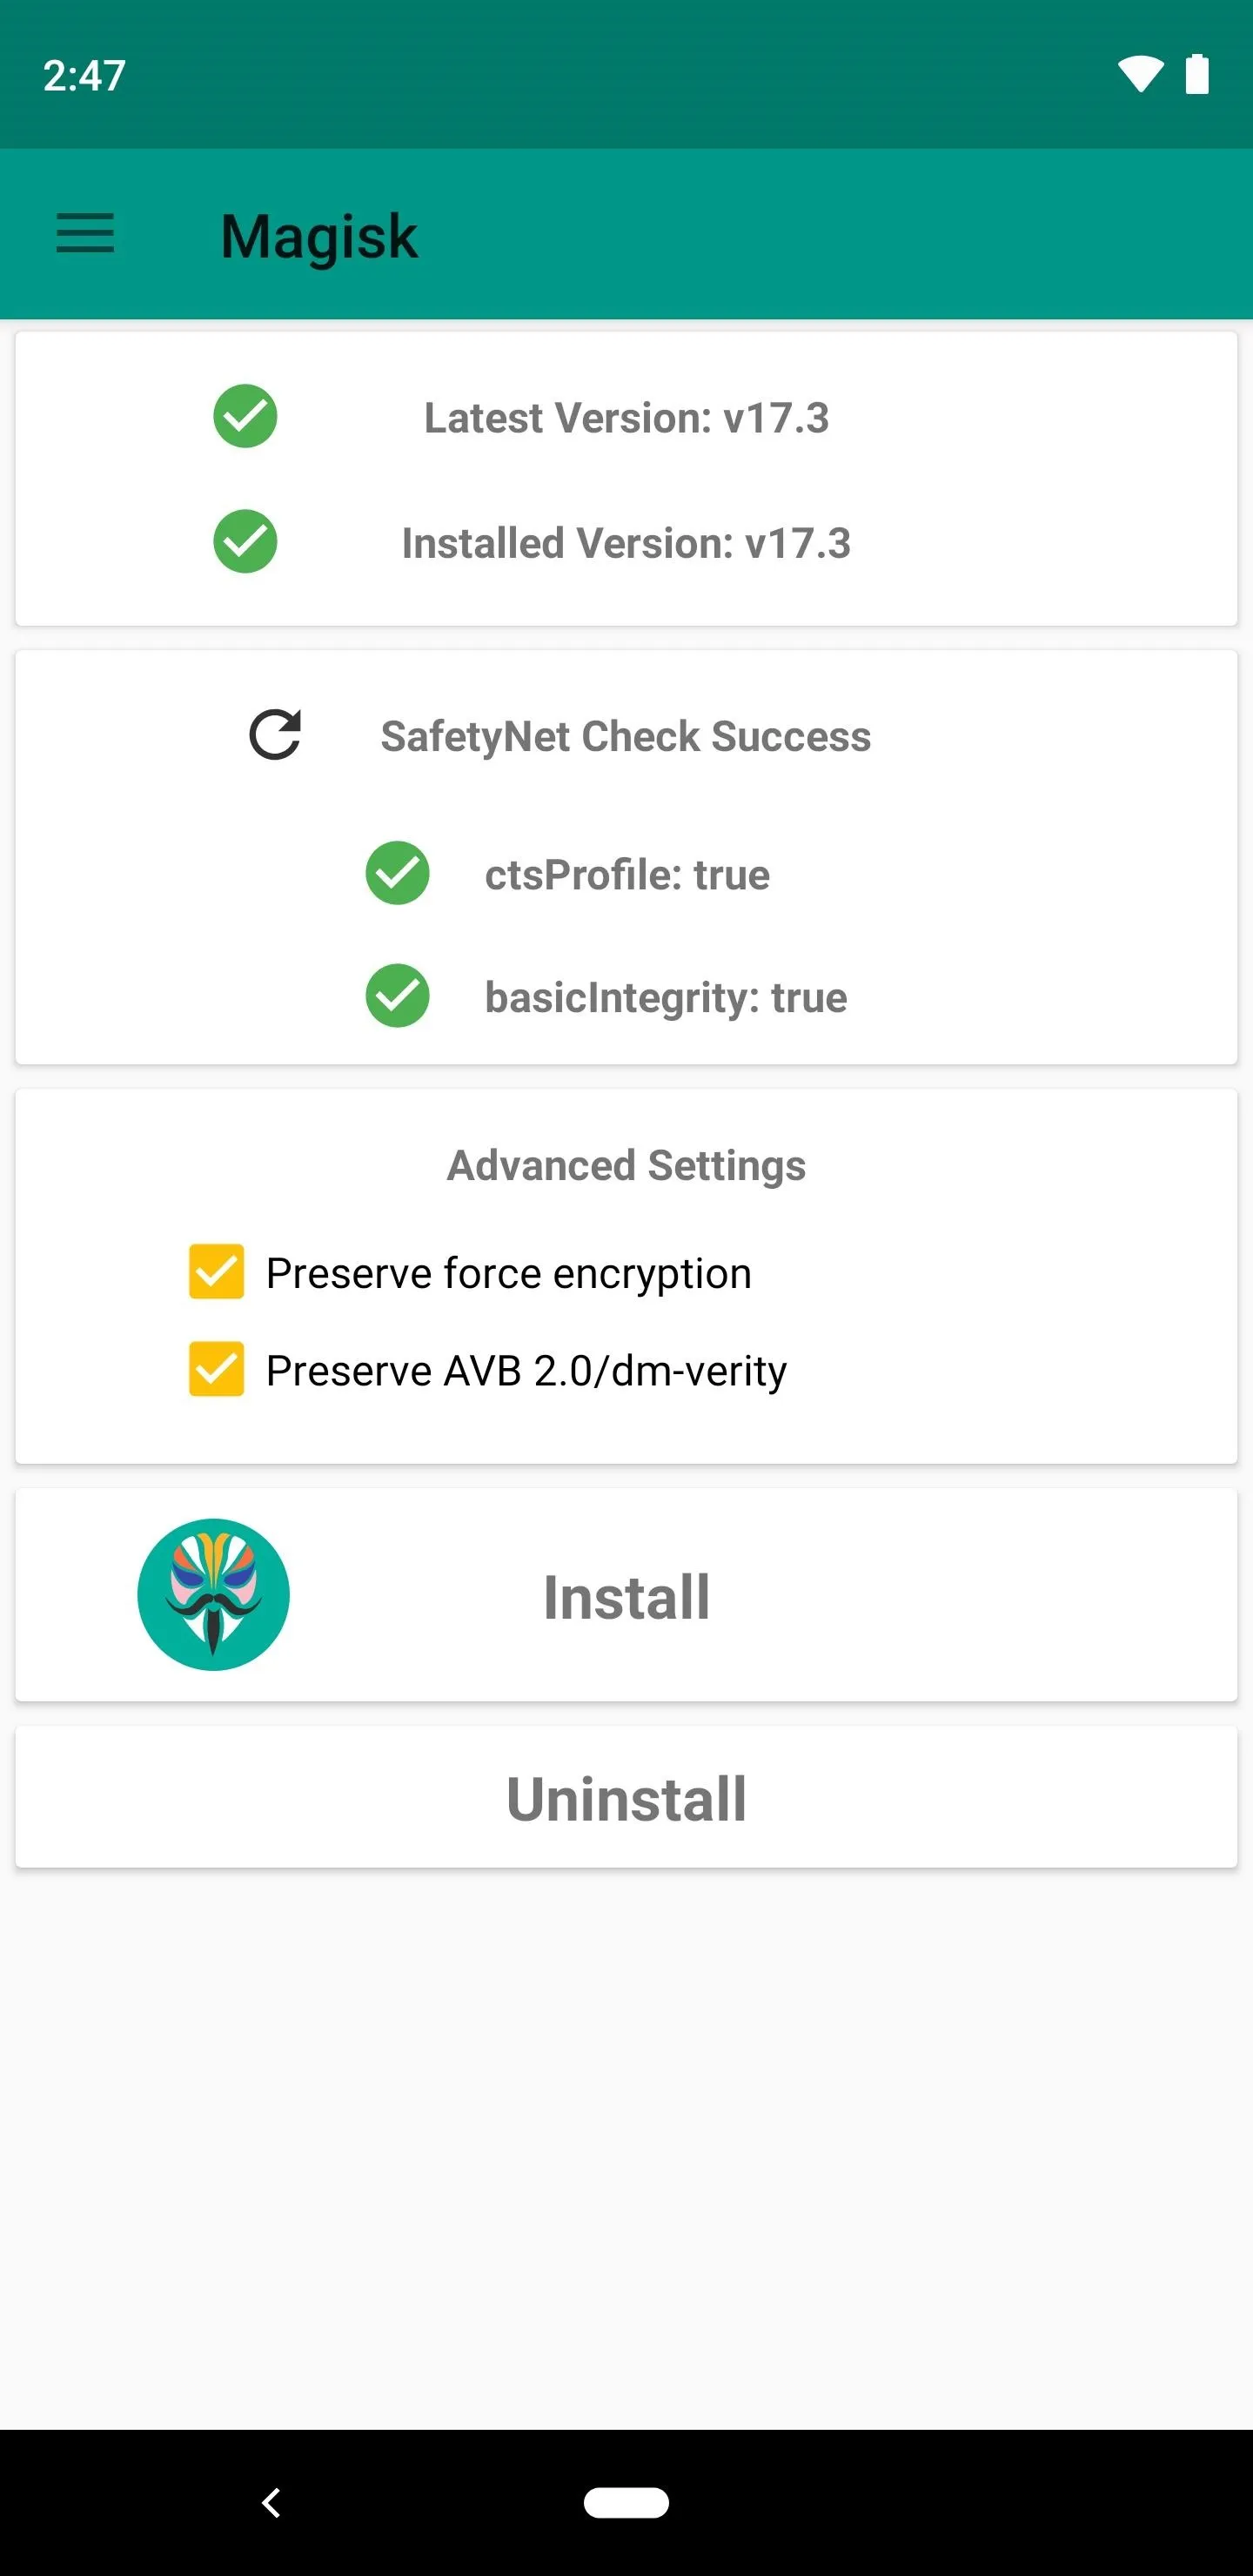
When you get back up, open the Magisk Manager app. If the "Latest Version" and "Installed Version" fields have a green check mark next to them, you're rooted and ready to go! You can even hit the "Tap to start SafetyNet check" button if you want to verify that your phone will pass Google's SafetyNet check.


Troubleshooting
If your phone fails to boot in Step 12, there's a good chance the patched boot image was either not patched properly (e.g., Magisk Manager wasn't put into beta mode to download the latest code with Pixel 3 compatibility), or the file is corrupt.
If this is the case, leave your phone in Bootloader mode (it won't go past that screen anyway), then open your command prompt window and change directories to the platform-tools folder again. Finally, send this command to re-flash the stock boot image and get things back up and running:
fastboot flash boot boot.imgUninstalling Magisk to Accept an OTA Update in the Future
The best part about this method is how easy it is to unroot. You can accomplish this entirely on your phone within seconds, provided you don't delete the stock boot.img file in your Download folder.
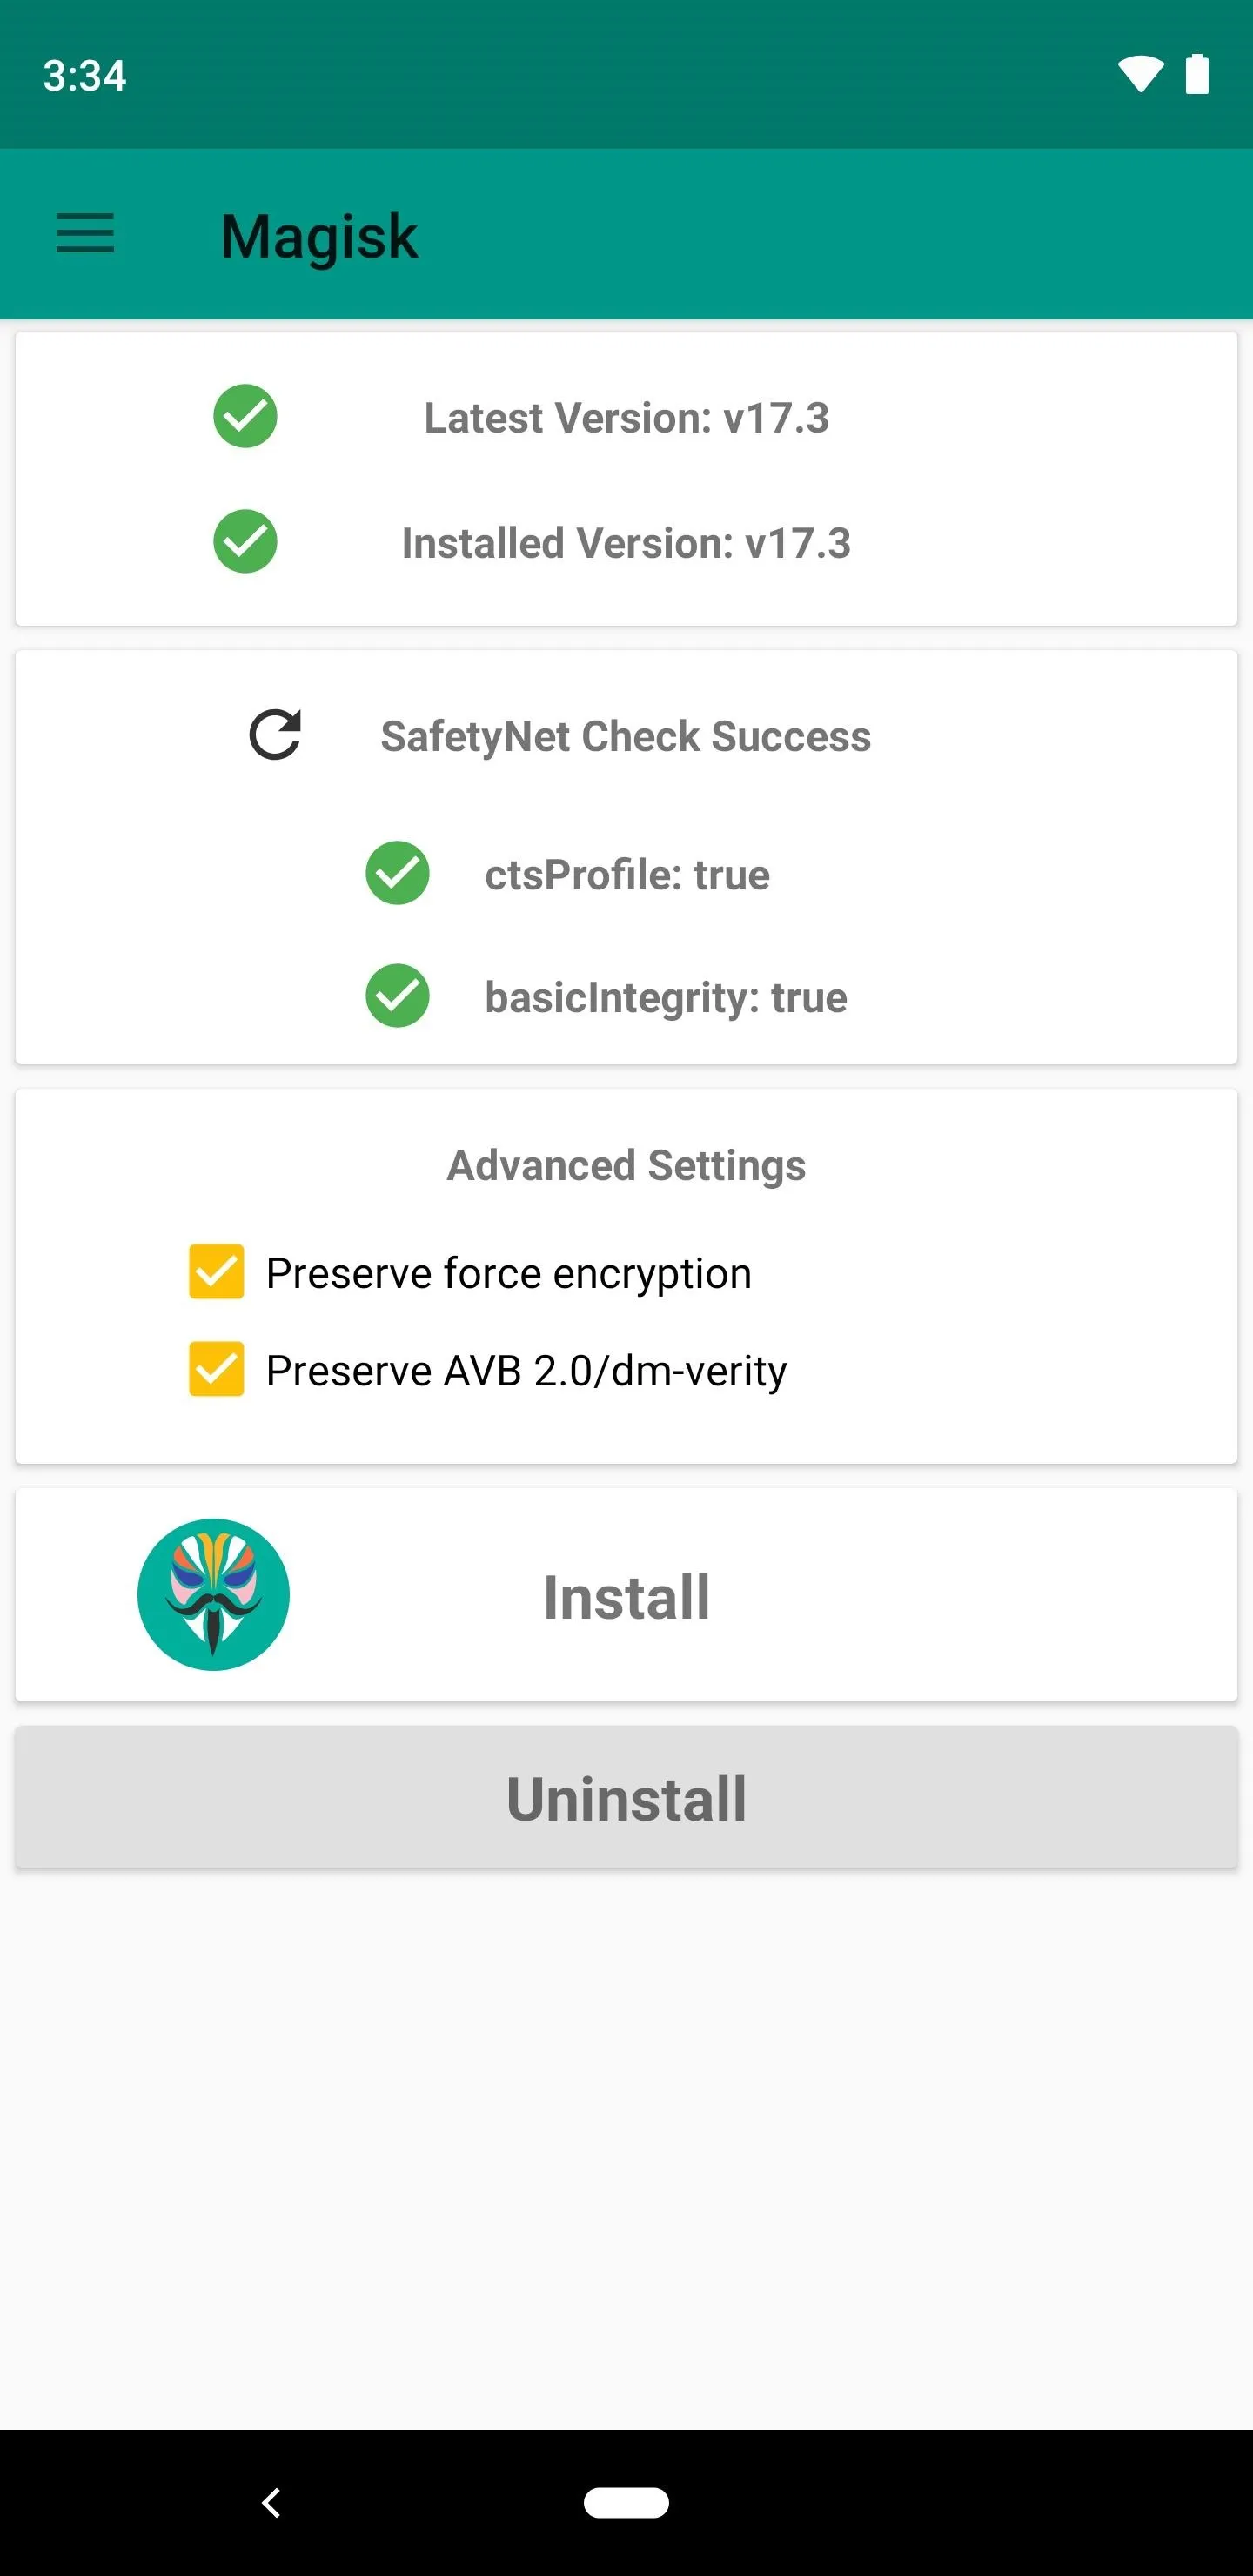
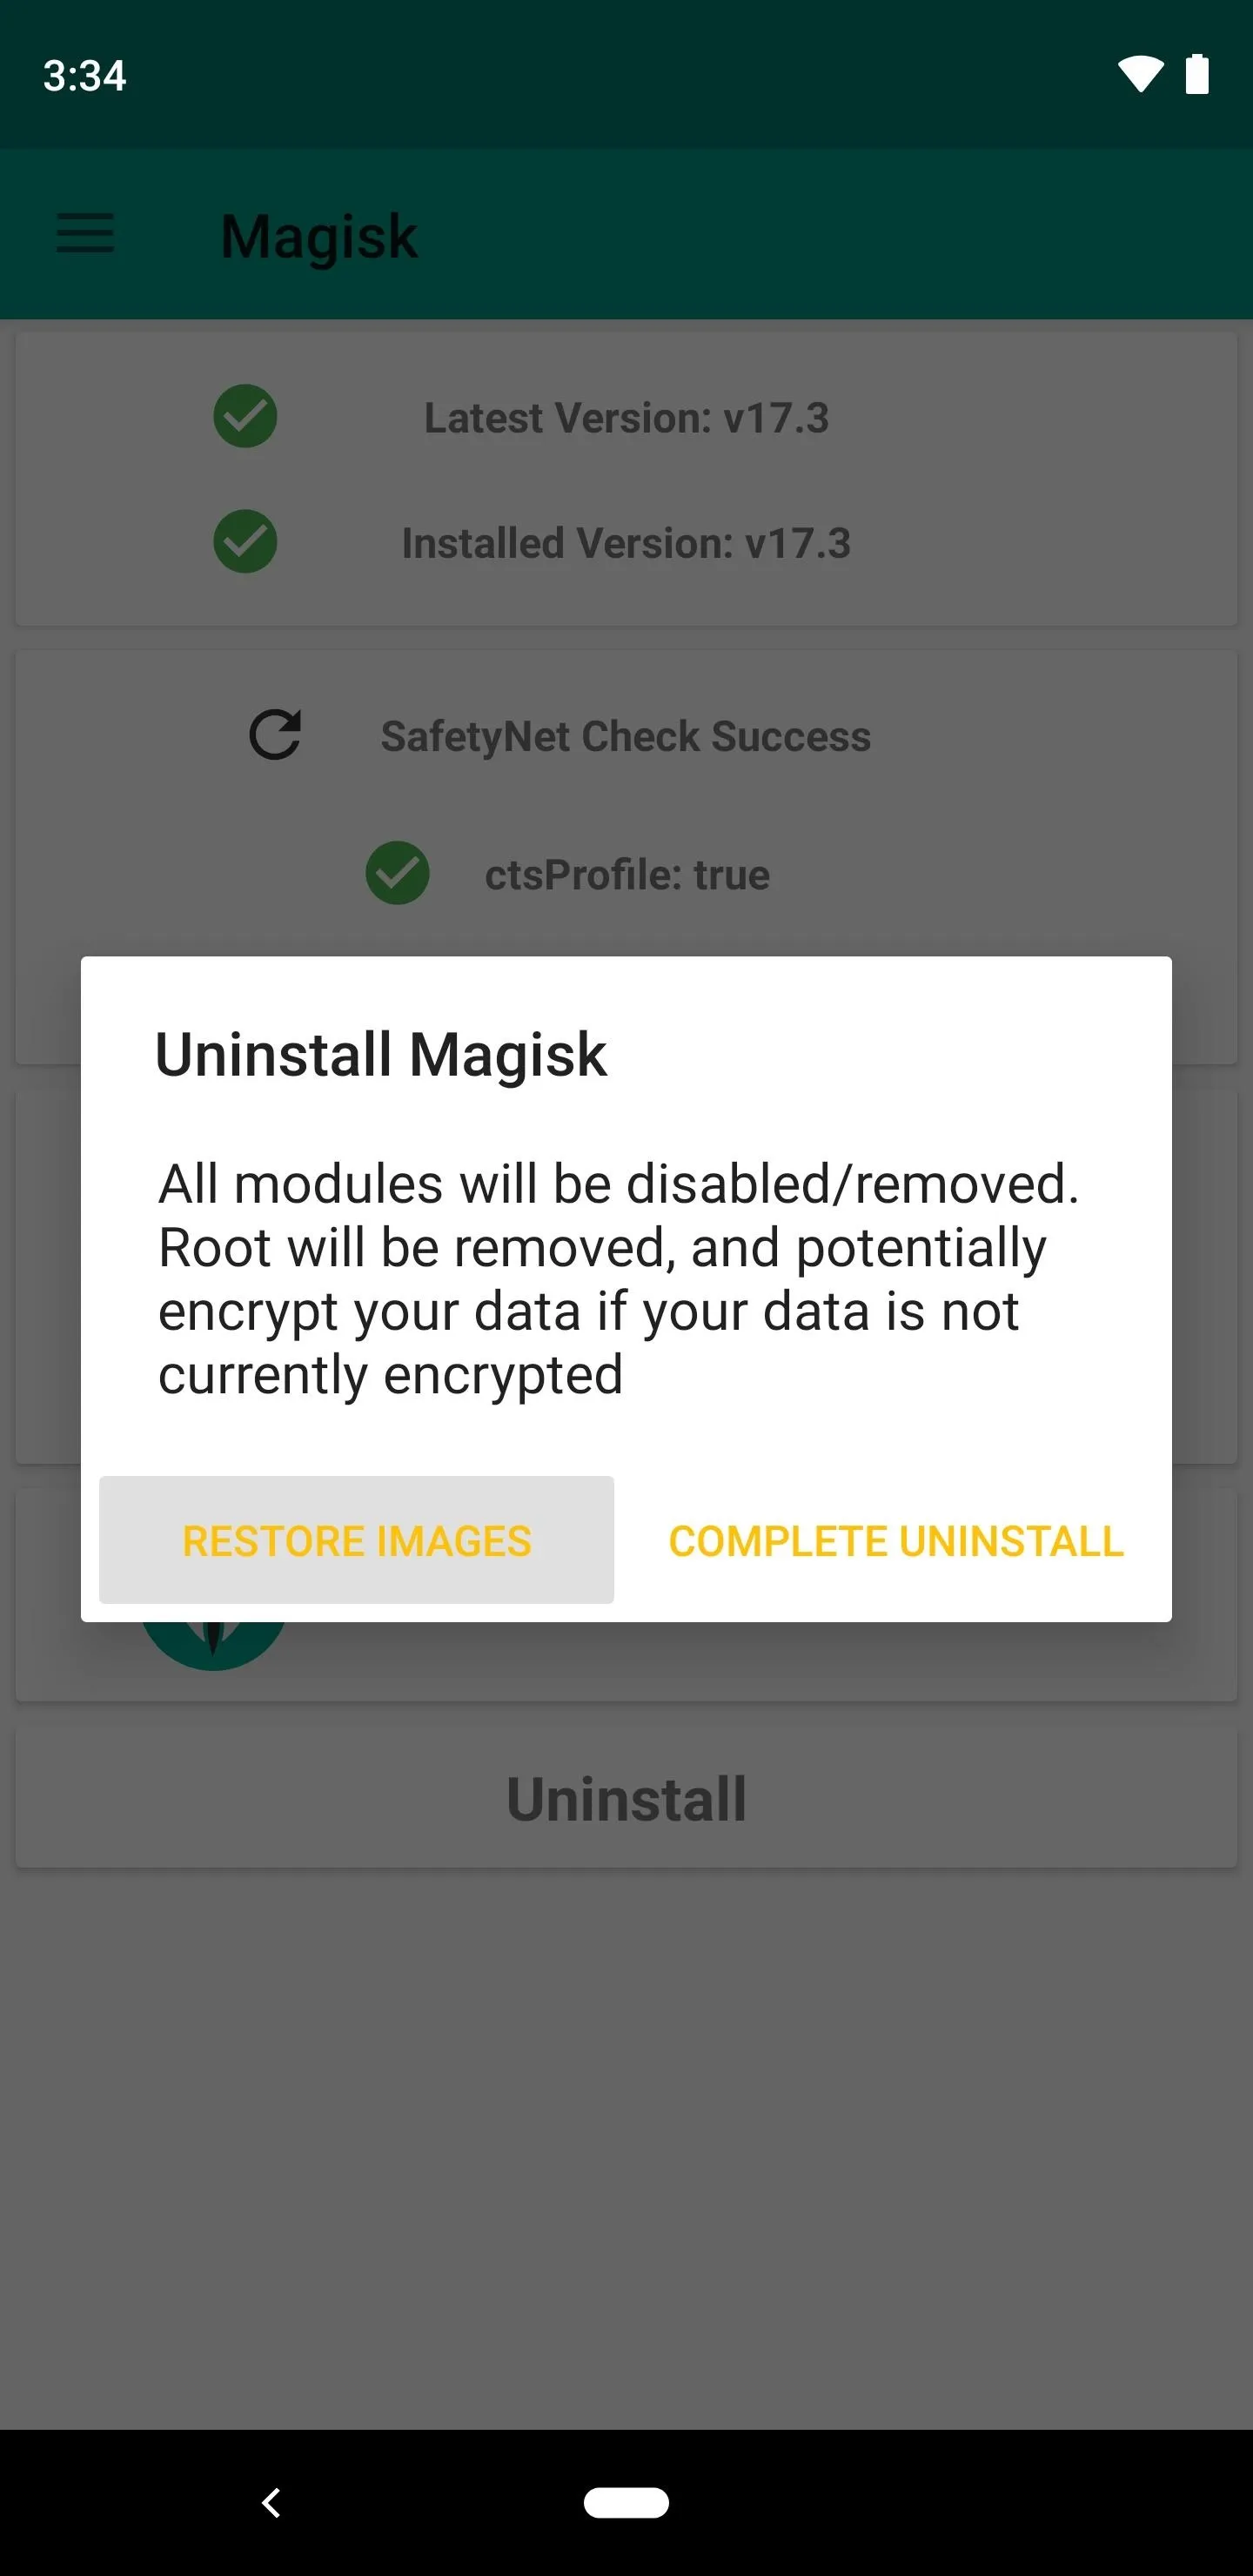
When the time comes, open the Magisk Manager app and press "Uninstall." Choose "Restore Images" on the popup, then wait a few seconds until you see a toast message saying the process is complete. Restart your phone, then you'll be completely unrooted and ready to accept an OTA update!


- Follow Gadget Hacks on Pinterest, Reddit, Twitter, YouTube, and Flipboard
- Sign up for Gadget Hacks' daily newsletter or weekly Android and iOS updates
- Follow WonderHowTo on Facebook, Twitter, Pinterest, and Flipboard
Cover image and screenshots by Dallas Thomas/Gadget Hacks






Comments
Be the first, drop a comment!