Document scanning is possible via the Google Drive app, but my brain doesn't think of opening a cloud storage app to scan a document. I usually just open the camera app and take a picture instead — and apparently, I'm not the only one.
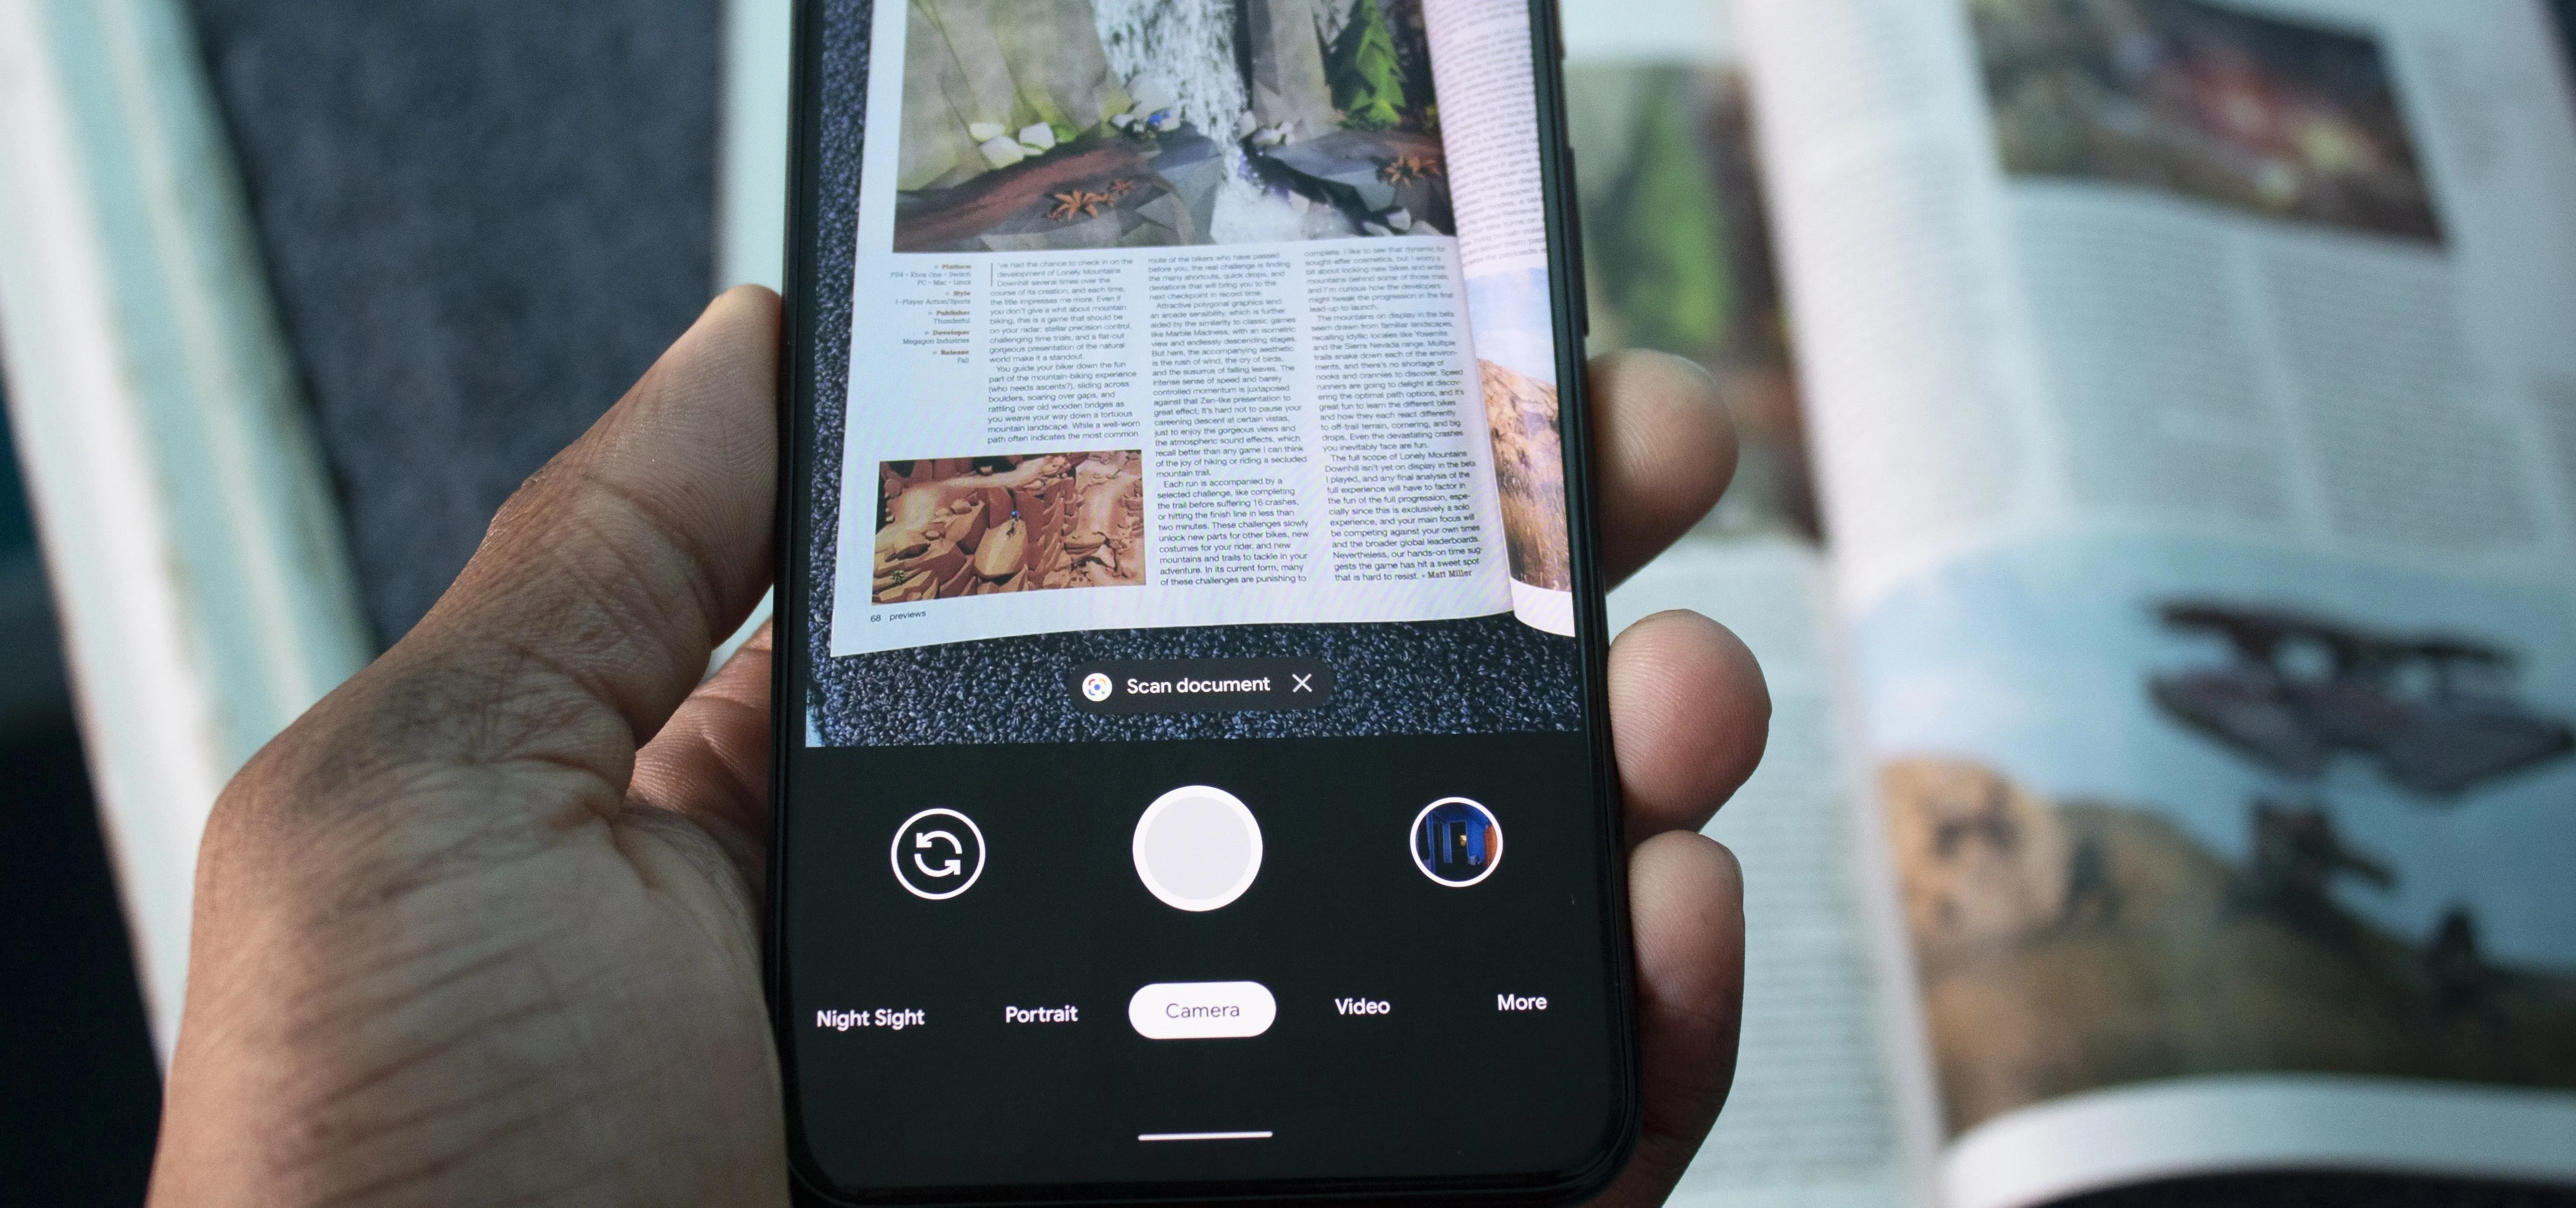
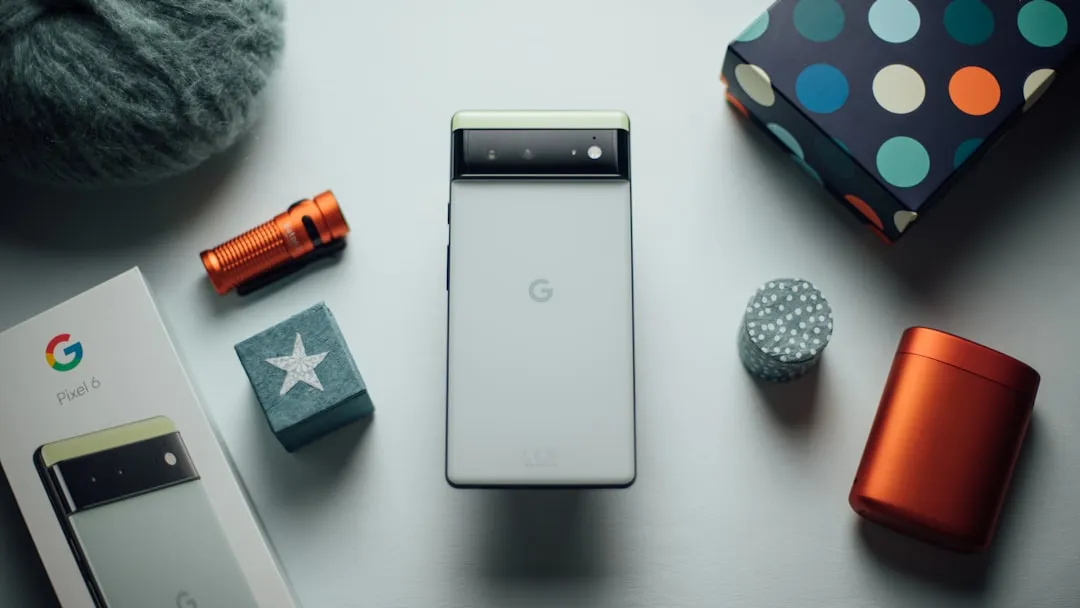
Google has added a feature to the Pixel's camera app (all Pixel models with Google Camera version 7.2) that lets you scan documents without taking a photo. Once it detects documents (a sheet of paper, business card, etc.), it will offer to scan the document. Once scanned, you can then share it with either a cloud service or with others via email or a messaging app.
Scanning Documents
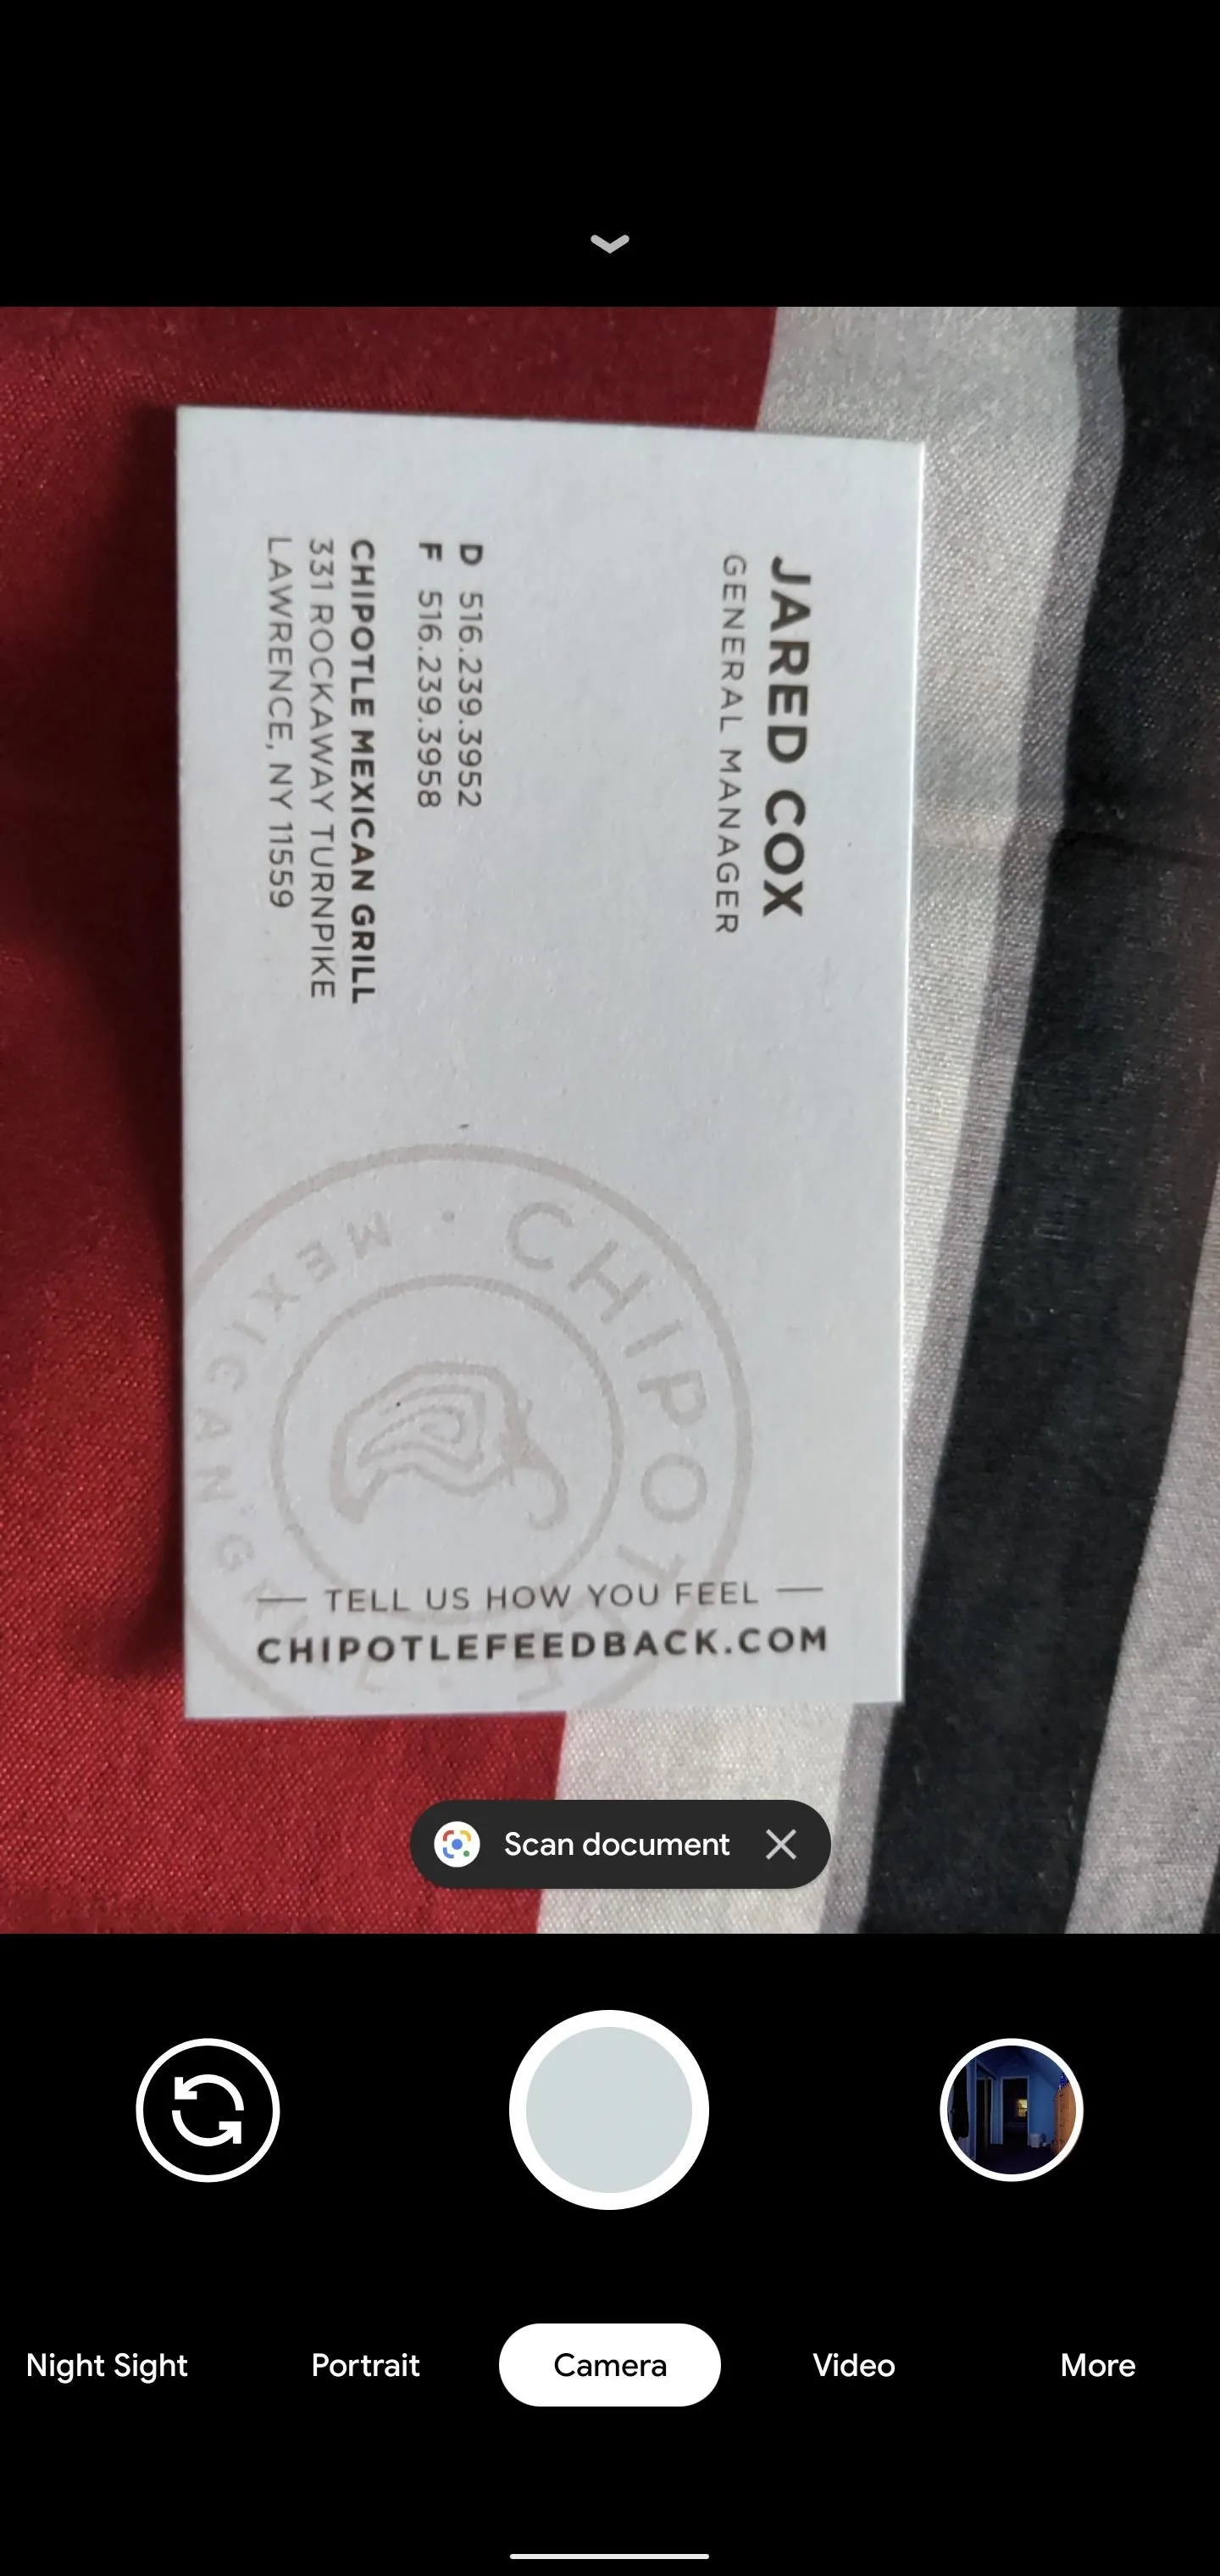
Open the default Camera app and line the viewfinder up with a document you wish to scan. You'll want to be in a reasonably well-lit area so the camera can identify the document. You'll also want to get a close as possible to the item while keeping its borders within the viewfinder.
A button will appear asking if you wish to "Scan document." Tap this button, and after a second (or two), you will be directed to a new page where Google Lens will display a grid where it believes the edges of the document are. You can adjust the corners by dragging the circles and lines to match the borders of the document.

Jon Knight/Gadget Hacks

Jon Knight/Gadget Hacks

After you are done adjusting, select "Done" in the bottom-left corner of the screen. Two new buttons will appear: "Share PDF" and "Share Image." The former will convert the scanned document into a PDF that you can share with other apps, including cloud services (where you can save it) or messaging app (where you send it to someone). The latter offers the same share options, but converts the scanned document into an image file.
Cover image, screenshot, and GIF by Jon Knight/Gadget Hacks








Comments
Be the first, drop a comment!