For Android 11, Google is doubling down on the handy App Suggestions feature that debuted in Android 10's app drawer by expanding it to the home screen dock.
In addition to making its way to the home screen, App Suggestions is getting a few customization options as well. Here's how to take advantage of these new quality of life improvements.
Get Your Software in Order
You'll need to be on Android 11 to access this new feature. For now, this means either flashing the developer preview to your Pixel or enrolling in the Android Beta program.
Also, note that this only works with the Pixel Launcher, which is the default home screen app on Pixel devices anyway. But if you've changed your home screen, you'll need to change it back.
Access Home Screen Settings
When you update to Android 11, the handy Pixel Tips app will actually point out this new feature to you. Easy enough!
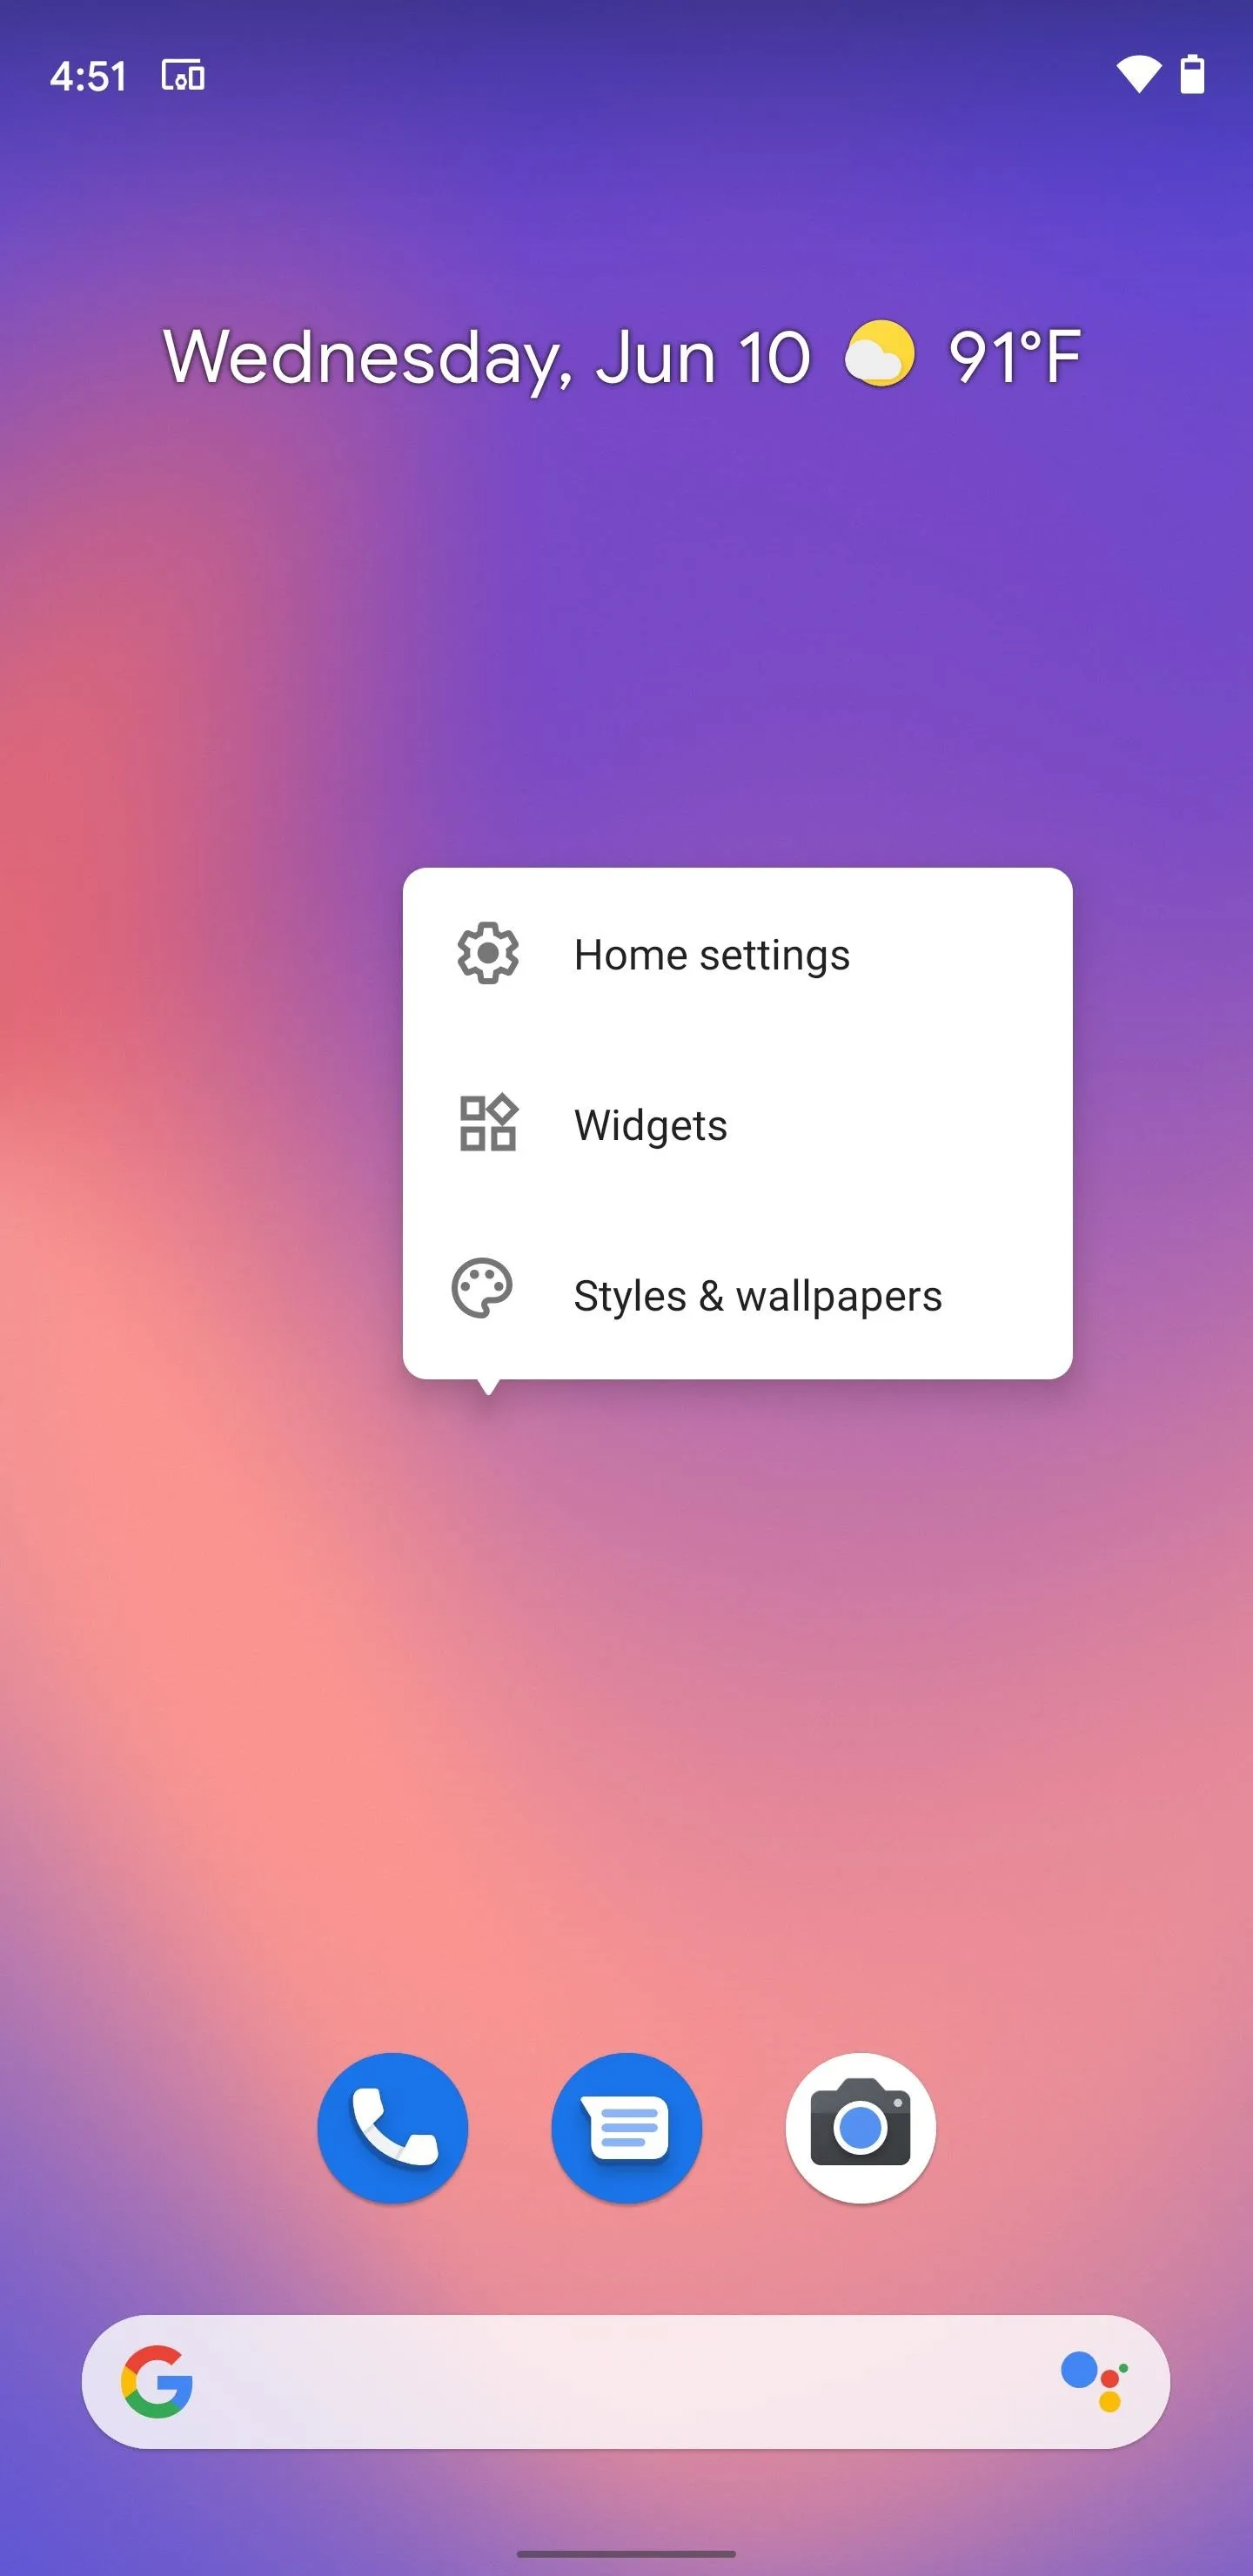
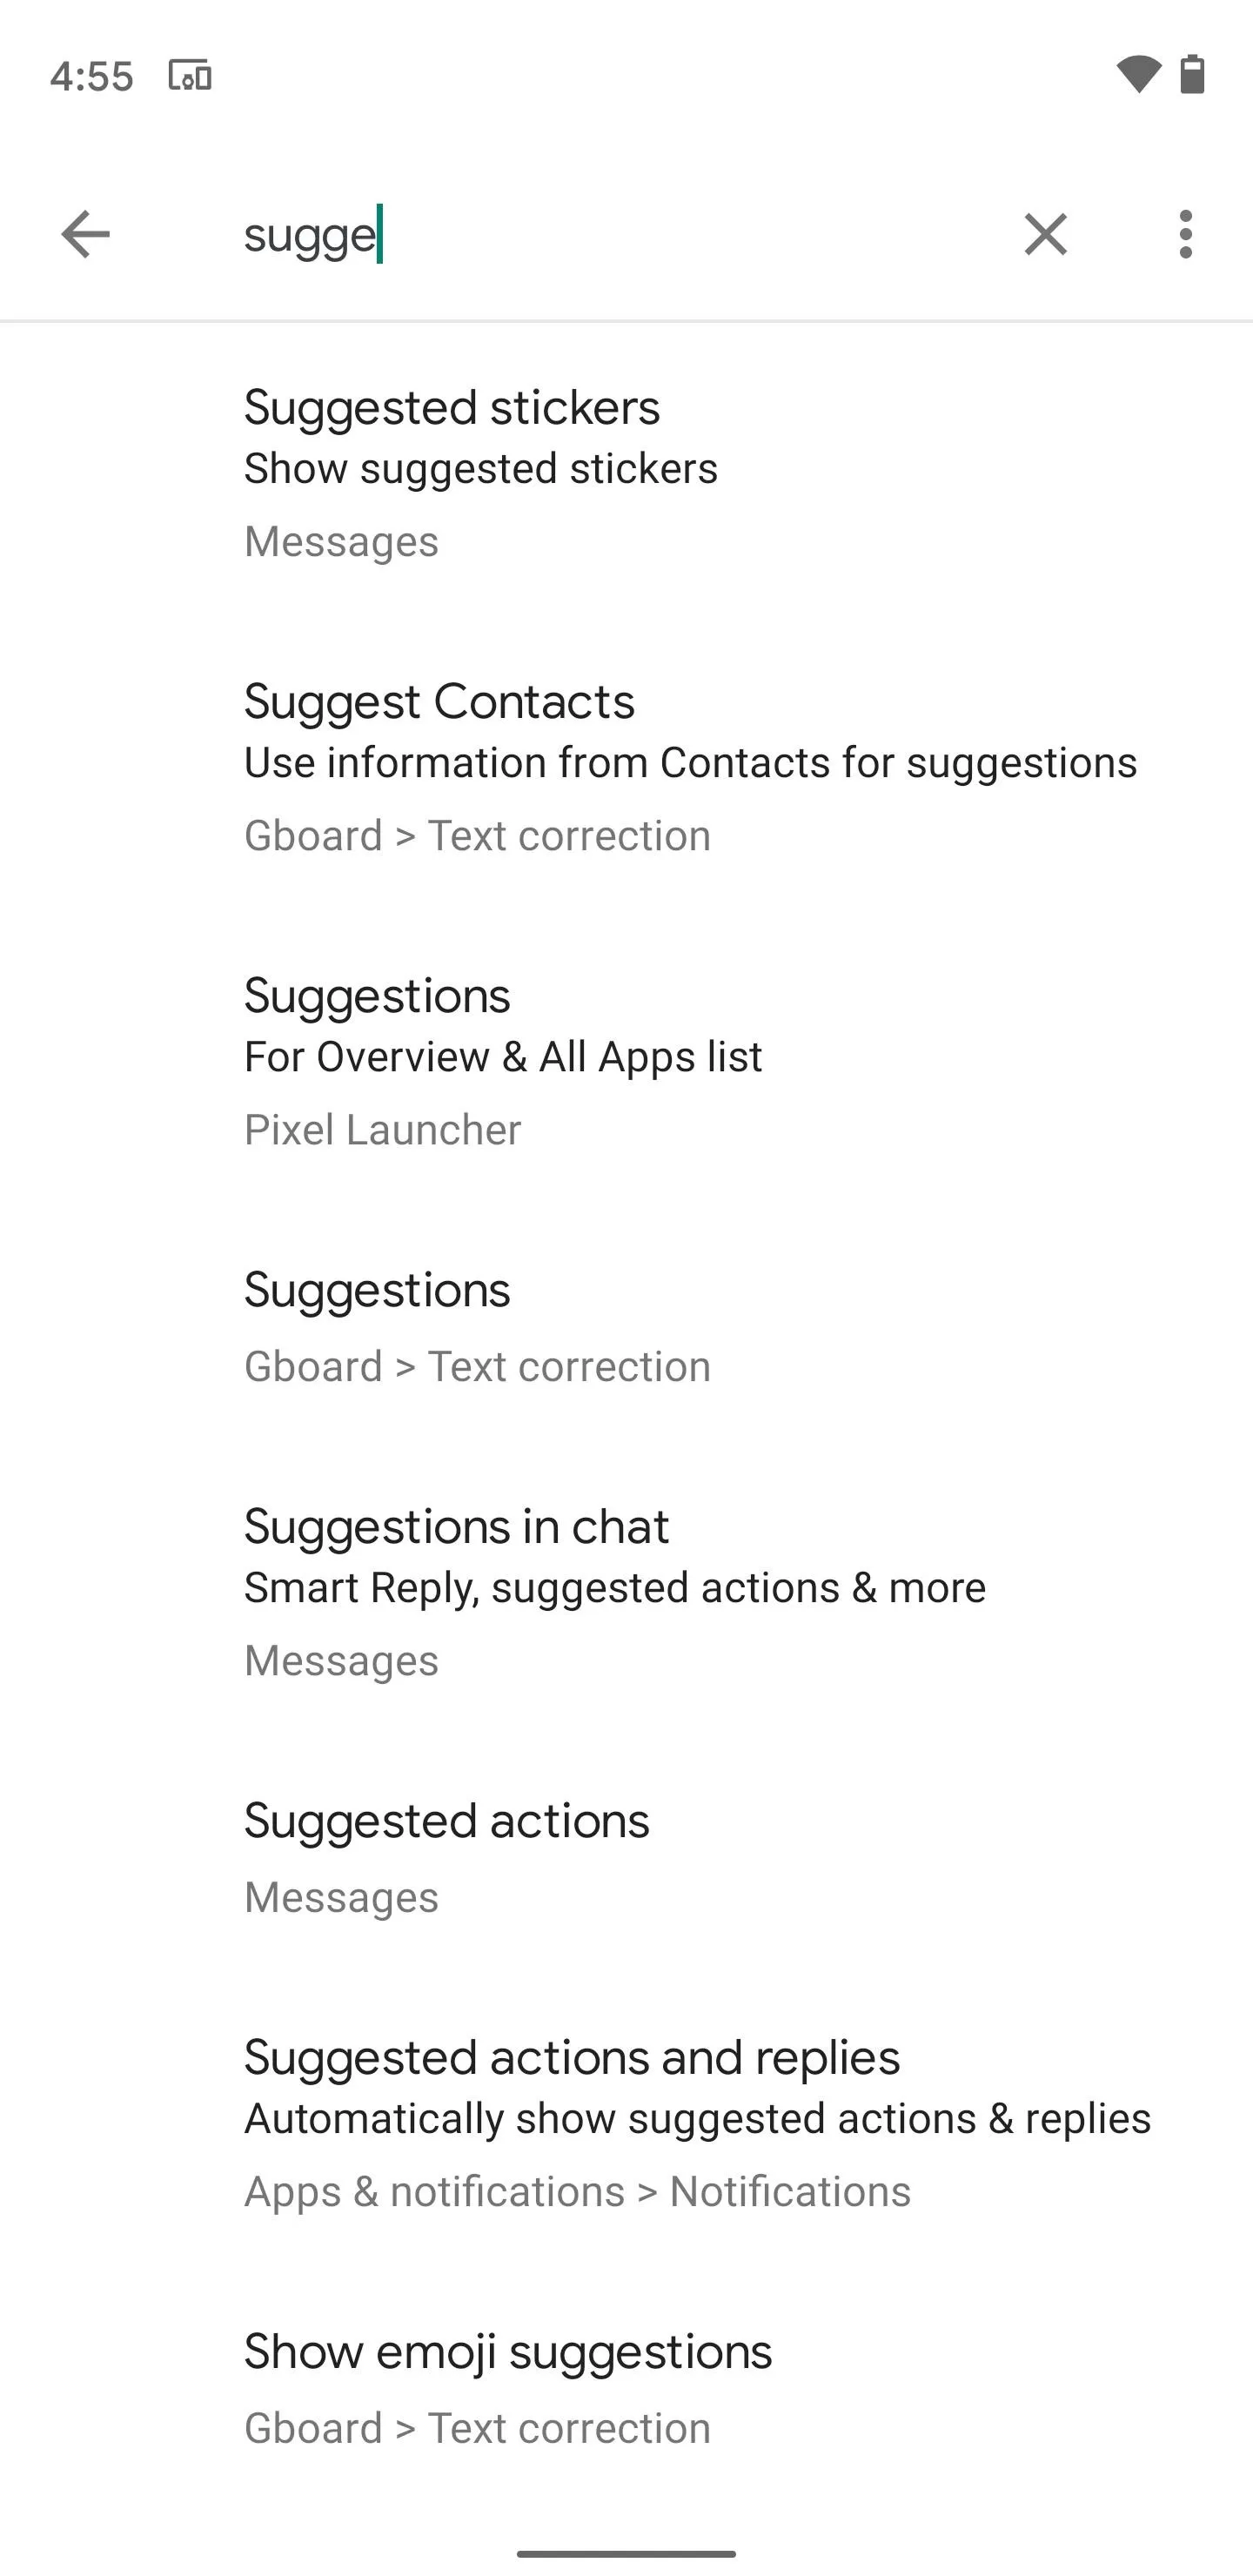
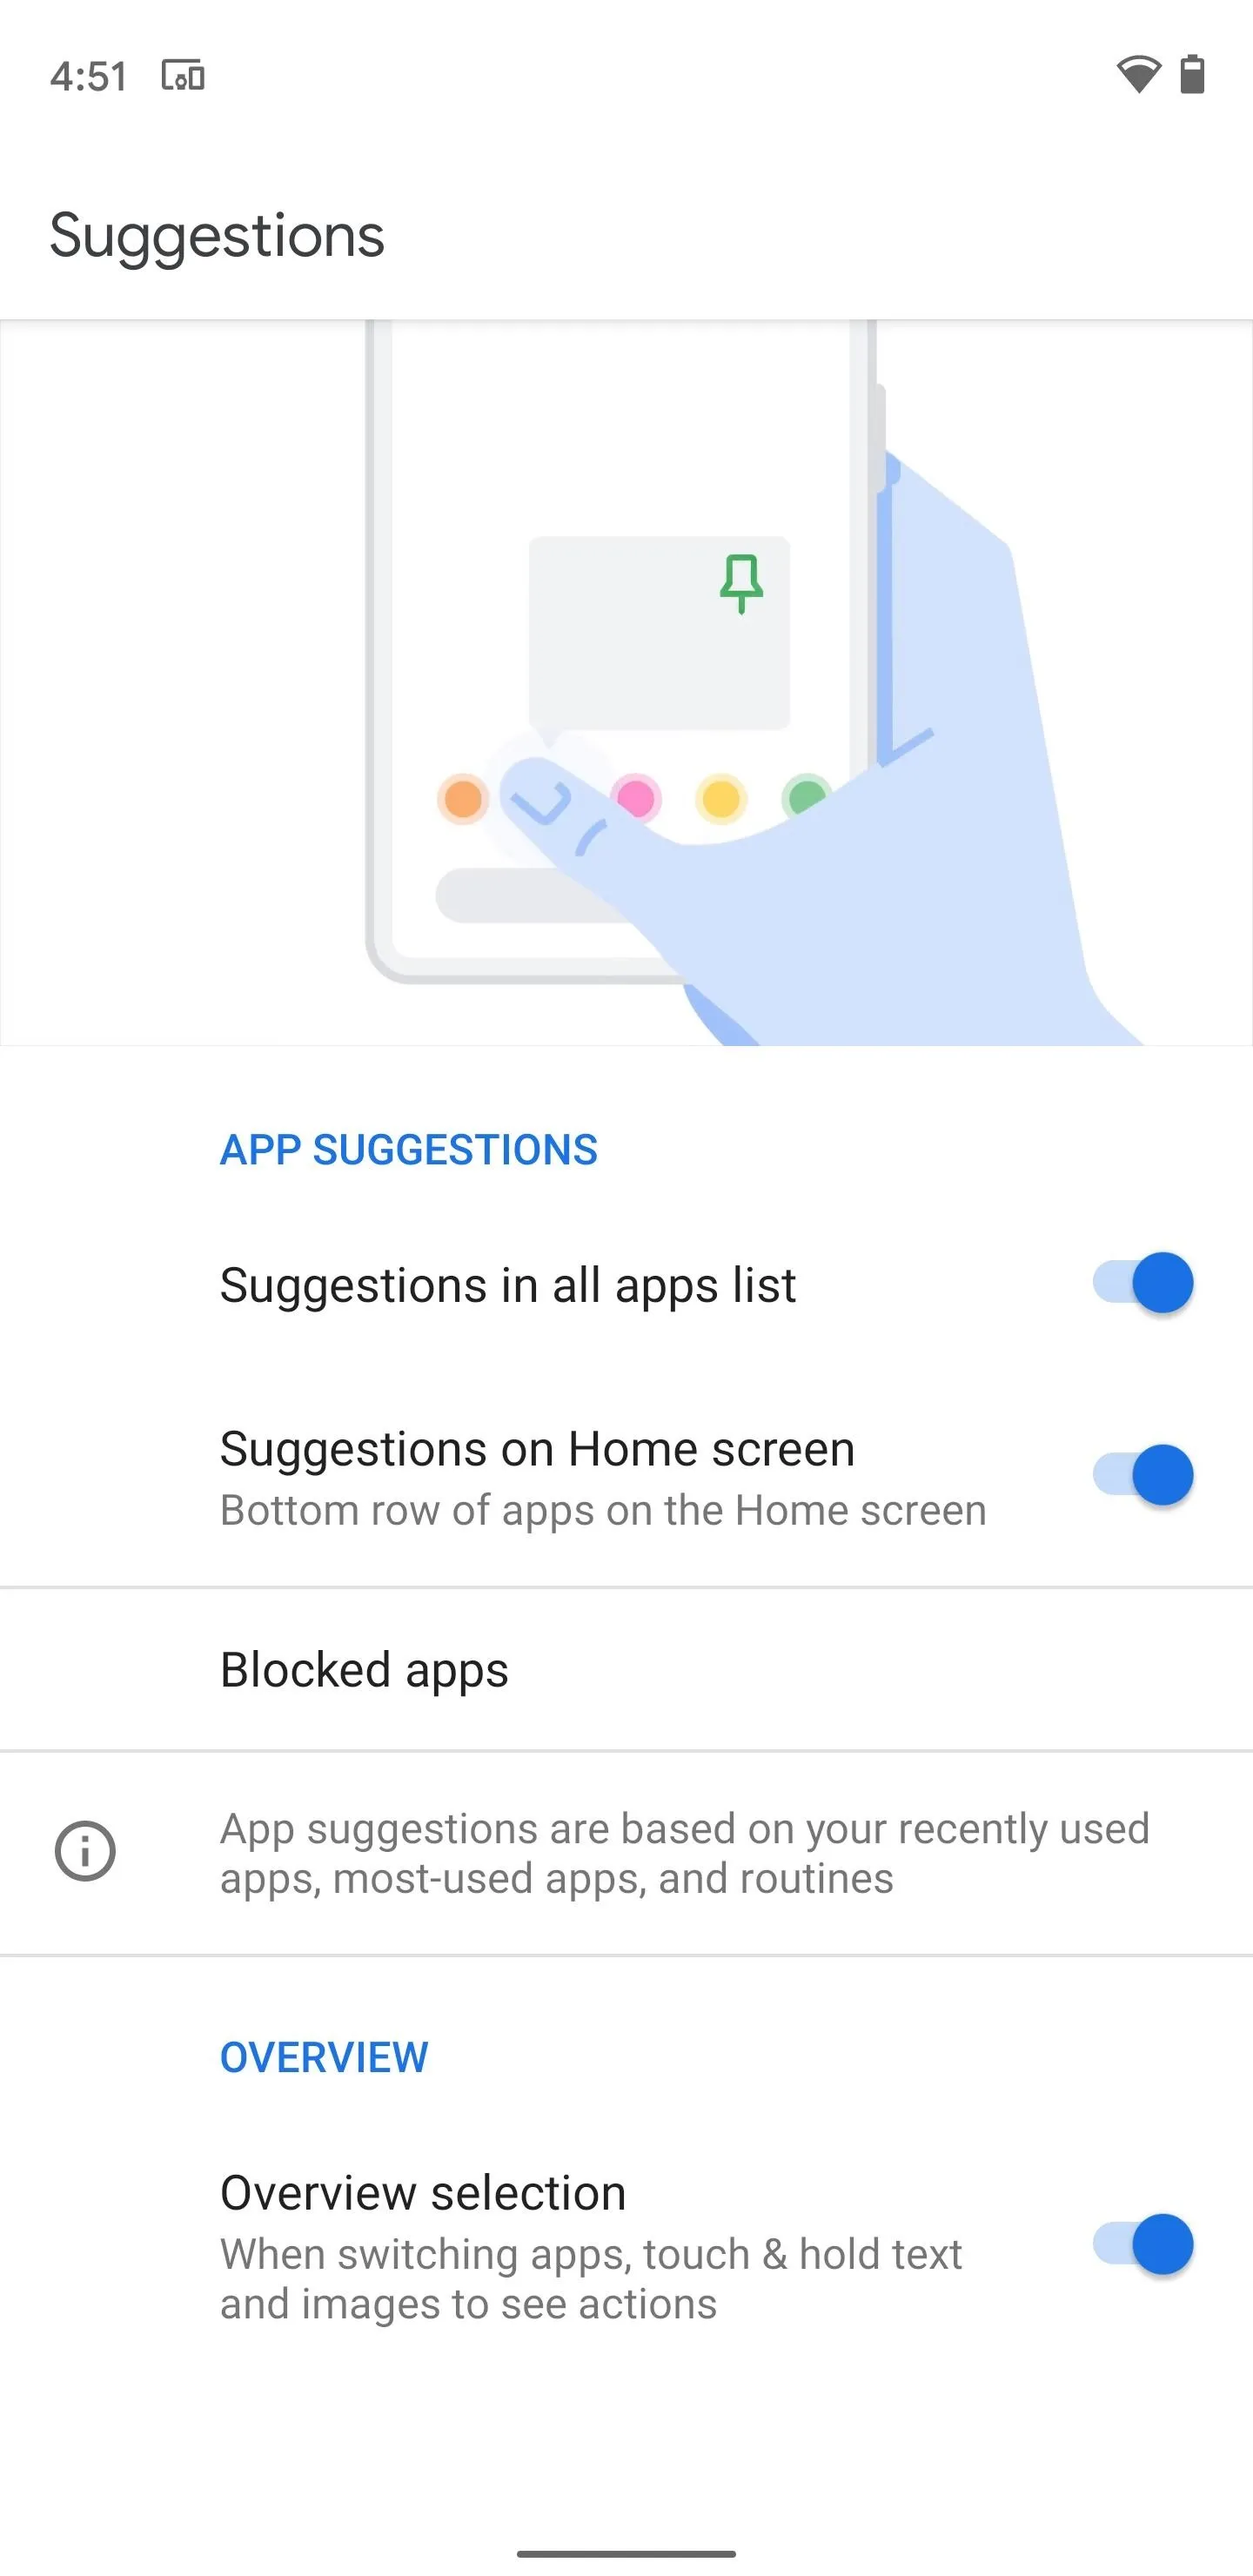
Otherwise, the quickest way to turn this feature off and on is to long press any empty space on your home screen and tap "Home settings" in the context menu. Alternatively, you can search for "suggestions" in the Settings app to arrive at the same location, where tapping on selection will highlight your target in blue on the next screen.
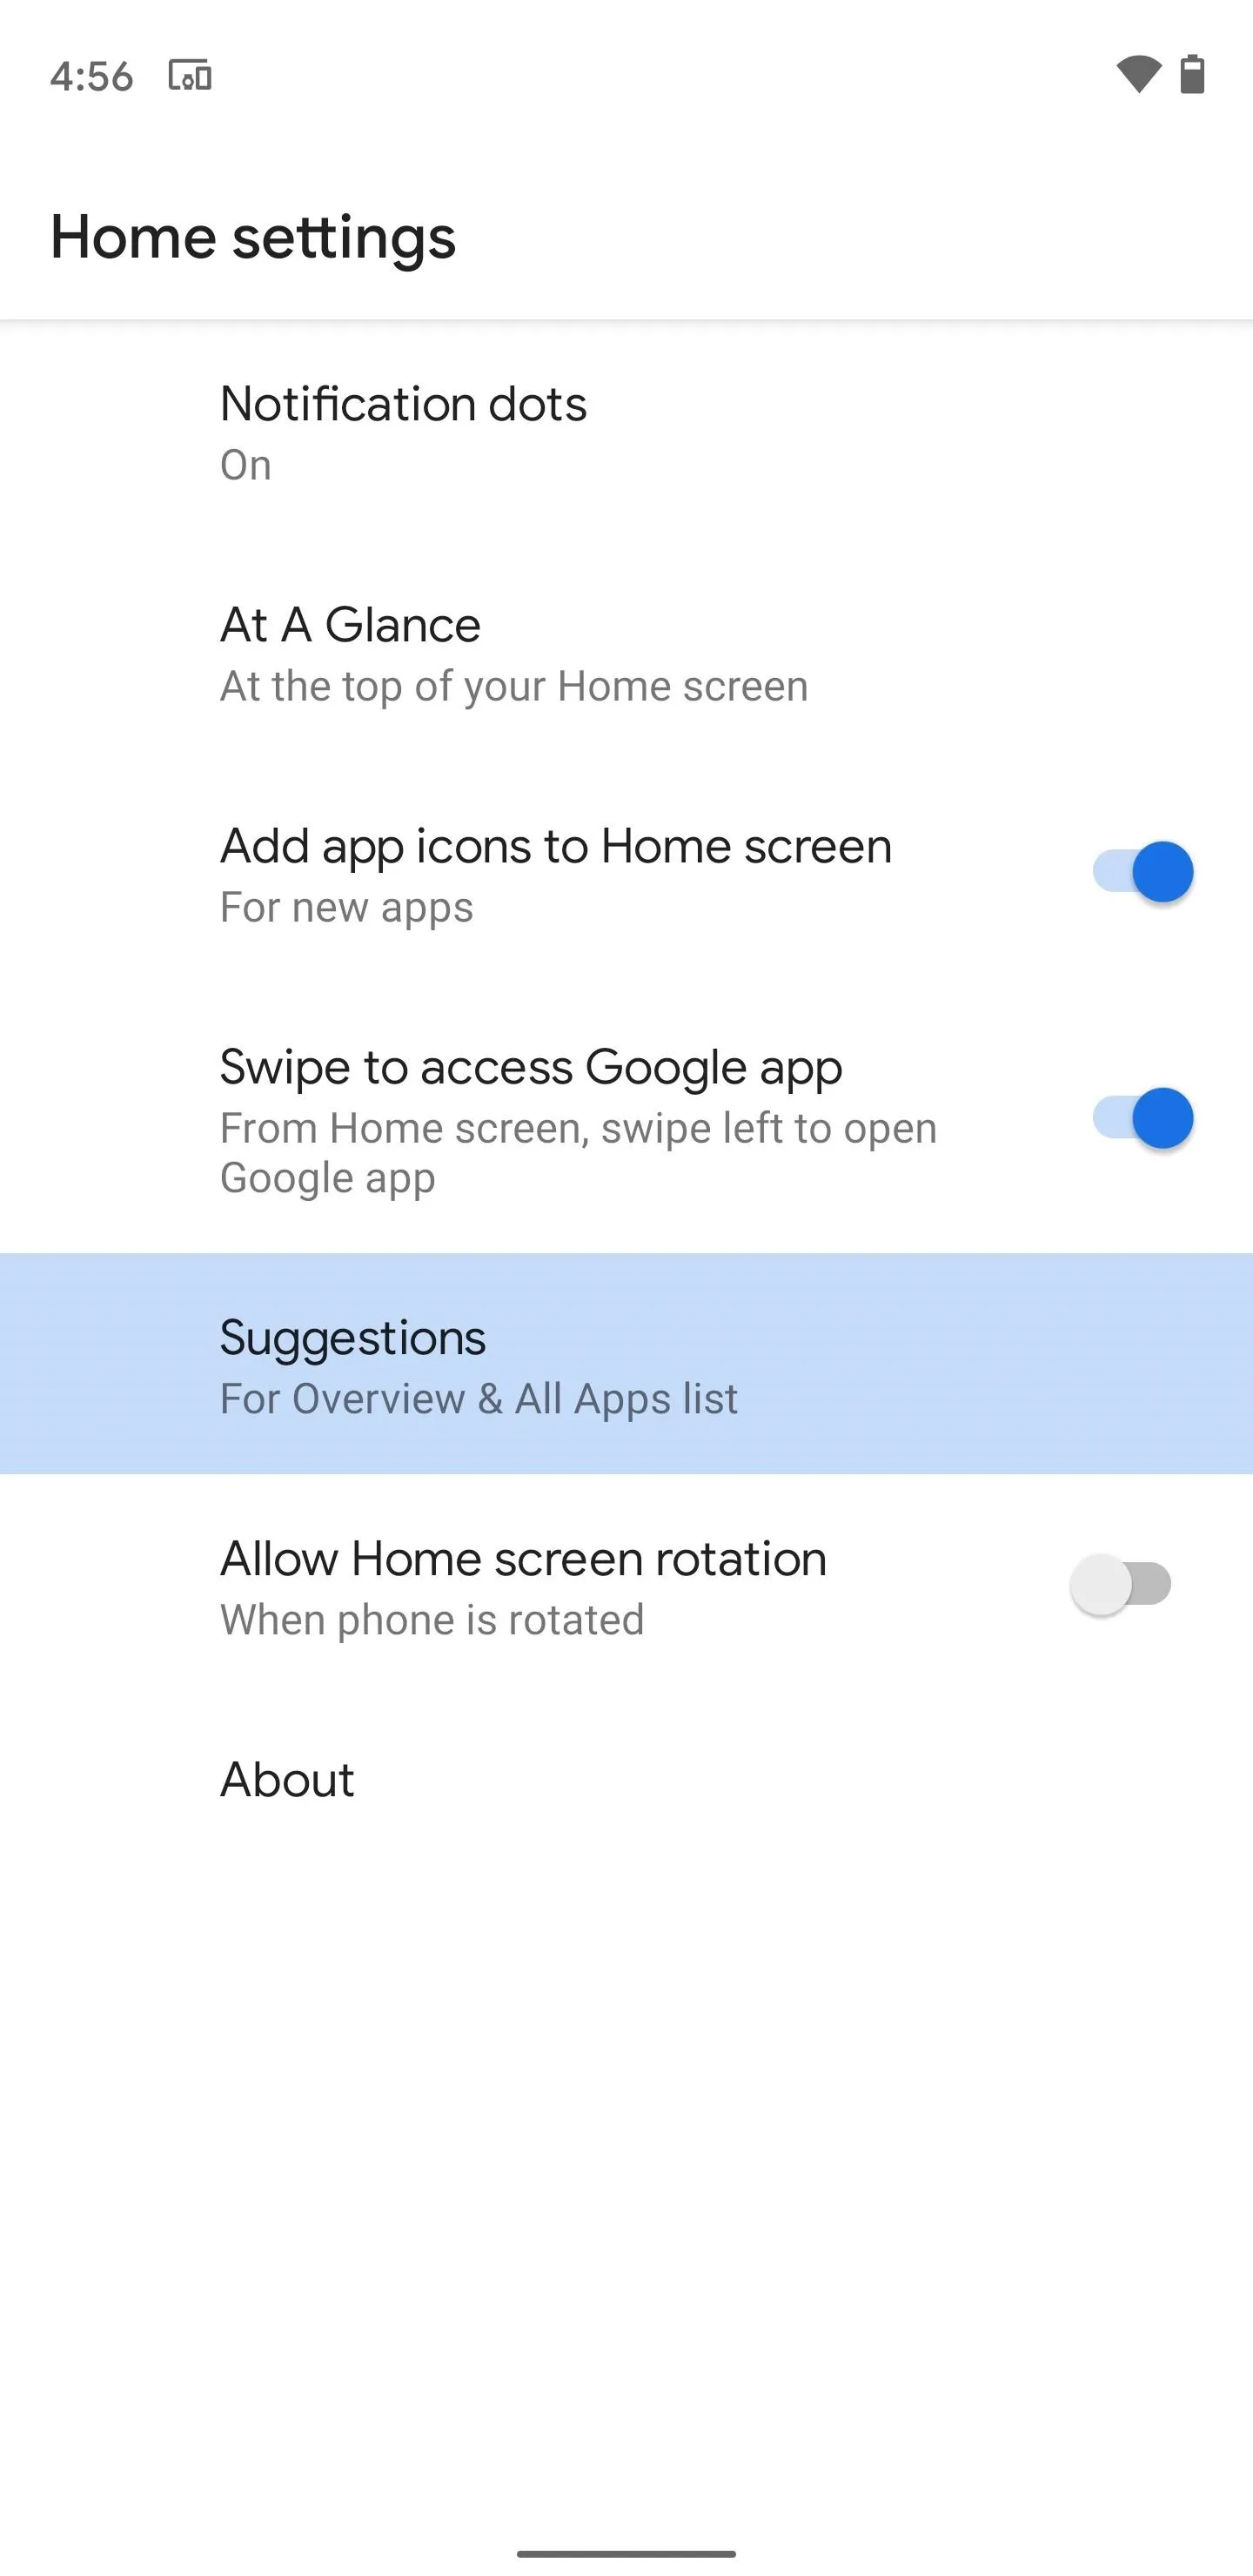


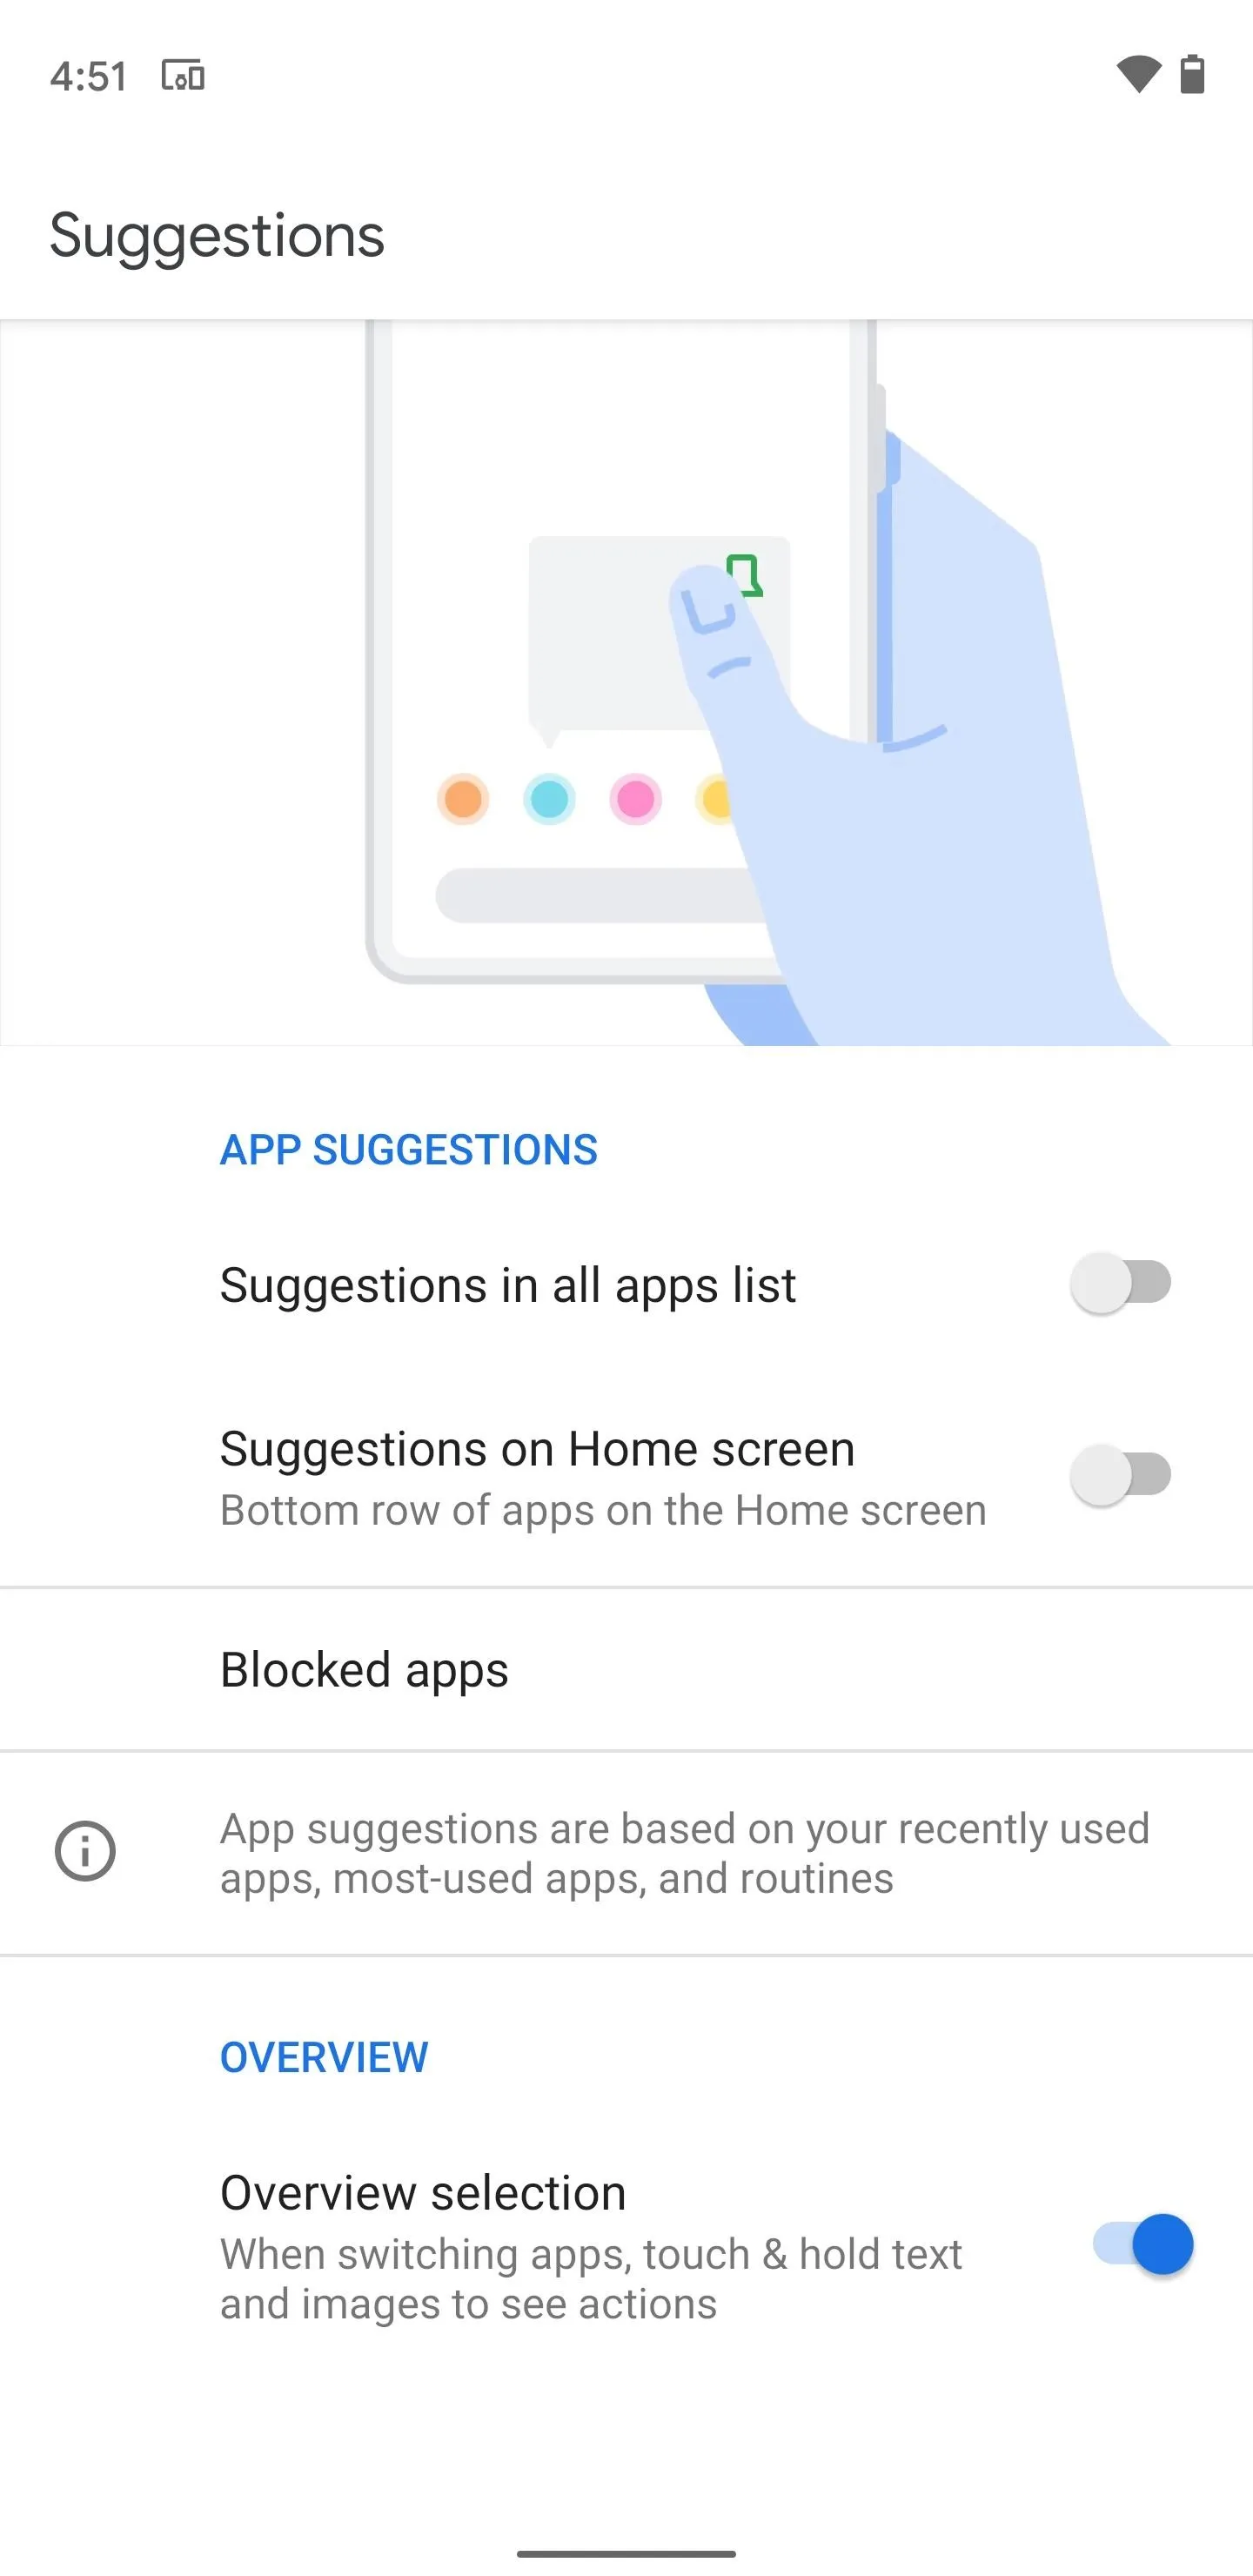
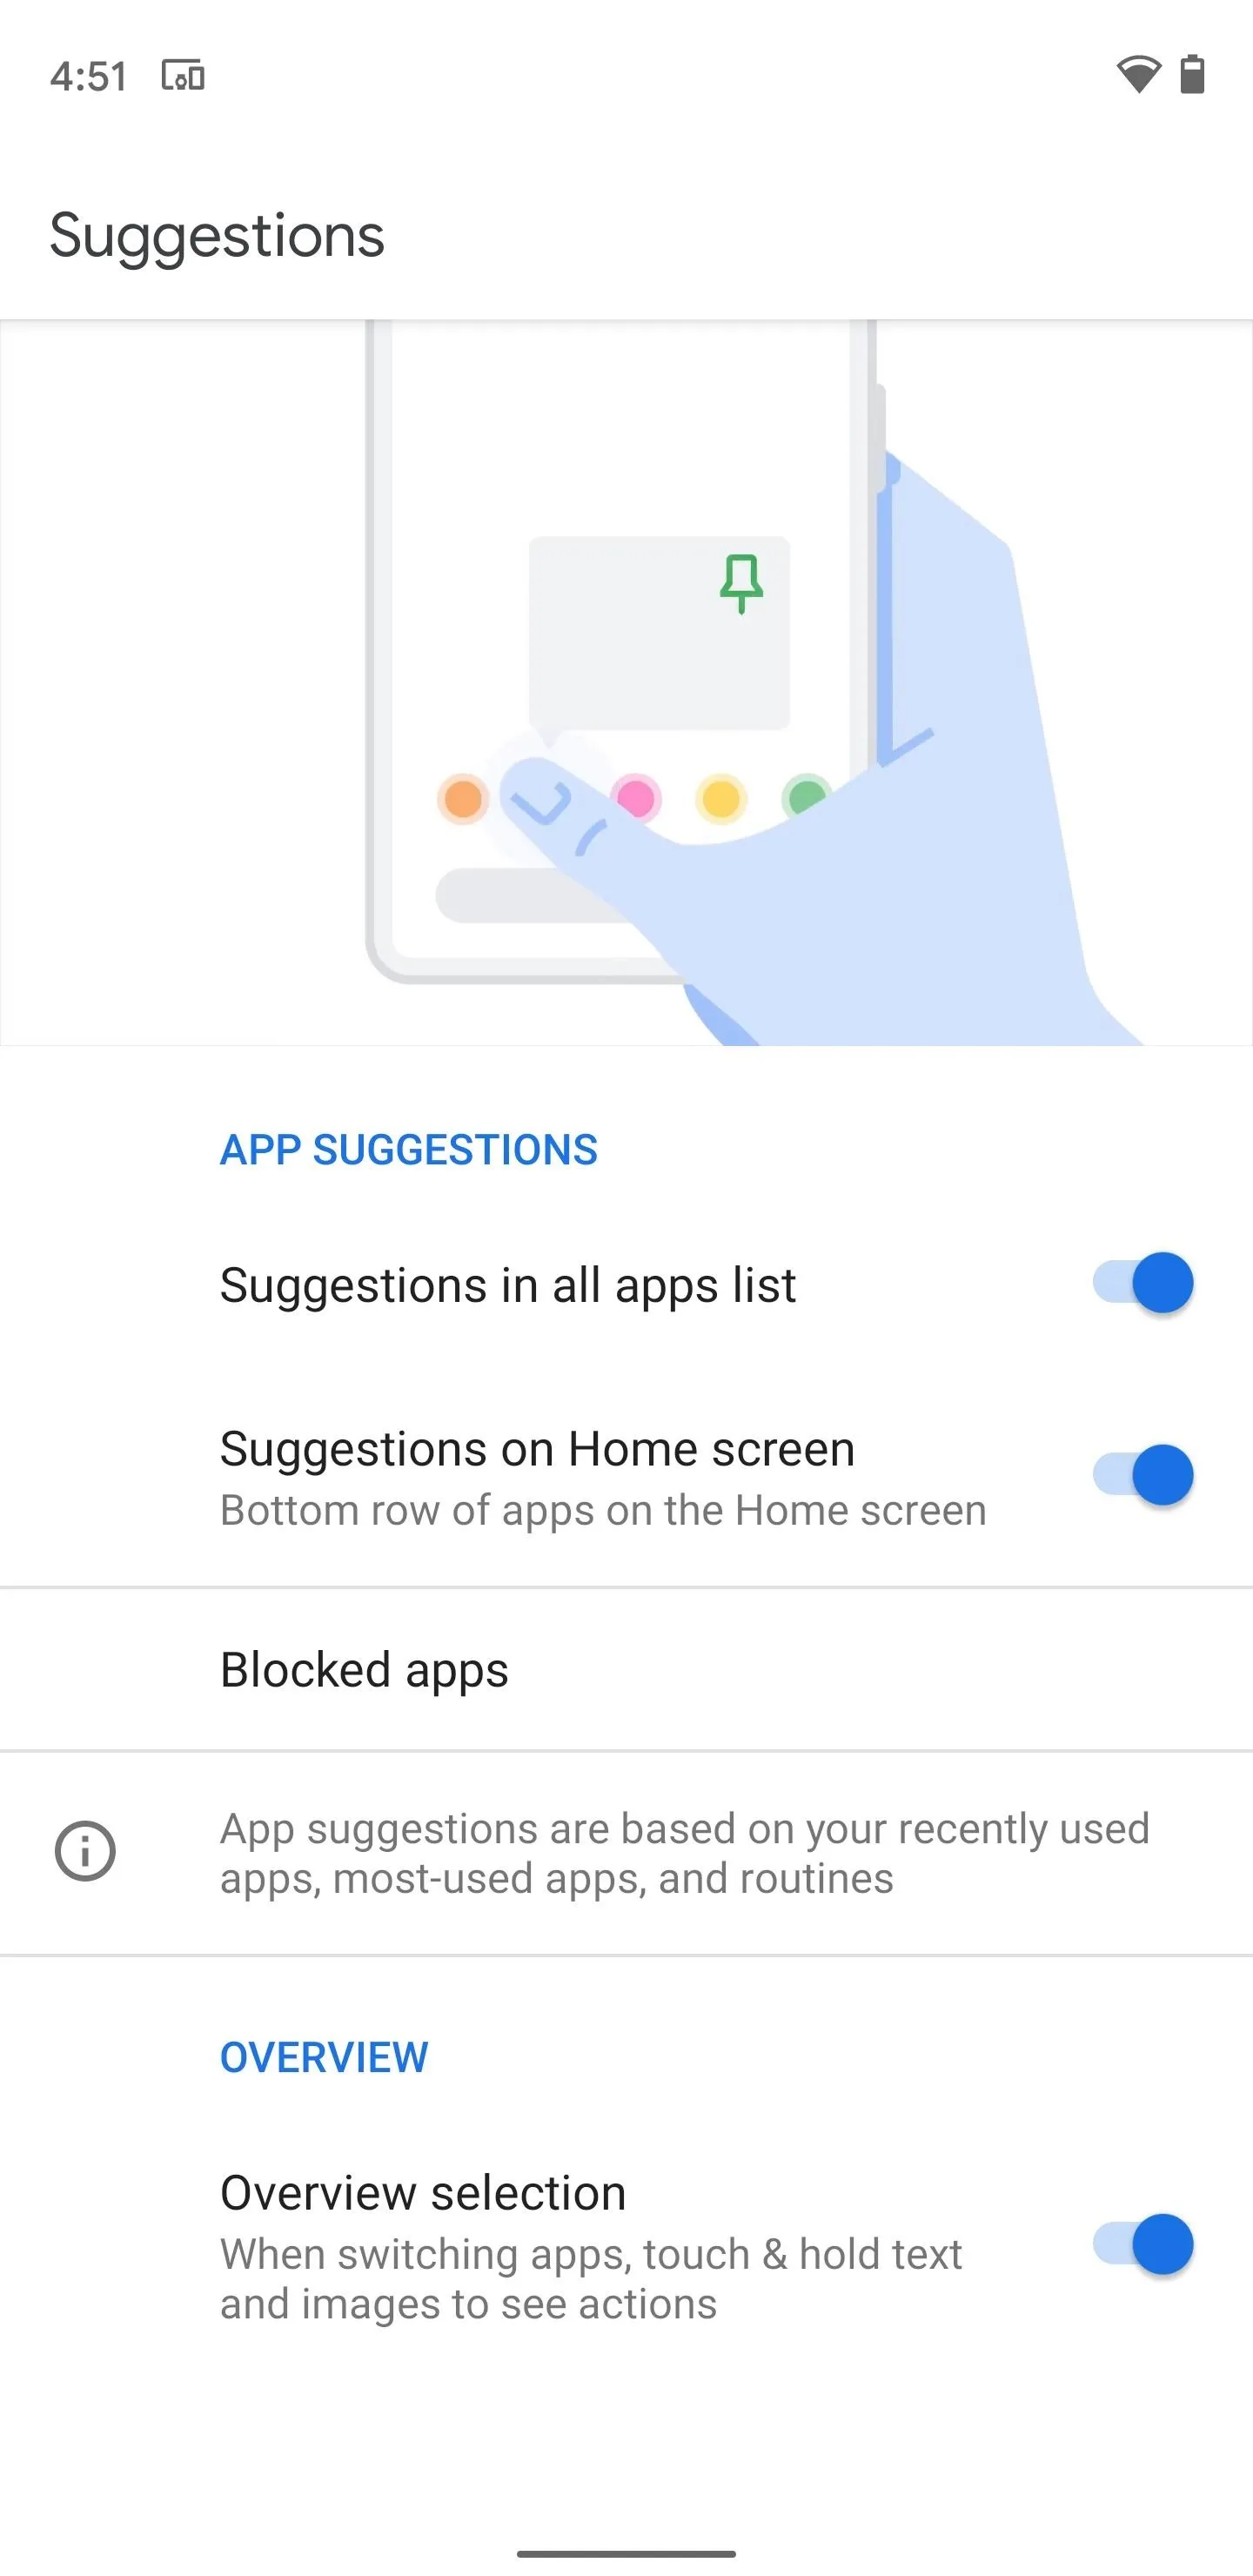
Either way, tap "Suggestions" to proceed. Here, you'll find the toggles for App Suggestions for both the apps list and the Home screen. Tap the switch icons to turn them on.


Familiarize Yourself with the New Dock
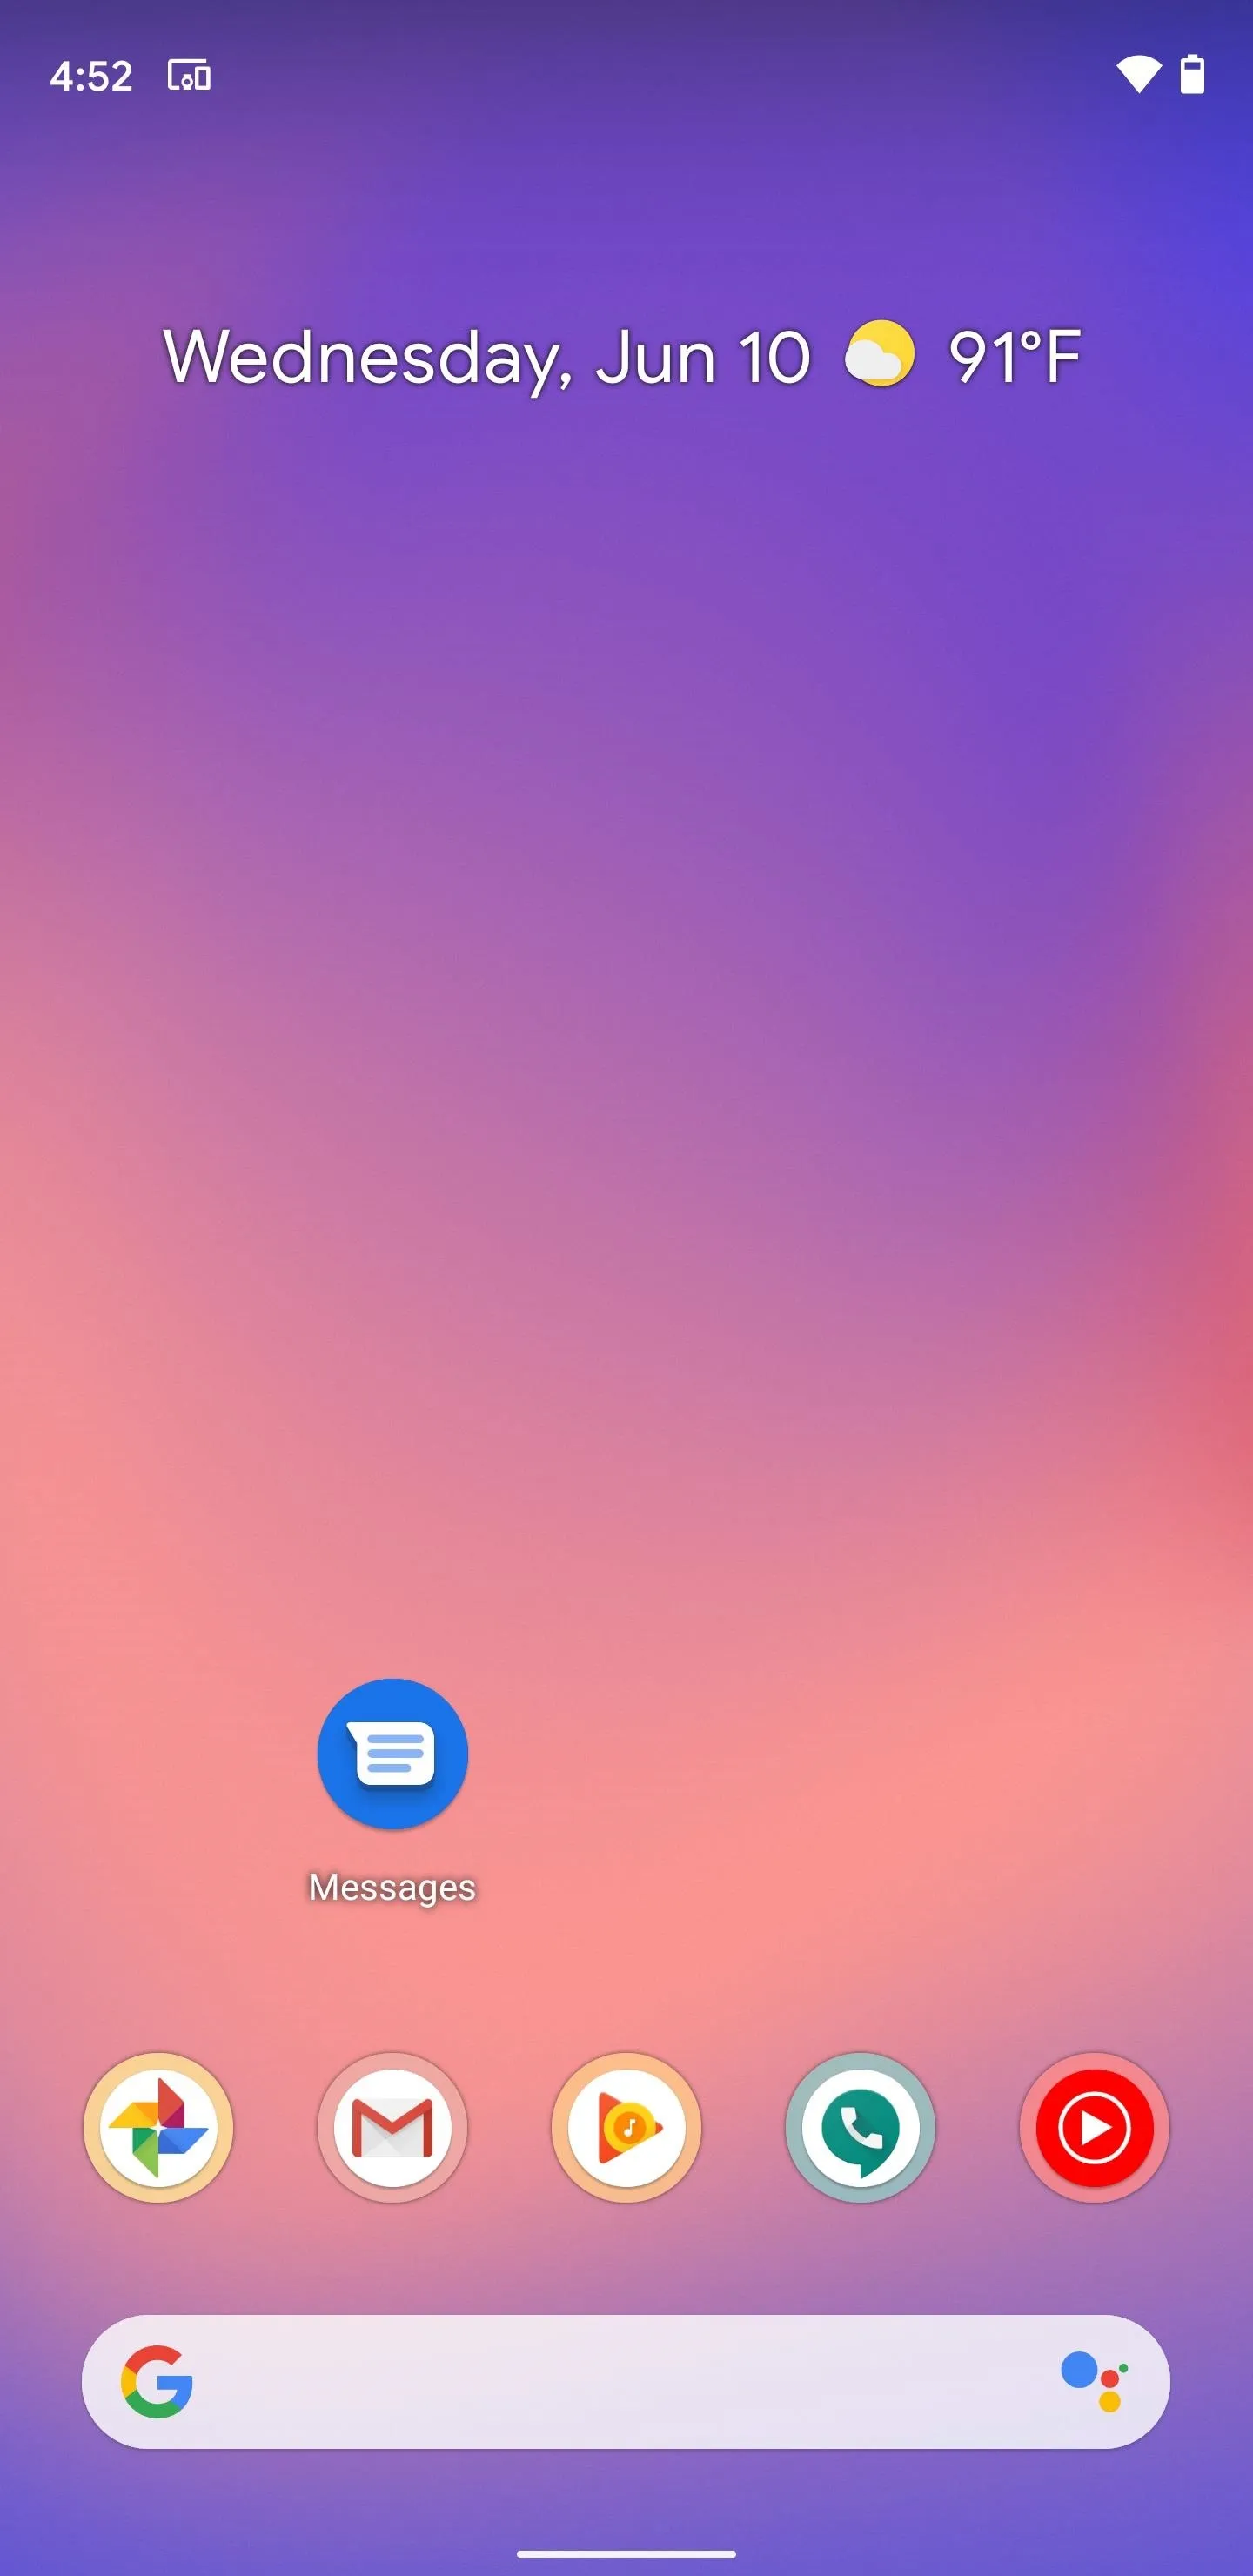
After you've turned on Suggested Apps the first time, you'll that the apps that were in your dock have been pushed up to the home screen, replaced by your most recently-used apps. The predictive apps are denoted with a colored outline that matches the dominant color of the app icon.
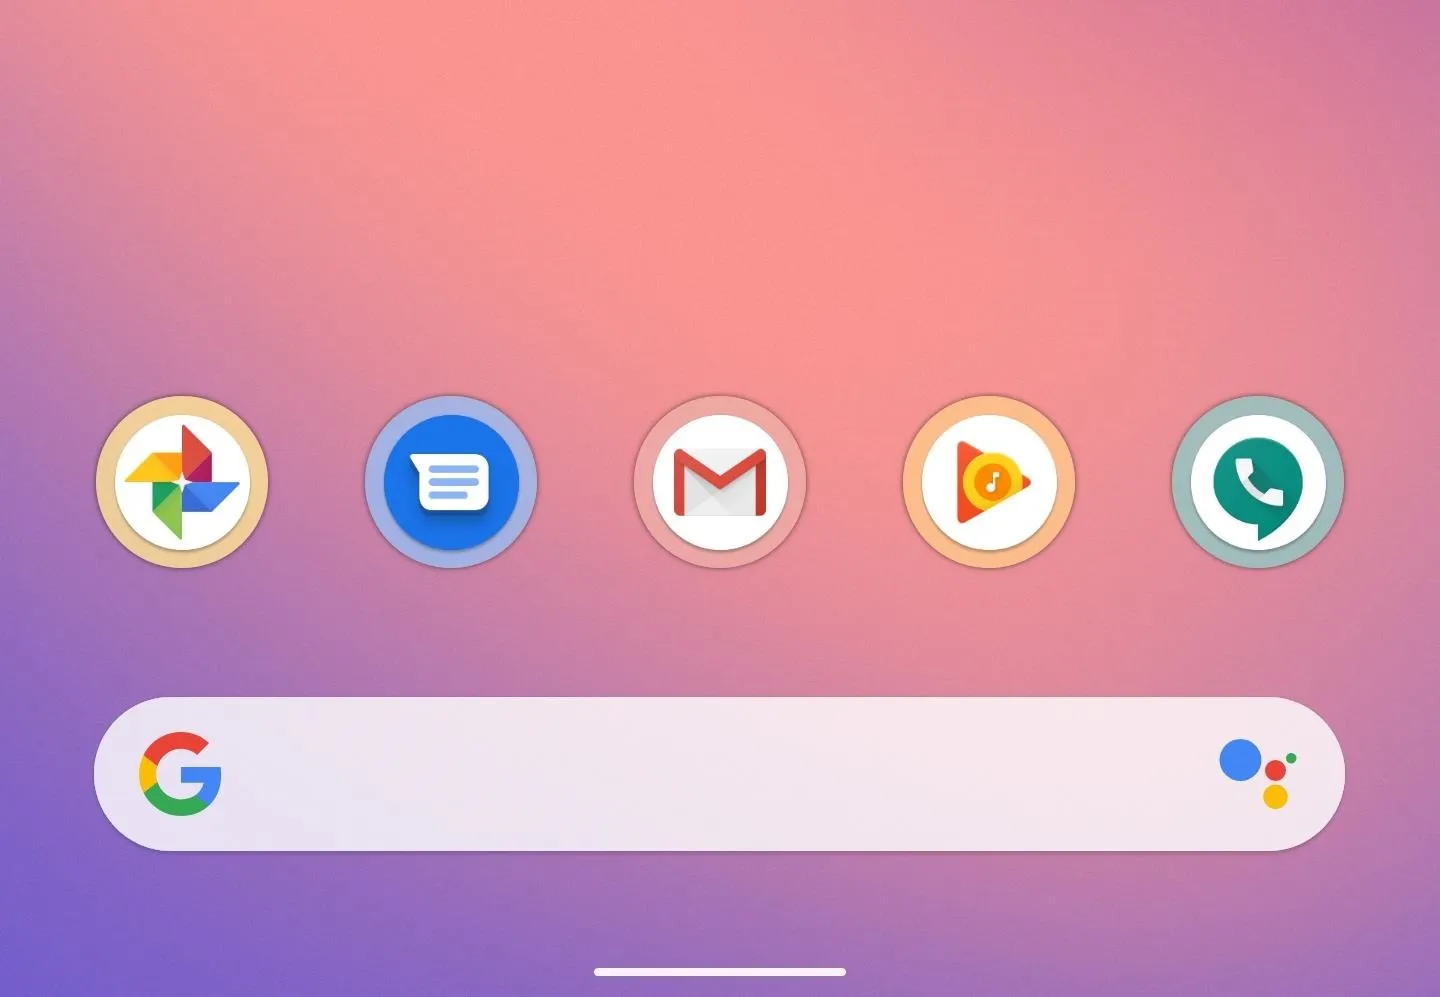
If you'd like, you long-press any of your old icons (or any icon in your app drawer, for that matter), then drag it into the dock area and drop it in a slot. This would replace the predictive App Suggestion icon with a regular, static icon that remains in place indefinitely.
So you could have four predictive dock icons and one static icon, or three and two, or any combination you wish. Essentially, if you manually place an icon in any spot on your dock, it will stay. Otherwise, if there's a spot that hasn't been manually filled, App Suggestions will fill it for you.
As a byproduct of that, if you turn the feature off and back on, any apps that were in the dock at the time the feature was disabled would become static icons and prevent predictive apps from populating in the dock once re-enabled. However, if you remove these standard shortcuts, a suggested app shortcut will take its place.
Pin Apps to the Dock
With Suggested Apps turned on for your home screen dock, there's a couple of additional layers of customization. One of those is the option to pin your favorite apps to the dock.
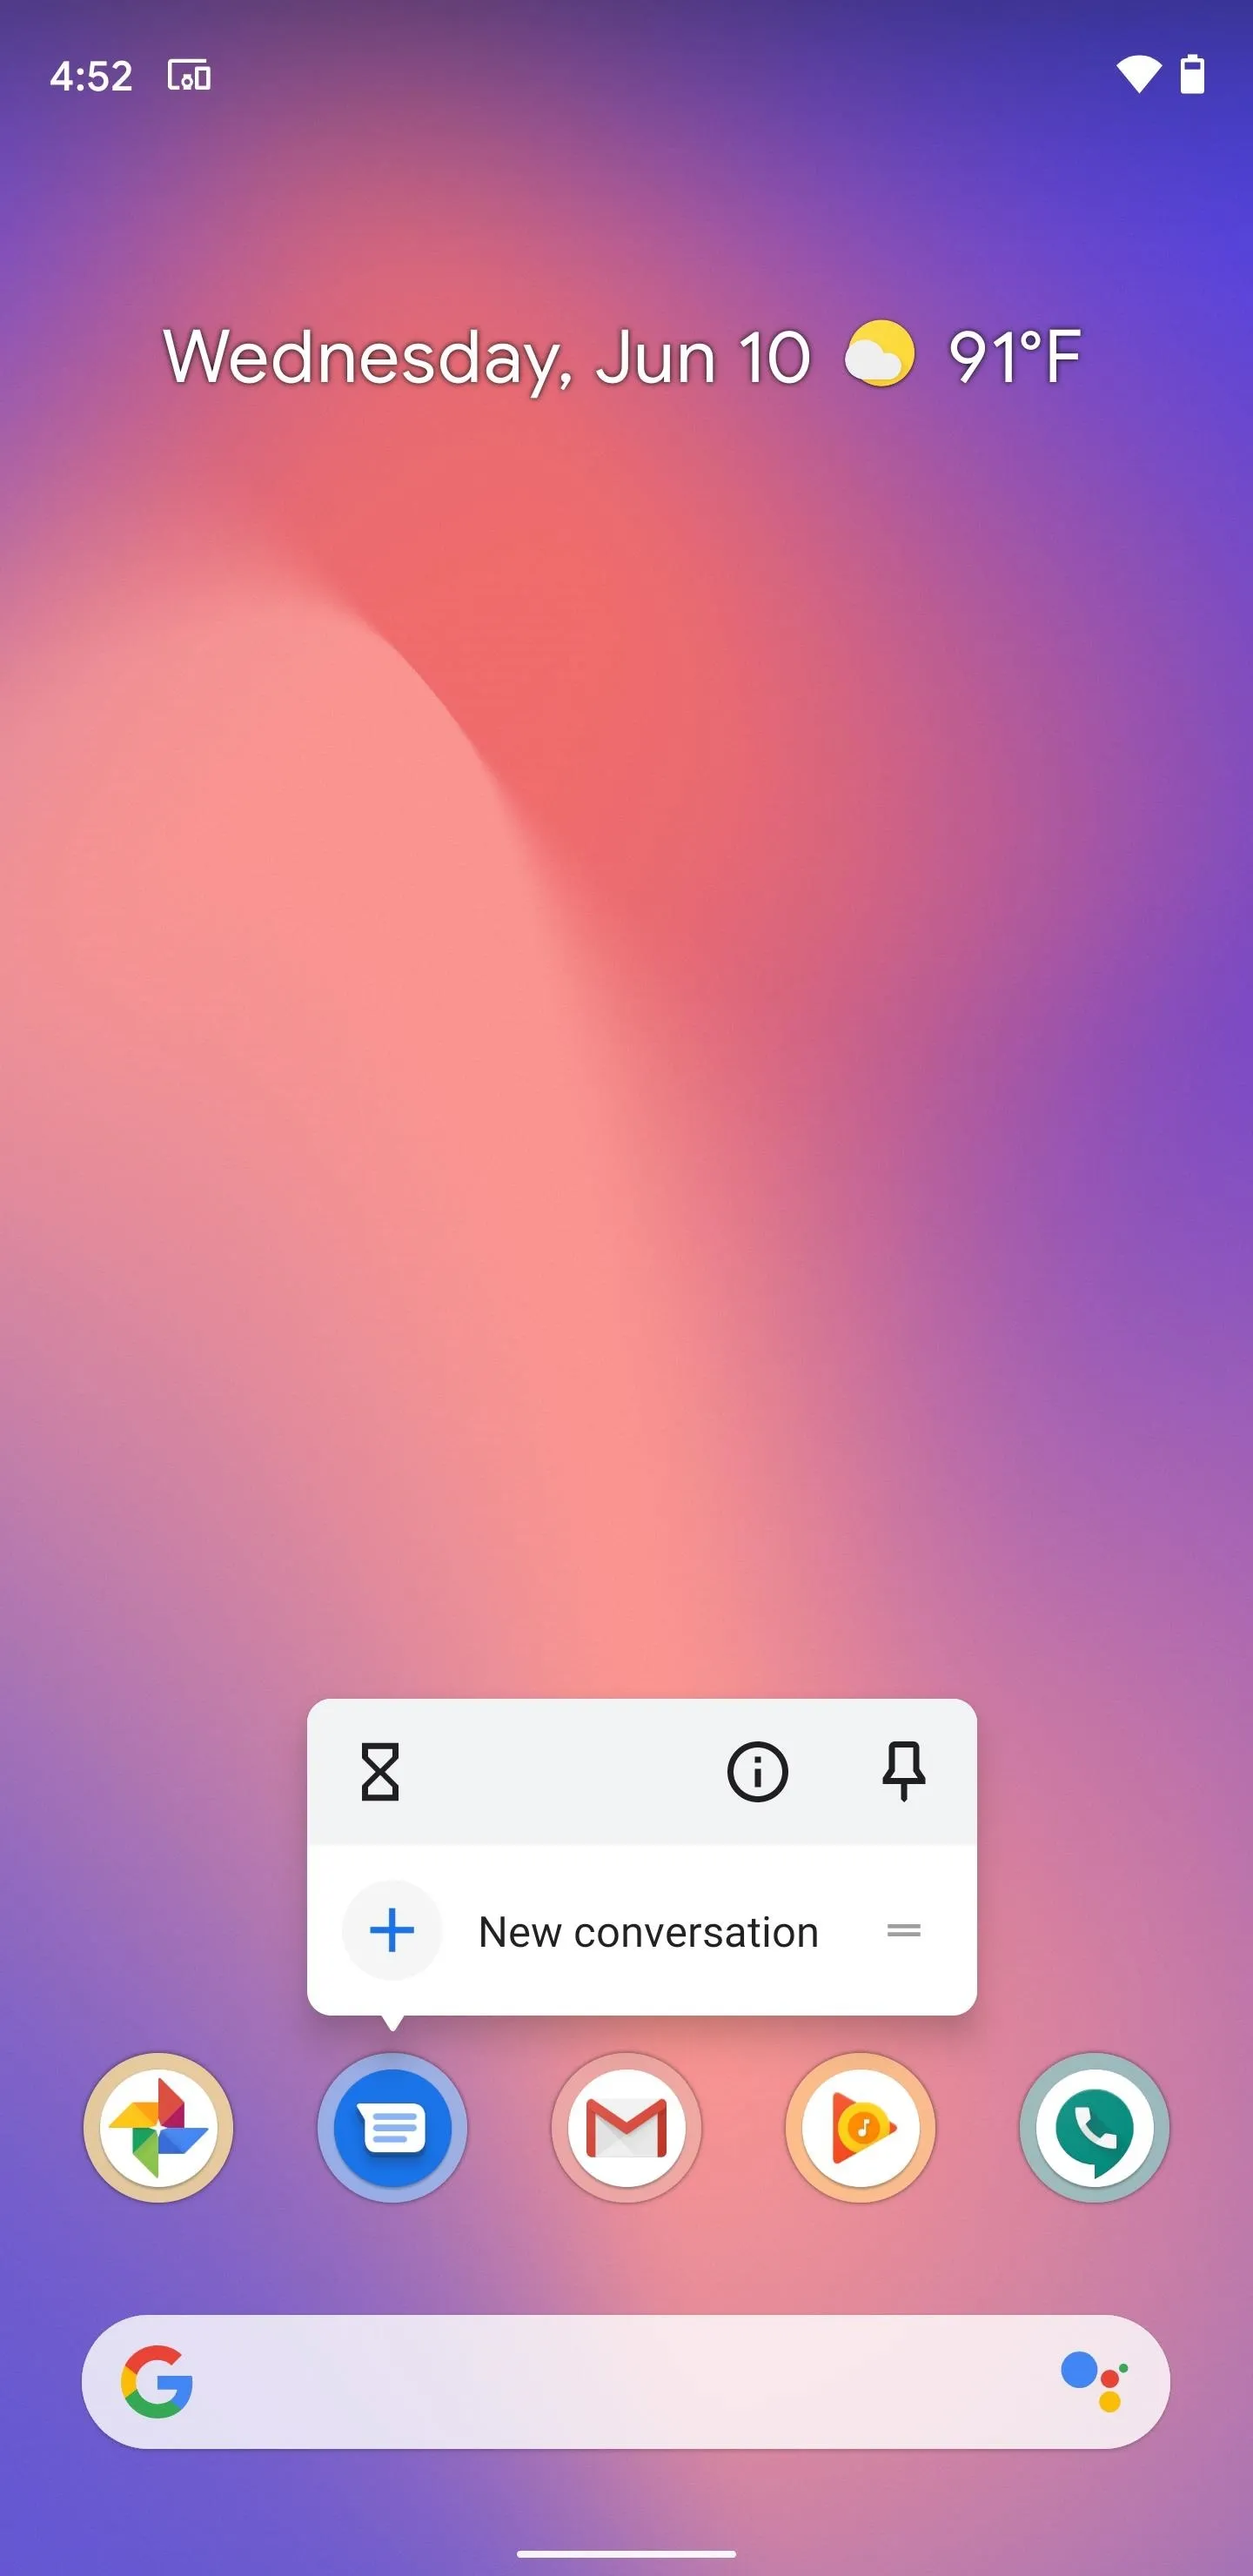
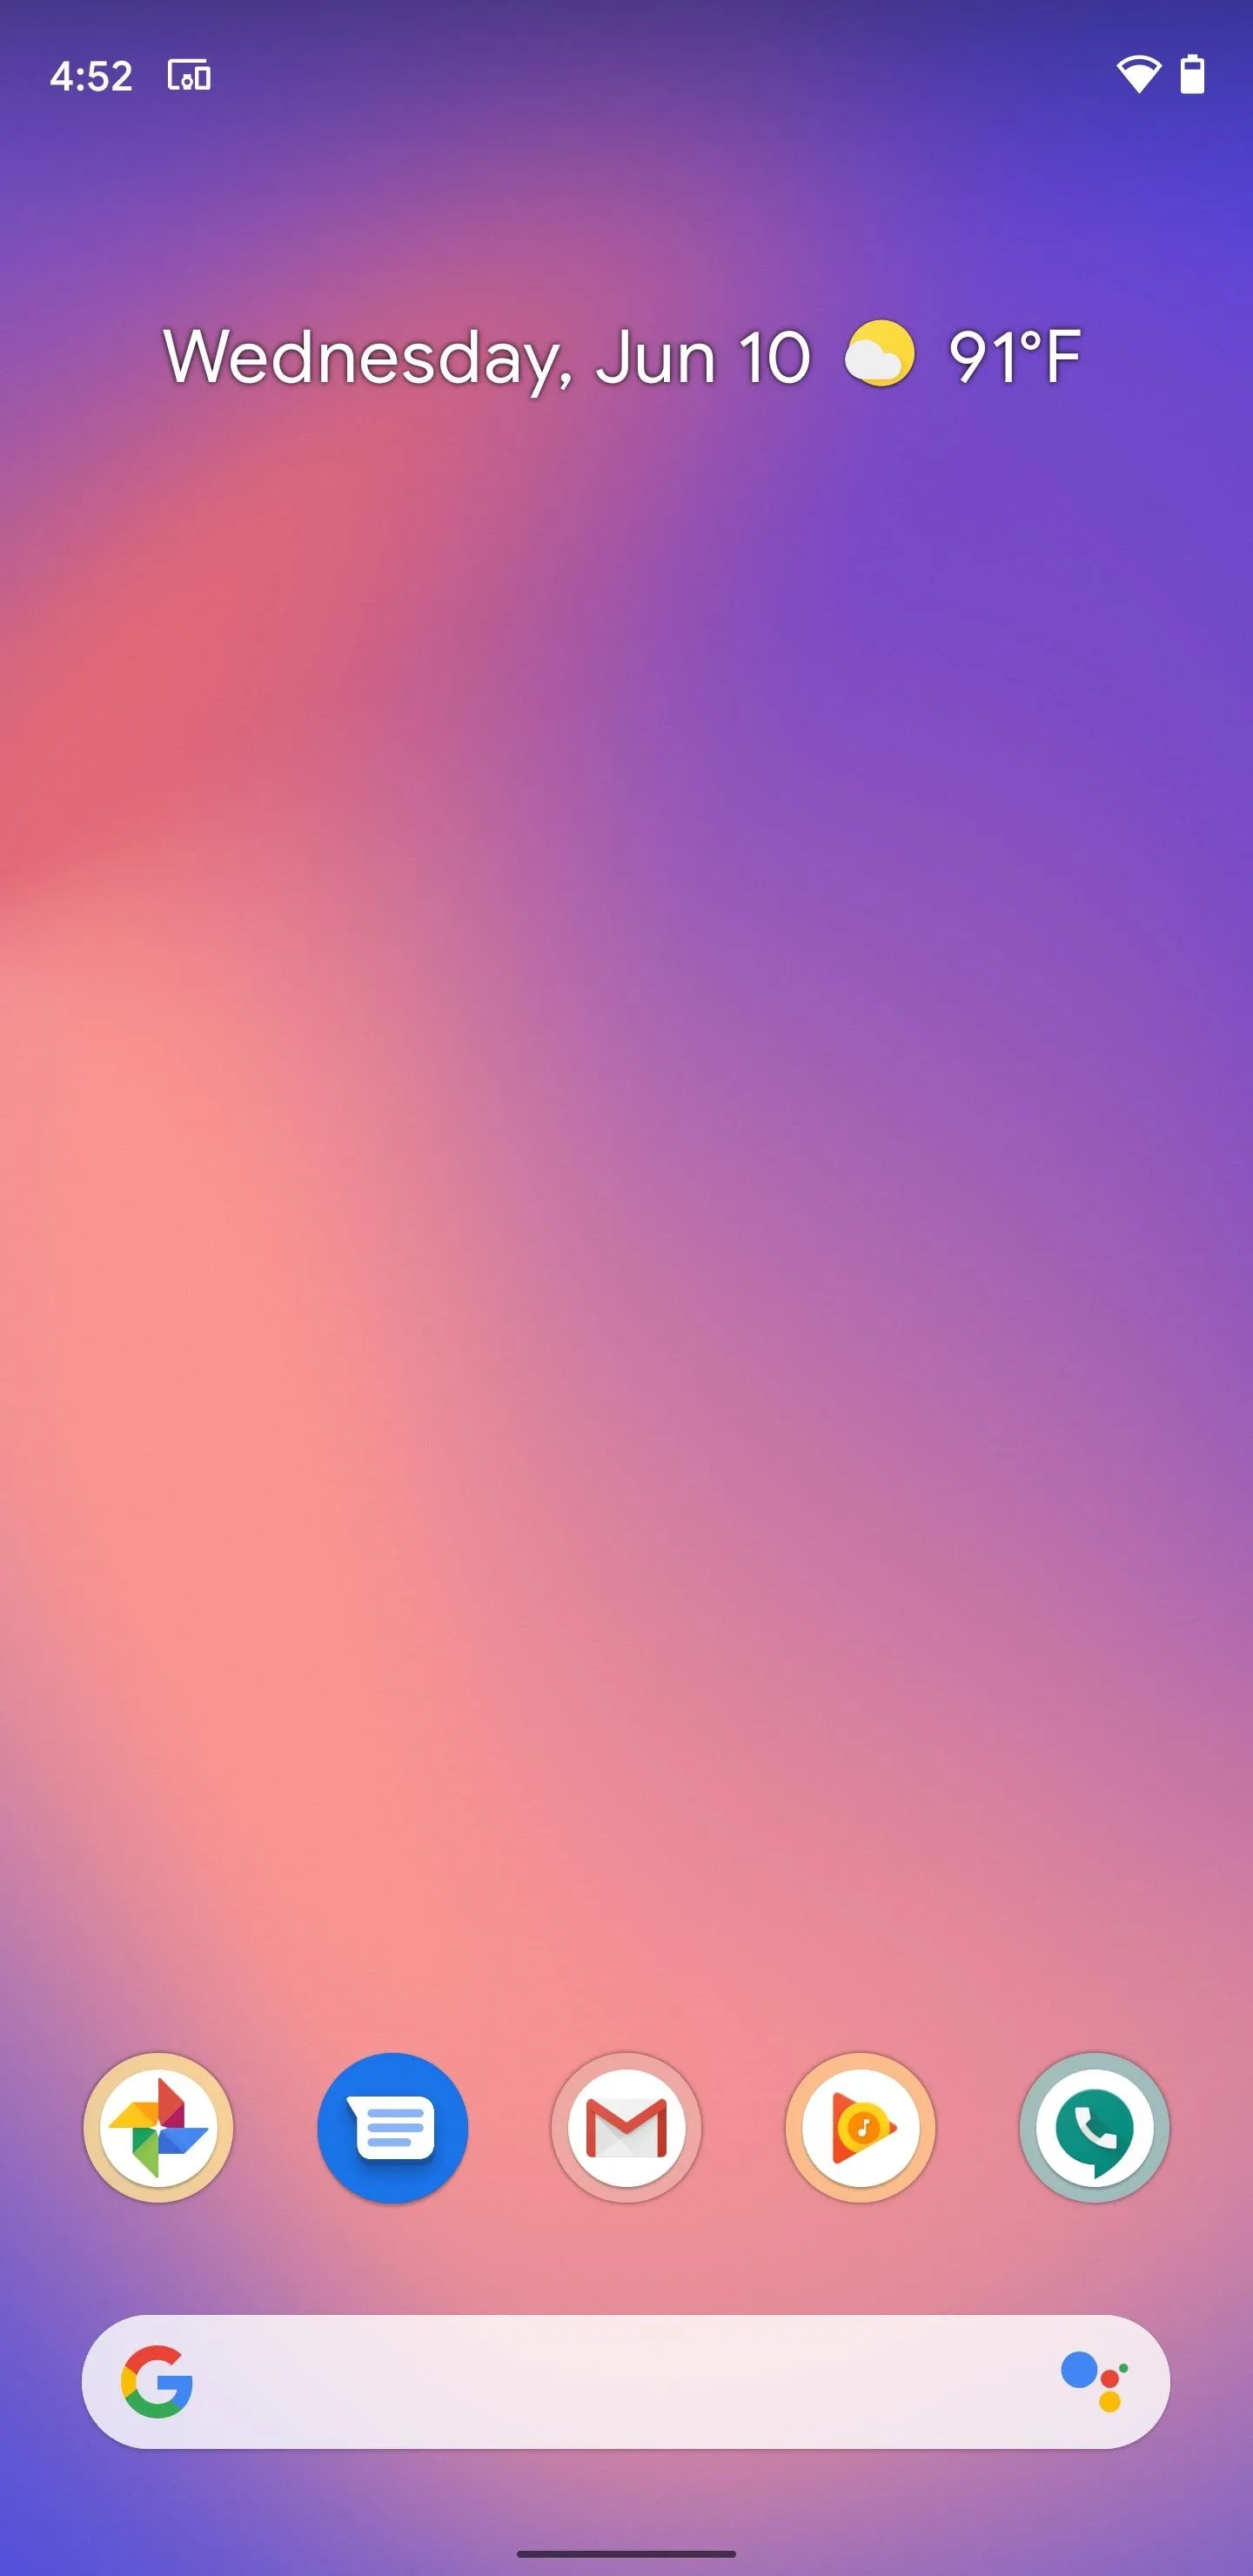
On the home screen, long-press the app you want to keep in the dock. In the popup menu, tap the pin icon. This will convert the suggested app into a standard app shortcut. To undo this action, you'll need to hold and drag the app icon out of the dock to bring back an App Suggestions slot.


Exclude Apps from the Dock
There's another customization that's the exact opposite of pinning — you can also exclude apps from appearing in the dock.
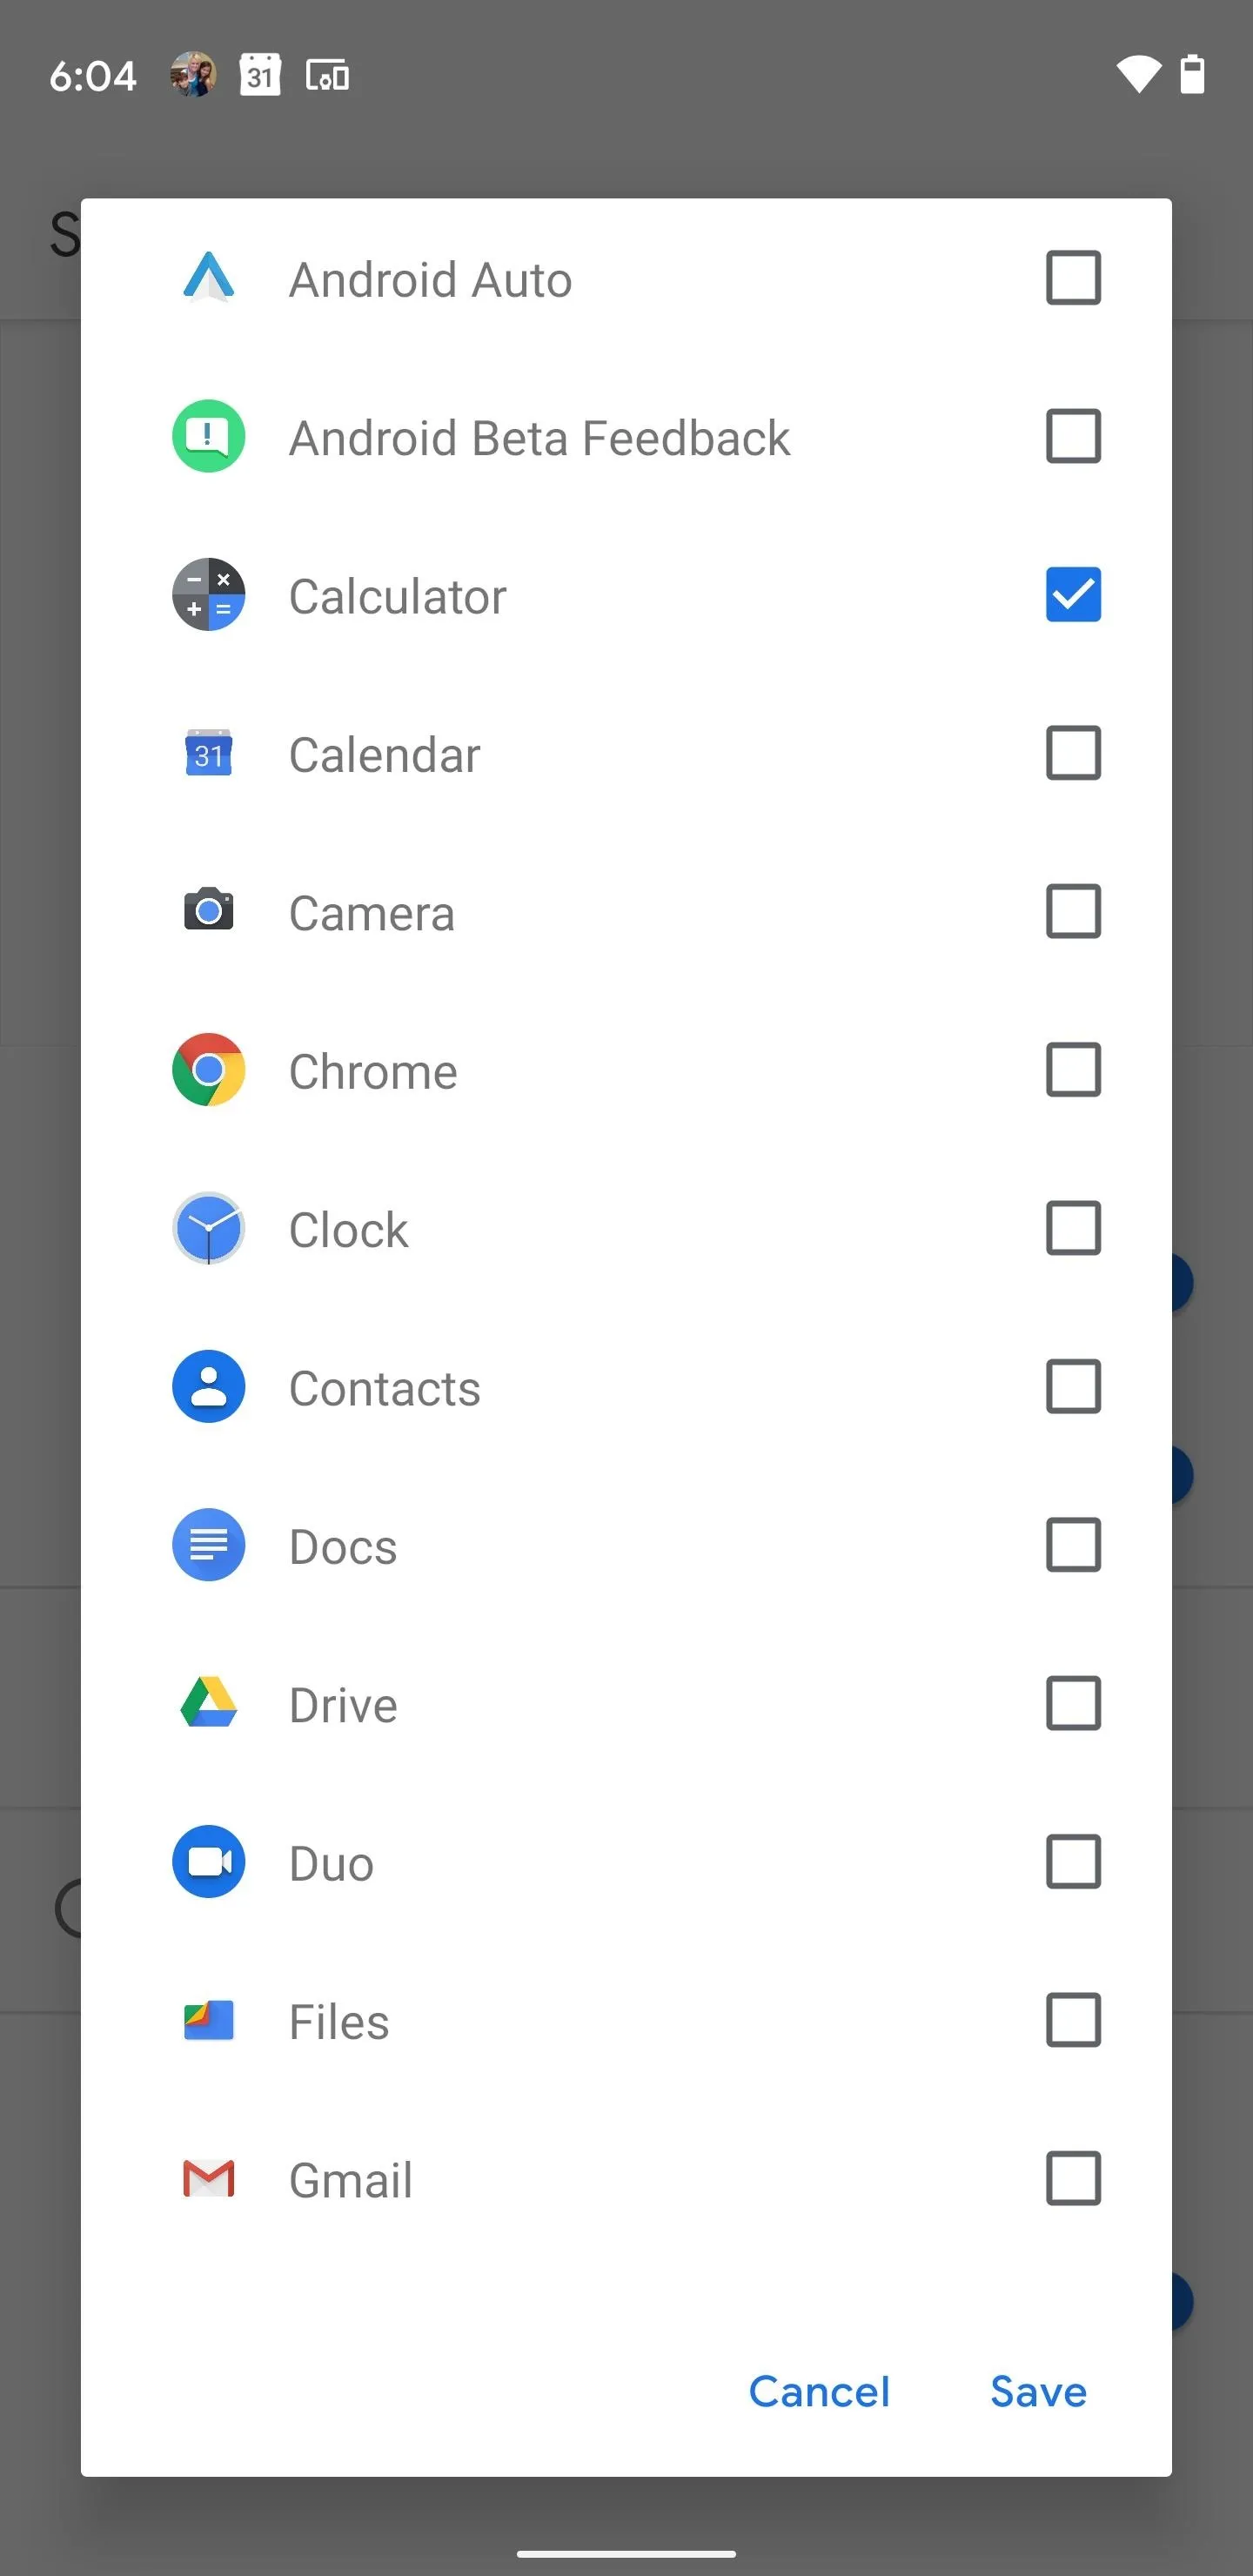
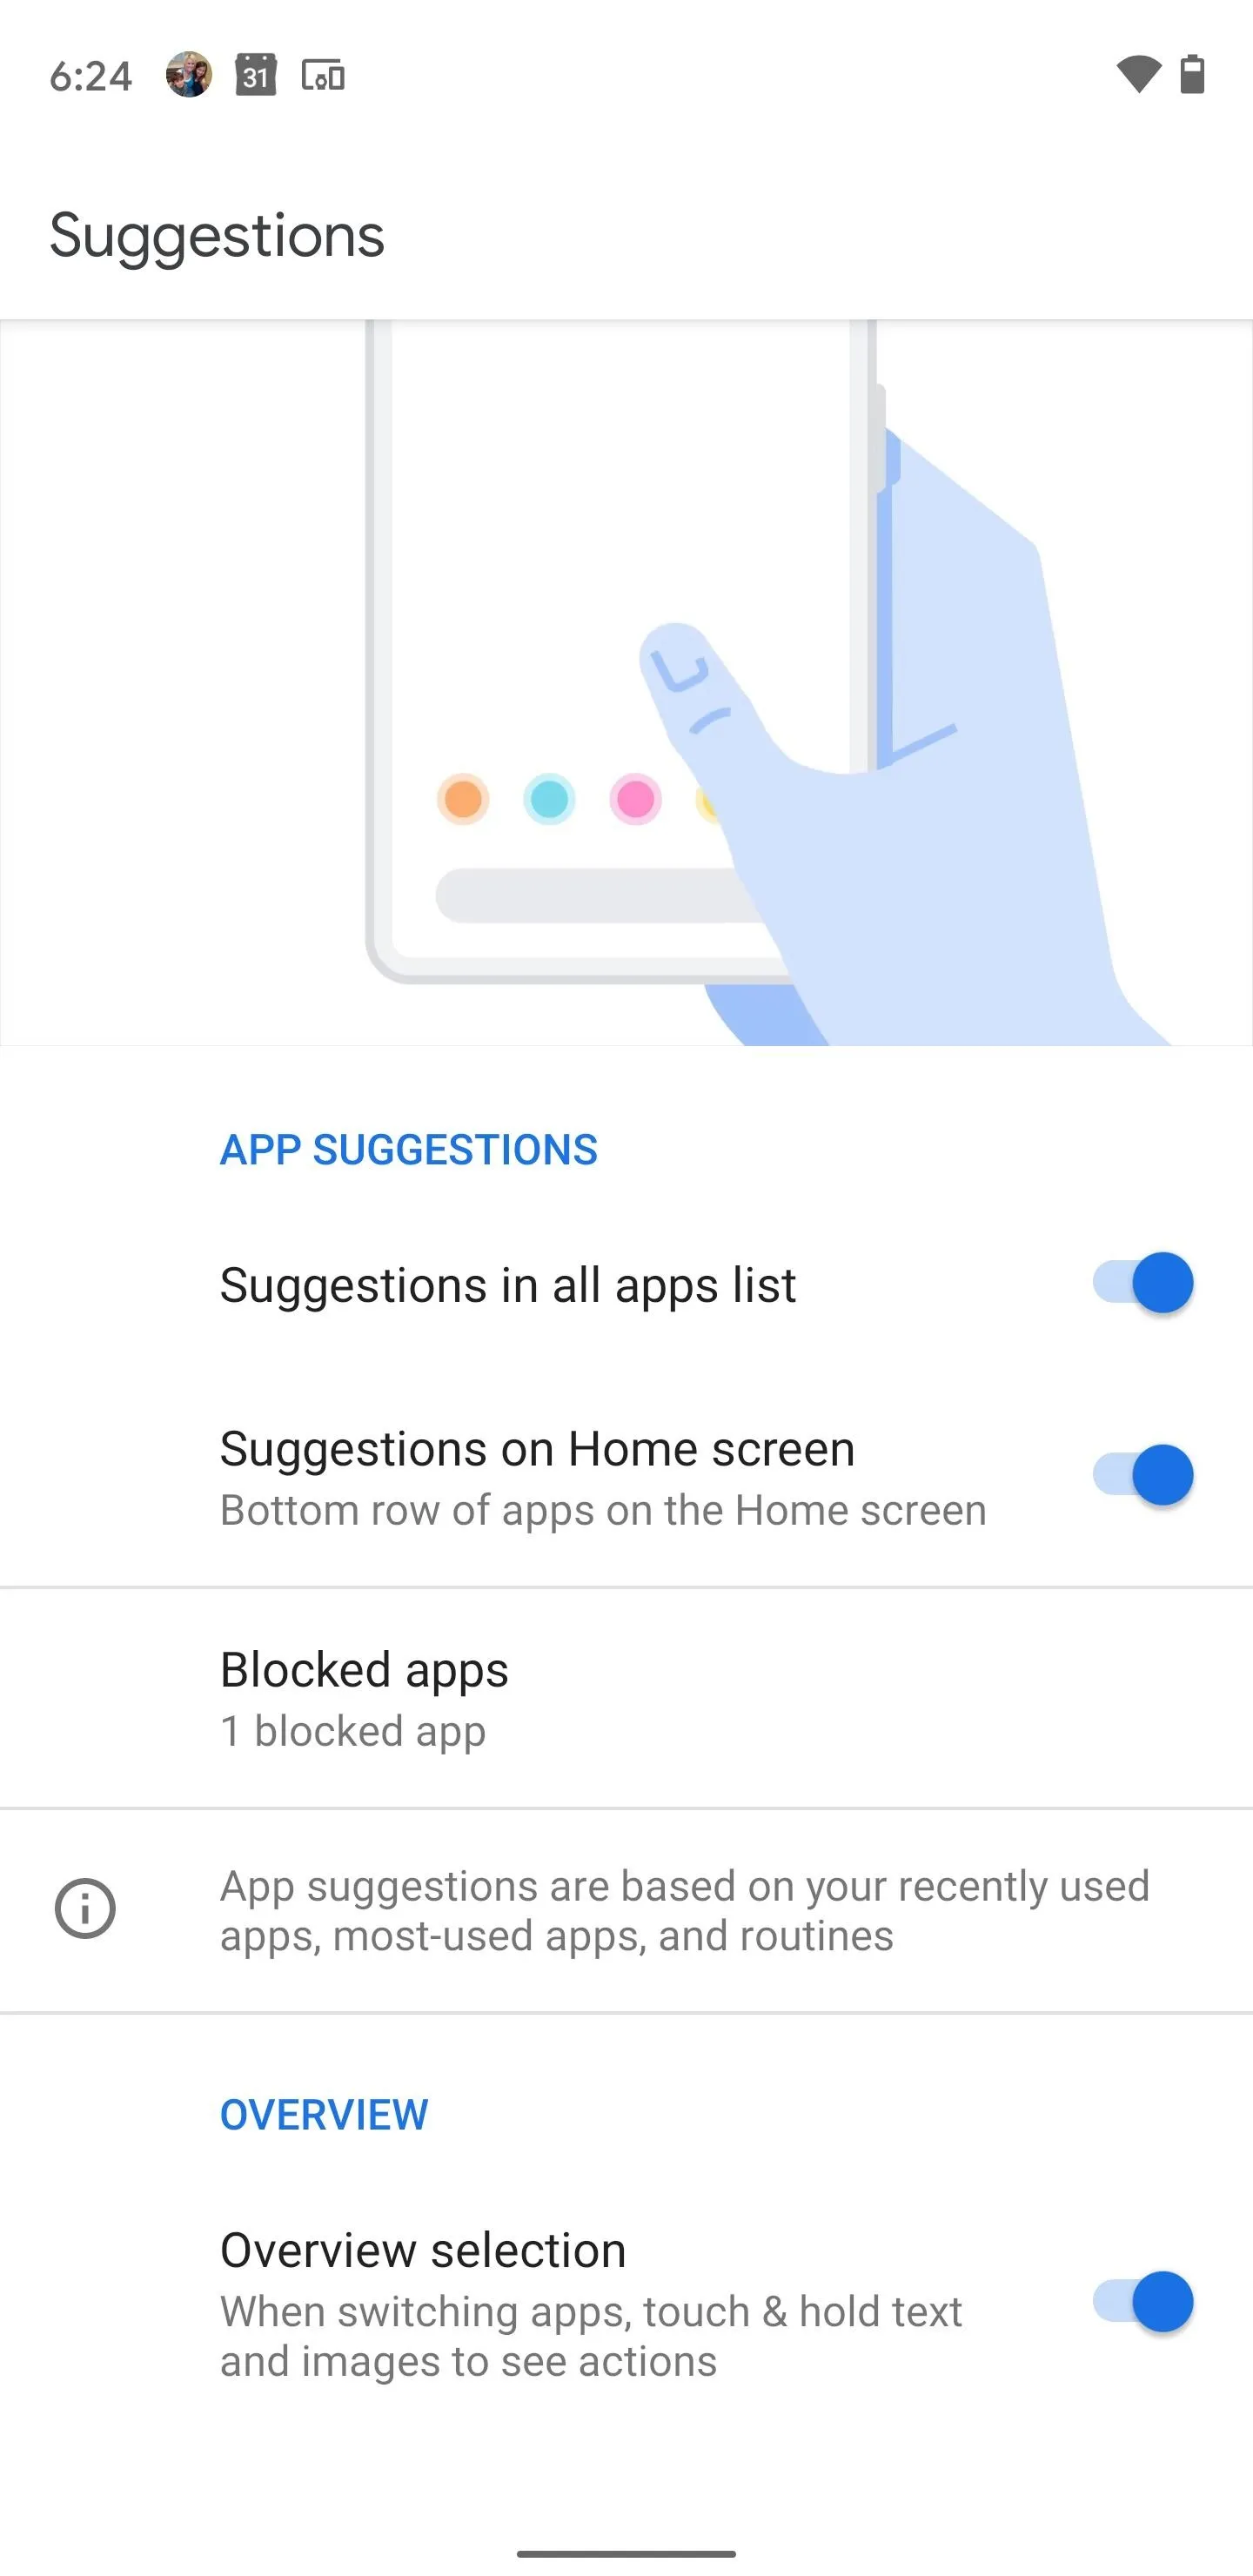
Return to the App Suggestions in Settings per Step 2. This time, look for the "Blocked apps" option and tap it to show a list of the apps on your device. Scroll to the app you want to exclude and tap it to place a check in the box next to its name. Repeat for any other apps you don't want to see in the contextual dock, then tap "Save."


A word of warning: customizing app shapes through Pixel's theming engine can break this feature. After moving to one of the newer shape options and turning App Suggestions off, I was unable to bring them back without restarting the device. I imagine this is a bug in the beta, but, for now, messing with this combination of settings will cause some inconvenience.
Cover image and screenshots by Tommy Palladino/Gadget Hacks













Comments
Be the first, drop a comment!