
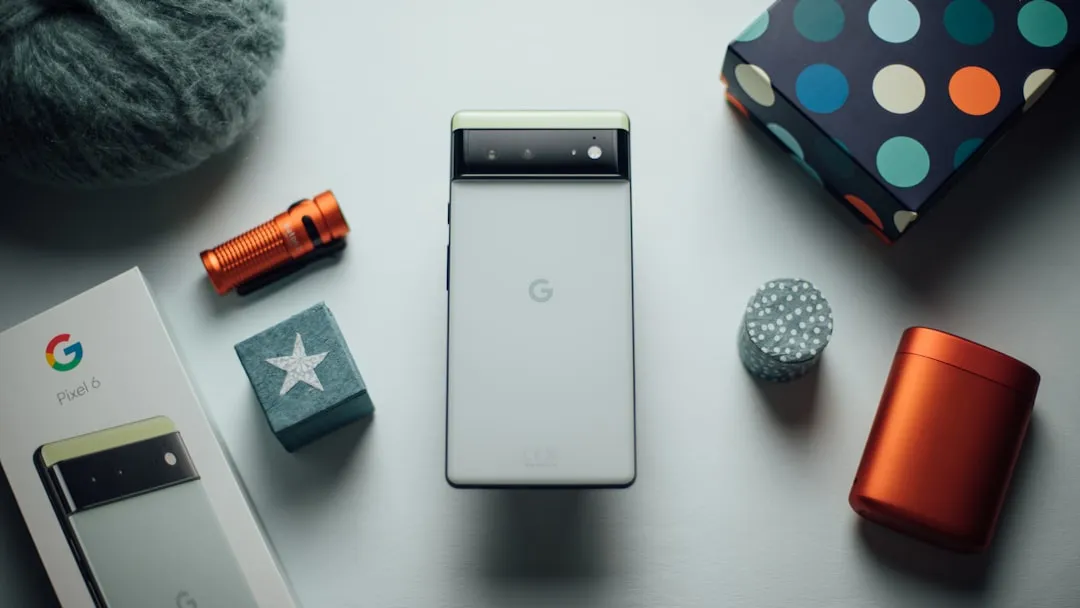
Android's settings menu is actually pretty daunting. There are options for nearly everything, so in the sea of various menus and submenus, it's easy to overlook important privacy and security settings. On Google's Pixel phones in particular, there are 20 such settings that you should double check.
All of these options can be found in the main Settings app that you can access from your app drawer. I'll include instructions on where to find them in the dark gray code boxes below, but if you're unfamiliar with the structure of those instructions, it simply represents which options you should tap, in order. For example, the first menu can be found by opening Settings, selecting "Apps & Notifications," then tapping "Advanced" and choosing "App Permissions."
Jump to a section:App Access | Pixel Features | Anti-Theft Options | Google Features
1. App Permissions
Most apps will explicitly ask for your permission to access sensors and data from your phone, but older apps can still batch-request access when you're installing them. This all-or-nothing approach means you have to either grant every permission the app wants, or simply not install it in the first place. Luckily, there's a way to revoke these permissions after the fact.
Settings > Apps & Notifications >
Advanced > App Permissions
The above menu is organized by permission type, so you'll see entries like "Camera," "Location," and "Microphone." If you're worried about any of your apps having access to one of these, select the feature from the list. You'll then see all of the apps that can access this information or sensor — just turn off the toggle switch next to any of these entries to prevent future access.
- More Info: How to Manage App Permissions on Android
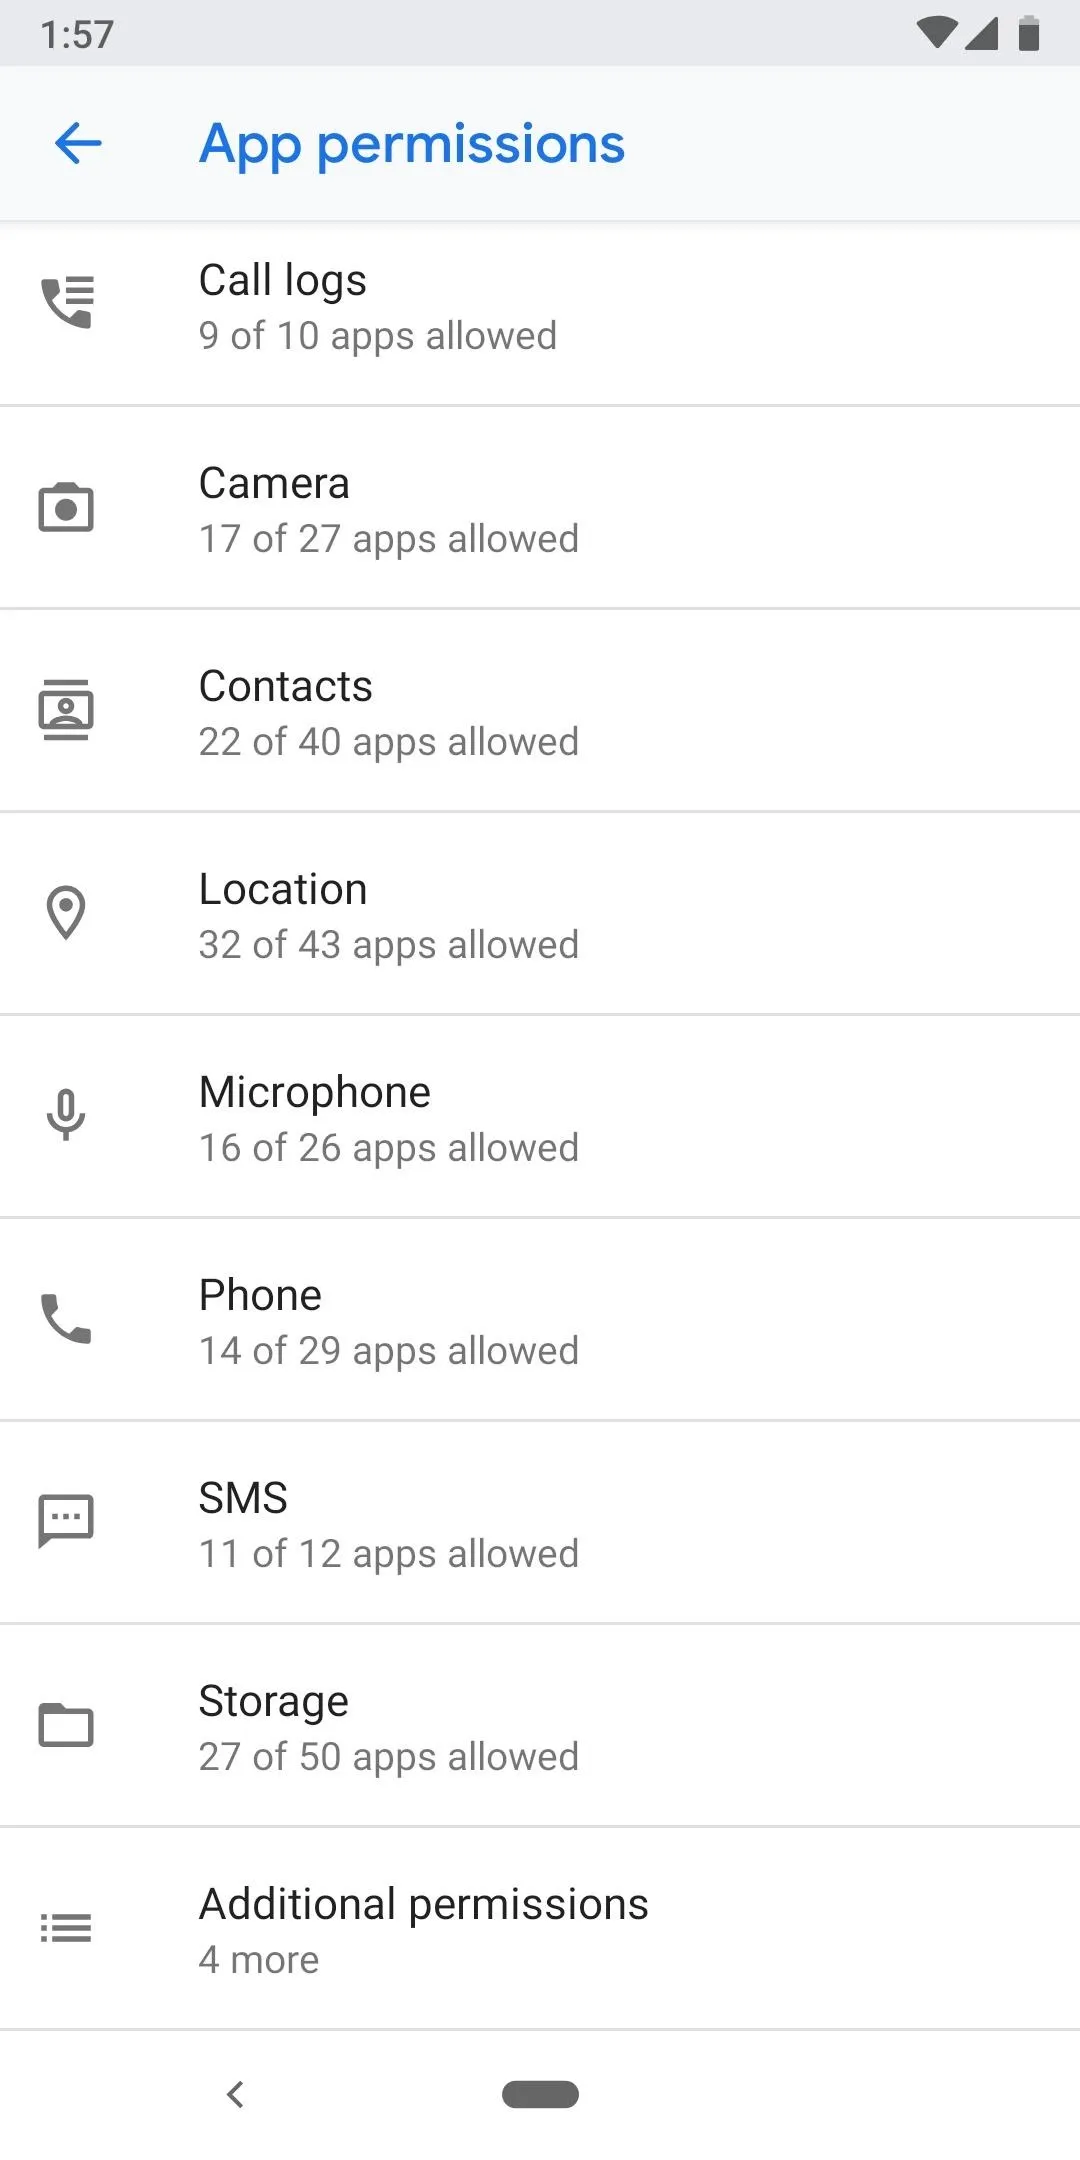
Revoking Gboard's microphone access through the App Permissions menu.
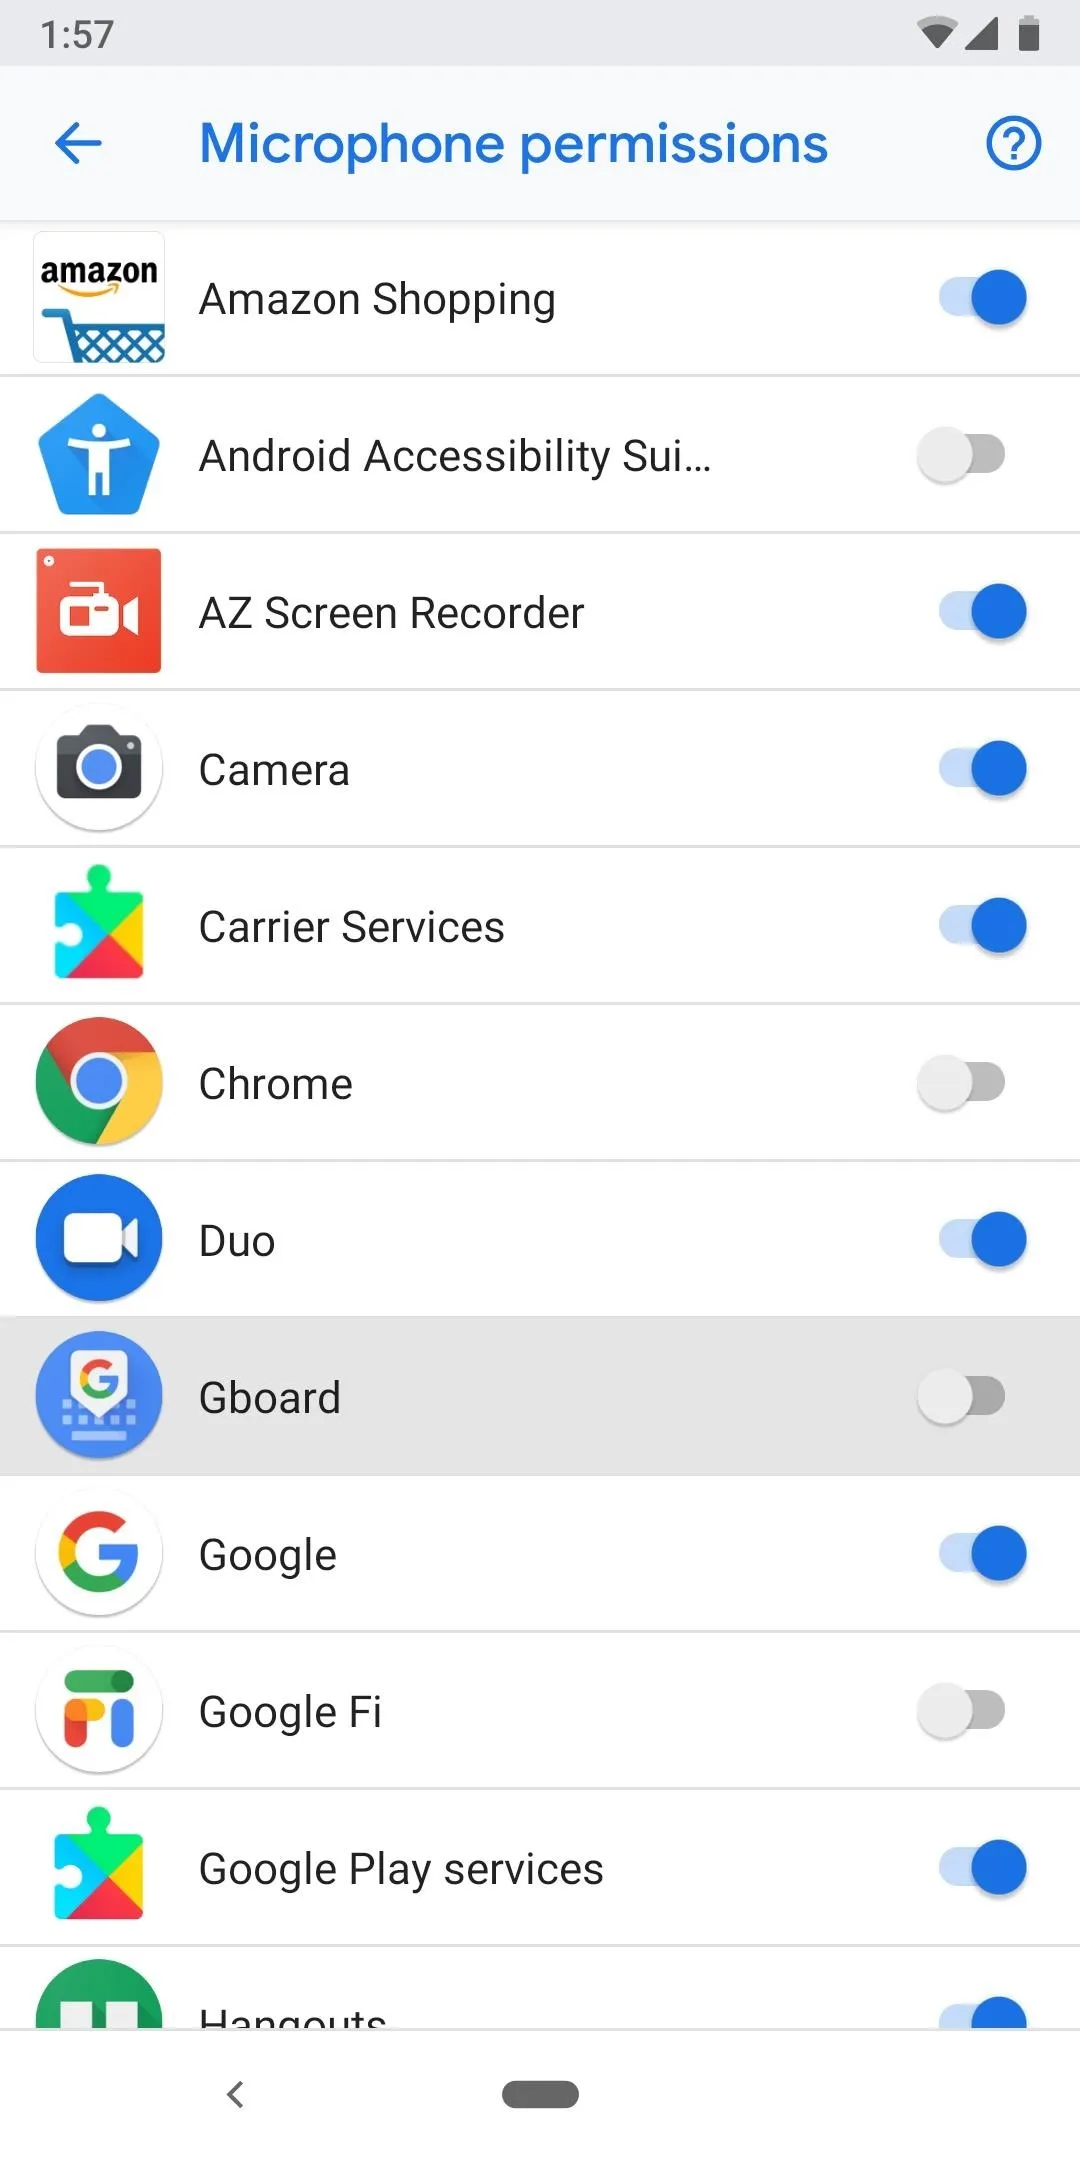

Revoking Gboard's microphone access through the App Permissions menu.

Note that some features in apps may be broken if you revoke access to a certain sensor (e.g., navigation wouldn't work in a maps app that couldn't access your location). If this is the case, most apps will simply request access to the sensor again when it's needed. However, older apps may not, in which case the feature would appear to be broken. To fix such an app, restore access to the permission from the same menu where you revoked it — but before doing so, consider finding an alternative app that uses Android's newer permission system properly.
2. Device Admin Apps
Device Admin apps have access to an Android API that can be used to do things like remotely wipe the device or enforce policies for exchange emails. For best security, you should only allow email apps, payment apps, remote security apps (e.g., Cerberus or Google's Find My Device), or apps provided by your employer on a company-issued phone to have this access.
Settings > Apps & Notifications >
Advanced > Special App Access >
Device Admin Apps
Go through this list and disable the toggle next to any third-party app that may have it enabled. You should leave the Google apps enabled here (Find My Device, Google Pay) to maintain functionality, though if you really want to be careful, you can disable these too — just know that you'll lose the ability to remotely lock and wipe your phone if it gets stolen, and contactless payment may no longer work.
3. Display Over Other Apps
This permission allows apps to show elements over top of other apps (think Facebook Chat Heads bubbles or the floating controls that appear when you press your home button while you're in a phone call). While this may seem innocent, malicious apps could potentially use this permission to trick you into pressing a button in another app that you didn't intend to tap — for instance, drawing a fake "Cancel" button over an "Install" button.
Settings > Apps & Notifications >
Advanced > Special App Access >
Display Over Other Apps
Take a look at each app in this menu, but pay closer attention to any third-party apps (i.e., apps you installed yourself). If you don't think an app should have this permission, or even if you just have doubts, select it from the list, then disable the toggle next to "Allow display over other apps" on the following screen.
4. Modify System Settings
To appease power users by giving apps like Tasker more capabilities, there's a permission called "Modify System Settings" that can be granted. If an app has this permission, it can change Android options like your screen timeout duration. Understandably, this permission has the potential to be abused.
Settings > Apps & Notifications >
Advanced > Special App Access >
Modify System Settings
Open the above menu and go through the list. If any third-party apps are shown and you're not completely sure if the app should have this permission, select it, then disable the toggle next to "Modify System Settings" on the following page.
5. Notification Access
Another setting that benefits certain, more powerful apps is the "Notification Access" permission. This one allows apps to read all of your notifications, dismiss them, or trigger any action buttons they may contain. There are plenty of legitimate uses for this permission, but a malicious app could abuse it by reading the actual contents of your notifications.
Settings > Apps & Notifications >
Advanced > Special App Access >
Notification Access
Again, it's best to take the prophylactic approach here. Open the above menu and look for any third-party (non-Google) apps, then disable the toggle next to them if you don't explicitly trust the app's developer. If you notice any issues with notifications from this app going forward, you may want to consider re-enabling this permission for that specific app.
6. Install Unknown Apps
Android Oreo changed the way we sideload apps. Instead of having one setting that allowed or denied the ability to install apps from outside of the Google Play Store, it's now a permission that is granted to individual apps. For instance, say you download an APK using Chrome — you'll have to grant Chrome the ability to "Install Unknown Apps" before opening the APK. This is done to ensure that apps don't go rogue and download malware apps to your device.
Settings > Apps & Notifications >
Advanced > Special App Access >
Install Unknown Apps
Evaluate all of the apps in the above menu. If you don't see yourself sideloading an APK that you downloaded with one of these apps, select it, then disable the toggle next to "Allow from this source." If you're unsure in any way, disable this permission for each app shown, because even if you disable it for an app you shouldn't have, you'll simply be prompted to re-enable it the next time you go to sideload an app.
7. Usage Access
Usage access allows an app to track what other apps you're using and how often, as well as your carrier, language settings, and other details. While this can be useful for specialized apps, it can be harmful if the permission falls into the wrong hands.
Settings > Apps & Notifications >
Advanced > Special App Access >
Usage Access
Scroll through the list in the above menu. Things like Digital Wellbeing, Device Health Services, Google Play Services, and other stock apps should be left alone to ensure proper functionality, but most third-party apps can safely be disabled here. To do so, select the app from this list, then tap the toggle switch next to "Permit usage access."
8. Wi-Fi Control
The Wi-Fi Control permission allows apps that have been granted it to "turn Wi-Fi on or off, scan and connect to Wi-Fi networks, add or remove networks, or start a local-only hotspot." While helpful in some niche cases, a malicious app could easily use the Wi-Fi scanning feature to track your location, even without GPS permission.
Settings > Apps & Notifications >
Advanced > Special App Access >
Wi-Fi Control
Scan the list of apps in the above menu. If any are from a developer that you don't explicitly trust, select them, then disable the "Allow app to control Wi-Fi" toggle.
9. Now Playing
This one falls under the privacy category, but to be honest, it isn't a true privacy issue. Pixels have a feature called Now Playing that automatically recognizes the names of most songs playing around you, then shows you the title and artist name on the Ambient Display and in the notification panel.
This means your phone is always listening to the world around it, which is where privacy comes into play. But Google was aware this might be a concern, so they built Now Playing to operate entirely on the device, meaning what it hears is never sent over the internet and no actual recordings are ever made. Still, if this makes you feel uneasy, you may want to disable it.
Settings > Sound > Now PlayingFrom the above menu, simply disable the toggle next to "Show songs on lock screen" and Now Playing will be turned off. You can take it a step further by tapping "Now Playing history," then selecting "Remove all" from the overflow menu in the top-right corner — this will delete the stored history of songs recognized by Now Playing.
10. Google Play Protect
Your Pixel has a built-in virus scanner called Google Play Protect. It scans all apps on your phone for malicious code and alerts you when an app you have installed is potentially harmful. This all happens automatically, although you can trigger a manual scan from the "My Apps" section in the Play Store.
Settings > Security & Location >
Google Play Protect
From the above menu, make sure "Scan device for security threats" is enabled to ensure you get the automatic antivirus scanning. The other setting on this page can go either way: "Improve harmful app detection." If this is turned off, Android's built-in antivirus will be a little less effective for everyone, but if it's turned on, apps you install from outside of the Play Store will be logged and analyzed, and this analysis will be sent to Google.
11. Find My Device
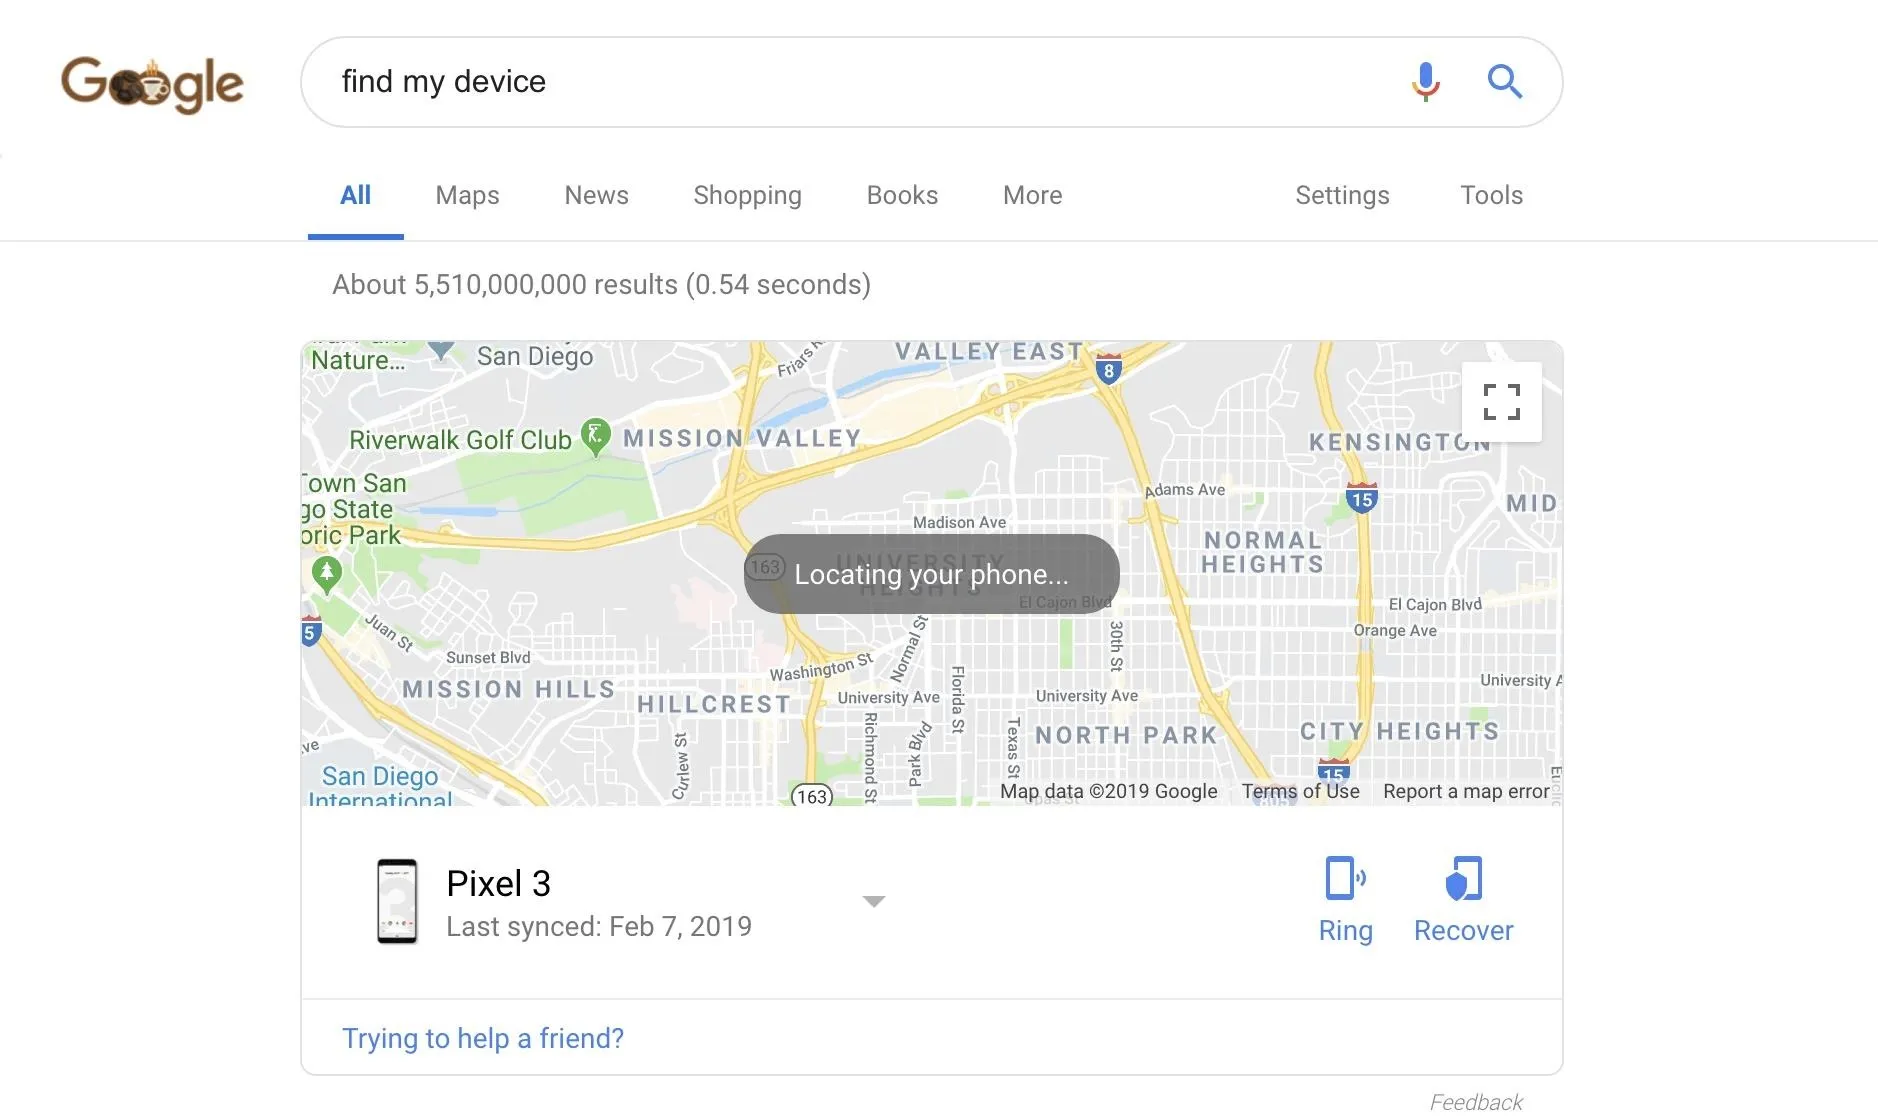
If your phone is ever lost or stolen, Google's Find My Device will let you locate it, trigger the ringer at full volume, remotely sign out of your accounts, or even wipe the internal storage to protect your data.
Settings > Security & Location >
Find My Device
From the above menu, make sure the toggle at the top of the screen is turned on. With that done, you'll be able to access the Find My Device tools by installing the app on another device, visiting the website, or simply typing "find my device" into Google search on any device or browser.
12. Screen Lock
If you don't have a screen lock set up, you should absolutely change that now. If your phone is ever lost or stolen, a screen lock is the only thing separating a would-be thief from all of your personal information. From the menu below, make sure to choose either "Password," "Pattern," or "PIN," then follow the prompts to set the feature up.
Settings > Security & Location > Screen Lock13. Location
Even the most seemingly innocuous data is valuable to advertising companies. If they can compile it, they can pick out a pattern that can be used to deliver better-targeted ads. So even if you don't go anywhere of note, you should still be cautious about what entities have access to your location data.
Settings > Security & Location > LocationStart by tapping "Advanced" in the above menu. From there, choose "Scanning," then consider disabling both "Wi-Fi Scanning" and "Bluetooth Scanning." These features use geotagged location data of Bluetooth accessories or Wi-Fi routers around you to estimate your location, even if GPS is turned off. While this helps your device find its location without using as much power as GPS, if you don't want any apps knowing your location, turn off both of these in addition to the main toggle at the top of the "Location" screen.
14. Google Location Services
You own a Google phone, so chances are, you trust Google. At the same time, this doesn't mean you have to put up with all of the data gathering they do. For instance, depending on your settings, they can store your location history, share your current location with your friends or family, and use your device's sensors to improve Bluetooth- and Wi-Fi-based location scanning.
Settings > Security & Location >
Location > Advanced
Look for the "Location Services" section in the above menu. Select "Google Location Accuracy," and if you don't want Google to use your phone's sensors to improve their global location scanning, disable the toggle at the top of the screen (though note that your phone may use more battery in the future to get a location lock via GPS).
Next, back out to the same menu and select "Google Location History." If you don't want Google to save a copy of your location reports indefinitely, disable the "Location History" toggle on the next screen. Optionally, choose "Manage Activity" here to delete stored location history.
Finally, check the same menu for the "Google Location Sharing" setting. In here, you'll see other people that you've invited to see your location in Google Maps — similar to Apple's Find My Friends feature. If you don't want someone to be able to see your location anymore, simply tap the "X" next to their name here.
15. Reset Advertising ID
Your phone has a unique identifier that anonymously collects information about you. Google uses the data associated with this ID to serve you with more relevant ads in apps and on the web. While the data isn't personally identifiable, you can't do anything to prevent the data gathering. What you can do, however, is periodically reset this ID to a new random number, effectively deleting Google's ad-tracking data for your device.
Settings > Google > AdsVisit the above menu periodically — if you can swing it, once a month. From there, select "Reset Advertising ID," then tap "OK" on the popup.
16. Ads Personalization
In line with Tip 15 above, you can prevent apps on your phone from accessing your advertising ID by opting out of ads personalization. This doesn't prevent your ID from being used by Google to build a profile on you, so you should still periodically reset that identifier. What this does do, however, is prevent third parties from building their own ad profile on you by using your anonymous advertising ID.
Settings > Google > AdsFrom the above menu, tap "Opt Out of Ads Personalization" and make sure the toggle switch next to this entry is set to the "On" position. After that, simply tap "OK" on the popup.
17. App Preview Messages
This one's actually a really cool feature, but it has some minor privacy implications. Google created a system where, even if you don't have an app installed, you can still receive notifications from it. Called "App Preview Messages," the intended use is for things like Google Duo video calls or text messages. If someone using one of these services messages your phone number, you'll get the message as a notification and be invited to install the app.
Settings > Google > App Preview MessagesIf you don't like the potential for random unwanted messages, however, visit the above menu and disable the toggle switch at the top of the screen, then press "OK" on the popup.
18. Connected Apps
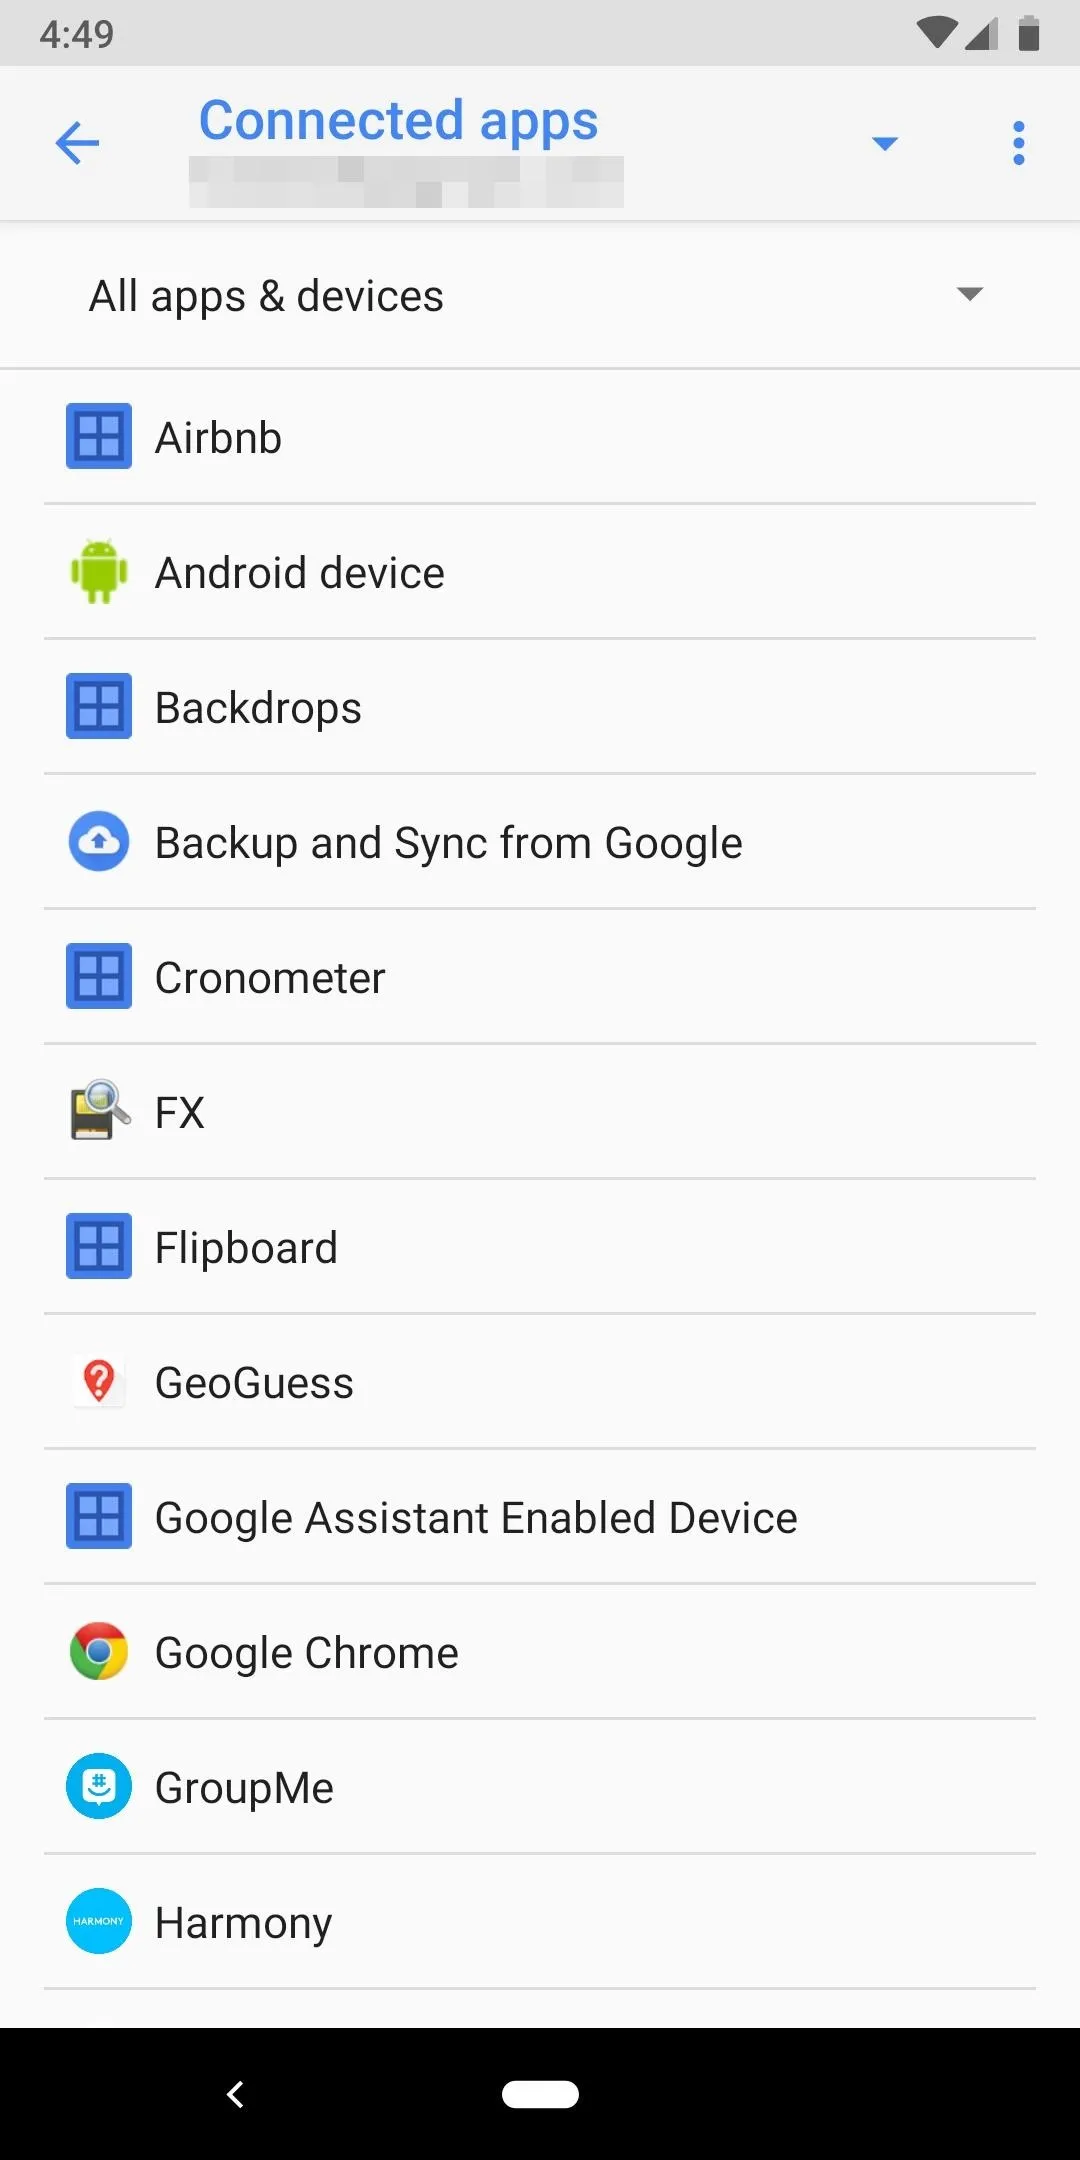
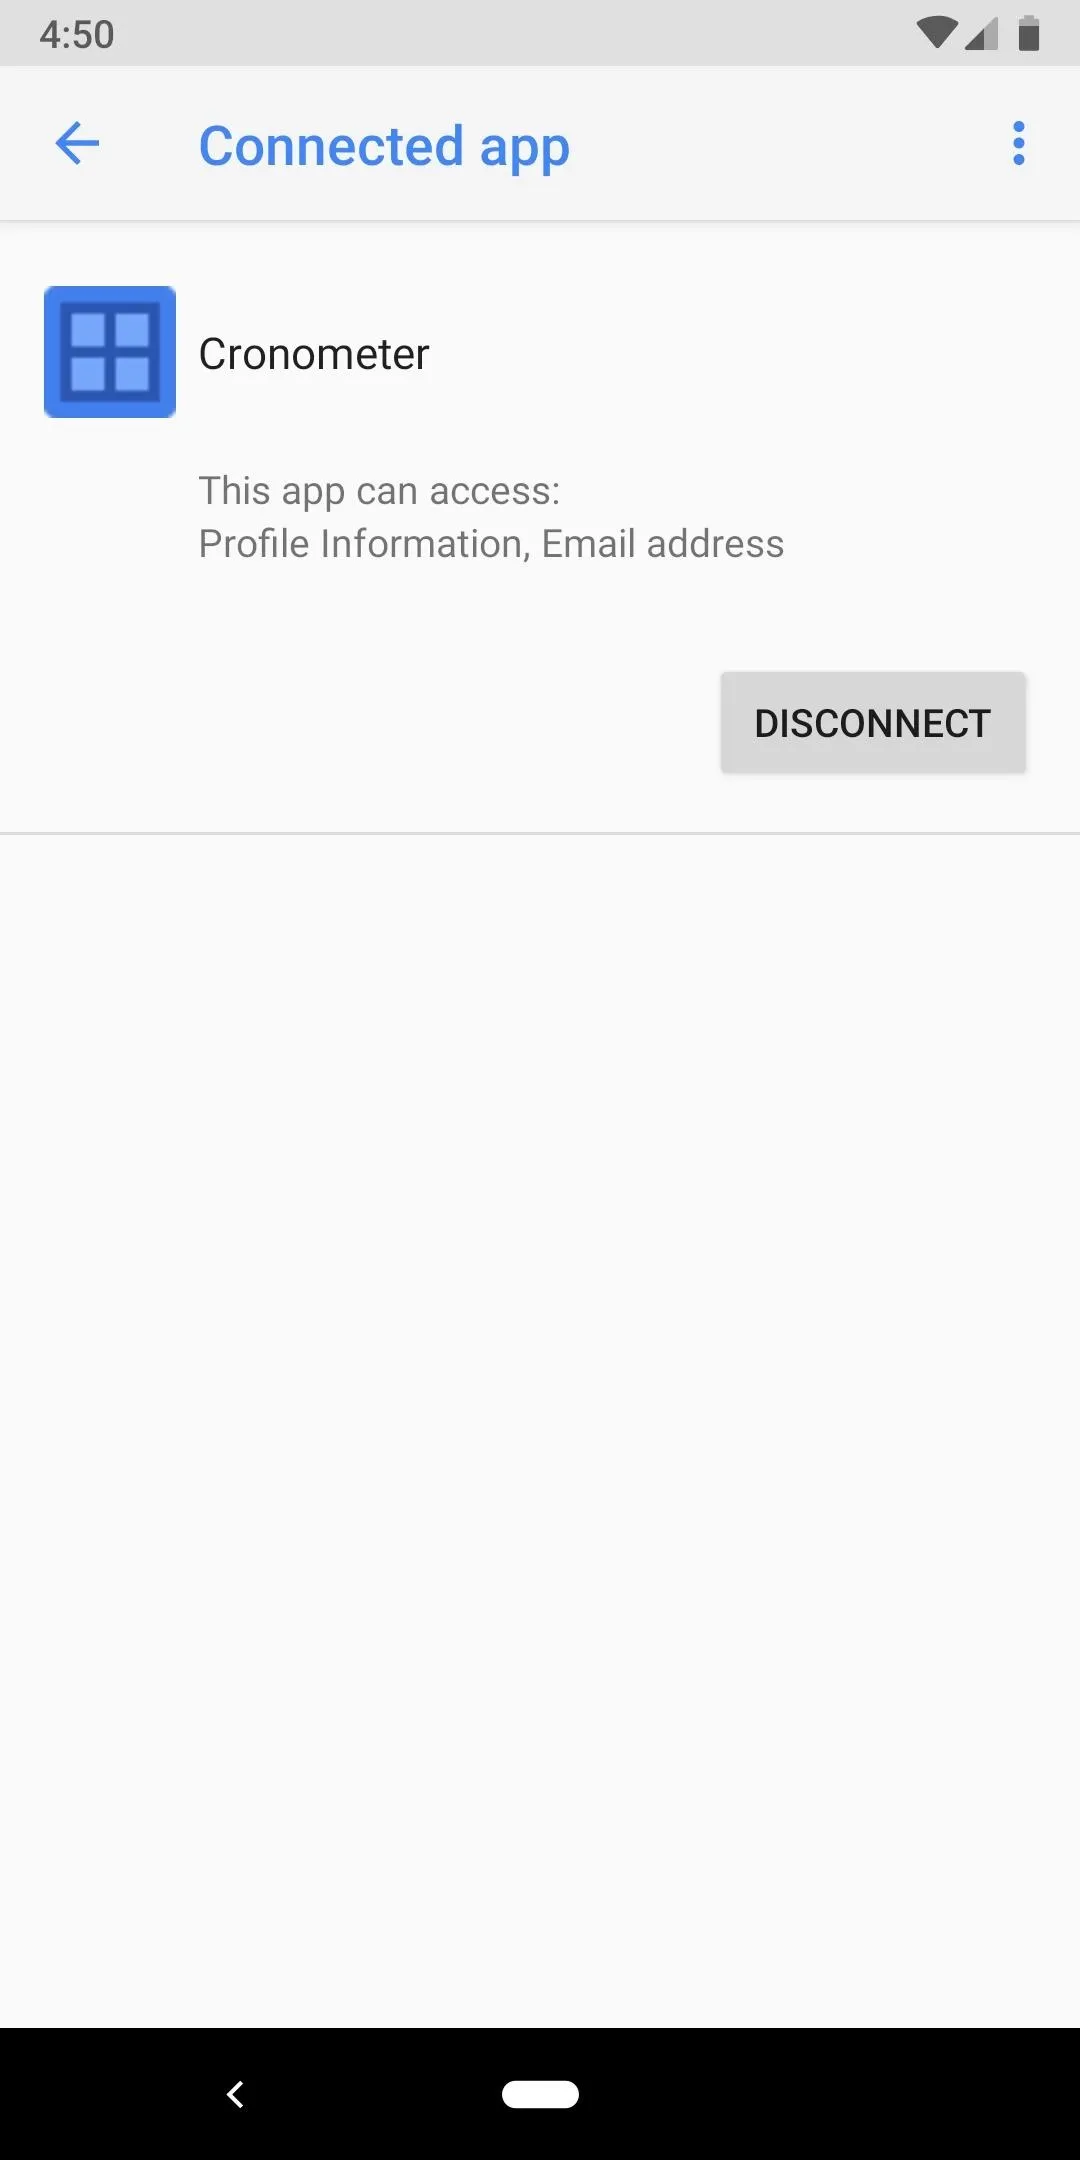
If you've ever used the "Sign in with Google" option when creating an account for a website or service, you've shared at least some basic information from your all-important Google account with a third party. Additionally, some services will even require access to your Google account in order to give you extra functionality. Every so often, you should do some spring cleaning of these connected apps.
Settings > Google > Connected AppsVisit the above menu and scroll through the list. One-by-one, select all of the apps, services, and websites that you don't use anymore, then tap "Disconnect" on the following screen and confirm your choice on the popup.
Repeat this process for any other entry in the list if you have even the slightest bit of doubt as to whether or not it should be able to access information from your Google account, such as your email address, name, and other personal information.


19. Nearby
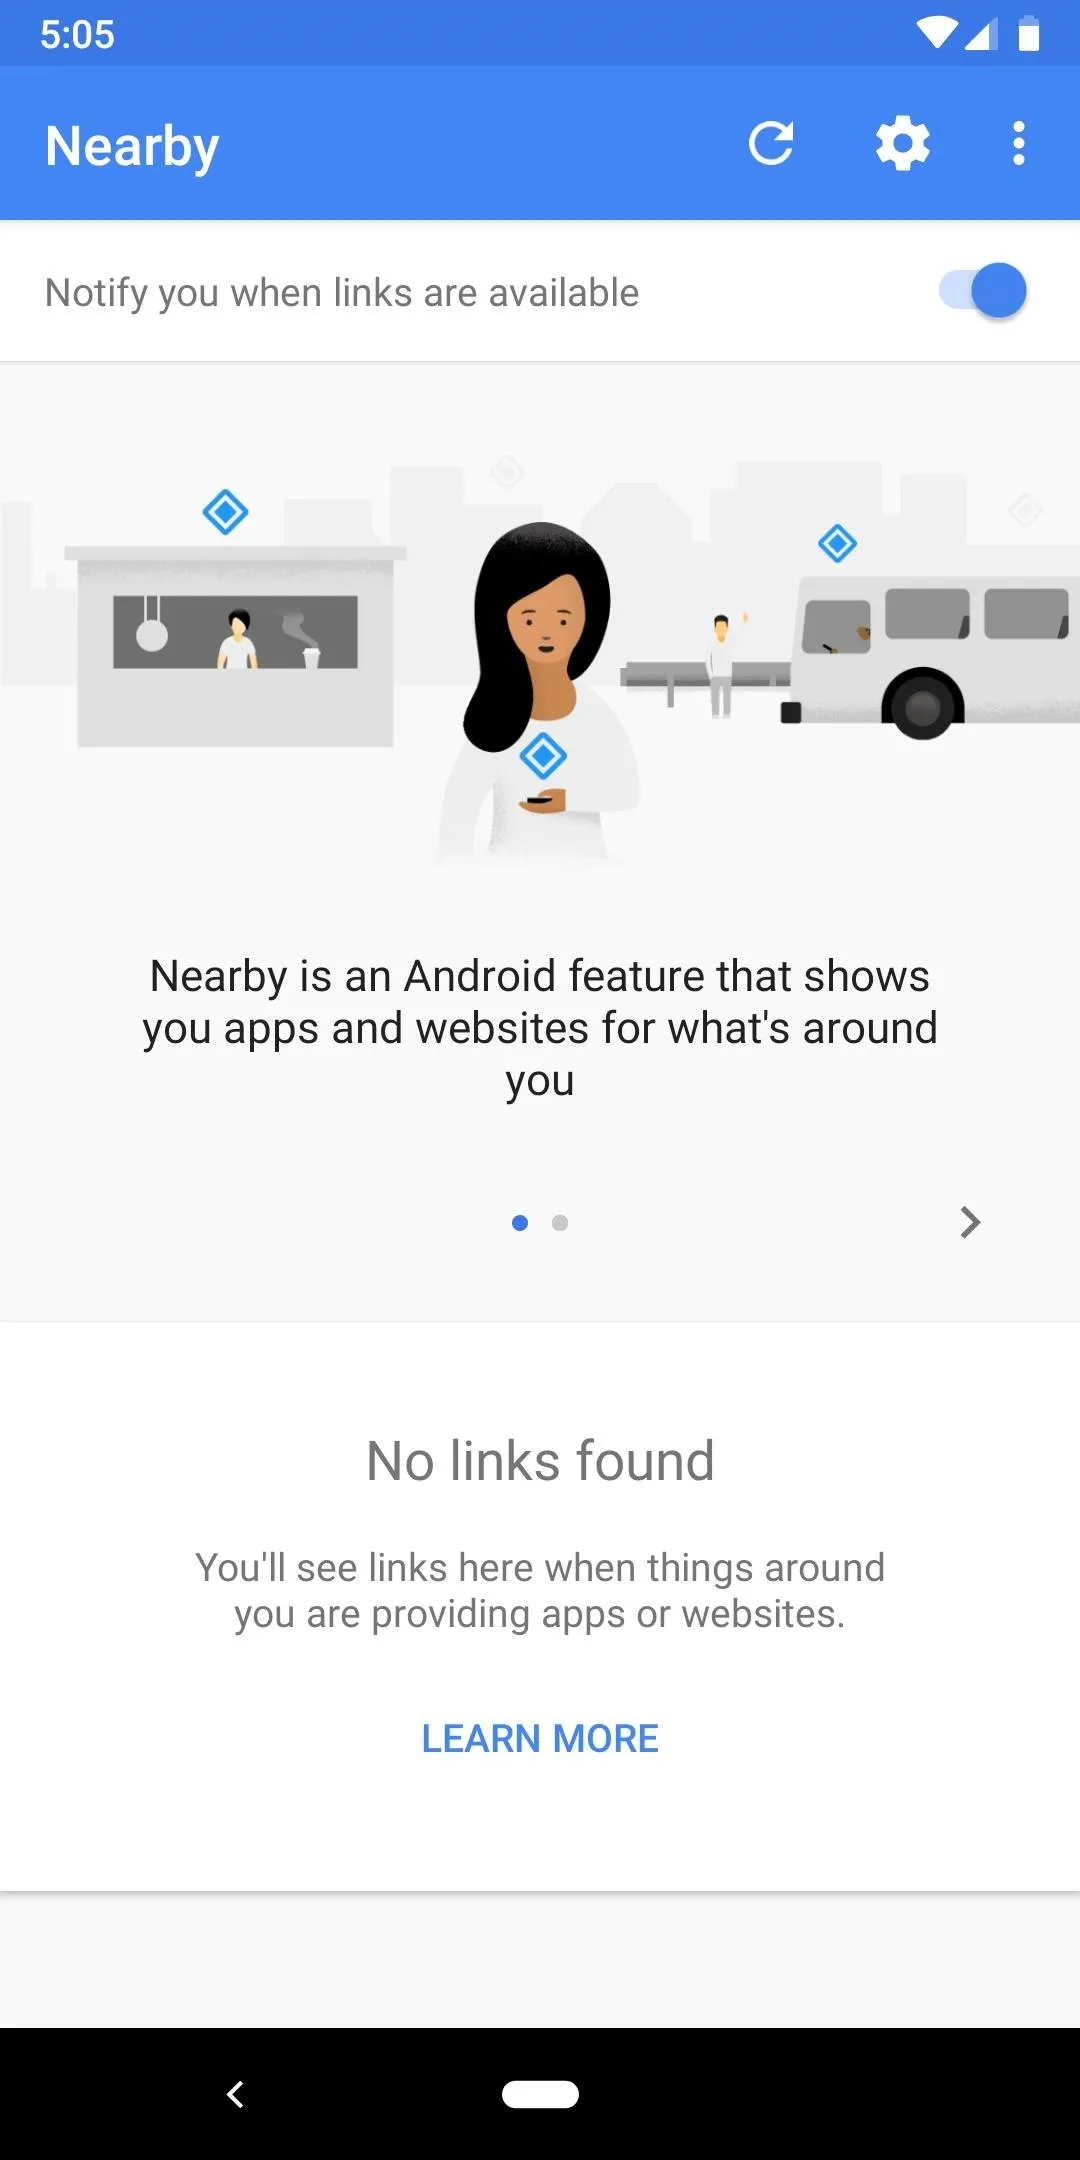
The goal of Google's Nearby feature is to make it "easy to discover nearby devices and establish communication with them." This is how Pixel Buds can be fast-paired with your Pixel without fumbling with Bluetooth settings, but it also has downsides.
In theory, Nearby can be used by stores, vending machines, and other physical locations around you to deliver what amounts to ads. While I haven't personally seen such a scenario, devices equipped with the right sensors could use this system to send notifications straight to your phone. Think of a situation where a Coke machine pings your phone as you walk by to offer a discount — a little creepy, no?
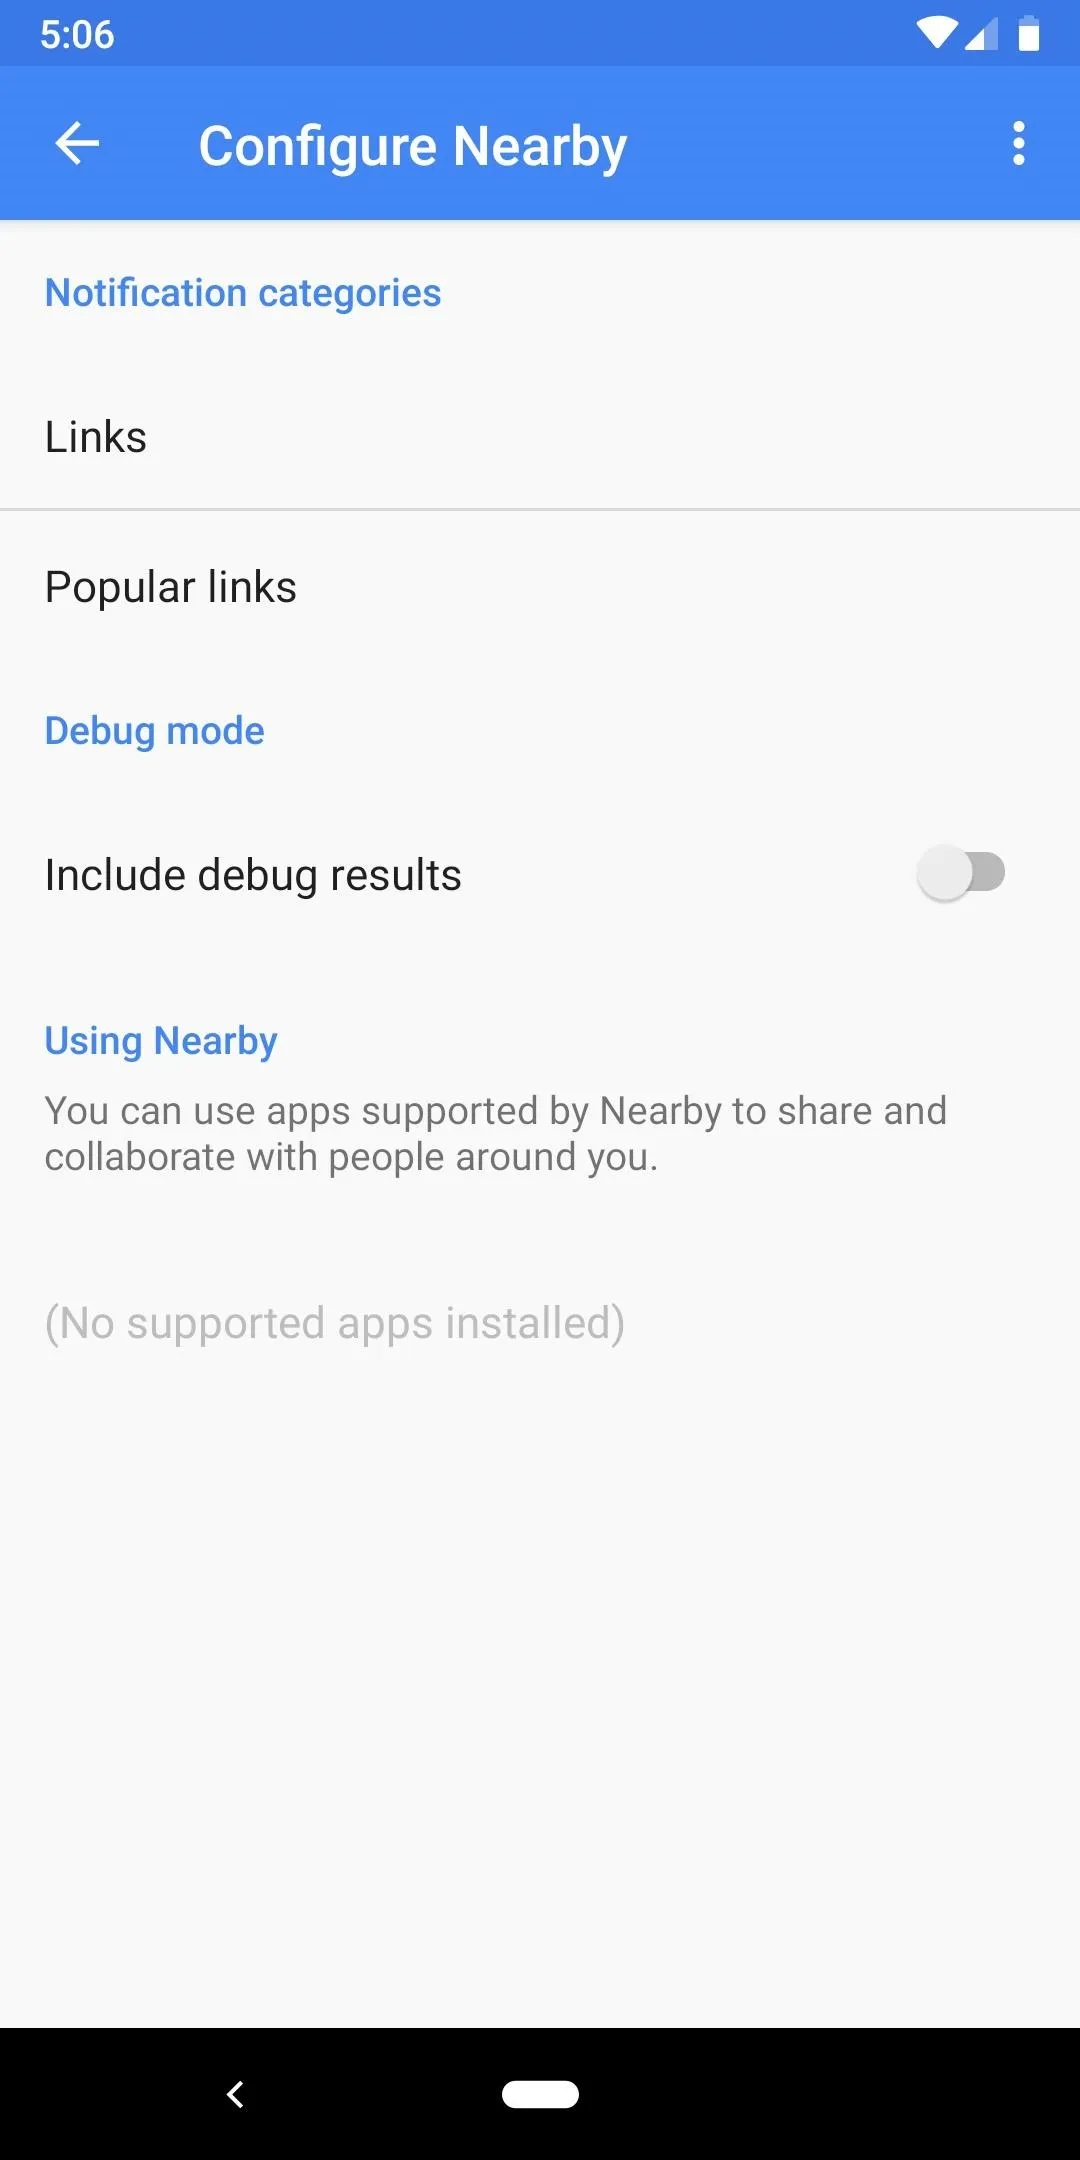
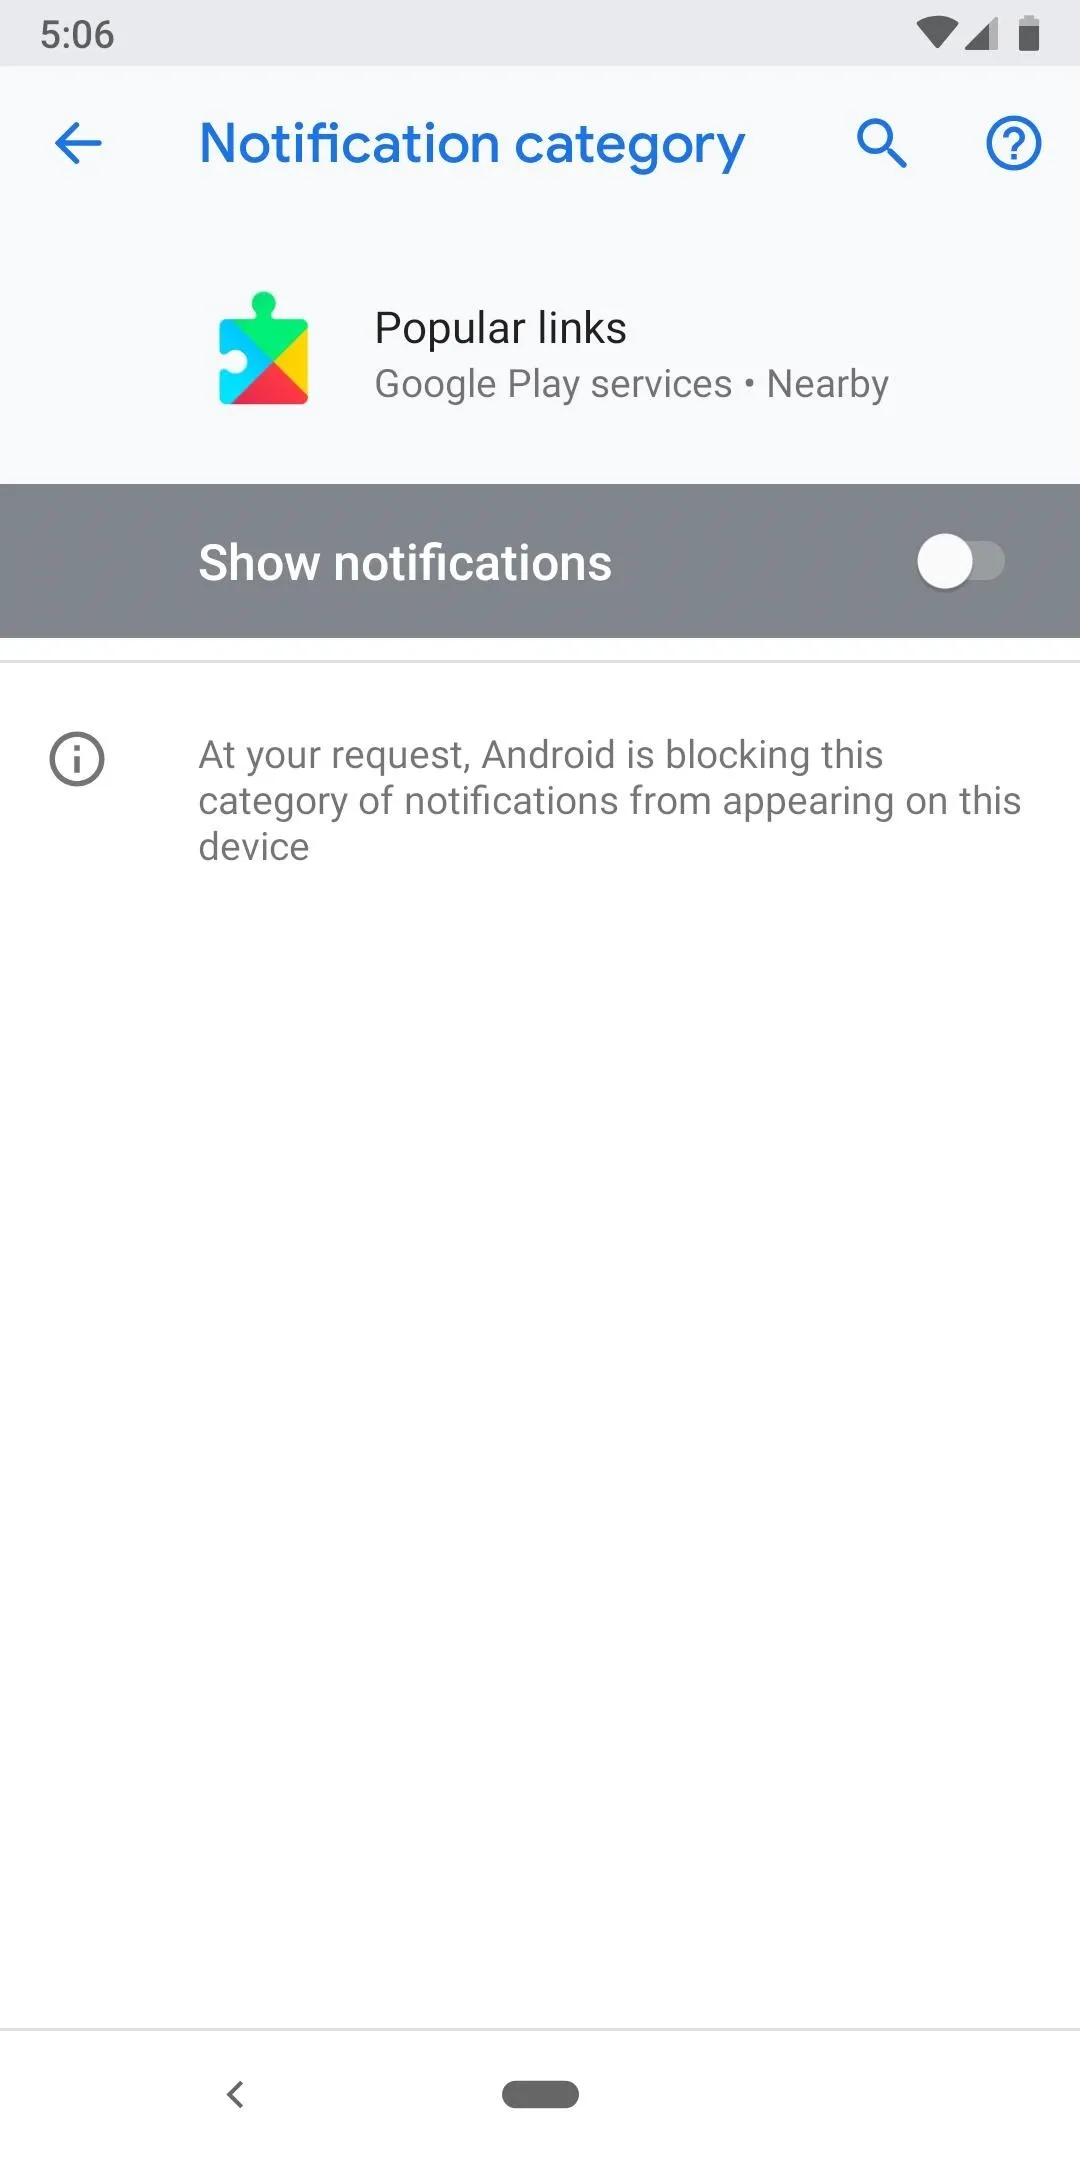
Settings > Google > NearbyIf you'd like to be on the safe side, visit the above menu and disable the toggle at the top of the screen, but note that this will break Fast Pair functionality with some Bluetooth headphones. Alternatively, if you'd rather retain that feature without the potential for ad notifications, tap the gear icon at the top of the Nearby menu, then select both "Links" and "Popular Links," followed by disabling the "Show Notifications" toggle for both.


20. Wi-Fi Assistant
Another one to file under "cool, but a little worrisome." Google's Wi-Fi Assistant automatically connects your phone to open, unsecured Wi-Fi access points. As most of you know, open Wi-Fi networks such as the one at your local coffee shop are prone to hacking, so Google fortified this feature by routing all traffic through an encrypted VPN when you're automatically connected to one of these networks.
Settings > Google > NetworkingIf you'd like to avoid the risk, however, head to the above menu and disable the toggle next to "Wi-Fi Assistant." Bear in mind that your phone may use more mobile data after disabling this feature, but this should only be noticeable if it was previously connecting to open networks on a regular basis. You'd know you were connected via Wi-Fi Assistant if you ever saw a key icon with a "G" next to it in your status bar.
This article was produced during Gadget Hacks' special coverage on smartphone privacy and security. Check out the whole Privacy and Security series.
- Follow Gadget Hacks on Pinterest, Reddit, Twitter, YouTube, and Flipboard
- Sign up for Gadget Hacks' daily newsletter or weekly Android and iOS updates
- Follow WonderHowTo on Facebook, Twitter, Pinterest, and Flipboard
Cover image and screenshots by Dallas Thomas/Gadget Hacks









Comments
Be the first, drop a comment!